|
New
Translations here
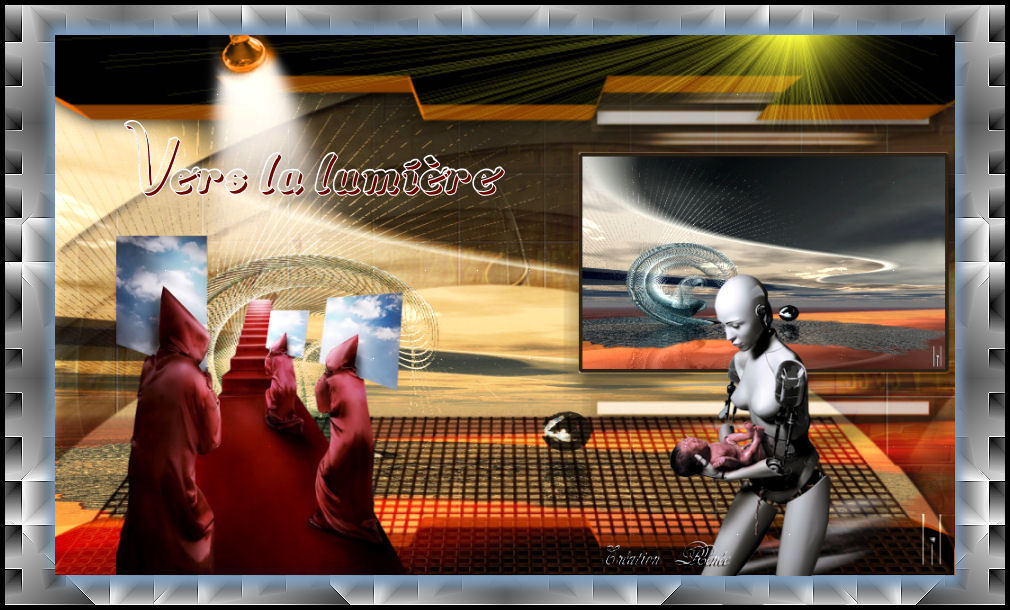
VERS LA LUMIERE
Let's start the lesson.
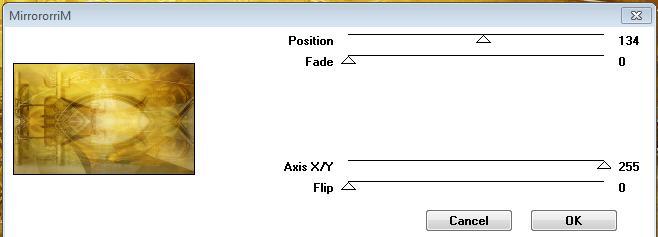
2. Selections /Select All. 3. Open the tube « image 1 »Edit/copy-Edit paste into selection /Selections - Deselect all 4. Effects- Plugins-Vm Toolbox /MirrororriM
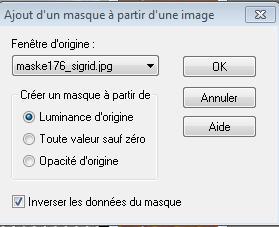
5. Effects- User Defined Filter- /emboss3 using the default settings 6. Layers- New Raster Layer - Activate Flood Fill Tool and fill the layer with this color #d9b374 7. Layers- New Mask Layer From Image and choose: « mask176-sigrid »
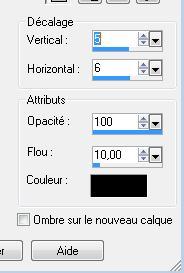
Layers-Merge-Merge Group 8. Effects- 3 D Effects-Drop Shadow with these settings
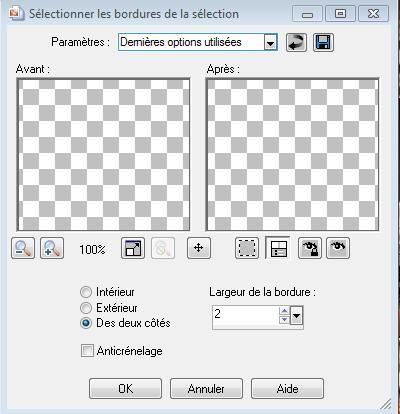
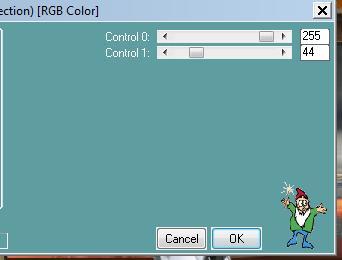
9. Layers- New Raster Layer 10. Selections –load/save selection –load selection from disc and select my selection: "renee @ terre1" 11.Open the tube « image 3 » Edit/copy-Edit paste into selection 12.Selections- Deselect All -Activate top layer in the Layer palette 13. Open the tube « ecran-art-spirale » -Layers- New Raster Layer Selections- Select All / Edit/copy-Edit paste into selection 14. Selections- Deselect All Double click on this Layer and set the Blend Mode to "Hard Light " Set the layer opacity of this layer to 79% 15. Effects- Plugins -Transparency/Eliminate black 16. Open the tube « ecran7 » / Edit/ Copy-Edit - Paste as new layer on your working image- Activate Move Tool (M) Place it in the upper right side -Double click on this Layer and set the Blend Mode to "Luminance " Set the layer opacity of this layer to 61% 17. Selection Tool-Rectangle select inside screen ( tube ecran 7) Layers- New Raster Layer /Open the tube '' ecran-art-spirale »Edit/copy-Edit paste into selection 18. Selections-Modify-Select Selection Borders with these settings-Both Side -Activate Flood Fill Tool and fill the selection with this color #271e13 /Selections- Deselect All 19. Open the tube « image 8 « / Edit/ Copy-Edit - Paste as new layer on your working image and move on top 20. Open the tube « stephygraff » Image Resize to 55% / Edit/ Copy-Edit - Paste as new layer on your working image and move to the bottom left side 21.Open the tube « spot » Edit/ Copy-Edit - Paste as new layer on your working image and move to the upper left 22. Open the tube « robotandbaby » / Edit/ Copy-Edit - Paste as new layer on your working image and move to the bottom right 23. Effects- Plugins- Eyecandy5- Impact /perspective shadow /reflect behind 24. Layers- Merge- Merge- Visible 25. Layers- Duplicate 26. Image Resize to 90% Resize all layers not checked 27. Effects- 3 D Effects- Drop Shadow with these settings- Color #748afc
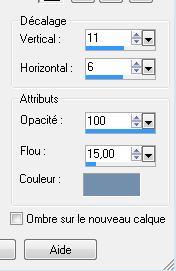
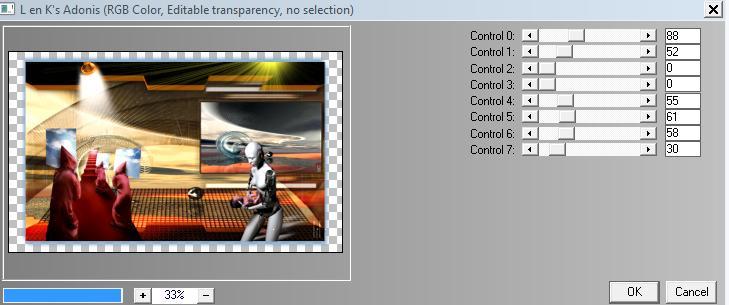
Repeat Drop Shadow -negative -11/-6/100/15 28. Effects- Plugins- L and K's - Adonis use settings below
-Activate the layer underneath 29. Effects- Plugins - L an K's / Andreas
30. Effects- Edge Effects- Enhance 31. Image - Add borders-Symmetric checked: 5 pixels black Text Tool- With the handwriting font "auric"/Size 48 / foreground color #fefdff and background color #670600 -Write the text "Vers la lumière" Save as JPEG
I am part of the Tutorial Writers Inc. My tutorials are registered regularly ReneeGraphisme_All rights reserved
*
|
 Translations