|
New
Translations here
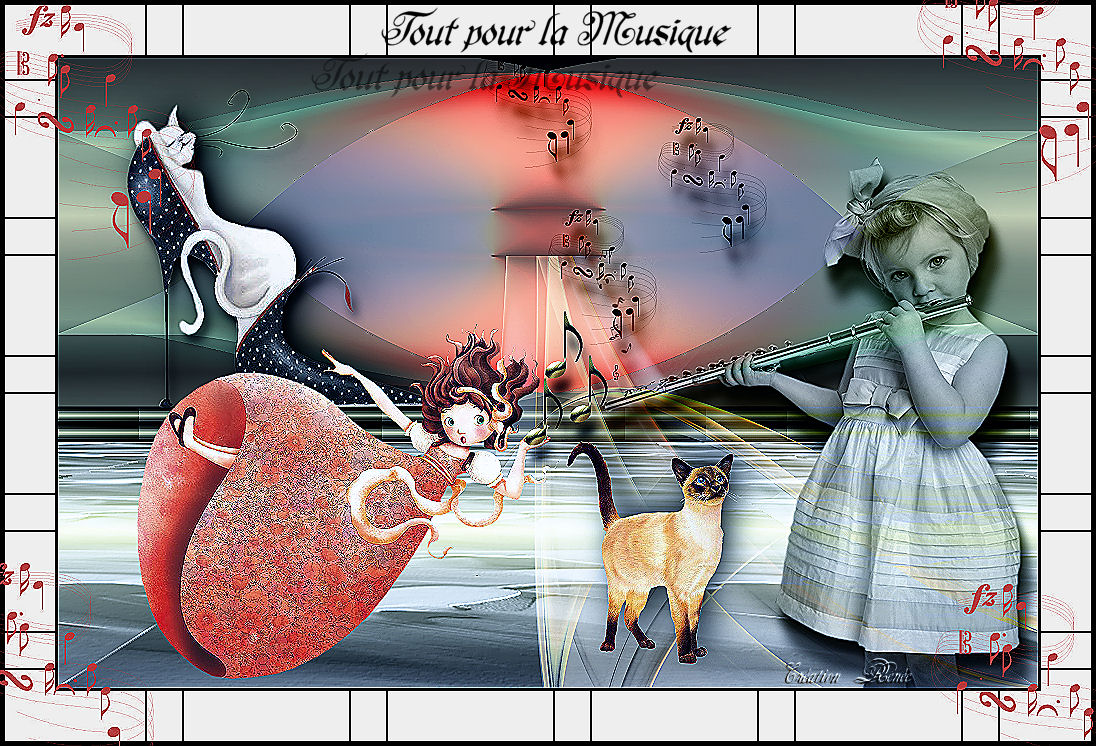
Tout pour la musique *
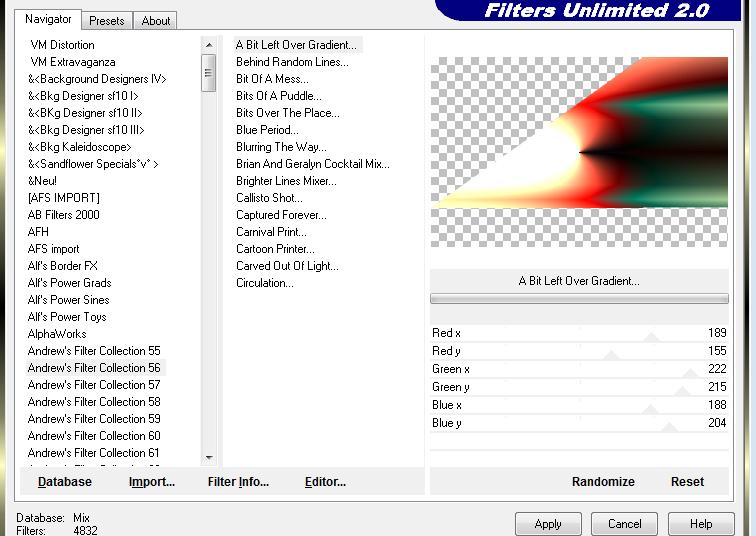
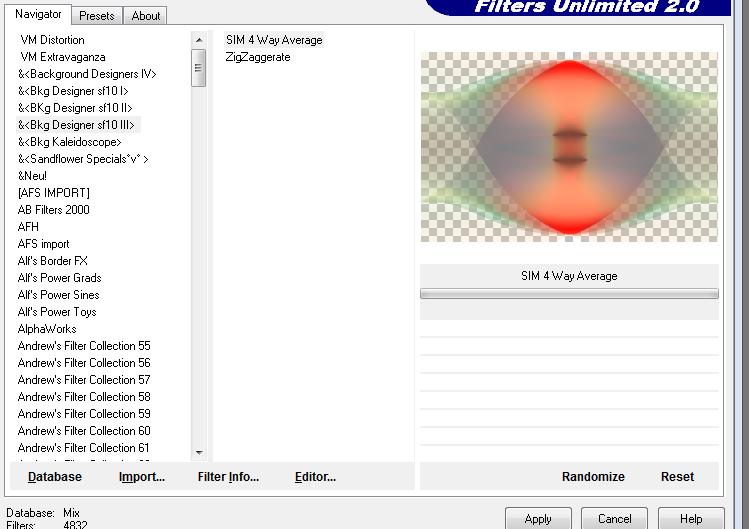
Let's start the lesson 1.Open een New transparent image : 980 x 630 pixels 2. Material Properties:Set your foreground color to: #000000 - Set your background color to: #ffffc0 3. Set your foreground to gradient 'Foreground-background' - Linear - Angle 0 - Repeats 3- Invert not checked. - Activate Flood Fill Tool and fill the layer with the gradient 4. Selections –load/save selection –load selection from disc and select my selection: ''@renee musique1'' 5. Selections- Promote selection to Layer 6. Selections- Deselect All 7. Effects- Plugins -Unlimited - Andrew's Filter collection 56 (ore 58)
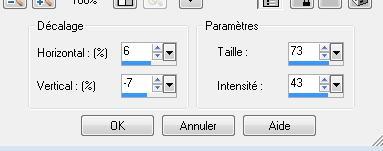
8. Effects- Distortion Effects- Warp use settings below
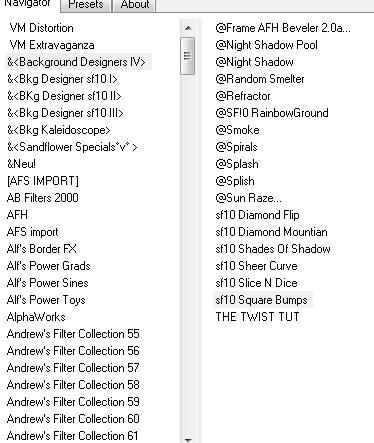
9. Effects- Plugins -Ulimited/ &<Bkg Designer sf 10 III
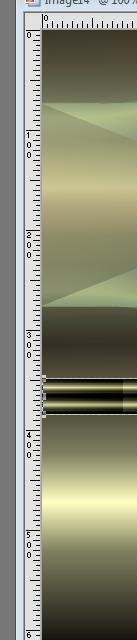
10 .With select tool (k) pull the the layer up to 450 pixels high - Activate the bottom of the layer palette = raster 1 / Layers- Duplicate 11. Layer- Palette- Make copy of raster 1 active Effects- Plugins - Unlimited- &< Backroung designers IV>/ a 48/36
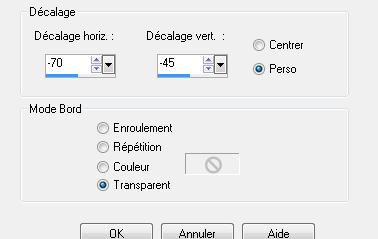
-Activate Pick Tool (K) move it the right place as shown in the example below Do you have problems with this- PNG image ''barre_etape11'' is into the zipfile and paste as a new layer on your working image Effects- Image Effects- Offset with these settings: H= 0 and V = -36
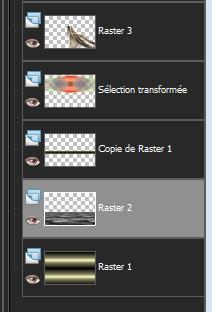
Your Layer palette look like this now-You should have this result
12. Activate the bottom of the layer palette =raster 1 13. Layers- New Raster layer 14. Selections –load/save selection –load selection from disc and select my selection:''@renee musique2'' 15. Open the tube ''Benicemasker l 128 -Edit-Copy-Edith paste into selection 16. Selections- Deselect All 17. Effects- Plugins- Mura's meister /Perspective Tilling /tic reset - Height = 40 18. Effects-User defined Filter - Emboss 3 using the default settings 19. Open the tube ''deco 10 ''/Edit - Paste as new layer on your working image and move -Double click on this Layer and set the Blend Mode to "Screen " (the result )
20. Layer- Palette- Make raster 2 active -Double click on this Layer and set the Blend Mode to "Screen " Your Layer palette look like this now-You should have this result . Is all in place?
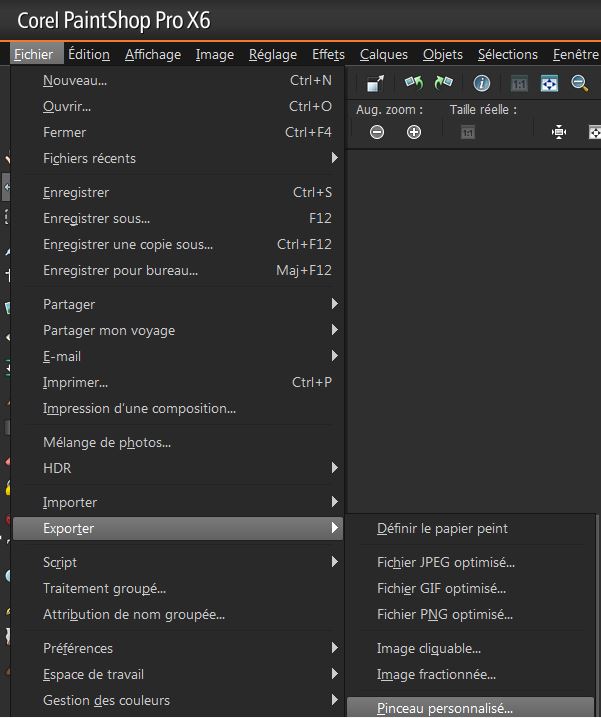
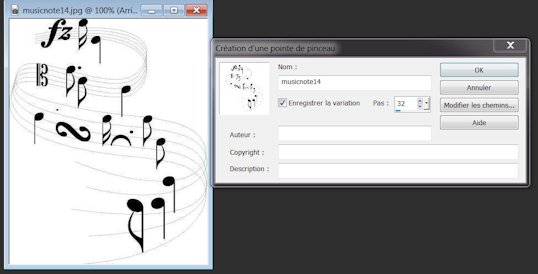
To replace the top of the layers palette 21. Open the tube « filette -flute-cibbijoux « Edit/ Copy-Edit - Paste as new layer on your working image and move 22. Effects- 3 D Effects- Drop Shadow wth these settings :17/5/85/14 black 23. Open the tube ''chat chaussure ' -'Edit/ Copy-Edit - Paste as new layer on your working image and move 24. Effects-Plugins -EyeCandy 5 /Impact /perpsective shadow / –tab Settings/User settings choose my preset:''renee ballade pour chat'' ore drop shadow hight 25. Open the brush ''musicnote14'' in your psp/ File- Export Custom Brush (Give it a name)
26. Properties Foreground: Set your foreground color to color black- Activate Brush Tool and select my file in the list Brush''musicnote14'' :with these settings- Stamp with the fore ground color black and repeat it twice on the same place
27. Open the tube chat Jhanna /Image Resize to 50% -Edit/ Copy-Edit - Paste as new layer on your working image and move 28. Effects- Plugins - Eycandy 5 /Impact /perpsective shadow / –tab Settings/User settings choose my preset:''renee ballade pour chat '' 29. Open the tube " alice" /Image Resize to 65 % /Edit/ Copy-Edit - Paste as new layer on your working image and move 30. Open the tube " 3note " Edit/ Copy-Edit - Paste as new layer on your working image and move (tube alice) 31. Layers-Merge- Merge Visible 32. Image - Add borders-Symmetric checked: 3 pixels black 33. Effects- Plugins- Nick color effex Pro3.0- Pro Contrast
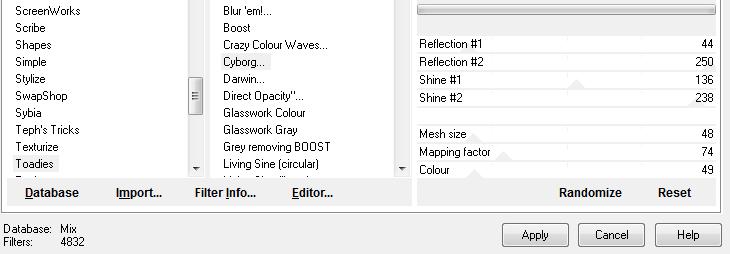
34. Image - Add borders-Symmetric checked: 3 pixels black 35. Image - Add borders-Symmetric checked: 50 pixels #b53a3c 36. Activate the Magic Wand and select the border of 50 pixels 37. Effects- Plugins -Unlimited -Toadies/Cyborg -Repeat 3 times with these settings
38. Image - Add borders-Symmetric checked: 5 pixels black 39. Layers- New raster layer Properties foreground:-Set your foreground color to: #b53a3c 40. Again Brush Tool -select ''musicnote14'' size 255Stamp with the foreground color black 4x on the same place 41. Effects- Edge Effects- Enhance 42. Effects- Plugins - Xero /improver 9/ 8/9 43. Click on your Text Tool-Font- « Espania « Size 48 Write your text - and move 44. Layers- Duplicate 45.Effects- Image Effects- Offset with these settings -Set the layer opacity of this layer to 51%
I hope you enjoyed this lesson Renée
I am part of Tutorial Writers Inc. My tutorials are regularly recordedt ReneeGraphisme_All rights reserved
|
 Translations


 Save as JPG