|
Let's begin
1.
Open a new transparent image of 1025 x 685 pixels
2.
Selections- Select All
3.
Open the tube ''Kryssteampunk-10-02-14-016''
4.
Edit/copy-Edit paste into selection
5.
Selections-Select none
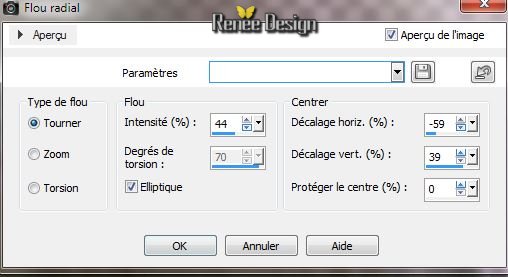
6.
Adjust- Blur- Radial Blur
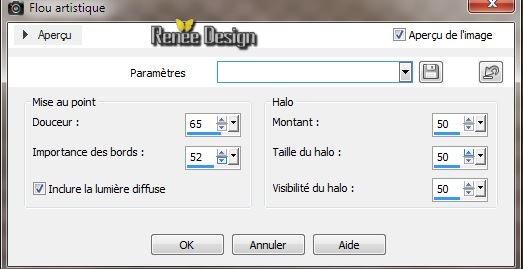
7.Adjust -Softnes - Soft Focus
8.
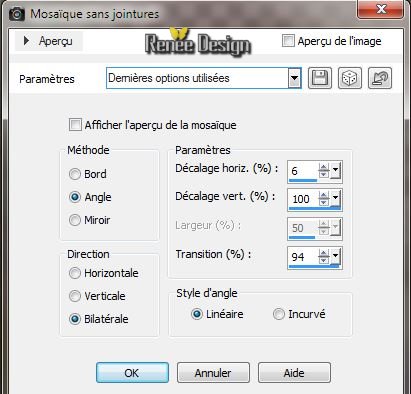
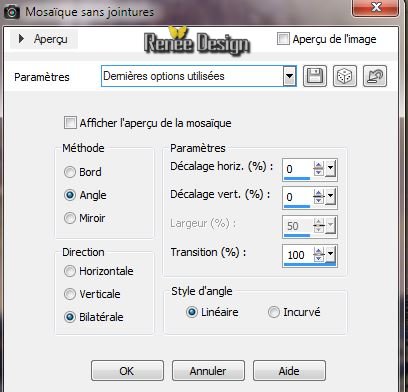
Effects- Image Effects-Seamless Tilling
9.
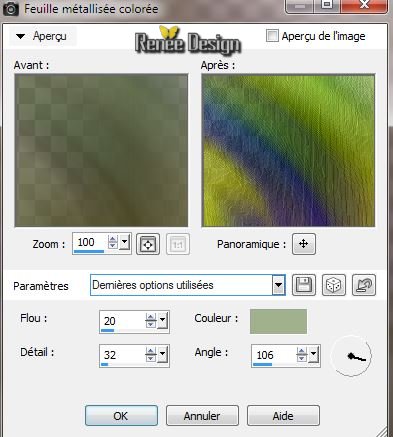
Effects -Artistic Effects-Colored Foil
10.
Effects-Plugins -Déformation -Mosaïque de verre (hr)

11.
Layers-New raster Layer
12.
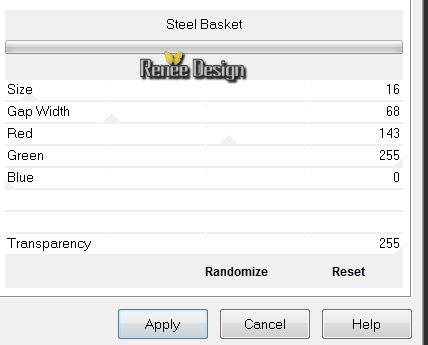
Effects - Plugins VM Texture - Steel Basket
13.
Effects-Plugins - EyeCandy 5 Impact - Glass /preset
''steampunk_7_glass''
14.
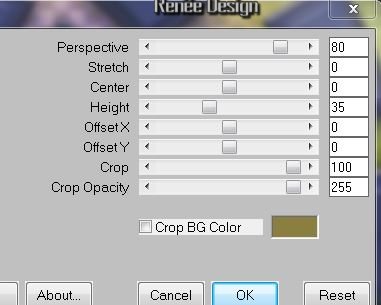
Effects- Plugins Mura's Meister - Perspective Tilling
15.
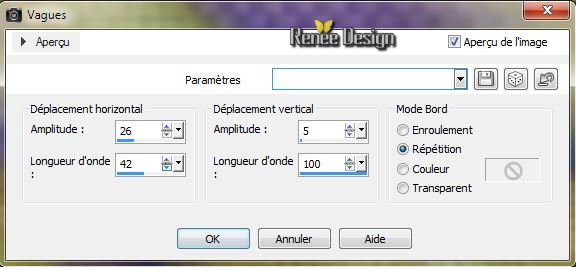
Effects - Distortion Effects - Wave
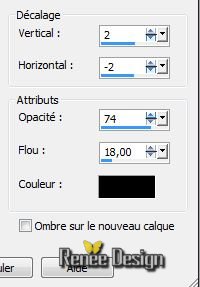
16. Effects
- 3D Effects-Drop Shadow
17. Layers-New raster Layer /Flood Fill Tool: Fill the layer with color:
#d3c8b6
Layers- Arrange- Move Down
18. Aktivate the top of the Layers palette /Layer Palette
: Blend Mode "Overlay". Lower the opacity to 75%
19. Aktivate the top of the Layers palette
20 .
Open the tube '' a_trip_to_the Theatre_tubed_by_thafs''/
Edit/copy -Edit/paste as a new Layer and place
21.
Material Properties: Foregroundcolor to color :
#d3c8b6. Backgroundcolor to color : #8a7f41-
22.
Prepare a Linear Gradient as configured 0/5 Invert not checked
23 Layers-New raster Layer
24.
Selections-Custom selection with these settings
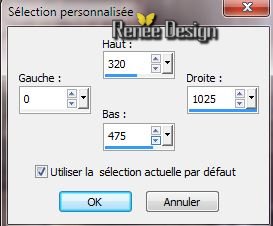
25.
Flood Fill Tooll :Fill the selection with the gradient
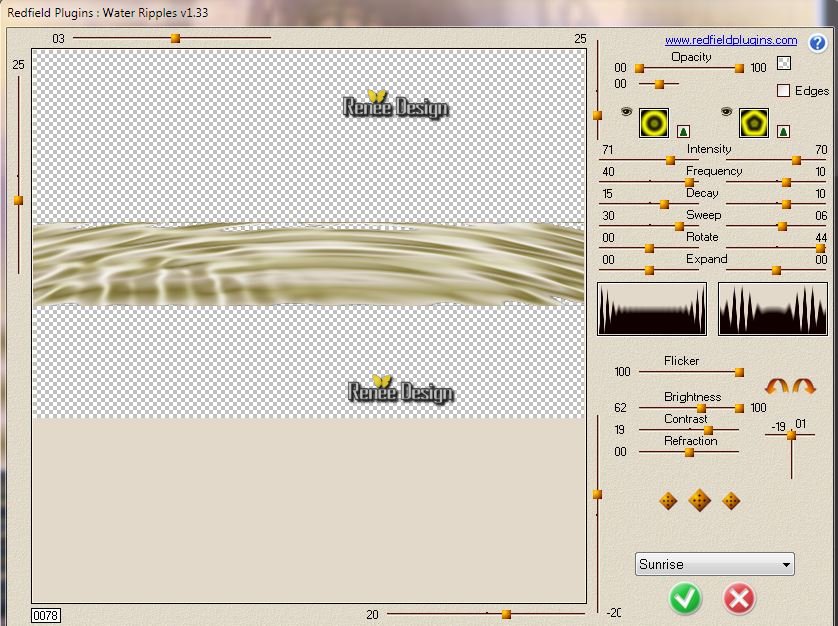
26. Effectst
- Plugins Redfield
Layer Palette: Blend Mode to "Soft Light"
27.
Selections-Select none
28.
Material Properties: Backgroundcolor to color black
29. Layers-New raster Layer
30.
Selections - load/save selection - load selection from disk and choose "steampunk7_1""
31. Flood Fill Tool: lower the opacity to 50 %
32.
Fill the selection with your foregroundcolor
33.
Selections-Modify-Contract with 10 pixels /Flood Fill Tool:Fill the selection with your backgroundcolor
34.
Selections-Select none
35. Layers- Arrange- Move Down
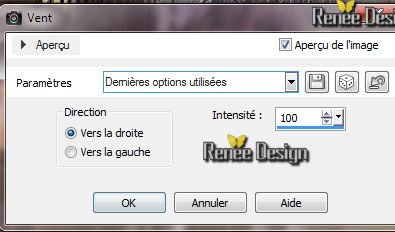
36. Effects- Distortion Effects - Wind
37. Open the tube ''steampunkmateria_misted tube of A P¨Devil.pspimage"/ Image-
Resize to 65%. Edit/copy -Edit/paste as a new Layer and place
38.
Open the tube ''Kryssteampunk-10-02-14-016''/Edit/copy -Edit/paste as a new Layer and place
39.
Material Properties:Foregroundcolor to color :
#8a7f41 Backgroundcolor to color black
40. Layers - New Raster Layer
41. Open
your Paint Brush Tool " steampunk_7_pinceau'' / configured as follows
Size 350 or 450
.Rotation 0°

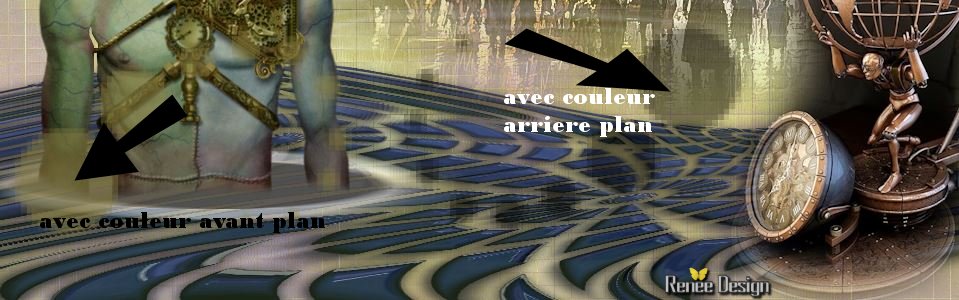
42. With the foreground color stamp see the example (click 2 or 3 times )
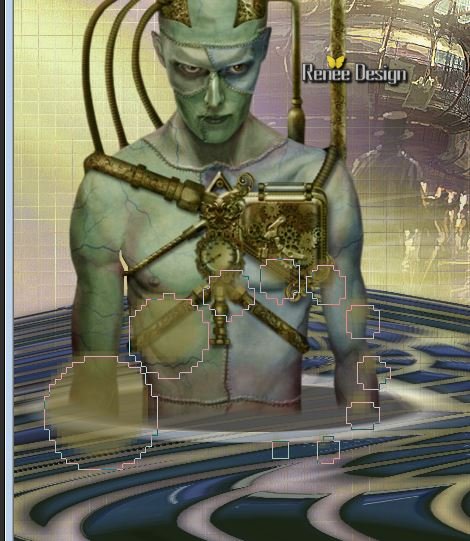
43. Layers-New Raster Layer. /Paint Brush Tool rotation to 180° stamp with your backgroundcolor (see the exemple ) This is the result
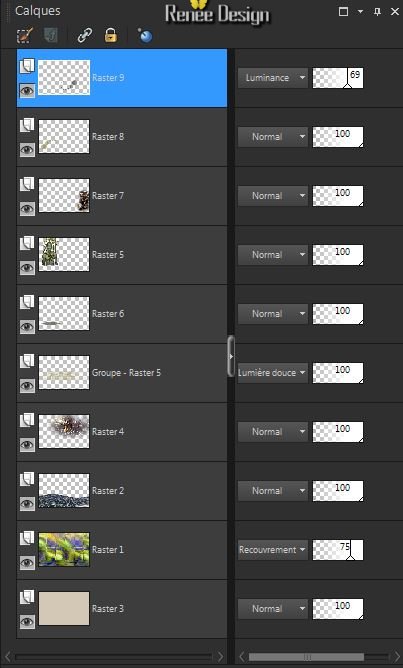
44. Layer Palette: Blend Mode to " Luminance " .Lower the opacity to 69%
Layer Palette look like this now
45. Layers- Merge- Merge Down /Blend Mode to "Hard Light "- The opacity to 100%
46.
Layers-Duplicate
47. Effects
- Image Effects- Seamless Tilling
Layer Palette: Blend Mode to "Normal" and the opacity to 100%
48.
Layers- Merge - Merge Visible
49.
Layers-New raster Layer
50.
Selections - load/save selection - load selection from disk and choose''steampunk7_2''
/Attention !!!!!!
Flood Fill Tool: left click mouse (foregroundcolor )
right mouse click( backgroundcolor)
left click mouse( foregroundcolor )
right mouse click ( backgroundcolor)
51.
Selections- Select none
52. Effects
- Texture Effects -Blinds (foregroundcolor )

53. Effects - 3D Effects -Drop Shadow /color white

54. Open the tube ''steampunk7_roue''/Edit/copy -Edit/paste as a new Layer and place
- Layers-Arrange- Move Down
55. Open the tube ''steampunk7_cadran '/Edit/copy -Edit/paste as a new Layer and place. Layers-Arrange- Bring to Top
56. Effects
-Plugins -Xynthetique - Web scrub

57. Effects
-Plugins Graphic Plus - Quick Sepia

58. Open this tuben "Gears_SilTerrencio'' / Edit/copy -Edit/paste as a new Layer . Place all the tuben to your own taste
59.
Layers- Merge - Merge Visible
Open your color palette in PSP it is easier
60. Image - Add Borders - Symmetric 2 pixels color 4
61. Image - Add Borders - Symmetric 2 pixels color 1
62. Image - Add Borders - Symmetric 2 pixels color 2
63. Image - Add Borders - Symmetric 40 pixels color white
64. Layers-New Raster Layer.
65.
Selections-Custom selection with these settings
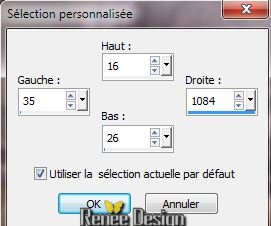
66.
Flood Fill Tool: fill the selection with color 2
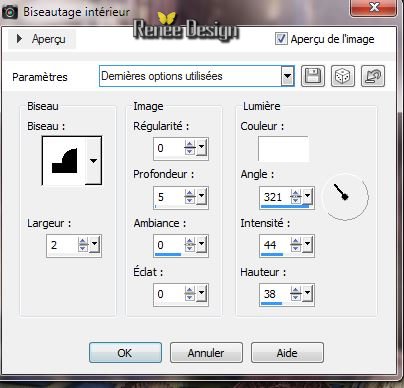
67. Effects
- 3D Effects - Inner Bevel (white ore color
2)
68.
Selections-Select none
69. Layers- Duplicate / Image Mirror- Image
Flip
70.
Layers- Merge - Merge Down
71. Effects
- Distortion Effects - Warp
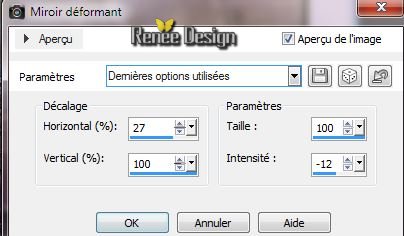
Layer Palette: Blend Mode to "Normal" ore "Hard Light" Lower the opacity to
75%
72. Image - Add Borders - Symmetric 2 pixels color 4
73. Image - Add Borders - Symmetric 2 pixels color 1
74. Image - Add Borders - Symmetric 2 pixels color 2
75. Open the tube " titre "Edit/copy -Edit/paste as a new Layer . Or write your own text
76 In my text, I have a drop shadow using by default /Blend Mode "Hard Light " and the opacity down to 69%
77. Image
Resize 1025 pixels width
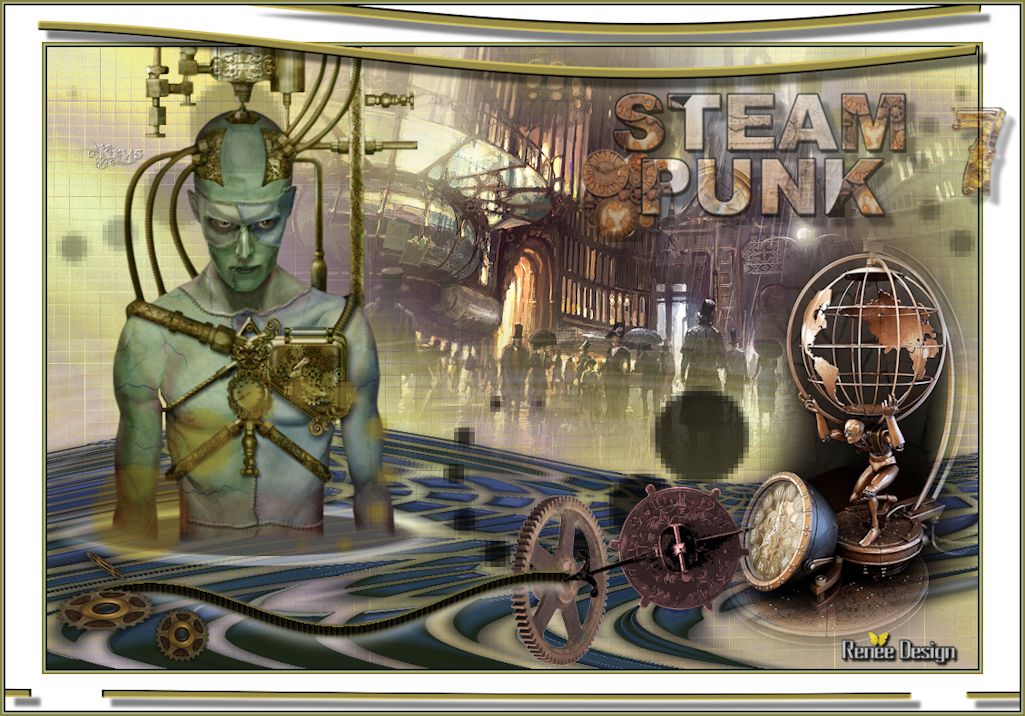
I hope you enjoyed this lesson
Renée
This lesson was written by Renée 14/02/2014
Created the
20/02/2014
*
Any resemblance with an existing lesson is merely a coincidence
*
Don't forget to thank the people who work for us and with us. I named the tubeurs - Testers and the translators.
Thanks Renée | 
 Translations