|
New
Translations here
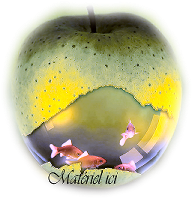
Je suis sous l'eau
Let's start the lesson. 1. Open a new transparent image 980 x 650 pixels 2. Set the color palette to foreground color #32426b and backgroundcolor to #fbfdfb Set your foreground to gradient 'Foreground-background' - Linear - with these settings -Activate Flood Fill Tool and fill the layer with the gradient
3. Layers- New Raster Layer 4. Selections- Select All-Open the tube ''en nuage ''Edit/copy- Edit/ paste into selection 5. Selections- Deselect All 6. Adjust-Sharpness-Sharpen More 7. Effects- Image Effects-Seamless Tiling- using the default settings 8. Adjust-Blur-Radial Blur with these settings
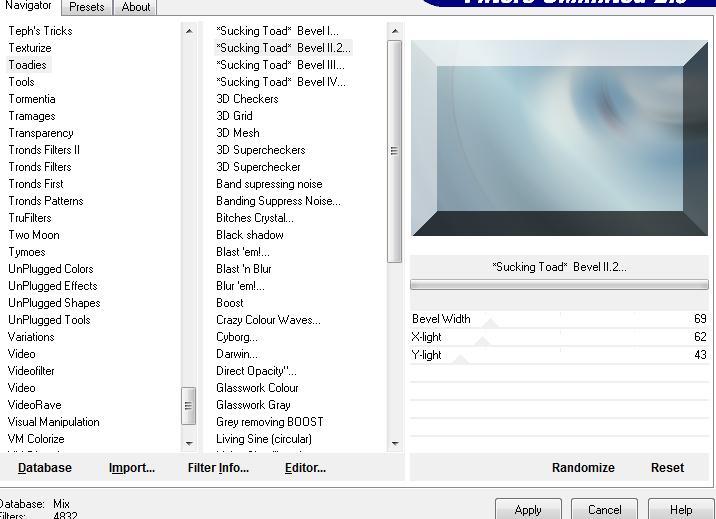
Set the layer opacity of this layer to 61%- Layers- Merge- Merge- Down 9. Effects- Plugins-Toadies /sucking toad bevel II use settings below
10. Effects- Plugins- Simple /Pizza slice mirror /and repeat this filter 11. Layers- Duplicate 12. Effects- Plugins- Toadies /what are you 13. Effects- Distortion Effects- Twirl to 180 14. Effects- Plugins -Simple /Pizza slice mirror 15. Image Resize to 75% resize all layers not checked 16. Effects- Plugins - Xero/Illustrator - 50/50/128 17. Effects- Plugins-Transparency /Eliminate white - Double click on this Layer and set the Blend Mode to "Multiply " 18. Layers- New Raster Layer/Selections –load/save selection –load selection from disc and choose:''@renee -etrange '' 19. Open the tube « apple fish » Edit/copy- Edit/ paste into selection /Selections- Deselect All -Double click on this Layer and set the Blend Mode to "Hard Light " 20. Open the tube B57-vector-water 02-10 » Edit/copy- Edit/ paste as new layer on your working image - Activate the Pick Tool (K) place it as shown below
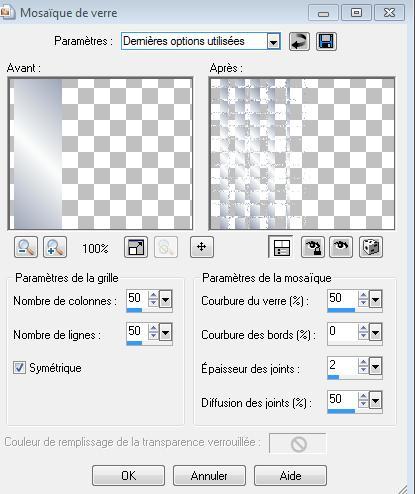
- Double click on this Layer and set the Blend Mode to "Luminance" -Set the layer opacity of this layer to 65% 21. Effects-Plugins- EyeCandy 5/perspective shadow-tab Settings/User settings choose my preset: ''renee -etrange'' 22. Open the tube « femme crealios-1480 » -Edit/copy- Edit/ paste as new layer on your working image and move 23. Layers- Arrange- Move Down 24. Open the tube « goutte d'eau « - Edit/Copy -Edit paste as new layer on your working image (do not move it is in the right place) 25. Open the tube « déco « - Edit/Copy -Edit paste as new layer on your working image (do not move it is in the right place) -Double click on this Layer and set the Blend Mode to "Hard Light " -Set the layer opacity of this layer to 77% 26. Layer- New Raster Layer 27. Selections –load/save selection –load selection from disc and choose:'' @renee-etange 3''/Flood Fill Tool: fill the selections with the linear gradient (point 2) 28. Selections- Deselect All 29. Effects-Texture Effects-Mosaic Glass use settings below
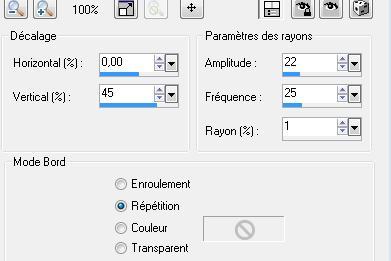
30. Effects- Distortion Effects- Spiky Halo use settings below
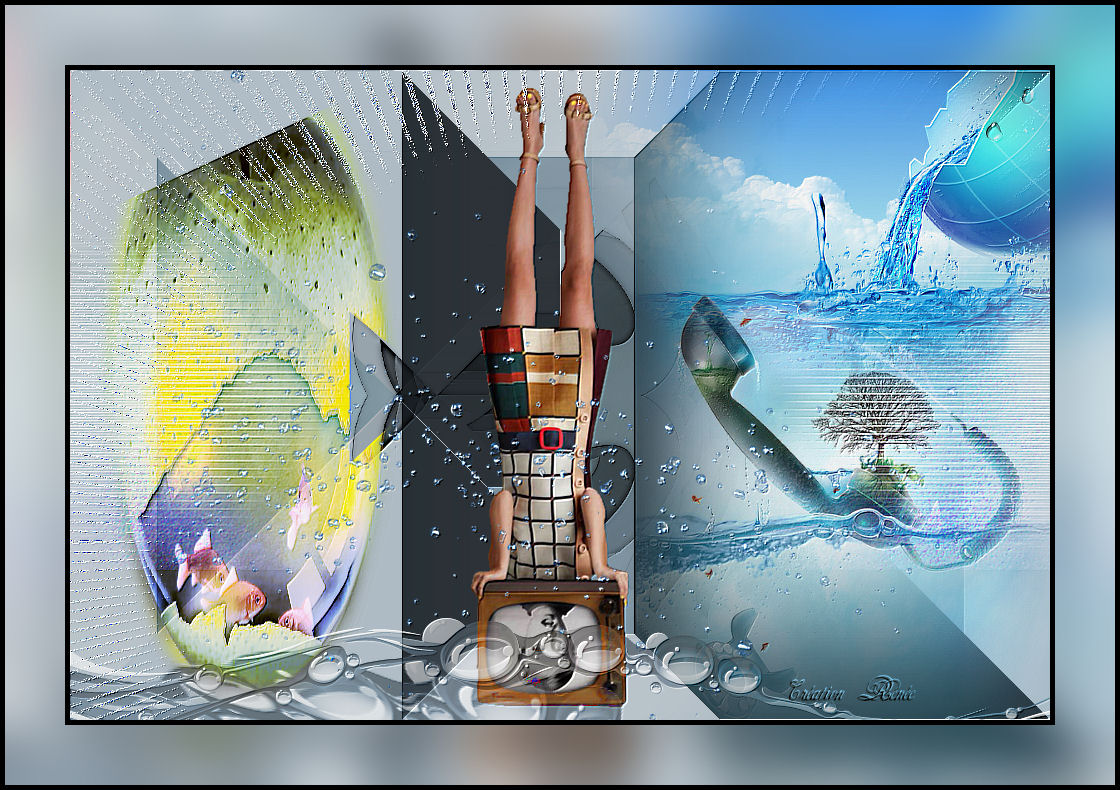
31. Effects- Edge Effects- Enhance 32. Selections –load/save selection –load selection from disc and choose:selection '' @renee-etange 2 - Layers- New Raster Layer - Open the tube « sonne ciel / Edit/copy- Edit/ paste into selection Selections- Deselect All 33. Open the tube « terre d'eau « Edit/copy- Edit/ paste as new layer on your working image.With your move tool move to the upper right side (see finished image) 34. Layers- Merge- Merge All 35. Effects- Plugins - FM Tile tools /blend emboss using the default settings 36. Edit/Copy!! 37. Image - Add borders-Symmetric checked: 5 pixels black 38. Image - Add borders-Symmetric checked: 60 pixels white 39. With the magic wand -select the border of 60 px 40. Edit-Paste into selection (Image is still in your PSP memory) 41. Adjust-Blur- Gaussian Blur : Radius: 25% 42. Image - Add borders-Symmetric checked: 5 pixels black Save as JPG I hope you enjoyed this tutorial . Renée 2009
|
 Translations