New
PLATINIUM FOREST
Translations here
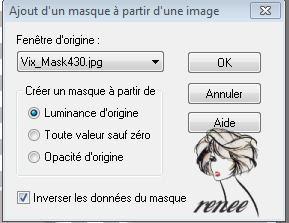
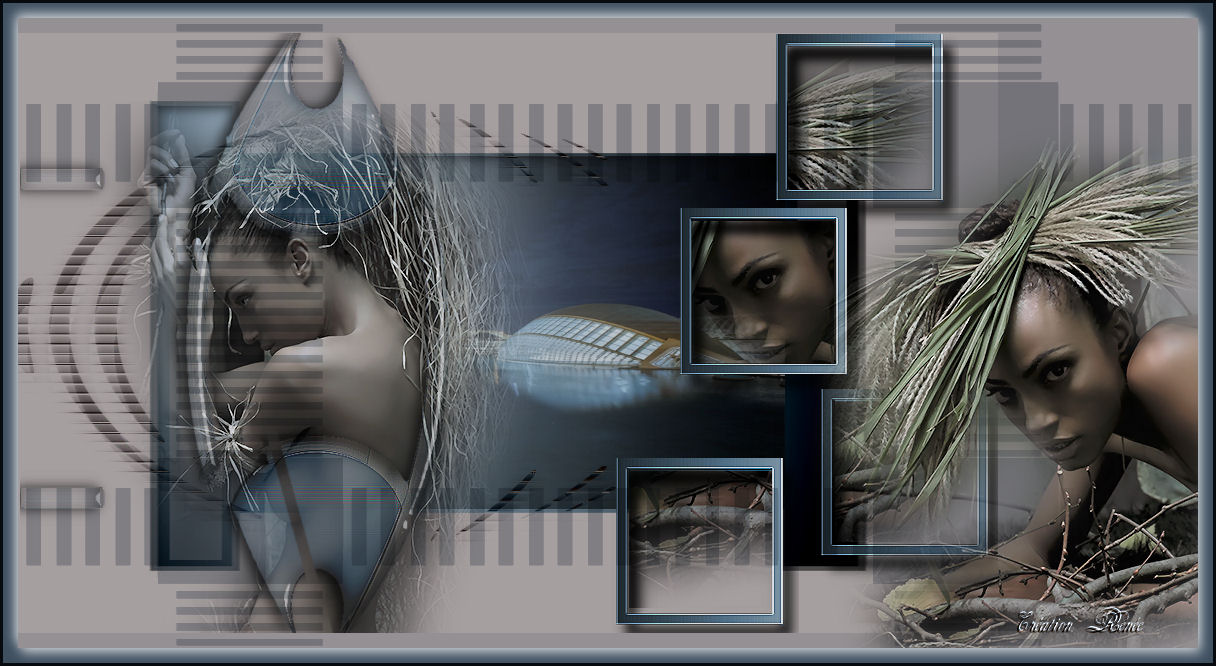
Let's start the lesson. 1. File - New - Open a new transparent image 980 x 600 pixels Activate Flood Fill Tool and fill the layer with this color #bcb2b1 2. Layers- New Mask layer from Image and choose Mask:'' Vix_Mask430''
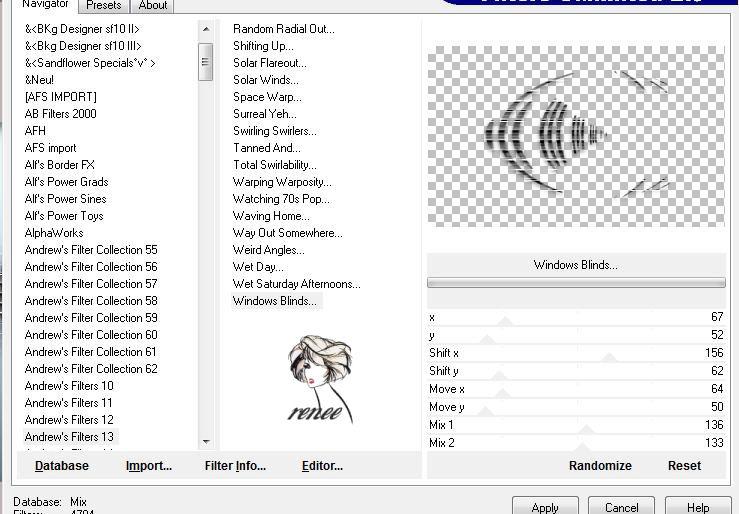
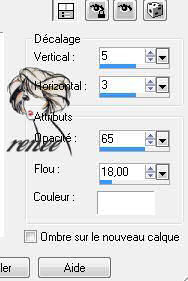
3. Layers- Merge- Merge Group 4. Effects-3 D Effects- Drop Shadow with these settings: 5/3/65/18 black 5. Layers- New Raster Layer 6. Selections- Select All 7. Open the Image « fondrenee2 »Edit/ Copy-Edit - Paste into Selection 8. Selections- Deselect All 9. Layers- Arrange- Move Down - Activate the top of the layer palette 10. Layers- New Raster Layer 11. Selections –load/save selection –load selection from disc and choose my selection:'' @ renee-illusion '' 12. Open the tube ''citeartsciences '' / Edit/ Copy-Edit - Paste into Selection 13. Selections- Deselect All -Activate the top of the layer palette 14. Open the tube '' effet eclair''/ Edit/ Copy-Edit - Paste as new layer on your working image 15. Effects- Plugins - Unlimited - Andrew's Filters 13/windows blinds with these settings
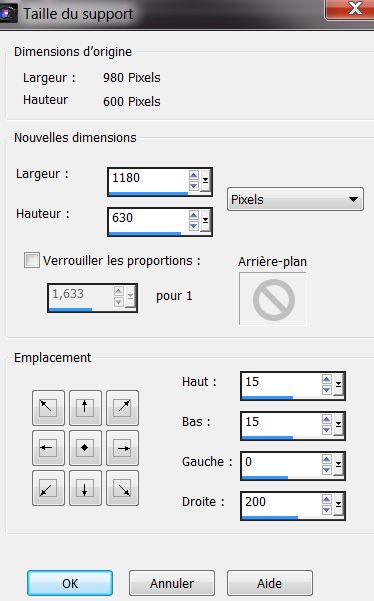
- Layer Palette - Double click on this Layer and set the Blend Mode to "Difference " -Set the layer opacity of this layer to 61% 17. Open the tube « city fish renee '' - Image Mirror/ Edit/ Copy-Edit - Paste as new layer on your working image 18. Effects- Image Effects- Offset with these settings H = -270 and V = 0 - Layer Palette - Double click on this Layer and set the Blend Mode to "Hard Light " -Set the layer opacity of this layer to 73% 19. Open the tube ''1220639832-femme'' - Edit/ Copy-Edit - Paste as new layer on your working image 20. Effects- Image Effects- Offset with these settings H = 85 and V = - 65 21. Layers- Arrange- Move Down 22. Open the tube ''cadre4 renee '' Edit/ Copy-Edit - Paste as new layer on your working image 23. Effects- Image Effects- Offset with these settings H =290 and V = - 15 24. Open the tube ''quatro ''/ Edit/ Copy-Edit - Paste as new layer on your working image 25. Effects- Image Effects- Offset with these settings H = 281 and V = 7 26. Layers- Arrange- Move Down 27. Layers- Merge- Merge Visible 28. Image Canvas Size with these settings
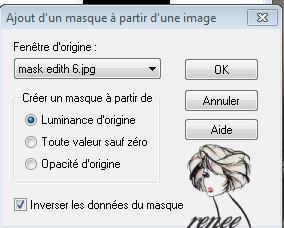
29. Layers- New Raster Layer 30. Layers- Arrange -Move Down /Activate Flood Fill Tool and fill the layer with this color #a8a2a4 - Activate the top of the layer palette 31. Layers- New Raster Layer /Activate Flood Fill Tool and fill the layer with this color #3e4f60 //Layers- New Mask layer from Image and choose Mask:
32. Layers- Merge- Merge Group - Layer Palette - Double click on this Layer and set the Blend Mode to "Multiply" -Set the layer opacity of this layer to 42% 33. Open the tube « 1220639828-femme » -Edit/ Copy-Edit - Paste as new layer on your working image and move to the right side 34. Layers- Merge Merge All 35. Image - Add borders-Symmetric checked: 15 pixels #3e4f60 36.Selections- Select All-Selections- Modify with : 15 pixels 37. Effects-3 D Effects- Drop Shadow with these settings:
-Repeat: Effects-3 D Effects- Drop Shadow with these settings: -5/-3 38. Image - Add borders-Symmetric checked: 3 pixels black Save as JPEG
I am part of the Tutorial Writers Inc. My tutorials are registered regularly ReneeGraphisme_All rights reserved
*
|
 Translations