|
New
Translations here
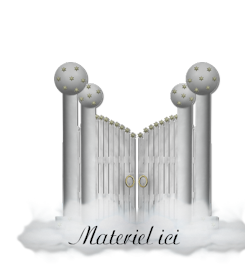
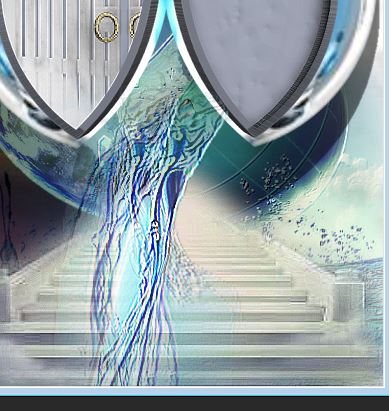
Les portes de l'espoir
Let's start the lesson.
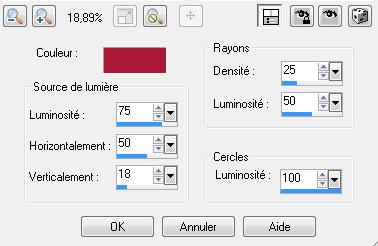
2. Layers-Duplicate 3. Effects-Illumination Effects-Sunburst with these settings -Color #A91934
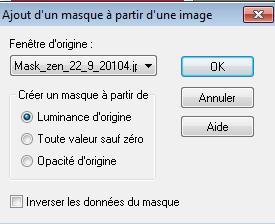
4. Effects-Edge Effects-Enhance 5. Material Properties: Set your foreground color to #A91934 -Set your background color to #e51540 6. Prepare a foreground/background linear gradient with settings below 0/0 / Invert not checked 7. Layers- New raster layer -Flood Fill Tool: fill the layer with the gradient 8. Layers- New Mask layer from Image and select Mask « Mask-zen-22-9-20104 »
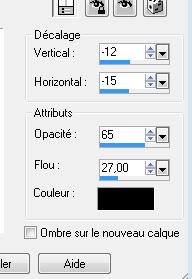
9. Layers-Merge-Merge Group 10. Effects-Edge Effects-Enhance 11. Effects - 3D Effects - Drop shadow with these settings as shown below.
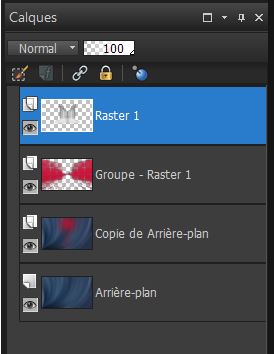
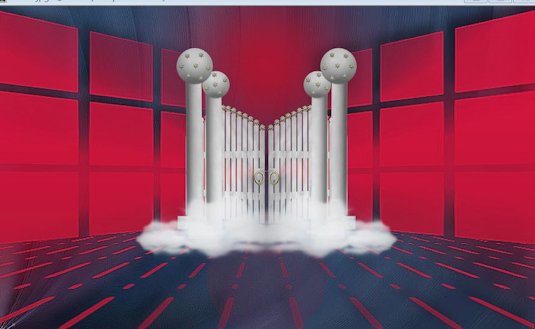
12. Open the tube « porte paradis » Edit/copy-Edit paste as a new layer on your working image. With your move tool place it in the right place as shown below - Layer palette look like this and your work look like this now
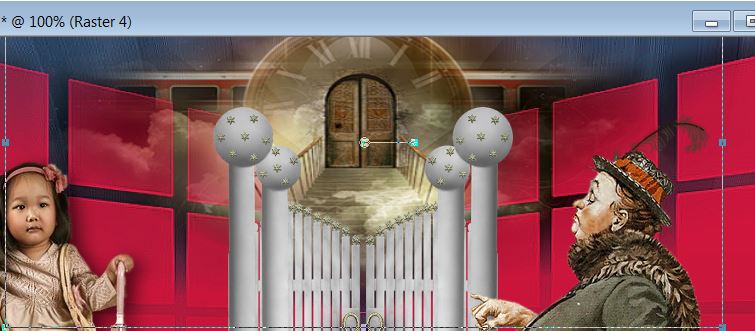
13. Open the tube ''mou normanRockwell-servante '' Edit/copy-Edit paste as a new layer on your working image. With your move tool move to the bottom right corner 14. Open the tube « TReagen-2446 » Edit/copy-Edit paste as a new layer on your working image. With your move tool move to the left 15. Effects - 3D Effects - Drop shadow with these settings 5/8/65/27 black 16. Open the tube « image_2 » Edit/copy-Edit paste as a new layer on your working image. Place with your move tool as shown in screen below
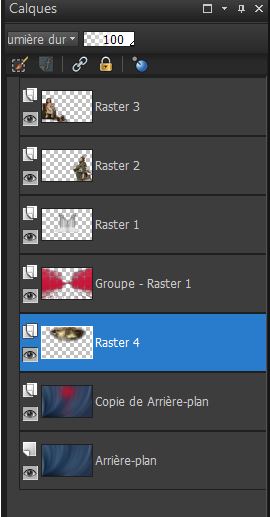
Layers-Arrange-Move down underneath Group raster 1 as shown below- Double click on this layer and set the Blendmode to Hard Light
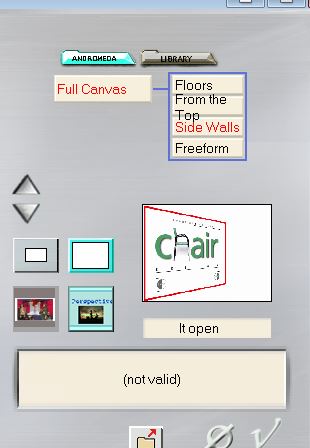
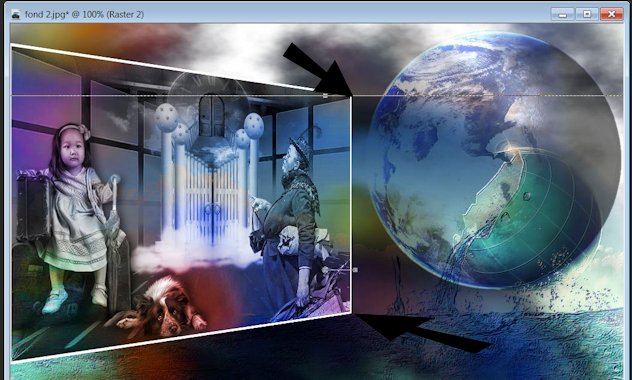
17. Layers-Merge-Merge Visible 18. Image - Add borders-Symmetric checked: 5 pixels white 19. Edit-Copy!!!! 20. Ouvrir votre tube ''' fond 2'' 21. Edit/copy- Edit/ paste as new layer on your working image (still in memory) 22. Effects-Plugins - Andromeda perspective /Side Walls / it open
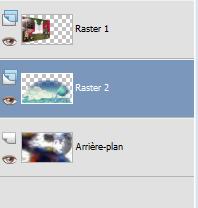
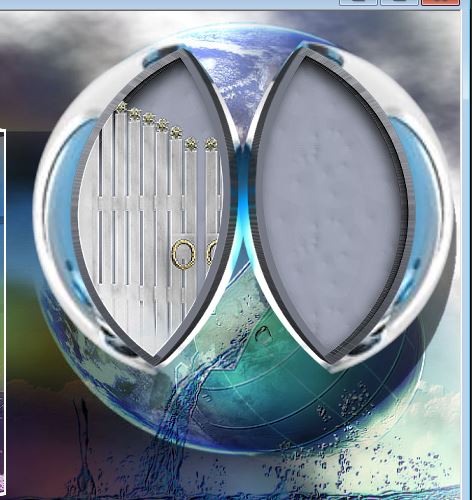
23. With your move tool:move to the bottom left corner as shown below -Double click on this layer and set the Blendmode to Luminance 24. Open the tube « terre -mer « Edit/copy-Edit paste as a new layer on you working image . Place with your move tool as shown in screen below
25. Double click on this layer and set the Multiply -Opacity of this layer to 100% Layers-Arrange-Move Down like this
26 Activate the top of the layer-Palette=raster 1
-------------------------------------------------------------------------------------------------------------------------------------------------------------------------------- Information about the Tube at half the coconut I have several layers -You can now add their own decorations
-------------------------------------------------------------------------------------------------------------------------------------------------------------------------------- We continue with our work 27. Open the tube « effet demi noix de coco » Tubes'' demi noix de coco '' Edit/copy- Edit/ paste as new layer on your working image -place your tubes on the top right side of your image as shown in the example below
28. Open the tube '' escalier'' Edit/copy- Edit/ paste as new layer on your working image and move / Effects-Edge Effects-Enhance 29. Open the tube "chute eau " Edit/copy- Edit/ paste as new layer on your working image and move Effects-User defined Filter- Emboss 3 using the default setting
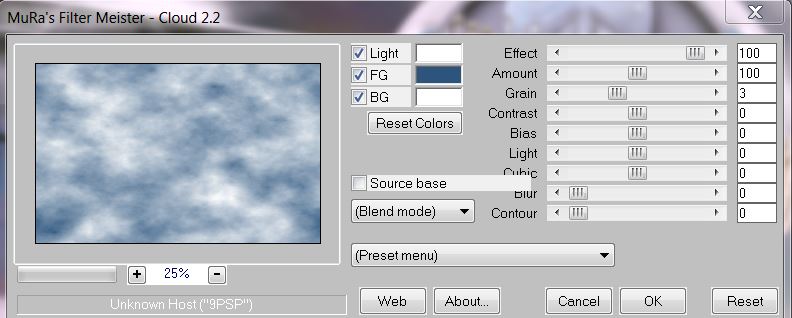
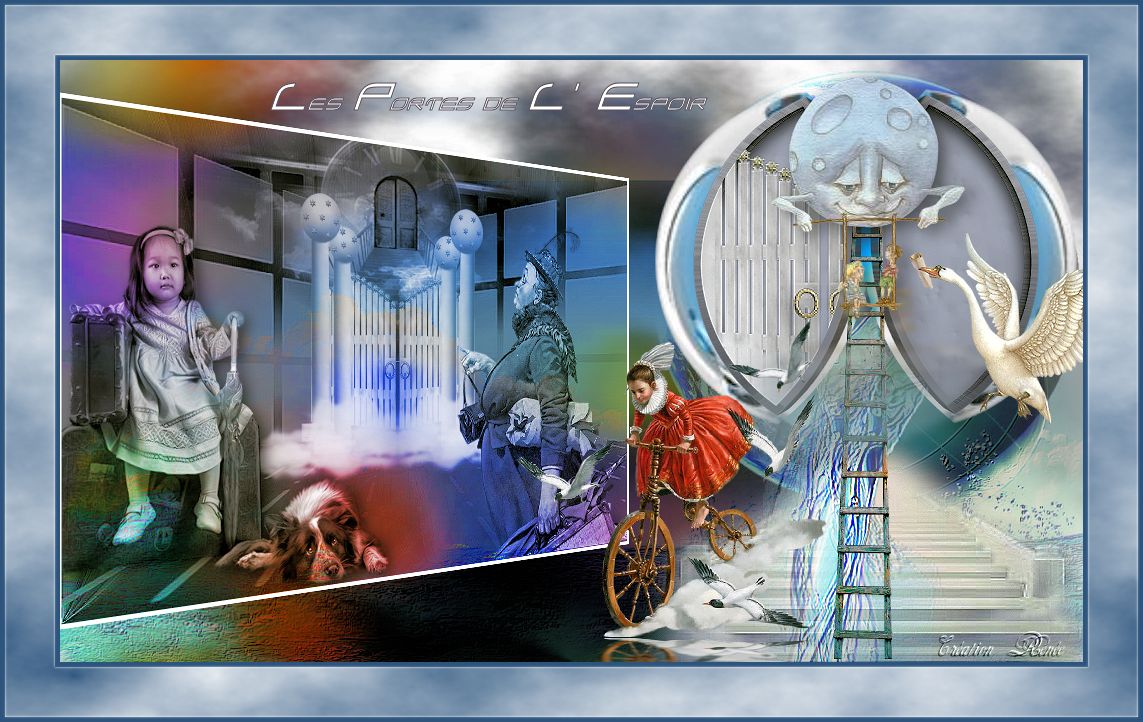
30. Open the tube '' Maelia design -scale '' Edit/copy- Edit/ paste as new layer on your working image and move 31. Open the tube « 1Patries-66 Jmaes browne-moonsitting »Edit/copy- Edit/ paste as new layer on your working image and move 32. Effects-Plugins -Eye candy 5 /perspective shadow -tab Settings/User settings choose my preset: ''renee-espoir'' Effects - 3D Effects - Drop shadow with the same settings 33. Open the tube « yoka marec zwan »Edit/copy- Edit/ paste as new layer on your working image and move 34. Effects-Plugins - Eycandy 5 / perspective shadow/ Preset - drop shadow blury 35. Open the tube "drole d'equipage "Edit/copy- Edit/ paste as new layer on your working image and move 36. Effects-Plugins -Eye candy 5 / perspective shadow/ Preset - reflect in sharp -Open the tube text -Edit/copy- Edit/ paste as new layer on your working image and move- Ore write your own text ( Font is included into the zipfile) 37. Layers-Merge-Merge All 38. Adjust-One Step Photo Fix 39. Image - Add borders-Symmetric checked: 5 pixels #2c547d 40. Image - Add borders-Symmetric checked: 50 pixels #ffffff 41. With the magic wand select the border 50 pixels 42 .Effects-Plugins -Mura's Meister - Cloud with these settings
43. Image - Add borders-Symmetric checked: 5 pixels #2c547d Write or paste your signature Save as JPG * I hope you enjoyed this lesson Renée This lesson was written by Renée edited and update on 2009 * Any resemblance with an existing lesson is merely a coincidence *
* Don't forget to thank the people who work for us and with us. I named the tubeurs - Testers and the translators.
Thanks Renée.
I am part of Tutorial Writers Inc.
My tutorials are regularly recorded
ReneeGraphisme_All rights reserved *
|
 Translations