|
New
Kharma
*
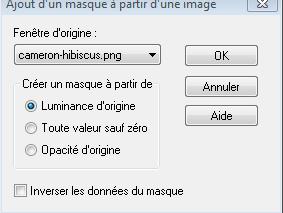
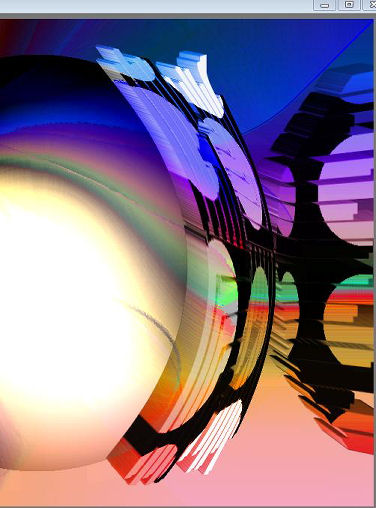
Let's start the lesson. 1. Open de backgroundimage "fond 1" Window - Duplicate (or shift+D) - Close the original and proceed on the copy -Promote Background Layer =Raster 1 2. Layers- New Raster layer Activate Flood Fill Tool and fill the layer with :#f6de7d 3. Layers- New Mask layer from Image and select Mask « cameron -hibiscus »- Layers- Merge-Merge Group
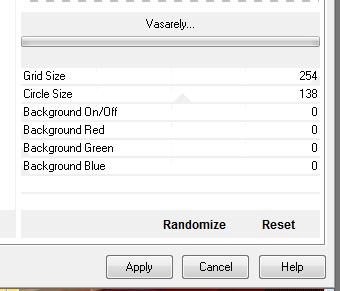
4. Effects-Edge Effects-Enhance 5. Effects-Plugins- VM Extravanga /vaselery
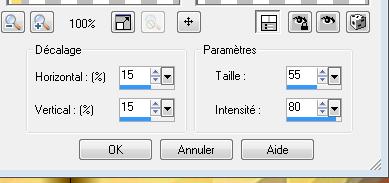
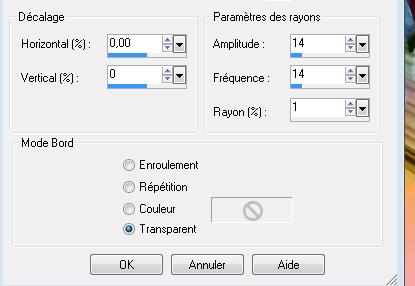
6. Effects- Plugins -Andromeda perspective /side walls /Preset - it open close Double click on this Layer and set the Blend Mode to "Luminance Legacy " 7. Effects-Distortion Effects- Warp with these settings
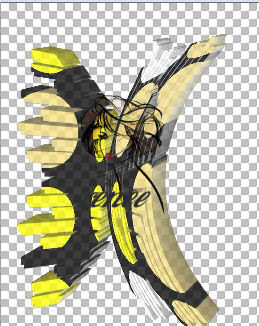
8. Effects-Plugins -Eyecandy 5 / extrude / -tab Settings/User settings choose my preset: - '' @renee kharma'' 9With your eraser tool remove the dark part around your work to get this going slowly and change the size of your eraser tool according to the different parts of the tube - I have lowered the opacity of that layer to 75%
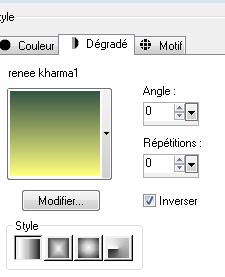
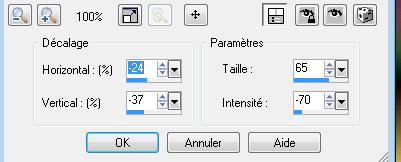
10. Image Mirror 11. Layers- New Raster layer- Change the foreground color into gradient and select my gradient: '' renée kharma1'' Put your foreground on the linear gradient with settings below
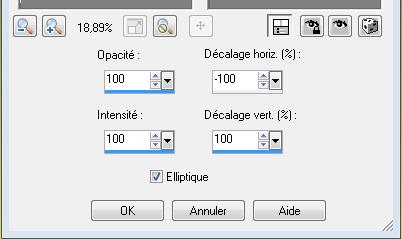
-Activate Flood Fill Tool and fill the layer with the gradient 12.Effects- Reflextion Effects- Feedback with these settings
13. Effects-Plugins -VM extravanga / Hollidays in EGYPT at 255/31 14. Effects- Using-Defined Filter- Emboss 3 using the default settings 15. Effects-Plugins- VM Extravanga /biohazard
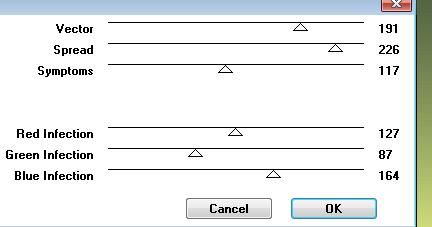
16.Effects-Distortion Effects- Warp with these settings
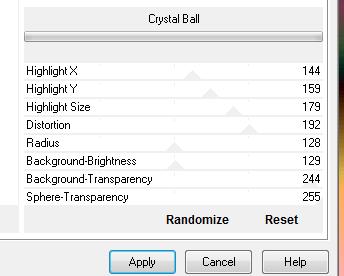
17. Effects-Plugins -Unlimited 2.0 / Filter Factory gallery B /Crystal ball
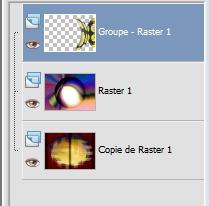
the effect is in VM Toolbox the effect is in Factory A 18. Layers- Arrange-Move Down The result
-Activate your Pick Tool (K) place it in the right place as shown in the example below
19. Open the tube ''fractale kharma ''-Edit/copy- Edit/ paste as new layer on your working image-With your move tool place it to the left 20. Open the tube '' Mujer-por -silvana-orsi '' -Edit/copy- Edit/ paste as new layer (do not move it is in the right place) 21. Effects-Edge Effects-Enhance 22. Open the tube '' etoile kharma'' -Edit/copy- Edit/ paste as new layer on your working image- and place it at the upper right corner 23. Open the tube '' robinet kharma '' -Edit/copy- Edit/ paste as new layer on your working image-Double click on this Layer and set the Blend Mode to "Luminance-Legacy" For those who do not want to create the drops- The effect is included with the material " pspimage'' and paste as a new layer -and go to the next point 25 ----------------------------------------------------------------------------------------------
create drops-
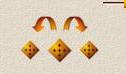
Open the tube « boules larme »choose 3 white balls 3 and 2 red Edit/copy- Edit/ paste as new layer on your working image -Activate your Pick Tool (K) Mode Scale -stretch a little and give their elongated shapes
and merge this layers visible -Effects-3D Effects- Drop Shadow: 5/7/65/12 black Layers/change your blend mode to "Overlay" 24. You are there in your work
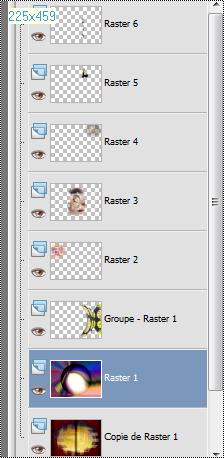
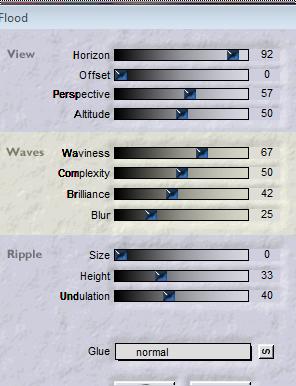
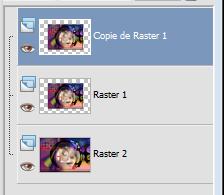
25. Layer-Palette: Make raster 1 active 26. Effects- Plugins -Flaming pear flood with these settings(Attention to the black in the filter if you can not see on the pink flood effect)
27. Layers- Merge- Merge-All 28. Effects- Plugins -AAA Frame / foto frame with these settings
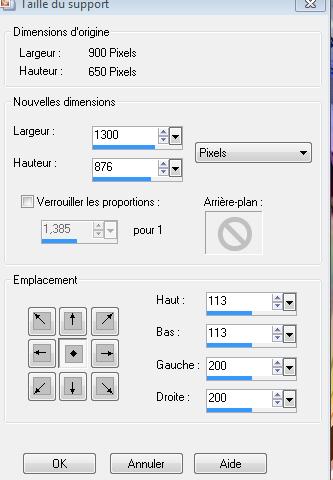
29. Layers-Promote background layer 30. Edit=Copy!! 31. Image Canvas Size
32. Layers-New Raster layer /Selections-Select All 33. Edit - Paste into Selection (Image is still in your PSP memory) 34. Selections-Deselect all 35. Layers-Arrange-Move Down 36. Layer-Palette: Make raster 1 active /Layers- Duplicate
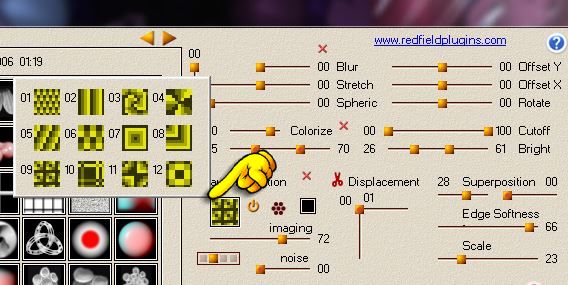
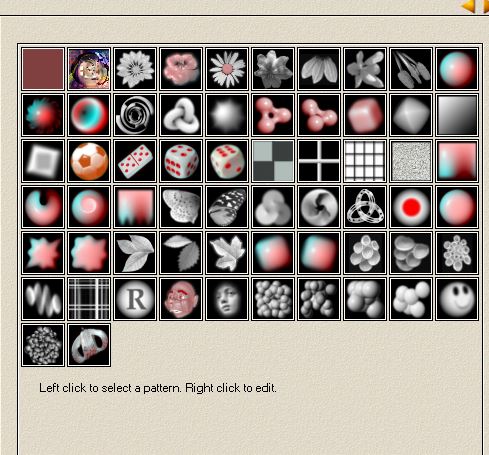
37. Layers-Arrange-Move Down 38. Effects- Plugins Andromeda perspective /From the top /Top Under 39. Effects-Image Effects- Offset with these settings H= 0 and V= 105 / Transparent 40. Effects-Plugins Redfield/Umatrix/>>choose face Attention: this Filter is into the folder important thing here is to choose your taste has figures to get to the different effect you must click 2 times on the thumbnails
to reach the preset as you click on the little arrows ok The result
41.Activate the bottom of the layer palette =(raster 1) /Effects- Plugins -AAA Frame - Foto frame with these settings
42. Open the tube'' 202-silvina-orsi-febrero-17-2009 '' -Edit/ Copy-Edit - Paste as new layer on your working area and move to the left 43. Open the tube ''kharma eclats de verre '' -Edit/ Copy-Edit - Paste as new layer on your working area 44. Effects-Image Effects- Offset with these settings H= 400 and V = 0 45. Effects-Distortion Effects -Spiky Halo with these settings
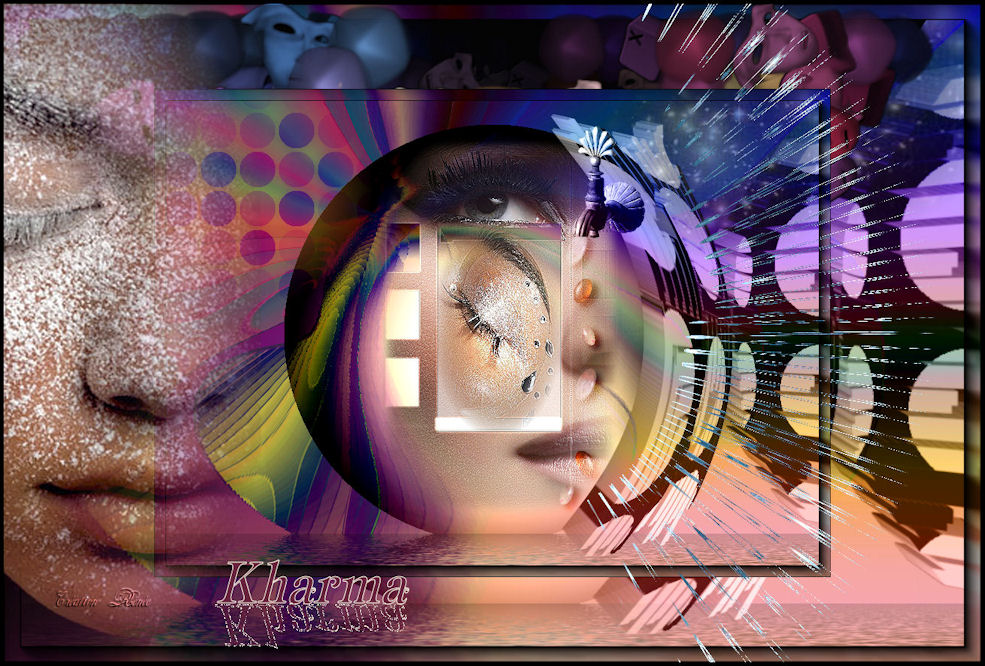
46. Image - Add borders-Symmetric checked: 5 pixels black 47. Activate Text Tool: Font is into the zip -Material Properties:Set your foreground color to: #ffffff - Set your background color to: #68233c 48. Write the text "Kharma" 49. Layers- Duplicate-Image Flip /Double click on this Layer and set the Blend Mode to "Dissolve" -Set the layer opacity of this layer to 51% 50.Image - Add borders-Symmetric checked: 5 pixels black *
I hope you enjoyed this lesson Renée This lesson was written by Renée edited and update 2010 * Any resemblance with an existing lesson is merely a coincidence * * Don't forget to thank the people who work for us and with us. I named the tubeurs - Testers and the translators. Thanks Renée. *
* I am part of Tutorial Writers Inc. My tutorials are regularly recordedt
|
 Translations