|
New
Just free
Let's start the lesson.
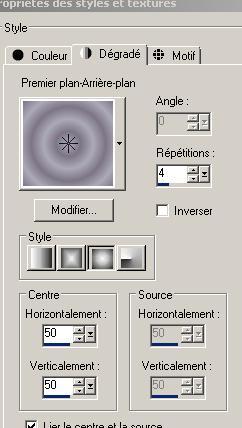
2. Material Properties:Set your foreground color to #acaab8 - Set your background color to: #7d7586 - Prepare a Sunburst Gradient as configured like this.Activate Flood Fill Tool and fill the layer with the gradient
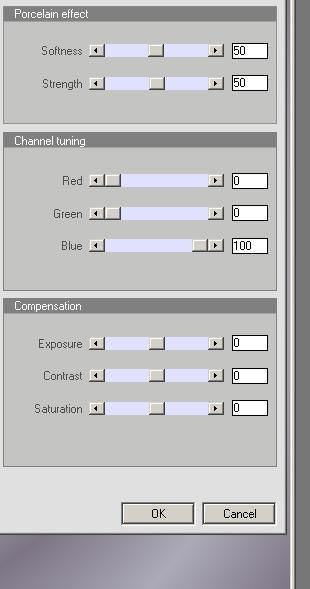
3. Effects-Plugins- Xero XL /porcelaine with these settings
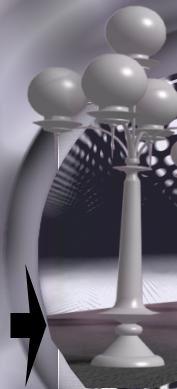
4. Layers-New raster layer 5. Selections-Select All 6. Open the tube ''hg '' Edit/Copy-Edit-Paste into selection Selections-Deselect All 7. Effects-Plugins -Simple /pizza slice mirror /Repeat this filter again 8. Image Resize a 80% resize all layers not checked 9. Effects-Edge Effects-Enhance 10. Effects-Plugins - Simple /pizza slice mirror 11. Effects-Plugins- Eyecandy5/perspective shadow-Tab-Settings/User settings and select my file: Preset ''renee-just free'' 12. Open the tube ''renee-arc-just free ''Edit/copy- Edit/ paste as new layer on your working image - -Activate your Pick Tool (K) mode scale - Use the arrow keys on the keyboard click to the left until it abuts against the edge (see finished image) 13. Effects- Eye Candy 5 Nature - Squint - Tab-Settings-Preset - "double vision slight" 14. Open the tube'' renee -cercle aqua '' Edit/copy- Edit/ paste as new layer on your working image - Effects-Image Effects-Offset with these settings : H=-200 and V = 0 15. Open the tube ''renee – 4 boules aqua '' Edit/copy- Edit/ paste as new layer on your working image and move to the right side Effects-3D Effects-Drop Shadow with these settings 0/0/50/15 black 16. Open the tube ''réverbère '' Edit/copy- Edit/ paste as new layer on your working image move against the edge of the circle - Double click on this Layer and set the Blend Mode to "Lighten"
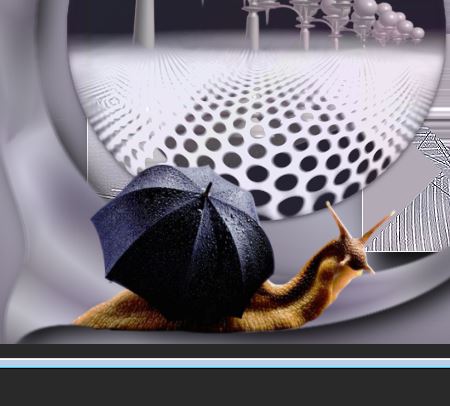
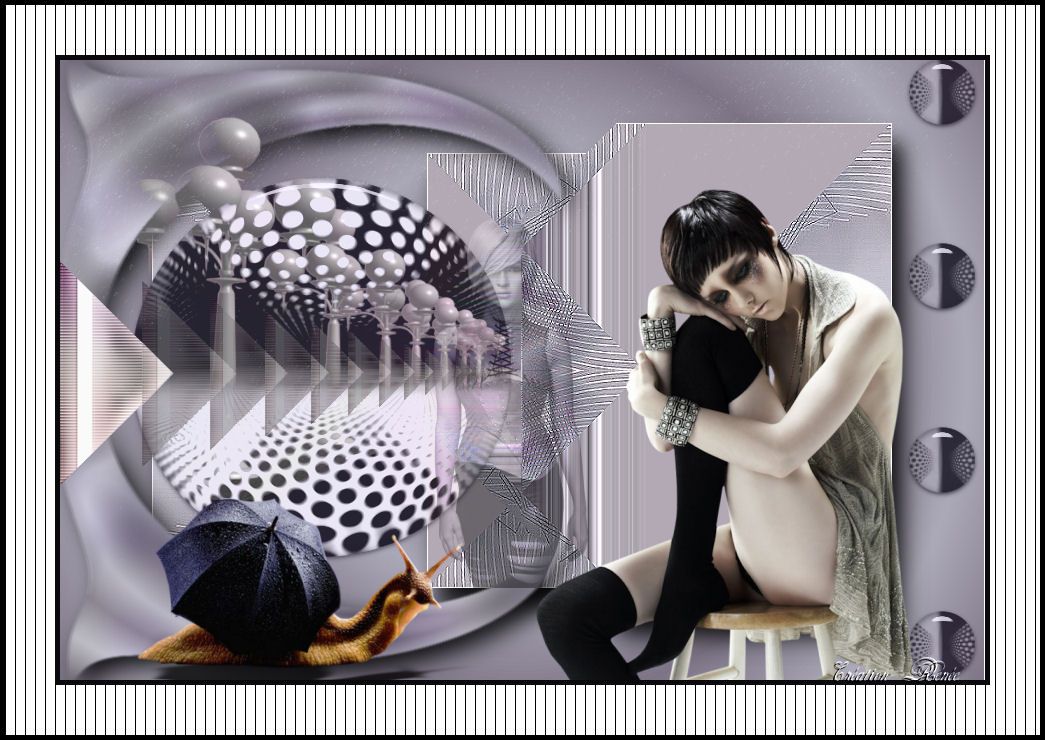
17. Open the tube ''mou-snail in rain '' Edit/copy- Edit/ paste as new layer on your working image move as shown in the example below
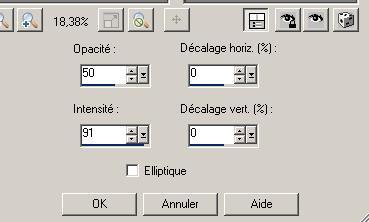
18. Effects-Plugins -EyeCandy5 /perspective shadow-Tab-Settings- Preset -floating loaw 19. Open the tube ''k@rine_dream_pretty_woman_1370_decembre2010 ''- Edit/copy- Edit/ paste as new layer on your working image and move to the right side 20. Layers-New raster layer 21.Selections –load/save selection –load selection from disc and choose:'' renee -just free'' 22. Open the tube ''triangle just free'' -Edit/Copy-Edit-Paste into selection 23.Selections-Deselect All 24. Effects-Reflextion Effects-Feedbach with these settings
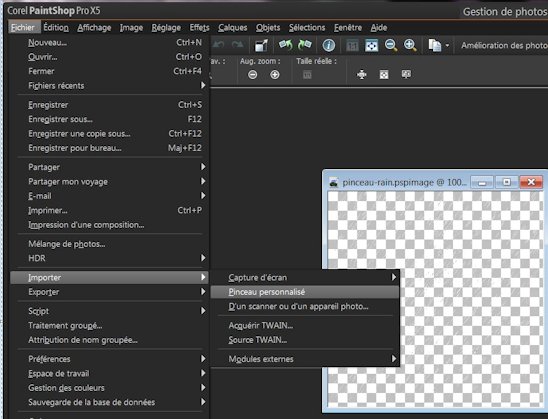
25. Open the tube ''jet-woman2-juni-2009'' /Image Resize 50% - - Edit/copy- Edit/ paste as new layer on your working image and move - Double click on this Layer and set the Blend Mode to "Luminance "-I have lowered the opacity of that layer to 49% 26. Layers-New raster layer 27. Open the tube ''pinceau rain'' in your PSP
1. File- Export Custom Brush 2. Give it a name 3. As shown in the example below
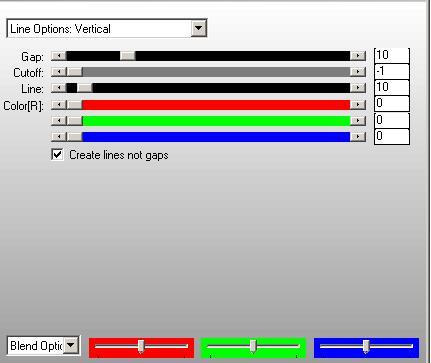
Activate Brush Tool and select my file:''pinceau rain''with these settings Attention! Blend-Mode =Dodge
- Material Properties- Foreground color to #ffffff -Stamp your brush what you like by using your foreground color 28. Layers-Merge-merge-Visible 29. Image - Add borders-Symmetric checked: 5 pixels black 30. Image - Add borders-Symmetric checked: 50 pixels white 31. Image - Add borders-Symmetric checked: 5 pixels white 32. With the magic wand -select the white border of 50 pixels 33. Effects-Plugins- AP01 Lines / Silverling with these settings .Save as JPG
I am part of Tutorial Writers Inc. My tutorials are regularly recordedt ReneeGraphisme_All rights reserved
*
|
 Translations