|
New
Translations here
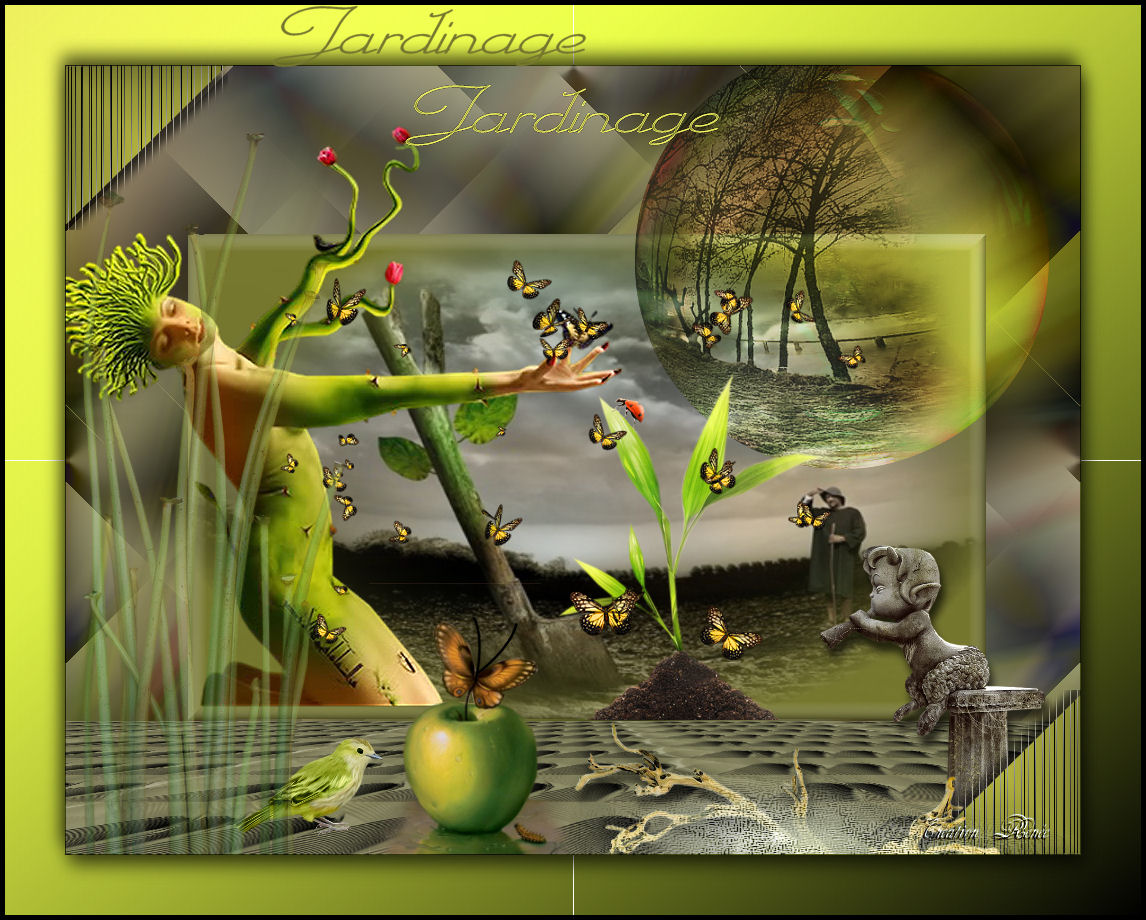
Jardinage...le chemin
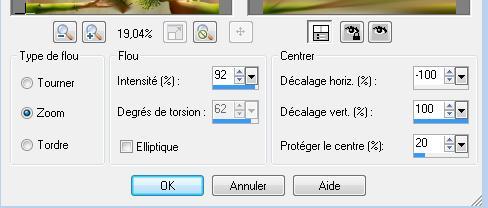
1. Open the background image '' fond 1"/Window - Duplicate (or shift+D) - Close the original and proceed on the copy 2. Selections- Select All 3. Open the tube « calguisartmiddleecho24011 » Edit/copy- Edit/ paste into selection 4. Selections Deselect All 5. Effects-Image Effects-Seamless Tiling using the default settings 6.Adjust- Blur-Radial Blur with these settings
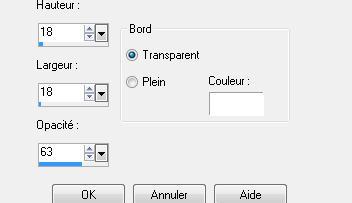
7. Effects-Image Effects-Seamless Tiling using the default settings 8. Layers- Duplicate 9. Selections- Select All 10. Open the tube "ruban" Edit/copy- Edit/ paste into selection 11. Selections Deselect All 12. Effects- Plugins - Adjust variation /Tic 3x More Darker 13. Double click on this Layer and set the Blend Mode to "Difference " -Set the layer opacity of this layer to 40^% 14. Effects-Image Effects-Seamless Tiling using the default settings 15. Layers-New Raster Layer 16. Selections - Load/save selections - Load selection from disk and select my file: ''@renee-jardinage'' 17. Activate Flood Fill Tool and fill the selection with the foreground color #76772f 18. Layers- New Raster Layer 19. Open the tube "04 ben gossens "» Edit/copy- Edit/ paste into selection/Layers- Merge- Merge Down 20. Effects- 3 D Effects- Buttonize with these settings
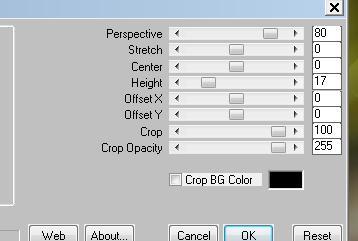
21. Selections- Deselect All 22. Open the tube « calguisartmiddleecho24011 »Edit/copy- Edit/ paste as new layer on your working image and move 23. Open the tube « guirlande « Edit/copy- Edit/ paste as new layer on your working image 24. Effects- Image Effects- Offset with these settings H= 0 and V= -350 25. Effects- Plugins - Mura's meister /perspective tilling with these settings
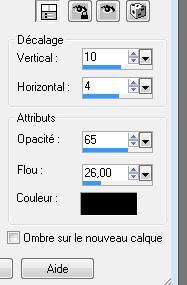
26. Open the tube « sphère jardin « Edit/copy- Edit/ paste as new layer on your working image and move Double click on this Layer and set the Blend Mode to "Overlay " -Set the layer opacity of this layer to 69% 27. Open the tube guiscoccinelle19210 »Edit/copy- Edit/ paste as new layer on your working image and move 28. Open the tube »calguisstatuette18 »Edit/copy- Edit/ paste as new layer on your working image and move 29. Effects- 3 D Effects- Drop Shadow with these settings/10/4/65/12 black 30. Open the tube « coinjardin » Edit/copy- Edit/ paste as new layer on your working image and move 31. Layers- Duplicate- Image Mirror-Image Flip 32. Open the tube pomme /Edit/copy- Edit/ paste as new layer on your working image and move 33. Open the tube « jardin12 »Edit/copy- Edit/ paste as new layer on your working image and move 34. Open the tube « papillons >>Edit/copy- Edit/ paste as new layer on your working image (do not move it is in the right place) 35. Open the tube « calguistiges 24102011 » Edit/copy- Edit/ paste as new layer on your working image /Set the layer opacity of this layer to 34% 36. Image - Add borders-Symmetric checked: 1 pixels black 37. Image - Add borders-Symmetric checked: 60 pixels white 38. Set your foreground color to #d2eb38 -Set your background color to #76772f 39. Set your foreground to gradient 'Foreground-background' - Linear - Angle 317- Repeats =0 Invert checked. 40. Activate your Magic wand - select the white border of 60 pixels- Activate Flood Fill Tool and fill the selection with the gradient 41. Effects- Plugins Mock /bevel 162 42. Selections- Invert 43. Effects- 3 D Effects- Drop Shadow with these settings
Repeat: -Effects- 3 D Effects- Drop Shadow with these settings -10 and -4 44. Selections Deselect All 45. Image - Add borders-Symmetric checked: 5 pixels black 46. Open the tube " texte " Edit/copy- Edit/ paste as new layer on your working image and move Save as JPG I hope you enjoyed this lesson
I am part of Tutorial Writers Inc. My tutorials are regularly recordedt ReneeGraphisme_All rights reserved
*
|
 Translations


 Let's start the lesson.