|
New
Translations here
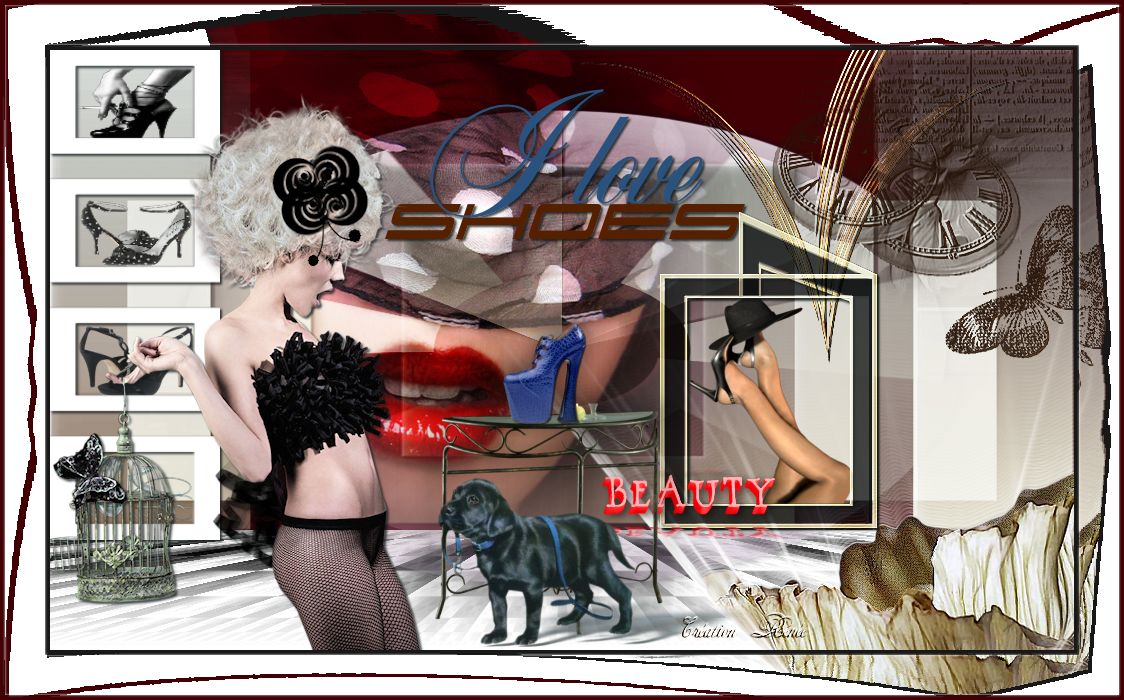
J'aime les chaussures
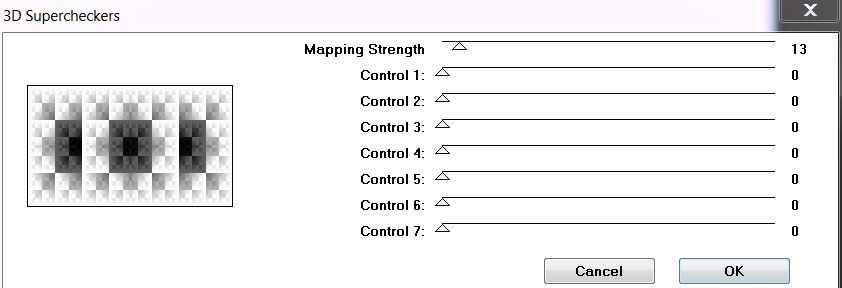
Let's start the lesson. 1. File - New - New Transparent Image :1024 x600 pixels 2. Color-palette:Set your foreground color to color #ffffff -Set your background color to color #410004 Activate Flood Fill Tool and fill the layer with the background color 3. Layers- New Raster Layer -Activate Flood Fill Tool and fill the layer with the foreground color 4. Effects- Plugins - Toadies /3D Supercheckers (in Unlimited)
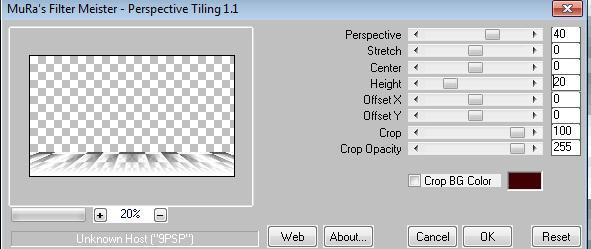
5. Effects- Plugins-Mura's Meister /Perspective Tilling use settings below
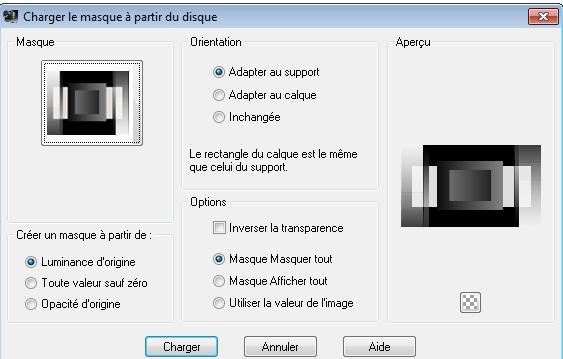
6. Effects- Edge Effects- Enhance More 7. Activate the Magic Wand Tool; select the upper empty part 8. Layers- New Raster Layer 9. Activate Flood Fill Tool and fill the selection with the foreground color #ffffff -Selections- Deselect All 10. Layers- Load/Save mask-Load Mask from Disk and select: ''maskedith120 ''
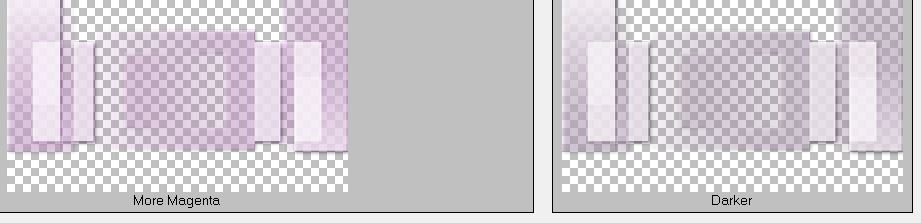
11. Layers- Merge- Merge Group 12. Effects- 3 D Effects- Drop Shadow with these settings 5/5/60/15 black 13. Effects- Plugins -Adjust Variation /Click 1x Darker and 1x More Magenta
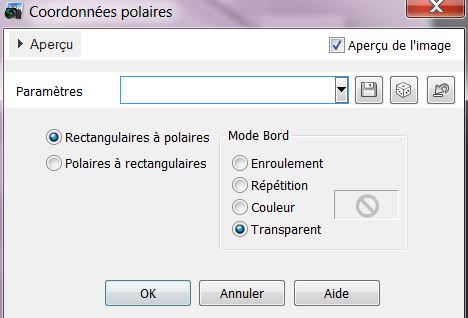
14. Layers- Duplicate 15. Effects- Distortions Effects-Polar Coordinates-Rectangular to Polar
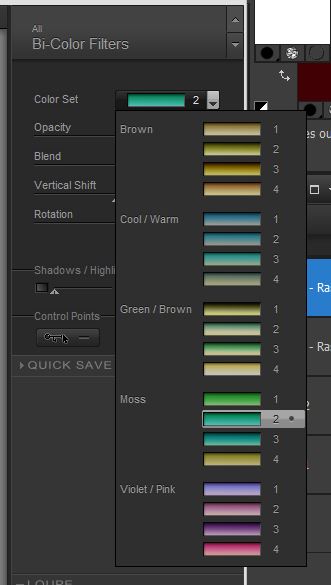
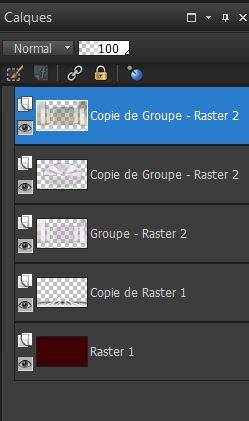
16. In the Layer Palette: Make Groupe Raster 2 active -Layers- Duplicate Layers- Arrange-Bring to Top 17. Effects- Plugins-Nick Color Pro .3/ Bi Color Filters -Color set - Moss 2
18. Effects- 3 D Effects- Drop Shadow with these settings 2/2/80/3 black This is what you should have now
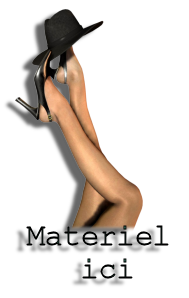
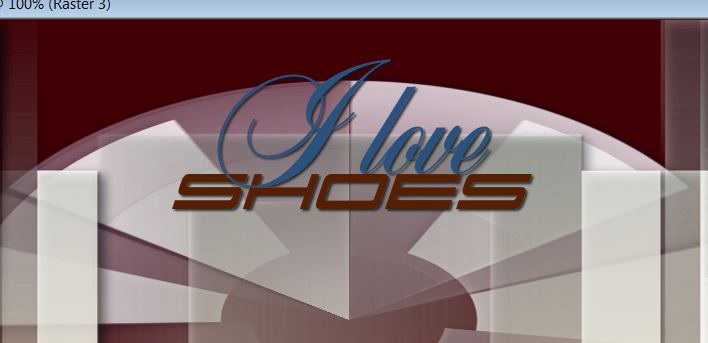
19. Open the tube "textes " shoes and I love" /Edit/ Copy-Edit - Paste as new layer on your working image and move
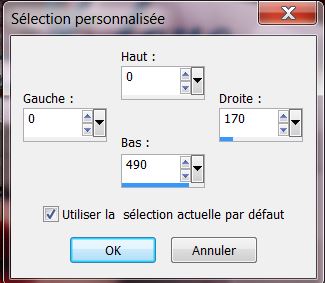
Layers- Merge- Merge Down (Two texts in one layer) 20. Effects- 3 D Effects- Drop Shadow with these settings 2/2/80/3 black 21.Open the tube « Mm-designers-sl 46179 »Image Resize to 80% -Edit/ Copy-Edit - Paste as new layer on your working image and move--Layers- Merge- Merge Down - Layer Palette - Double click on this Layer and set the Blend Mode to "Overlay" To replace the top of the layers palette 22. Layers- New Raster Layer /Activate Selection Tool -Custom Selection (S) -Rectangle with these settings
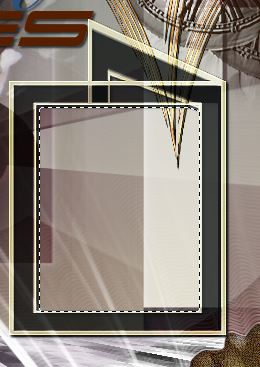
23. Open the tube « cadre gauche « Edit- Copy-Edit-Paste into selection
24. Selections- Deselect All - Effects- 3 D Effects- Drop Shadow with the same settings In the Layer Palette: Activate Raster 4 (The left frame)
Proceed the same way with the other 3 frames and deselect afterwards - you have this result
- To replace the top of the layers palette 25. Open the tube '' ardornos pinceless belisa" Edit/ Copy-Edit - Paste as new layer on your working image and move to the right 26. Effects- User Defined Filter - Emboss 3 using the default settings 27. Open the tube « Jhanna -377 » -Edit/ Copy-Edit - Paste as new layer on your working image and move to the bottom right corner -Effects- Plugins -Eyecandy 5/blacklight -tab Settings/User settings choose my preset »surfeuse «- And Repeat this filter 28. Open the tube « sissi cadre «- Edit/ Copy-Edit - Paste as new layer on your working image and move Layer Palette - Double click on this Layer and set the Blend Mode to "Hard Light" 29. Effects- 3 D Effects- Drop Shadow with these settings 2/2/80/3 black 30. Activate the Magic Wand Tool-Select in the middle of the frame Selections- Modify-Expand 4 pixels /Layers- New Raster Layer -Open the tube ''elegante_06205'' -Edit/ Copy-Edit - Paste into selection Selections- Deselect All- Layers- Arrange- Move Down 31. To replace the top of the layers palette Open the tube « beauty texte « -Edit/ Copy-Edit - Paste as new layer on your working image and move 32. Open the tube « senga _17 08 -2009-women _46 » Image Resize to 80% -Edit/ Copy-Edit - Paste as new layer on your working image and move to the left Effects- 3 D Effects- Drop Shadow with the same settings *Attention to prepare the tube 33. Open the tube « table de verre « -and -Open the tube "blues shoes "«Edit/Copy - Activate the table: Remove the flowers of the table /Edit-Paste as a new Layer -Layers- Merge- Merge- Visible- Image Resize 2x 60% Edit-Copy !! Activate your image -Edit - Paste as new layer on your working image
35. Effects- Plugins -Eyecandy 5 Impact/perspective shadow/ Preset -reflect in behind Is all in Place?? Layers- Merge- Merge Layers All 36. Image - Add borders-Symmetric checked: 5 pixels black 37. Image - Add borders-Symmetric checked: 40 pixels #ffffff 38. Activate the Magic Wand and select the border of 40 pixels 39. Effects- Pluigns -Unlimited 2.0 - Distort /the toad's pool II
40. Selections- Deselection All 41. Image - Add borders-Symmetric checked: 2 pixels black
Save as JPEG
Renée 2008
Any resemblance with an existing lesson is a coincidence * Do not forget to thank the people who work with us and for us I have appointed the tubeurs and translators Thanks Renée * I am part of the Tutorial Writers Inc. My tutorials are registered regularly ReneeGraphisme_All rights reserved
*
|
 Translations


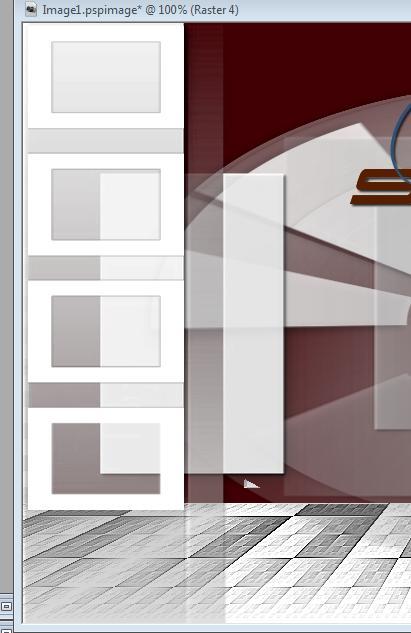
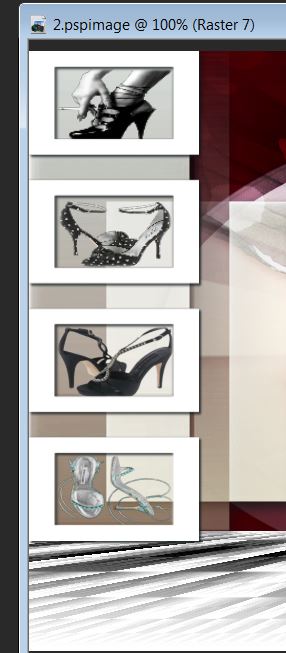
 see screen