|
Let's begin
1: Open a new transparent image 995 X 625
2: Fill it with the color black
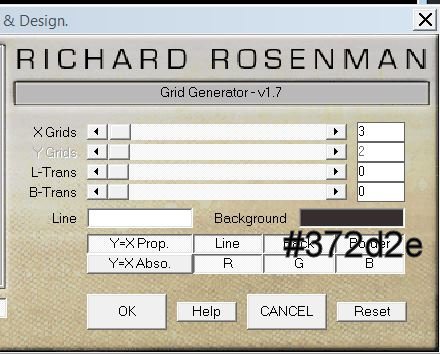
3: Effects - Richard Rosenman - grid generator - white
and #372d2e - X 3 and Y 2
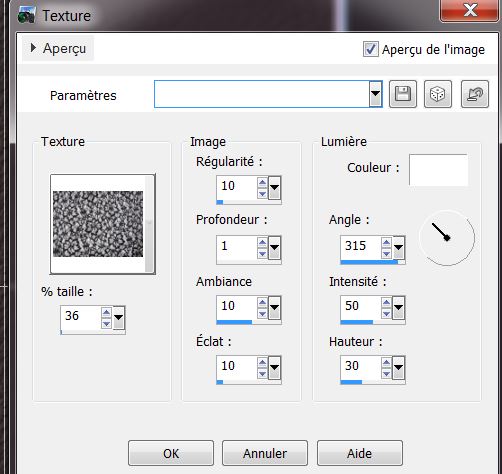
4: Effects - Texture effects - texture
"black lace" Can be found in your materials folder -
copy to your PSP textures folder
5: Effects - Edge effects - enhance
6: Effects - Distortion effects - Twirl on 385
7: Layers - New raster layer - fill with black color
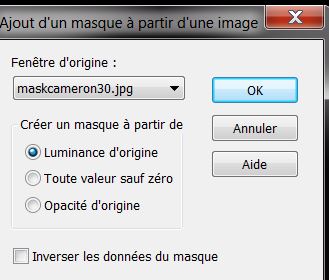
8: Layers - New mask layer from image/ "mask cameron
30.jpg"
9: Layers - merge group
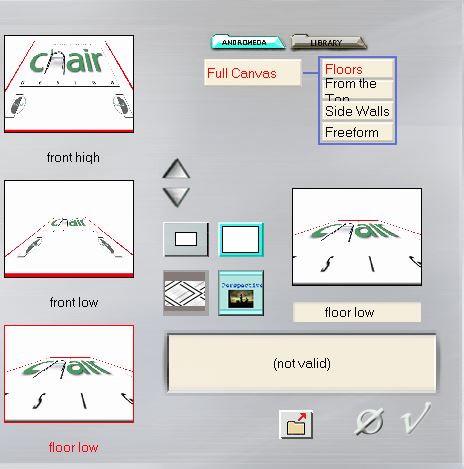
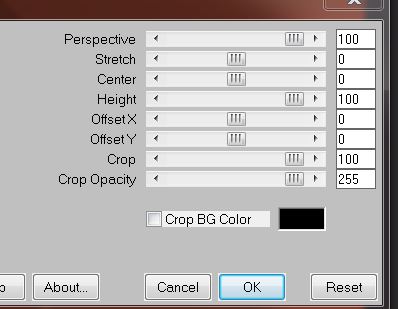
10: Effects - Andromeda - perspective - floors - floor
low
11 Layers - Duplicate - Image - mirror
12: Layers - merge down
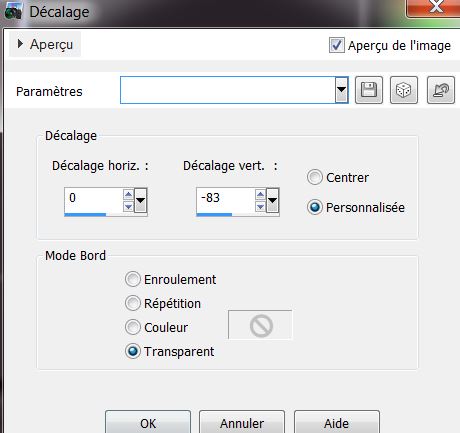
13: Effects - Image effects - offset
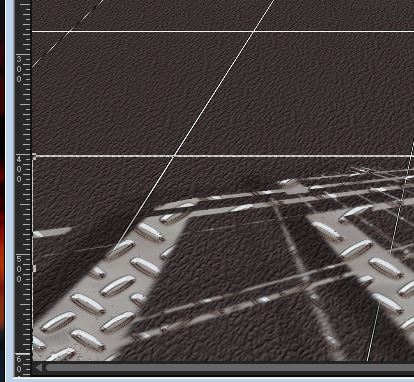
14: Effects - Eye Candy5 - Textures - diamond plate -
preset "conception_fututiste_texture"
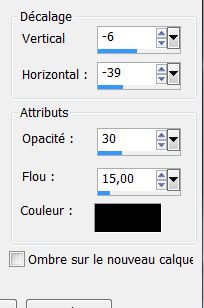
15: Effects - 3D effects - drop shadow
16: Tools - Selection (K) - move this layer down to 400
pixels
17: Open the tube - "conception_futuriste_nuage" - paste
as a new layer - place it at a height of 200 pixels
18: Open the tube - "conception_futuriste_nauge_rouge" -
paste as a new layer - duplicate - layers - merge down
Place the tube to show this result
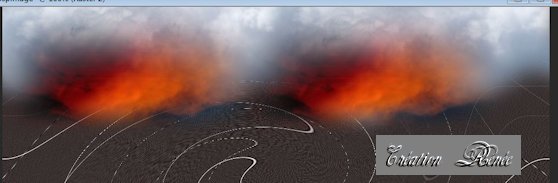
19: Layers palette - lower the opacity to 79
20: Open the tube "1911_t reagan_10_12" - paste as a new
layer - place it as shown by the arrows
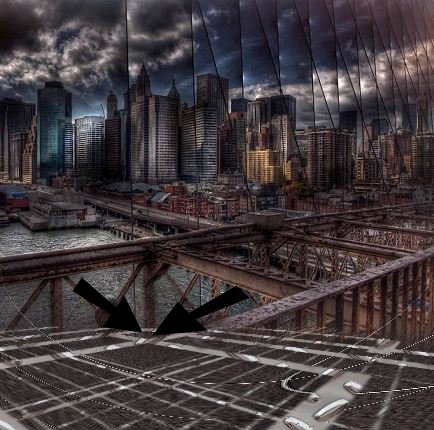
21: Effects - Edge effects - Enhance
22: Layers - Arrange - Move Down
This is how your layers palette should look:

23: Click to activate the top layer
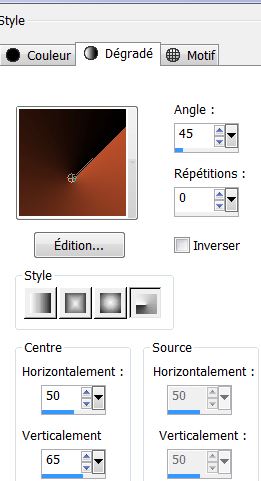
24: Color palette - Foreground/ #ba4f2b - background/
black
Create a radial gradient
25: Layers - New raster layer - fill with the gradient
26: Adjust - Blur - Gaussian Blur/ 8
27: Effects - Simple - blintz - Effects - edge effects -
enhance
28: Layers - duplicate - Image - flip - opacity lowered
to 44 - Effects - edge effects - enhance
29: Layers - merge down
30: Effects - Mura's meister - perspective tiling
31: Selections - load selection from disk
"conception_futuriste_1" - delete
32: Selections - invert - Repeat the effect - mura's
meister - perspective tiling as above
33: Selections - select none
34: Effects - Distortion effects - Punch 100 (remove the
red line on the left side with the eraser )
35: Layers - new raster layer
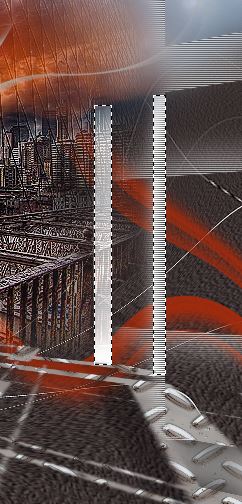
36: Selections - load selection from disk
"conception_futuriste_2" - fill with white - do this
twice
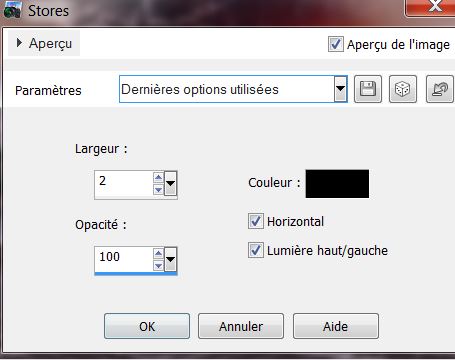
37: Effects - Texture effects - blinds
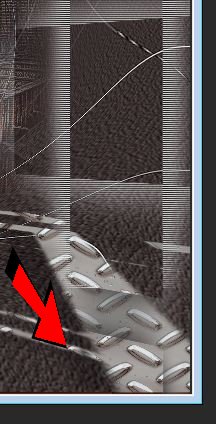
38: Reduce the layer opacity to 83 and erase this part
39: Selections - select none
40: Open the tube "sci_fi_towers_png_by_mystircoming" -
Copy the selected tower - paste as a new layer - place
to the left as shown
41: Adjust - Hue - Saturation - Brightness

42: Effects - distortion effects - Twirl on 285
43: Layers - new raster layer
44: Selections - load selection from disk
"conception_fututiste_3" - One time fill with white -
one time fill with black then fill with white again
Attention: depending on where you click, it may be
possible that you could fill once black, once white and
once black
45: Selections - select none
46: Color palette - Change foreground to #a32b0e
47: Layers - new raster layer
48: Selections - load selection from disk
"conception_futuriste_4" - fill with foreground color -
click 2 times
49: Selections - select none - Layers - Arange - move
the layer above raster1
50: Layers - new raster layer
51: With the Selection tool(S) rectangle / select like
this
52: Selections - Select none
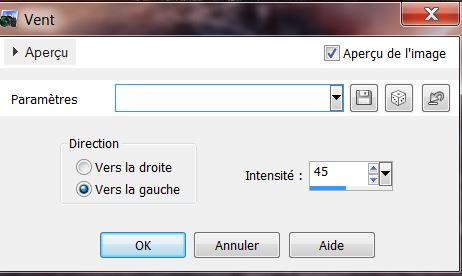
53: Effects - Distortion effects - wind - left
54: Open the tube "image_coeur" Paste as a new layer -
Image - mirror - Image - resize 50% - all layers
unchecked
55: Effects - 3D effects - drop shadow - default
56: Layers - merge visible layers
57: Open the tube 'conception_futuriste_nuage_bleu " -
paste as a new layer
58: Effects - Image effects - offset - V = 0 and H =
minus100 - Lower the opacity to 59
59: Open the tube "femme_guerriere_arc_annimabelle" -
Image - resize 65% - all layers unchecked - paste as a
new layer
60: Effects - eye Candy5 Impact - Perspective Shadow -
preset "conception_futuriste_persp"
61: Open the tube
"108_silvina_vanesa_orsi_enero_19_2009" - Image - Resize
85% - Resize all layers unchecked - paste as a new layer
62: Open the tube "fleche_arc_animabelle" - Image -
resize to 55% and then 85% - uncheck all layers - paste
as a new layer
63: Tools - selection (K) - place like this

64: Layers - Duplicate - place it on the hearts tube on
the top right
65: Open the tube "bloody handprint" - place it as a new
layer with your select tool (K)
66: Image - add borders 2 pixels black
67: Image - add borders 30 pixels white
68: With your magic wand select the 30 pixels border
69: Layers - new raster layer - fill with black
70: Selections - select none
71: Color palette - change background color to #4287a8
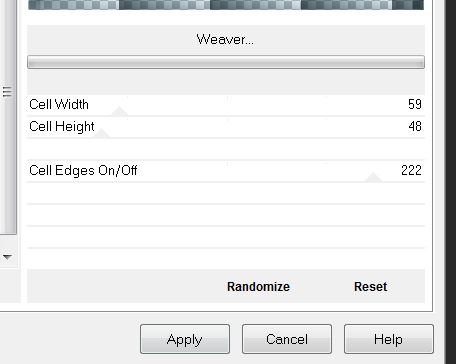
72: Filters Unlimited2.0 - Toadies - weaver
Attention if working with PSP 16, make the cell width 8
- select the width - Adjust - Blur - Gaussian Blur 20
73:
Effects - Edge effects - enhance - change the blend mode
to hard light
74: Image - add borders 10 pixels black
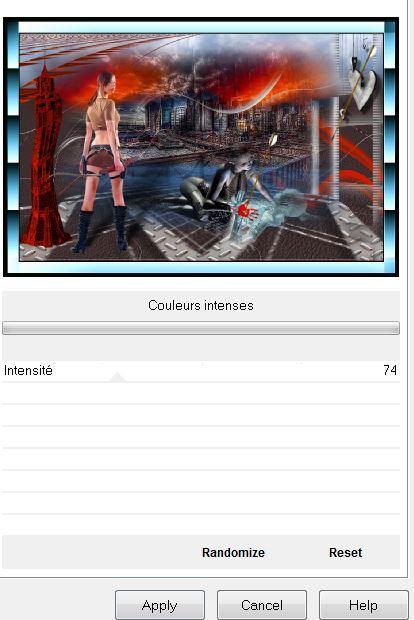
75: Filters Unlimited2.0 - Image améliorations/Couleurs
Intense (included in your materials folder)
76: Open the tube "titre" - paste as a new layer - or
write something of your choice - I have used the font "zenda
embossed"
*
Lesson
over
Thanks Sally
le 10/10/2013

|