|
New
Translations here
Let's start the lesson.
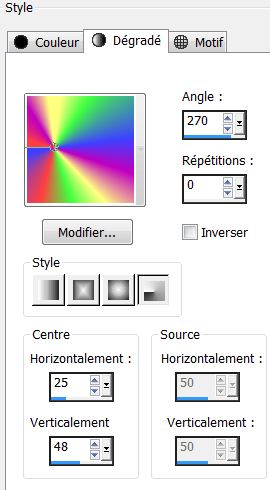
- File - New - New Transparent Image: 985 x 655 pixels -Material of the foreground - select my file in the list ''DDBright2'' set your foreground material into a radial gradient with these settings as shown on the print screen below
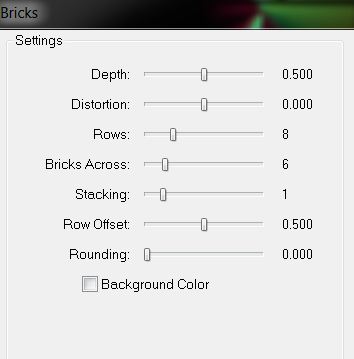
- -Food Fill Tool :fill the layer with the gradient - Effects- Plugins -Two Moon – Grinder 82 - Layers- Duplicate - Effects- Plugins -Simple - Top left Mirror - Double click on this layer and set the Blendmode to Difference -Layers- Merge- Merge Visible - Layers- Duplicate - Effects- Plugins -FM Tile Tools- Bricks
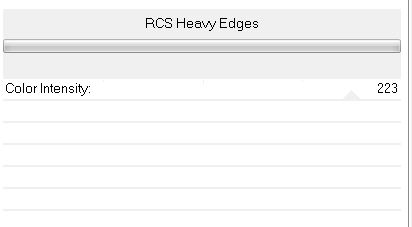
- Effects- Plugins -RCS Filter Pack 1.0/RCS Heavy Edges
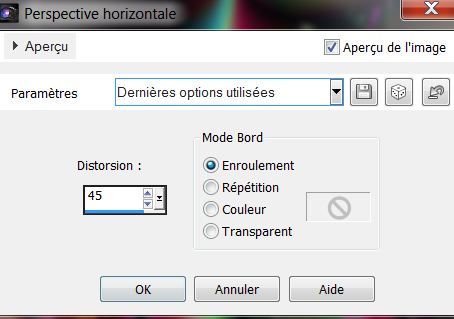
- Effects- Plugins -Transparency -Eliminate black - Effects-Edge Effects- Enhance More - Effects- Geometric Effects- Perspective- Horizontal -Distorsion 45 - Wrap
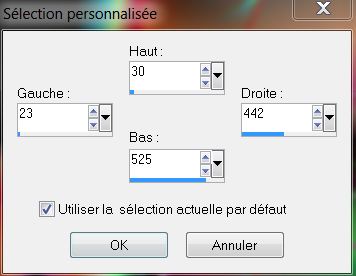
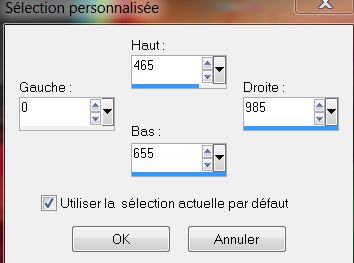
-Effects-Edge Effects- Enhance More - Activate the bottom of the layer Palette - Activate Selection Tool (S) - Custom Selection with these settings
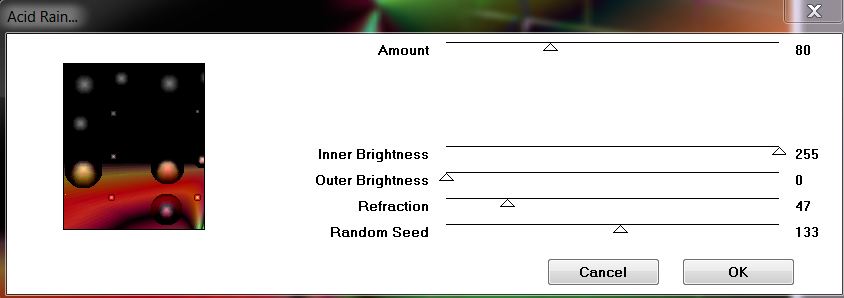
Effects- Plugins -VM Naturel -Acid rain
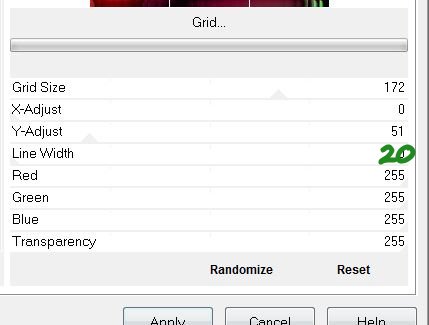
- Selections- Promote selection to layer - Effects- Plugins- Unlimited- -&<Backgroun Designers IV / Refractor 20 /20 - Effects- Plugins -VM Toolbox - Grid
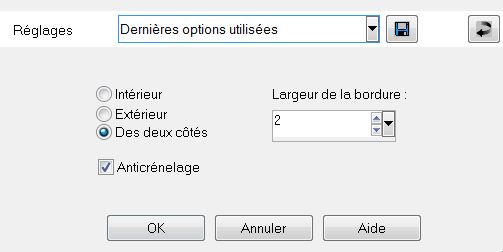
- Selections - Modify - Select Selection Borders with these settings- Both Side
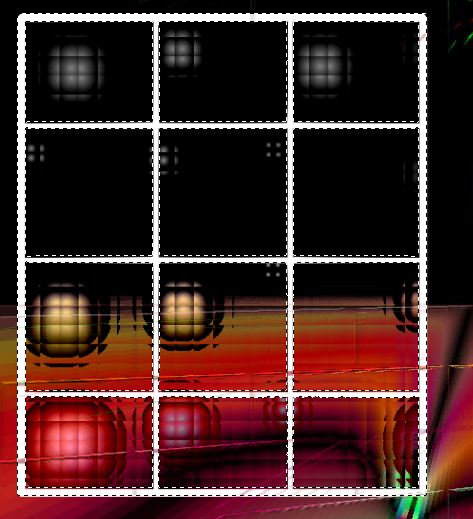
- Activate Flood Fill Tool and fill the selection with color white - Selections- Deselect All - Activate the Magic Wand with these settings
- Select like this
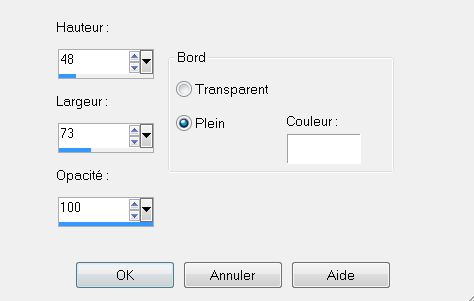
- Effects 3D Effects – Buttonize with these settings
- Selections- Deselect All - Effects- Plugins -Andromeda perspective-It open close - With your move tool move to the left side - Activate the bottom of the layer Palette - Activate Selection Tool (S) - Custom Selection with these settings
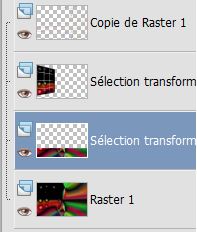
- Selections- Promote selection to layer - Selections- Deselect All - Your layer palette looks like this: you should have this result:
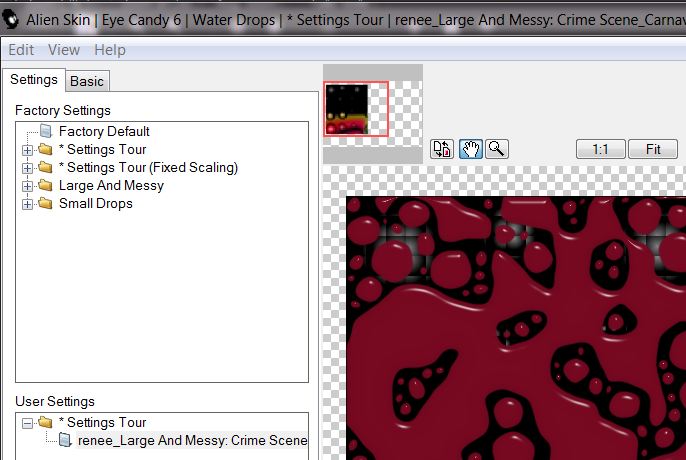
- Effects- Plugins - VM Distorsion – Broken Mirror using the default settings - Effects- Plugins -Eyecandy 6 -Tab- Settings- User settings-preset ''settings Tour_renee_Large and Messy_Crime Scene _Carnaval''
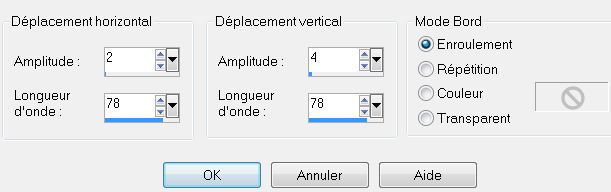
- Effects- Plugins -Mura's Meister / using the default settings but Height 15 - Effects- Distortion Effects- Wave with these settings
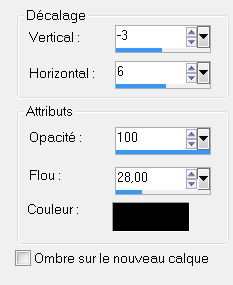
- Effects -3 D Effects -Drop Shadow with these settings /repeat Drop Shadow with the same settings
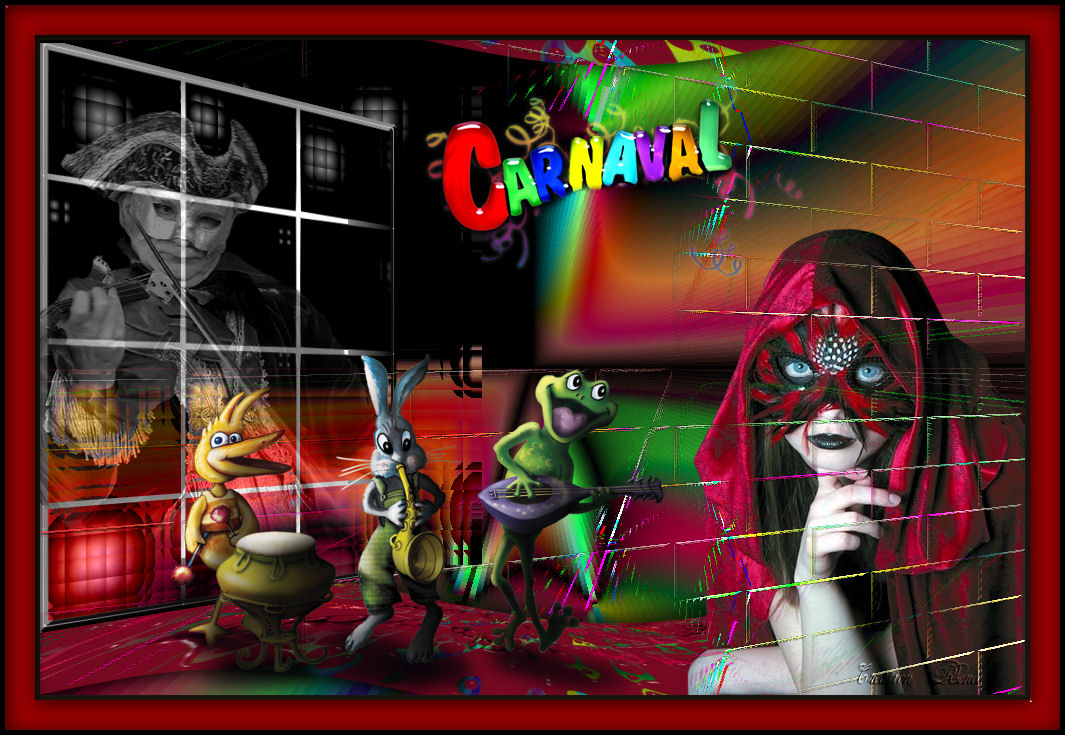
- Activate the top of the layer Palette - Open the tube ''VPC_redvelvetCape'' Image- Resize with 70% Edit - Copy -Edit - Paste as new layer on your working area. With your move tool move to the bottom right side - Layers- Arrange- Move Down - Open the tube ''carnaval2-luzcristina'' Edit - Copy -Edit - Paste as new layer on your working area - With your move tool move to the left side into the frame - Double click on this layer and set the Blendmode to Luminance -and set the layer opacity of this layer to 56% - Open the tube ''logo carnaval 2013'' Edit - Copy -Edit - Paste as new layer on your working area and move - Open the tube ''musique_0be66_L'' Edit - Copy -Edit - Paste as new layer on your working area and move - Layers- Merge- Merge Visible - Image - Add borders-Symmetric checked: 5 pixels black - Image - Add borders-Symmetric checked:35 pixels #980000 - Image - Add borders-Symmetric checked: 5 pixels black - Activate the magic wand and select the border of 35 pixels - Effects- Plugins-Alien skin -EyeCandy 5 -Glass -Tab- Settings- User Settings and select-preset '' renee_glass_carvaval' Save as JPG
I am part of Tutorial Writers Inc. My tutorials are regularly recorded. ReneeGraphisme_All rights reserved
*
|
 Translations