|
New
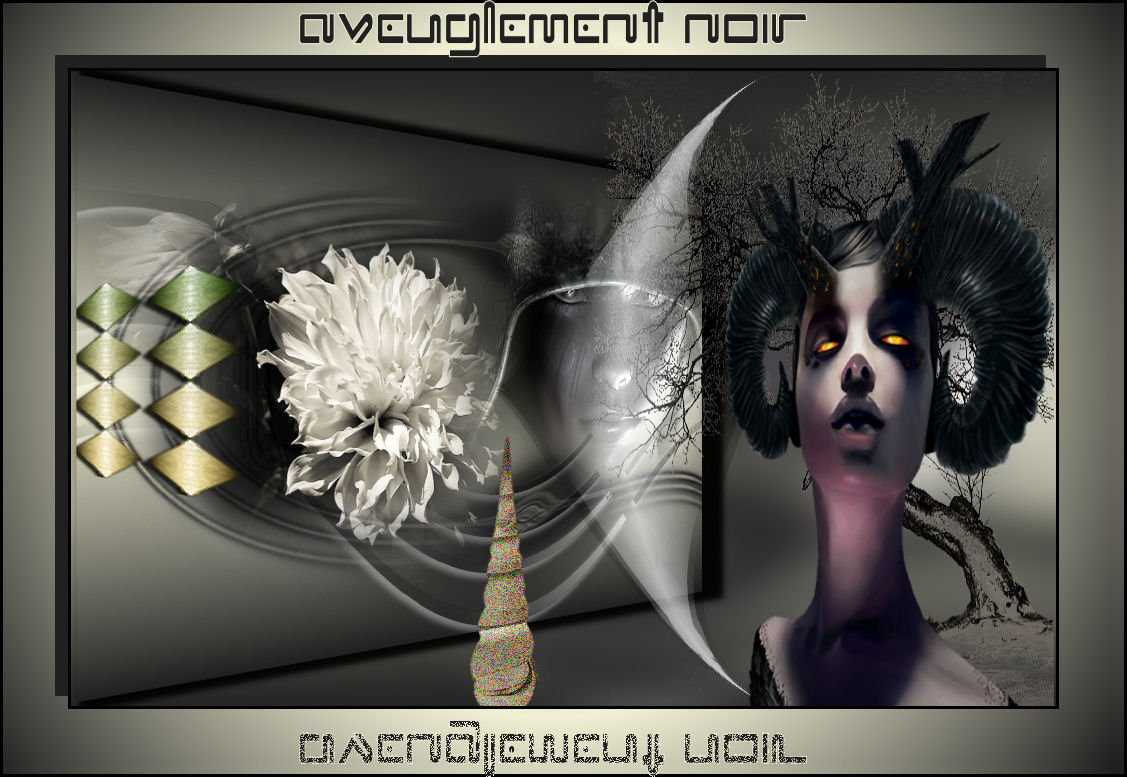
Aveuglement noir
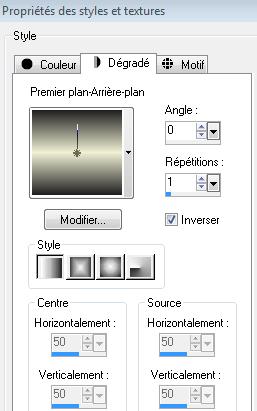
Let's start the lesson. 1. Open a transparent image of 985 x 635 pixels 2. Color palette - Set your foreground color to #f1f0d5- Set your background color to #202020 - Set your foreground to gradient 'Foreground-background' - Linear - with these settings
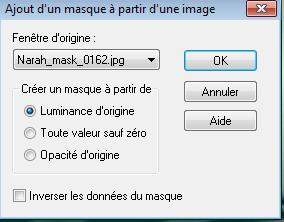
3. Activate Flood Fill Tool and fill the layer with the gradient 4. Layers-New raster layer - Activate Flood Fill Tool and fill the layer with the background color 5. Layers- New Mask layer from Image and select Mask''Narah-mask-0162''
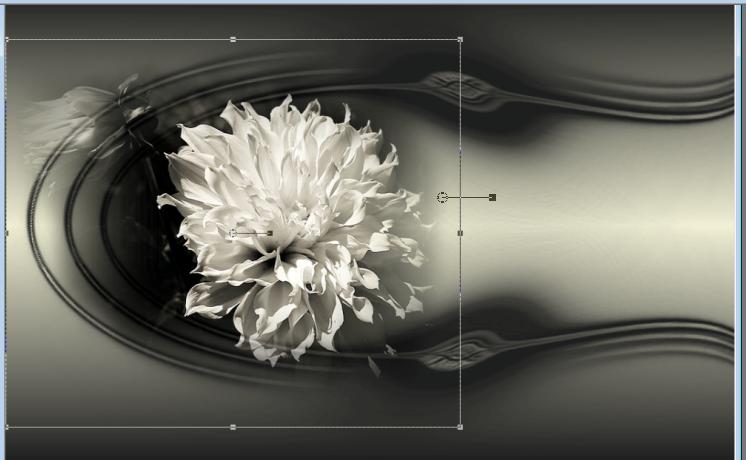
6. Adjust-Sharpness-Sharpen More 7. Layers-Merge-Merge-Group 8. Activate the tube ''MaryGio140312-17 '' - Edit/copy-Edit paste as a new layer on your working image - Activate the Pick Tool/Deformation tool (K) place it as shown in the example below
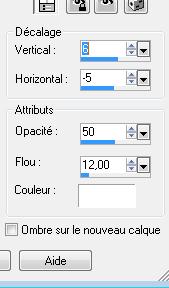
9. Effects-3D Effects-Drop Shadow with these settings-color white
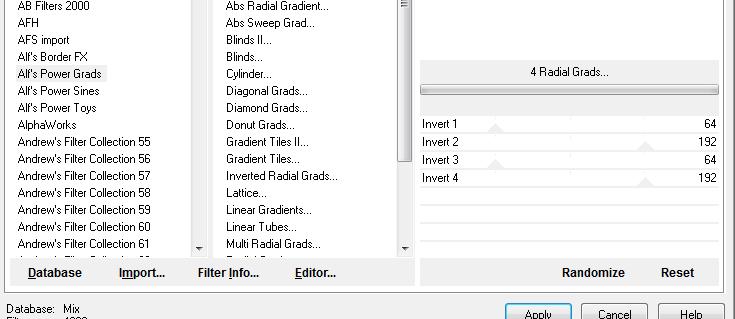
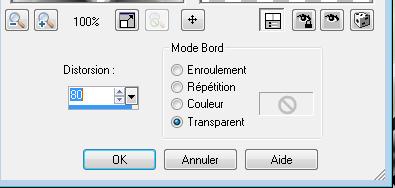
10. Layers-New raster layer 11. Selections –load/save selection –load selection from disc and choose: ''renee-aveuglement noir''/Activate Flood Fill Tool and fill the selections with the background color 12. Effects-Plugins -Unlimited 2.0 - Alf's Power Grads/4Radial Grads
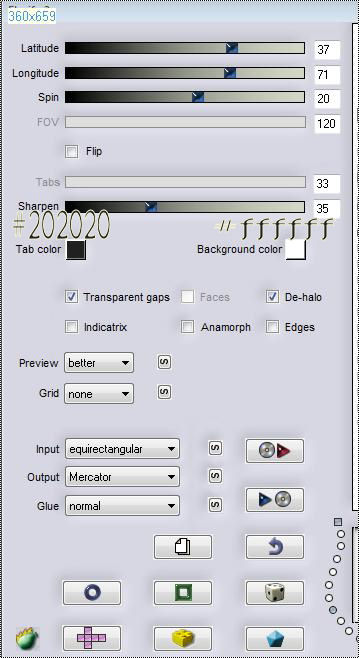
13. Selections-Deselect All - Double click on this layer and set the Blendmode to Hard Light 14. Effects-Plugins - Flaming Pear /flexify2 with these settings
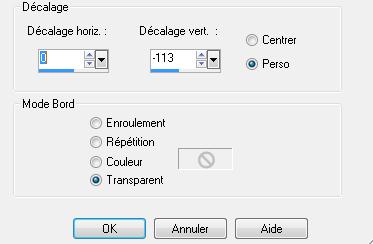
15. Effects-Image Effects-Offset with these settings
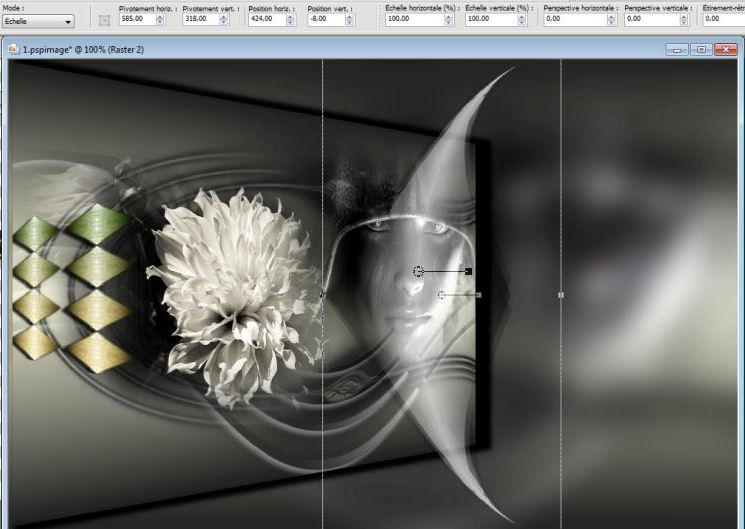
16.Effects-3D Effects-Drop Shadow with the same settings-color white 17. Layers-Arrange-Move Down 18. Open the tube ''renee-aveuglement noir-image 1'' Edit/copy -Edit – paste as a new layer 19. Effects-Geometric Effects-Perspective Horizontal
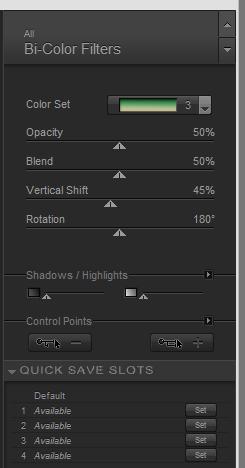
20. Image Mirror / Move tool / place your tube on the bottom left side of your image 21. Effects-Plugins- Nick Color effex Pro 3 / Bi-Color Filters-/ Color set - Green Brown 3
22. Open the tube ''womanhsk2012 401''/ Image Resize 70% - Edit/copy-Edit paste as a new layer on your working image Move tool / place your tube on the upper right corner of your image 23. Layers-Merge-Merge Visible 24. Layers-Duplicate 25. Effects-Plugins - Andromeda perspective /Side Walls/I't open 26. Effects-Plugins -EyeCandy5 Impact /perspective shadow'- tab Settings/User settings choose my preset: ''renee-aveuglement-noir '' - Activate the bottom layer of the layer palette ( merged layer ) 27. Adjust-Blur-Gaussian Blur: Radius 20% 27a. Activate the tube ''renee-aveuglement noir -image 3"- Edit/copy-Edit paste as a new layer on your working image and move (as shown in the example at point 30) Set the Blend mode to Dissolve 28. Activate the tube ''renee-aveuglement-noir-image2 -Edit/copy-Edit paste as a new layer on your working image Double click on this layer and set the Blendmode to Hard Light /Set the layer opacity of this layer to 69% - Activate the Pick Tool/Deformation tool (K) place it as shown in the example below
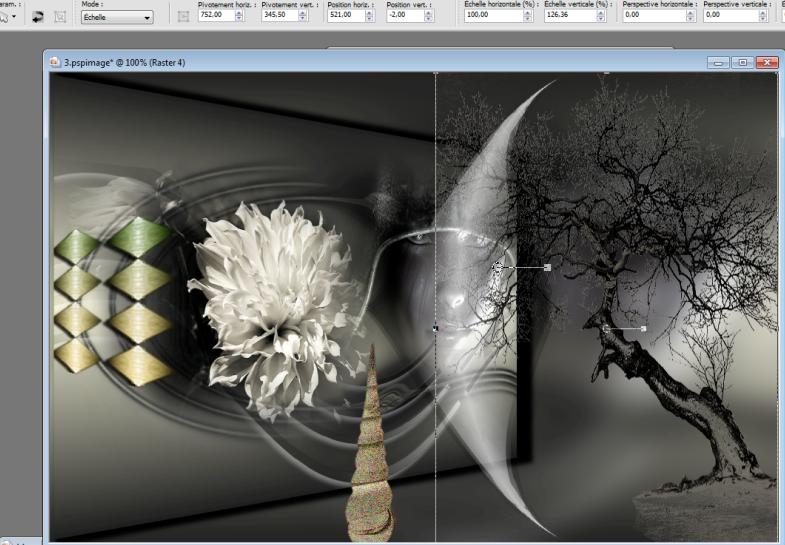
29. Open the tube ''972b53e2 '' - Image Resize 115% -Edit/copy- Edit/ paste as new layer on your working image -Activate the Pick Tool/Deformation tool (K) place it as shown in the example below
30. Layers-Arrange-Move 2x Down 31. Activate Eraser Tool with these settings
- Erase the vertical line of the tube to have a roughly foliage effect like this
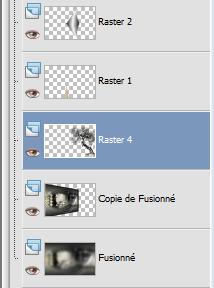
- Layer palette look like this now
32. Open the tube de Mary0312-23'' Window - Duplicate (or shift+D) - Close the original and proceed on the copy -Remove raster 1 and 2 of the tube The layer of the girl : - Effects-Plugins - Andromeda /side walls /it open Repeat twice /Image Resize 115% -Edit/copy-Edit paste as a new layer on your working image and move 33. Layers-Merge-Merge All 34. Image - Add borders-Symmetric checked: 3 pixels black 35. Image - Add borders-Symmetric checked: 65 pixels white 36. With the Magic Wand select the border of 65 pixels 37. Selections-Promote selection to layer 38. Color Palette: Prepare a foreground/background sunburst gradient with settings below -Flood Fill Tool: fill the selection with the gradient
39. Effects-Plugins -Psychosis/Circular streaker /19 40. Selections-Deselect All 41. Image - Add borders-Symmetric checked:3 pixels black 42. Text tool, find the font " zephyr" /Size 48 -Set your background color to #000000 -Write the text "Aveuglement noir" 43. Layers-Duplicate-Image -Flip /Double click on this layer and set the Blendmode to Dissolve -Set the layer opacity of this layer to 65% Save as JPG
I am part of Tutorial Writers Inc. My tutorials are regularly recorded ReneeGraphisme_All rights reserved
*
|
 Translations