|
On commence
Vive
l'été 2025
Long live summer 2025
- Material Properties: Set the foreground color to color number 1 - Set the background color to color number 2

- Replace your foreground with a foreground/background sunburst gradient configured like this:

1. File - Open a new transparent image in this size :1050 x 645 Pixels
2. Activate Flood Fill Tool
 –
Flood fill the layer with the gradient –
Flood fill the layer with the gradient
3. Effects - Image Effects- Seamless Tiling using the default settings
4. Effects - Distortion Effects Twirl - Degrees 520
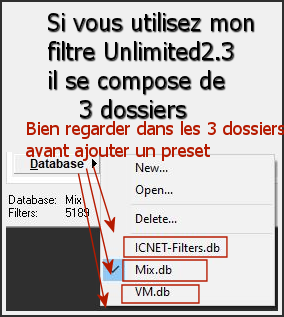
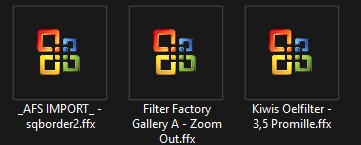
5. Effects - Plugins - Filters in Unlimited 2.0 - Kiwis Oelfilter -
3,5 Promille with these settings: 35/101/37/10/128
6. Layers - New raster layer
7. Activate Flood Fill Tool
 –
Flood fill the layer with the background color (No 2) –
Flood fill the layer with the background color (No 2)
8. Effects - Plugins – VanDerLee – Unplugged X – rectangle 45° -use the settings below

9. Effects - Plugins – VanDerLee – Unplugged X - rectangle 45° use the settings below -
Color No 3

10. Effects - Image Effects - Seamless Tiling use the settings below

11. Layers - Duplicate
12. Image - Mirror - Mirror Horizontal (Image - Mirror in older versions of PSP)
13. Layers - Properties - Change the blend mode of this layer to Soft Light - Reduce the opacity of this layer to 34%
14. Layers - Merge - Merge Down
15. Layers - Properties - Change the blend mode of this layer to Hard Light
16. Layers - Merge - Merge Visible
16. Effects - Plugins – AAA Frame – Foto Frame use the settings below

17. Layers - Duplicate
18. Image - Resize - 80% - Resize all layers not checked
Edit - Copy Special - Copy Merged
19. Use the Magic Wand tool to select the transparent area.
20. Layers - New raster layer
Edit - Paste into Selection
SELECTIONS - INVERT
21. Effects - 3D-Effects - Drop Shadow with these settings: 10 /10 / 80 /50 Color Black

22. Effects - Distortion Effects - Wave use the settings below

23. Effects - Reflection Effects - Rotating Mirror using the default settings
- Activate the middle layer in the layer palette (Copy of Merged )
24. Activate Selection Tool - Custom Selection (S) - Rectangle with these settings


25. Selections - Promote Selection to Layer
26. Effects - Plugins - Filters in Unlimited 2.0 - Filter Factory
Gallery A – Zoom Out using the default settings
27. Effects - Edge Effects - Enhance More
28. Effects - Plugins – AAA Frame – Foto Frame use the settings below

29. Effects - Texture Effects - Fine leather with these settings- Color white


30. Effects – Plugins – Mura’s Meister – Perspective Tiling use the settings below

31. Effects -3D-Effects - Drop Shadow with these settings: -25 / 0 / 55
/50 Color Black
_ Activate the top of the layer palette
32. Layers - New raster layer
33. Selections – load/save selection – load selection from disc and select my selection:‘’ Bel-ete-2025-1’’
34. Activate Flood Fill Tool
 –
Flood fill the selection with color No 3 –
Flood fill the selection with color No 3

35. Effects - Plugins - Alien Skin EyeCandy 5 – Impact – Perspective
Shadow – Drop shadow Blury using the default settings
36. Selections – load/save selection – load selection from disc and select my selection:‘’ Bel-ete-2025-2’’
37. Effects - 3D- Effects - Cutout - use the settings below - Color Black


38. Effects - Reflection Effects - Rotating Mirror use the settings below

- Activate the bottom of the layer palette (Merged layer )
39. Selections – load/save selection – load selection from disc and select my selection:‘’ Bel-ete-2025-3’’
40. Selections - Promote Selection to Layer
41. Layers - Arrange - Bring to Top
42. Effects - Plugins - Filters in Unlimited 2.0- [AFS IMPORT] -
sqborder2 using the default settings

43. Effects - 3D- Effects - Chisel use the settings below / Color No 2

44. Effects - Distortion Effects - Wave use the settings below

45. Effects - 3D-Effects - Drop Shadow with these settings: 1/1/100/0 Color Black
46.
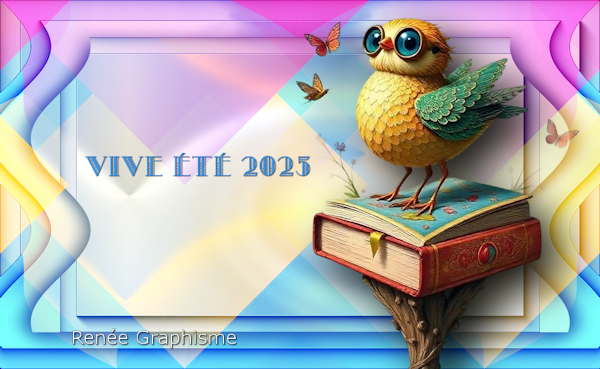
Open the tube - ‘’Vive-ete-2025-Image1’’ - Edit - Copy - Activate your work -Edit - Paste as new layer
47. Pick Tool: (K) on your keyboard -Enter these parameters on the toolbar
 181/
82 181/
82
Press the ( M ) button to close the tool.
48. Layers - New raster layer
49. Selections – load/save selection – load selection from disc and select my selection:‘’ Bel-ete-2025-4’’
- Material of the foreground: change material of the foreground into gradient select ‘’Corel_06_016’’ (Reflet-chrome)
Prepare a sunburst gradient configured like this

50. Activate Flood Fill Tool
 -
Flood fill the selection with the gradient
51. Effects - Edge Effects - Enhance

52. Effects -3D-Effects - Drop Shadow same settings
53. Layers - Duplicate
54. Image - Mirror - Mirror Horizontal (Image - Mirror in older versions of PSP)
55. Open the tube ‘’Vive-ete-2025-Image2’’ - Edit - Copy- Activate your work -Edit - Paste as new layer
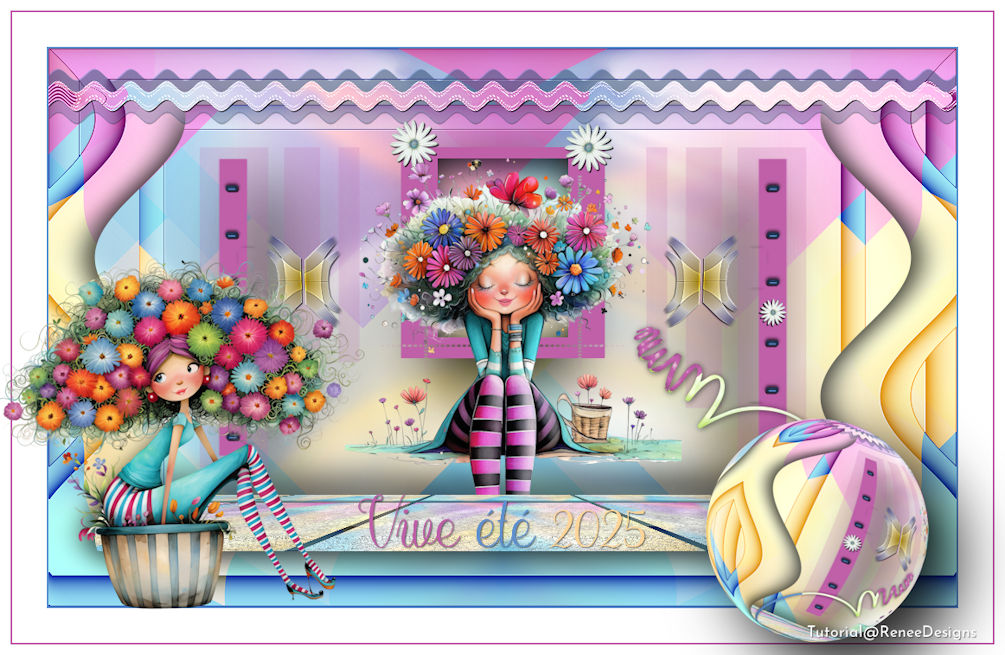
Place at bottom right (see finished image)
56. Paste the title or write it in the font of your choice.
57. Open the tube ‘’ Tube-printemps-Etsy interdit au
partage " - Edit - Copy- Activate your work -Edit - Paste as new layer
Attention !! This tube is only to be used for this tutorial; it must not be used for any other purpose.
Renée reduced the tube by 60%.
57.
Edit - Copy Special - Copy Merged - Edit - Paste as new Image
58. Effects – Plugins – Flaming Pear – Flexify 2 use the settings below

59. Image - Resize - 40% - Resize all layers not checked
-Set the image aside for now — we'll need it later.
- Activate your work image
60. Image - Add Borders-Symmetric checked: 2 Pixels - Color No 2
Image - Add Borders-Symmetric checked: 40 Pixels - White
Image - Add Borders-Symmetric checked: 2 Pixels - Color No 3
Image - Add Borders-Symmetric checked: 12 Pixels - White
61. Activate the image you minimized in step 49
Edit - Copy- Activate your work -Edit - Paste as new layer
You can place the tube wherever you like.
62. Effects - Plugins - Alien Skin EyeCandy 5 – Impact – Perspective
Shadow - Preset : ''Drop shadow blury'' using the default settings
63. Open the tube ‘’
Tube2-printemps-Etsy interdit au partage " - Edit - Copy- Activate your work -Edit - Paste as new layer
Attention !! This tube is only to be used for this tutorial; it must not be used for any other purpose.
Move the tube to the bottom left side ( see finished image )
64. Effects - Plugins - Alien Skin EyeCandy 5 – Impact – Perspective
Shadow - Preset : ''Drop shadow blury'' using the default settings
- Add the author's watermark to your work and your own watermark
65. Layers - Merge - Merge All (flatten)
66. Image – Resize 1005 Pixels width - Resize all layers checked
Save as JPG
*********
Thanks for your time and enjoyment of this lesson.
Renée
This lesson was written by Renée 15/05/2025
Edited and Update
2025
***
* Any resemblance to an existing lesson is purely coincidental.
* Don't forget to thank the people who work with us and for us - the testers and translators
Thanks
*
|
 Tranlations






 181/
82


