|
 
Let's start the lesson.
-
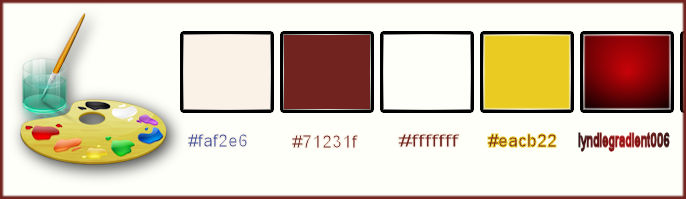
Color-palette:Set your foreground color to #faf2e6 Set your background color to#71231f
1.
Open the background image ‘’ Fond_un_livre_est »/ Window - Duplicate (or shift+D) - Close the original and proceed on the copy -Promote Background Layer =Raster 1
2.
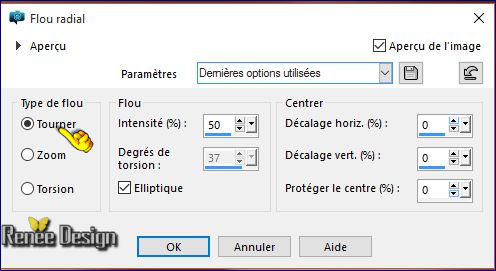
Adjust-Blur-Radial Blur use these settings
3.
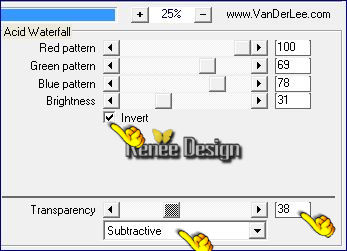
Effects- Plugins – Vanderlee UnpluggedX – Acid
Watterfalls use these settings
4.
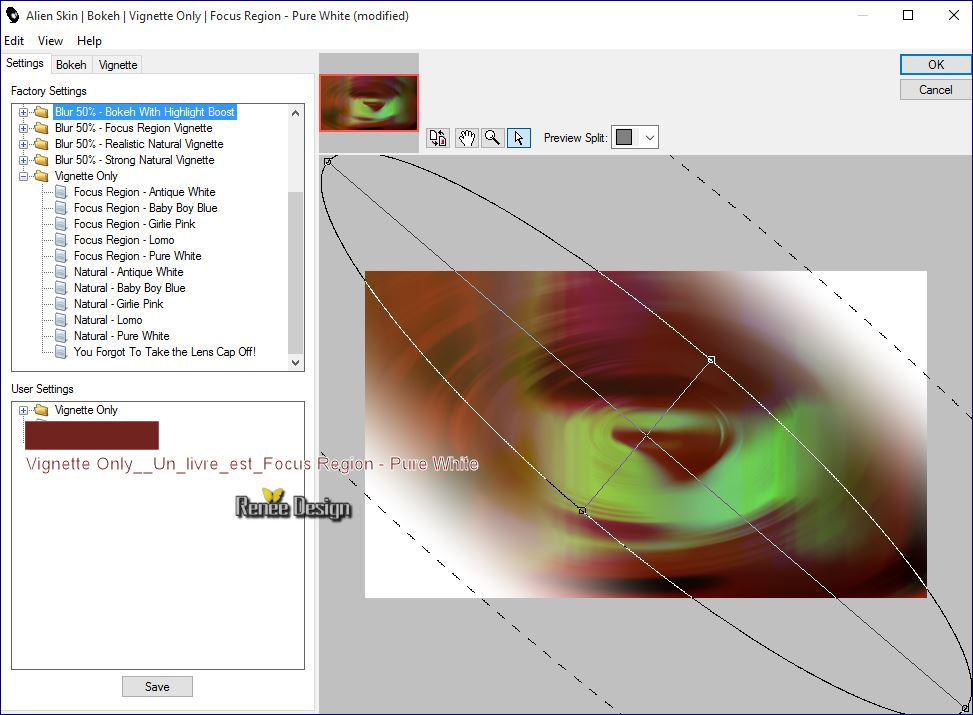
Effects- Plugins – Alien skin Bohek /Vignette
only/Focus Region/Pure White –and select Preset “Vignette
Only__Un_livre_est_Focus Region - Pure
White”
5. Layers- New Raster Layer
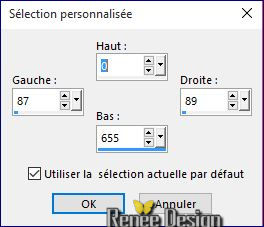
6.
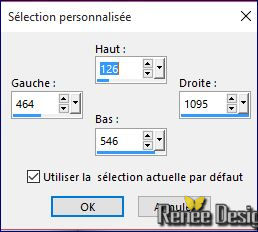
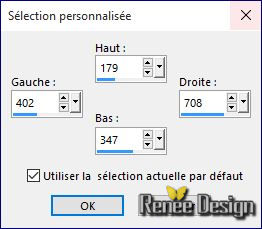
Activate Selection Tool -Custom Selection (S) with these settings
7. Flood Fill Tool : (zoom in if necessary)
- Fill the selection with the foreground color
Selections- Deselect All
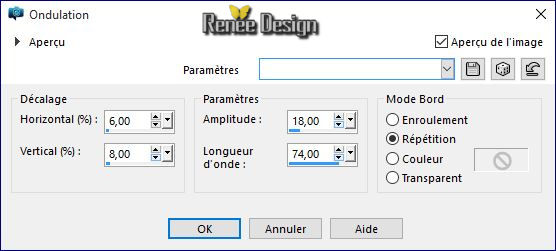
8.Effects- Distortion Effects -Ripple use settings below
9. Layer Duplicate - Effects Ripple (same parameters)
10. Image
Flip
11. Layer Duplicate - Effects Ripple (same parameters)
12. Layers- Merge- Merge Down 2 times
13. Effects - 3D Effects - Drop Shadow with these settings 1/1/100/2 black
14. Layer Duplicate
15. Effects- Image Effects- Offset with these settings H = 100 and V = 0 transparent
16. Layers- New Raster Layer
- Color Palette to Foreground color #ffffff
17. Activate Flood Fill Tool and fill the layer with the foreground color white
18. Layers- New Mask layer from Image and select Mask
«« Masque_renee_un_livre_est »
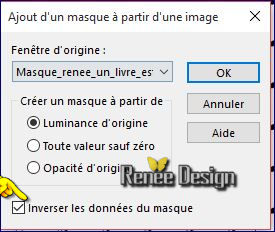
- Layers- Merge- Merge Group
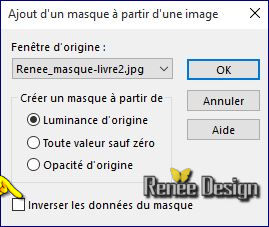
19. Layers- New Mask layer from Image and select Mask
‘’Renee_masque_livre2’’
Attention uncheck invert mask
- Layers- Duplicate
- Layers- Merge- Merge Group
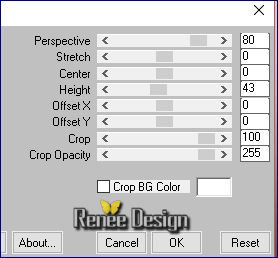
20. Effects- Plugins – Mura’s Meister –Perspective
Tilling use settings below
21. Effects - 3D Effects - Drop Shadow (in memory)
22. Effects Custom Filters– Emboss 3 use the default settings
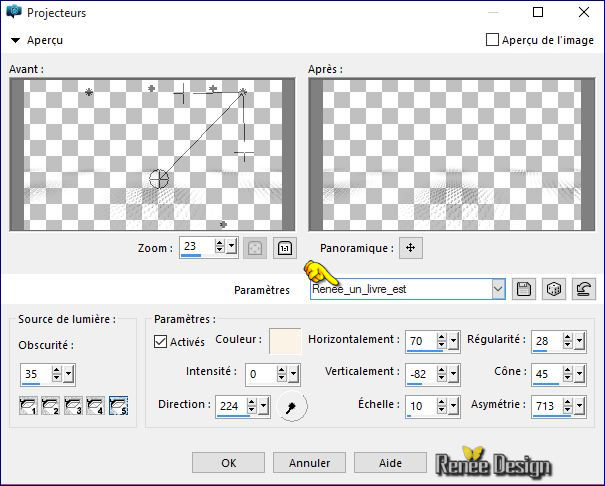
23. Effects - Illumination Effects-Lights and select Preset
‘’Preset_Lights_Renee_un_livre_est’’
(Preset to place in the default settings folder)
24. Layers- New Raster Layer
25.
Selections –load/save selection –load selection from disc and select my selection: ‘’
livre_est_sel_1’’
26. Activate Flood Fill Tool and fill the selection with the foreground color #ffffff
Selections- Deselect All
27.
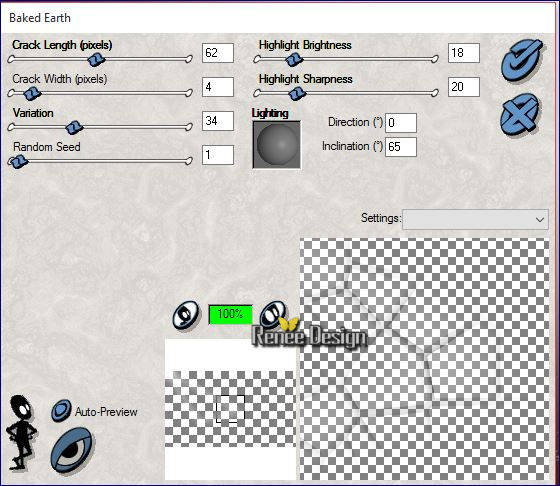
Effects- Plugins – Xenofex 1- Baked earth use settings below
(The filter will put you this)
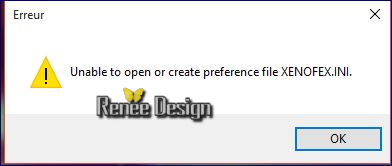 >>>>>doing OK and it will open >>>>>doing OK and it will open
- Double click and set the Blend Mode to "Soft Light "
28. Layers- New Raster Layer
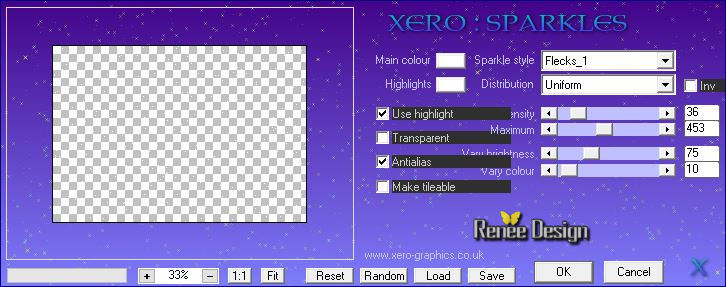
29. Effects- Plugins – Xero – Sparkles use settings below
30.
Selections –load/save selection –load selection from disc and select my selection:
''livre_est_sel_1’’
DELETE
 (repeat several times to clear up point / end with gum if necessary) (repeat several times to clear up point / end with gum if necessary)
- Open the tube ‘’ Renee_packtubes_un_livre_est .pspimage’’
Do not close we need it later for the rest of the work
31. Activate the layer ‘’tube_1’’
- Edit/Copy -Edit paste as new layer on your working image
32. Effects- Image Effects-Offset with these settings: H = 191 and V = -81/
transparent
- Color-palette:Set your foreground color to #ffffff
33. Layers- New Raster Layer
34.
Selections –load/save selection –load selection from disc and select my selection: ‘’
livre_est_sel_2’’
35. Pot of Paint: Change the opacity of the color at 60% – Activate Flood Fill Tool and fill the selection with the foreground color #ffffff
36. Effects
–Plugins- Unlimited ICNET FILTERS – Frames - Textured-Textured Frame
15 using the default settings 64/128/128/128
37. Effects- Edge Effects-Enhance More
Keep Selected
38. Layers- New Raster Layer
39. Pot of Paint: Change the opacity of the color at 60% –Activate Flood Fill Tool and fill the selection with the foreground color #ffffff
40. Layers- New Raster Layer
- Activate the tube - Renee_packtubes_..
41. Activate the layer ‘’tube_2 ‘’
- Edit/ Copy-Edit - Paste into selection
Selections- Deselect All
42. Layers- Merge- Merge Down
43.Double click on this Layer and set the Blend Mode to "Multiply"
44. Layers- New Raster Layer
45.
Activate Selection Tool -Custom Selection (S) with these settings
46. Pot of Paint: Change the opacity of the color at 65%
-Activate Flood Fill Tool and fill the selection with the foreground color #ffffff
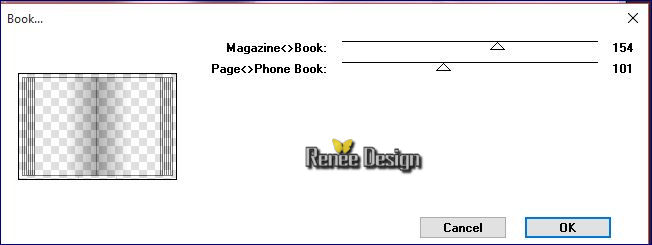
47. Effects- Plugins - Effet DCspecial books use settings below
Selections- Deselect All
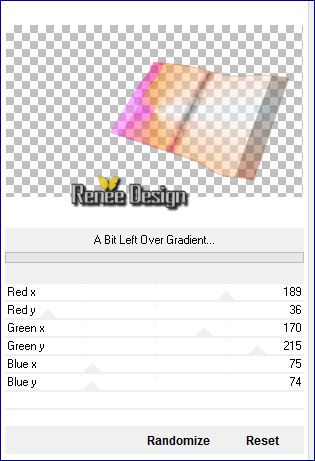
48. Effects
–Plugins- Unlimited -Andrew's Filter Collection 56-(ore Plugins
AB02)- A Bit Left Over Gradient...
49. Activate the Pick Tool- (K) select my preset “Preset_deformation_livre”
A place in your default settings
- Click on the preset and effect will apply

50. Activate tool - Mesh Warp / Preset 'Preset_grille_deformation book'
You're going to make this window ok to confirm the effect if like me you tick warning before performing effect (if you checked '' always perform these operations '' it will not ask you)
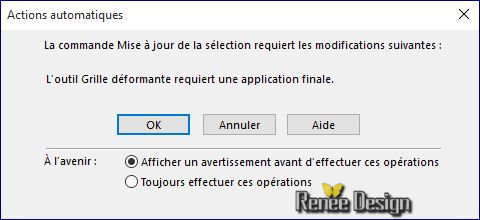
- To disable click effect M on the keyboard
- You are here
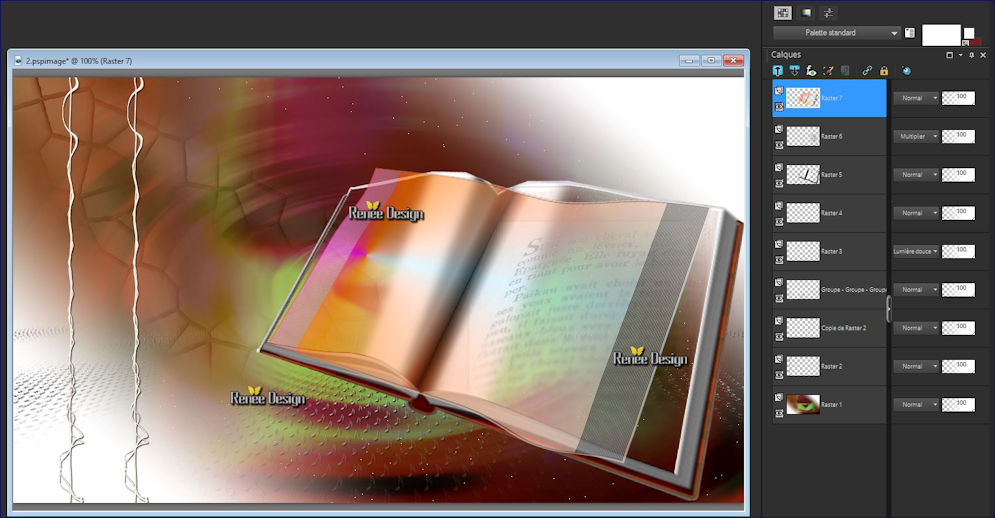
51. Activate the tube ‘’ Renee_tube_un_livre_est-image1’’
- Image
Resize to 60 %
- Edit/ Copy-Edit - Paste as new layer on your working image
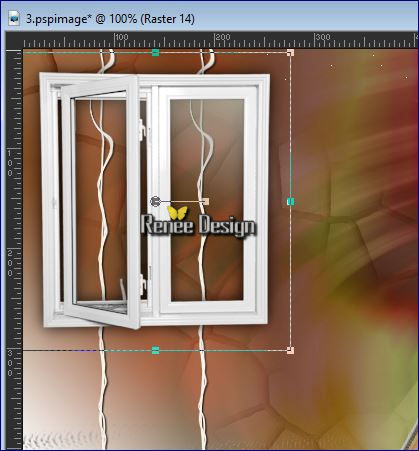
52. Activate the Pick Tool/Deformation tool (K) Mode Scale and place as shown in the example below
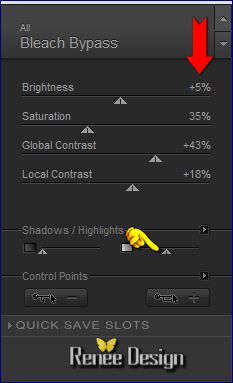
53.
Effects- Plugins – Nick Color Effex Pro3- Bleach
Bypass
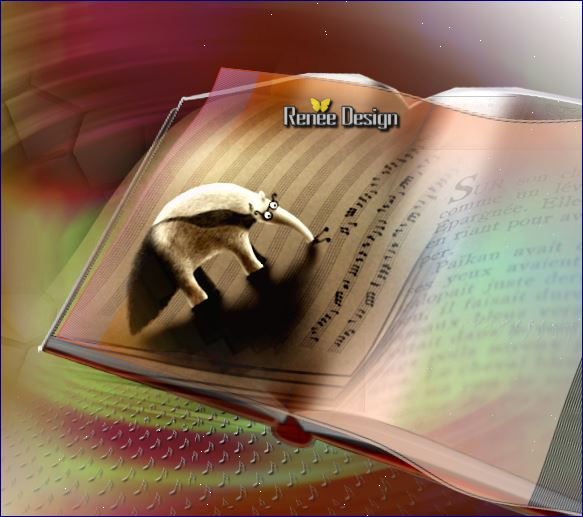
- Activate the tube ‘’ Renee_packtubes_...
54. Activate the layer ‘’tube_3’’
- Edit/ Copy-Edit - Paste as new layer on your working image
- (do not move it is in the right place)
55.
Activate Selection Tool -Custom Selection (S) with these settings
56. Adjust-Blur- Gaussian Blur : Radius: 5
Selections- Deselect All
- Layer palette - Activate Raster 5
57. Activate the tube ‘’ Renee_packtubes_...
- Activate the layer ‘’tube_4 »
- Edit/ Copy-Edit - Paste as new layer on your working image
58. Effects- Image Effects- Offset with these settings H = 195 and V = -252
- It will be like this place
59. Double click on this Layer and set the Blend Mode to"Dodge"
- To replace the top of the layers palette
- Activate the
tube ‘’ Renee_packtubes_...
60. Activate the layer ’’tube_5’’
- Edit/ Copy-Edit - Paste as new layer on your working image
61. Effects- Image Effects-Offset with these settings: H = 340 and V = - 33
62. Layers- New Raster Layer
63.
Selections –load/save selection –load selection from disc and select my selection: ‘’livre_est_sel_3’’
64. Pot of Paint: Change the opacity of the color at 100%
- Activate Flood Fill Tool and fill the selection with the foreground color #ffffff
65.Double click on this Layer and set the Blend Mode to "Screen "
Selections- Deselect All
Color Palette to Foreground color #eacb22
66. Layers- New Raster Layer
67.
Selections –load/save selection –load selection from disc and select my selection:
« livre_est_sel_4 »
68. Activate Flood Fill Tool and fill the selection with the foreground color #eacb22 (2 clicks)
Selections- Deselect All
69. Effects- Edge Effects- Enhance More
- Activate the tube ‘’ Renee_packtubes_...
70. Activate the layer ‘’tube_6 »
- Edit/ Copy-Edit - Paste as new layer on your working image
- With the Move Tool, Place the top left like this
71. Layers- New Raster Layer
72.Selections –load/save selection –load selection from disc and select my selection:
« livre_est_sel_5 »
- Color Palette to Foreground color to #fffffff
73. Activate Flood Fill Tool and fill the selection with the foreground color #ffffff ( 2 clicks)
74. Double click on this Layer and set the Blend Mode to "Hard Light "
Selections- Deselect All
75. Effects- User Defined Filter –Double vision using the default settings
- Activate the
tube ‘’ Renee_packtubes_...
76. Activate the layer ’’ tube_7 »
- -Edit/ Copy-Edit - Paste as new layer on your working image
77. On the tube phrase
-
Select parts of words and glue them in place as new layer -to achieve this

-Place these parts of a sentence and then merge them into one single layer
78. Layers- New Raster Layer
79.
Selections –load/save selection –load selection from disc and select my selection:’’ livre_est_sel_6’’
80. Pot of Paint: Change the opacity of the color at 100% Activate Flood Fill Tool and fill the selection with the selection with the background color #71231f
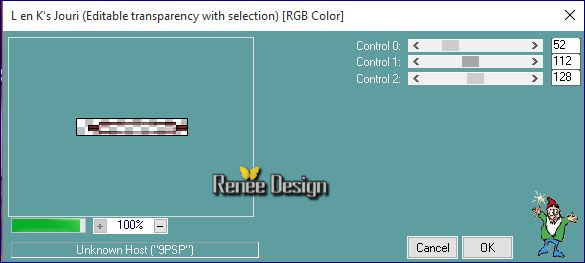
81. Effects- Plugins – Land K’s – Jouri use settings below
82. Effects- Edge Effects-Enhance More
Selections- Deselect All
83. Duplicated as many times as portions of words created and placed under these parts of the words
Like this
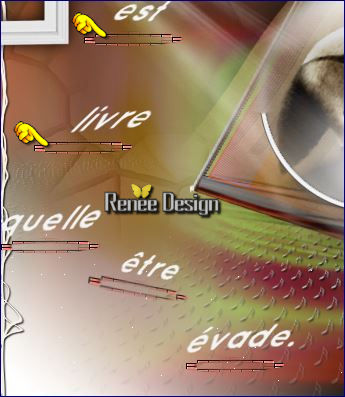
-After being well placed - merge them into one single layer
84. Layers- Duplicate
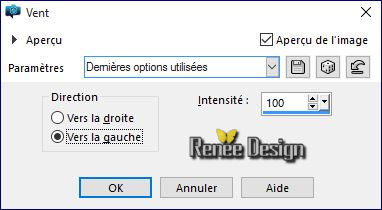
85. Effects - Distortion Effects - Wind direction- From Left checked - Wind Strength 100
86. Open the Brush image « pinceau_livre_lettres_envols
2 »in your PSP
- File- Export Custom Brush-Give it a name
‘’livre_lettres_envols2 ‘’
87. Activate your Brush Tool and choose the brush ‘’livre_lettres_envols2 ‘’with these settings

88. Layer - New Raster Layer (for easy to move) and the white color applied on top of the book (see over)
89. Layers- Merge Merge Visible
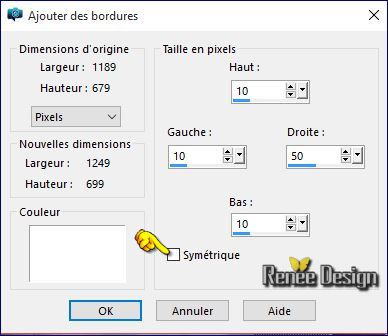
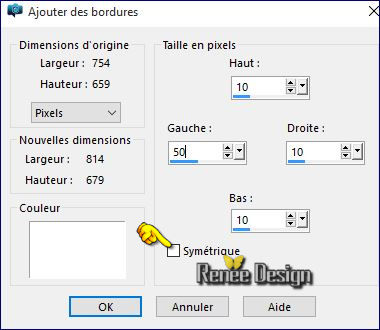
90. Image - Add borders-Symmetric checked: 2 pixels backgroundcolor
91. Image add borders asymmetrical white
You have created the second part
*************************************************
It will create the Second Part
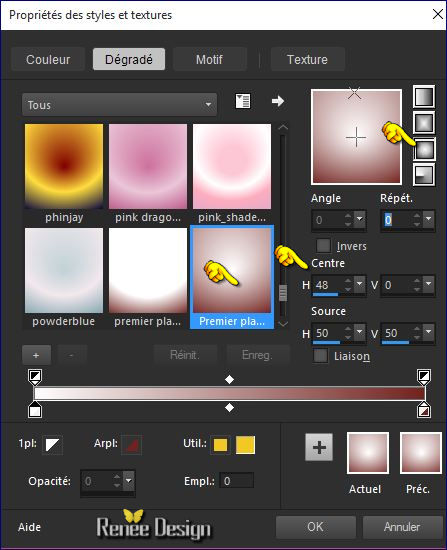
92. Open a new transparent Layer 750 x 655 pixels
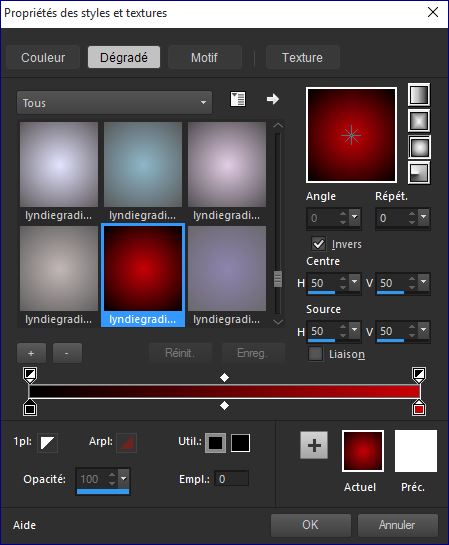
-Properties foreground: - Change foreground material into gradient and select« lyndiegradient006 »/Put your foreground on the sunburst gradient with settings below
93. Flood Fill Tool : Fill the layer with the gradient
94. Effects-Distortion Effects- Twirl 650
95. Effects- Plugins – L & K’s Katharina a 4/0
96. Effects- Edge Effects-Enhance More
97. Effects- Plugins – L & K’s – Zitah use the default settings
98. Layers- New Raster Layer
- Color Palette to Foreground color to #ffffff
99. Activate Flood Fill Tool and fill the layer with the foreground color #ffffff
100. Layers- New Mask layer from Image and select Mask
‘’renee_masque_livre3.jpg’’
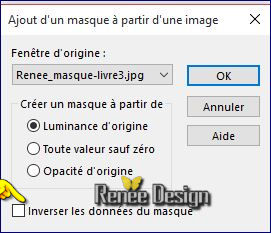
- Layers- Merge- Merge Group
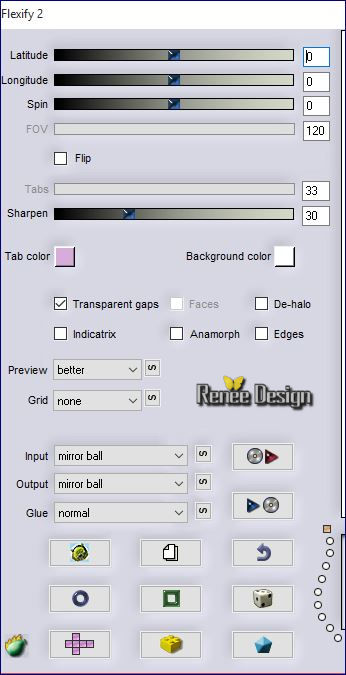
101. Effects- Plugins - Flaming Pear - Flexify 2 use settings below
- Activate the
tube ‘’ Renee_packtubes_...
102.
Activate the layer ‘’tube_8’’
- Edit/ Copy-Edit - Paste as new layer on your working image
103. Effects- Image Effects-Offset with these settings: H = 0 and V = -263
104. Effects- Plugins – Eyecandy 5 Impact – Extrude -tab Settings/User settings choose my Preset ‘’livre_extrude’’
105. Layers- New Raster Layer
- Color Palette restore the degraded sunburst foreground
106.
Activate Flood Fill Tool and fill the selections with the sunburst gradient
107. Effects- Plugins - L& K ‘s - Maxime a
255/0
108.
Activate Pick Tool(K) select my preset
«livre_bord_2.PspScript »
And the script will run
109. Double click on this Layer and set the Blend Mode to "Hard Light "
110. Layers- Arrange-Move 2x Down
111. Layers- Duplicate
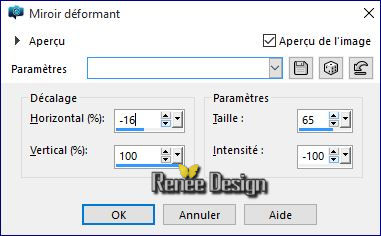
112. Effects- Distortion Effects-Warp use settings as shown below
113. Double click and set the Blend Mode to "Soft Light "
- To replace the top of the layers palette
- Activate the
tube ‘’ Renee_packtubes_...
114. Activate the layer ‘’tube_9 »
- Edit/Copy -Edit paste as new layer on your working image
- Move tool / place the tube on the bottom right side of your image
- Activate the
tube ‘’ Renee_packtubes_...
115. Activate the layer ‘’tube_10’’
-
Edit/Copy -Edit paste as new layer on your working image
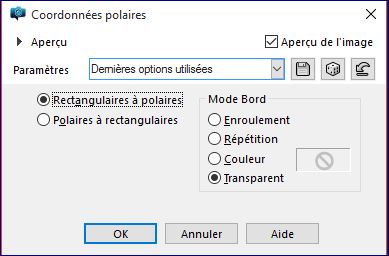
116.Effects- Distortions Effects-Polar Coordinates-Rectangular to Polar-Transparent
117. Image
Flip
118. Double click and set the Blend Mode to "Soft Light "
119.
Activate the tube
‘’Renee_tube_chat_intello.pspimage’’
- Image
Resize to 75 %
- Edit/ Copy-Edit - Paste as new layer on your working image
-
With the Move Tool, move it in the right place (see finished image)
Color Palette :Set your foreground color to#ffffff -Set your background color to#71231f
- Put your foreground on the foreground/background sunburst gradient with settings below
120. Layers- New Raster Layer
121.Selections –load/save selection –load selection from disc and select my selection:
« livre_est_sel_7 »
122.
Pot of Paint: Change the opacity of the color at 60%- Activate Flood Fill Tool and fill the selection with the gradient
Selections- Deselect All
123.
Adjust- Blur-Gaissian Blur : Radius: 30
124. Image - Add borders-Symmetric checked: 2 pixels #71231f
125. Image add borders asymmetrical white
You have created the second part
126. Image
Resize to 500 pixels high
127.
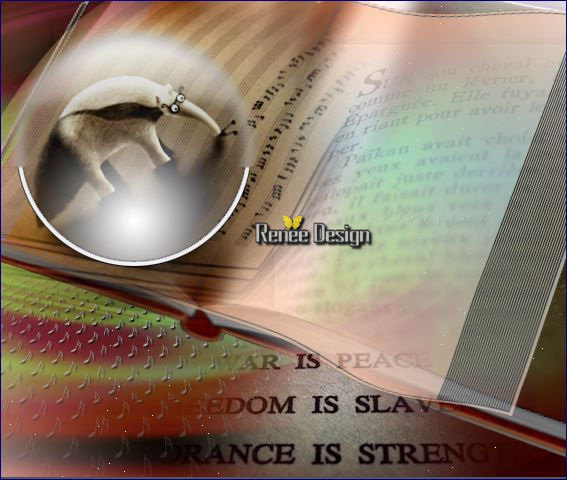
Resume picture creates the first part of the work
- Image
Resize to 500 pixels high
Your images are respectively 876 x 500 pixels and 599 x 500 pixels width = therefore total 1475 pixels wide by 500 high -if you change the dimensions it will also modify the actions of the final layer
So here for our work
128. Open a new transparent image of 1475 x 500 pixels
129.
Activate image1(point 91)
- Edit/ Copy-Edit - Paste as new layer on your working image
- With your move tool move against the left edge
130.
Activate image 2 (point125)
- Edit/ Copy-Edit - Paste as new layer on your working image
- With your move tool move against the right edge
- Pick Tool (K) With arrow keys on the keyboard to move the layer to the left ore to the right
131.
Activate the tube « attache_livre’’
- Edit/ Copy-Edit - Paste as new layer on your working image
- To be placed between the 2 images (to connect the 2 pages of the book)
132.
Open the Brush image‘’ Renee_pinceau_livre’’ in your PSP
- Export Custom Brush-Give it a name ‘’ Renee_pinceau_livre’’
133. Layers- New Raster Layer
134 .
Activate Brush Tool and select my file:‘’ Renee_pinceau_livre’’ with these settings

-
Stamp your brush in the right place by using your foreground color #ffffff
135.
Activate the tube ‘’
Livre_renee_notes_de_musique.png’’
136.
Activate Lasso Tool / Point to Point and Select Music Notes choice and place them on your work (see over)
137.
Layers- Merge- Merge Visible
138. Image
Resize to 1150 pixels width
139. Image - Add borders-Symmetric checked: 1 pixel #71231f
Save as JPG
I hope you enjoyed this lesson
Renée
This lesson was written by Renée 24/11/2015
Edited and Update
2015
*
Any resemblance with an existing lesson is a coincidence
*
Do not forget to thank the people who work with us and for us I have appointed the tubeurs and translators
Thanks
| 


 Translations


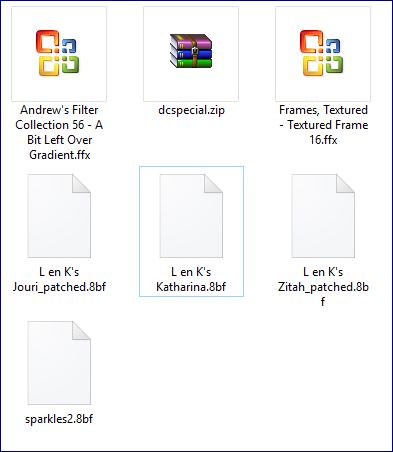

 When you see this logo the filter is imported in Unlimited

 All rights reserved