|
Let's start the lesson.
-
Preparation/ Material Properties: Set your foreground color to Nr.1 - Set your background color to Nr.
2
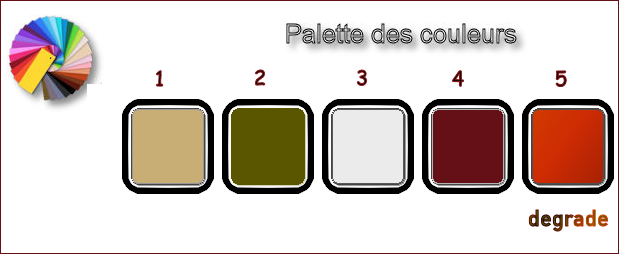
1.
Open the Image ‘’Fond_Steampunk_45’’- Window - Duplicate (or shift+D) - Close the original and proceed on the copy -Promote Background Layer =Raster 1
2.
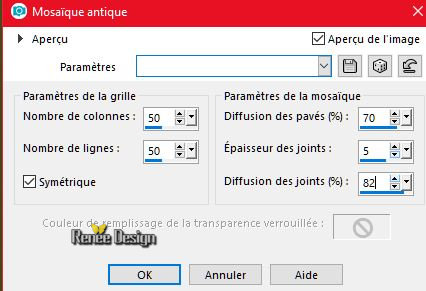
Effects- Textur Effects- Mosaic Antique uese the settings below
3.
Effects- Edge Effects- Enhance
4.
Effects –Plugins – FM Tile Tools – Blend Emboss
using the default settings
5.
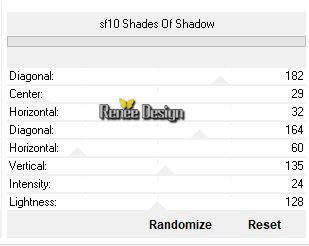
Effects –Plugins- Unlimited - &<Background Designers IV>-sf10
Shades Of Shadow
6.
Layers- Duplicate
7.
Effects –Plugins -Unlimited - Filter Factory Gallery G- Bevel
1.5... 108/2/67
8.
Image Resize to 70% - All layers not checked
-
Activate the Layer underneath = Raster 1
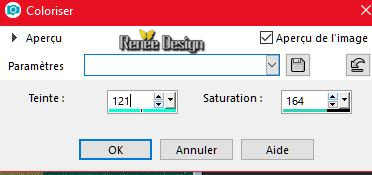
9.
Adjust- Hue and Saturation-Colorize
-
To replace the top of the layer-palette
10.
Activate the tube ‘’ STpunk45_Image
1’’
-
Edit - Copy- Activate your work -Edit - Paste as a new layer
-
Move Tool (M) -Move slightly upwards – Layers-Properties-Set the Blend Mode to " Overlay "– Set the Opacity of this layer to 42%
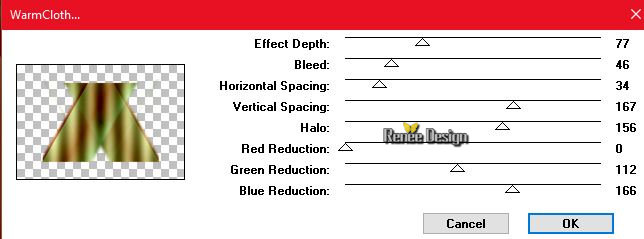
11.
Effects –Plugins – Crescent moon – Warm
Cloth…use the settings below
-
Activate the Layer underneath = Raster 1
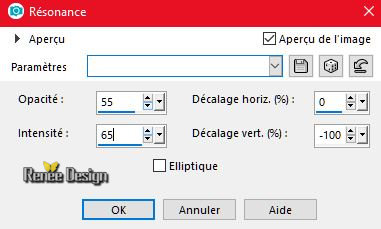
12.
Effects –Plugins – Crescent moon- Cutglass with these settings
2/34/0
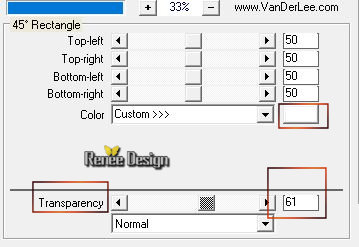
13.
Effects – Plugins – Vanderlee – Unplugged X-
45°rectangle/Color white
14.
Effects- Image Effects- Seamless Tiling using the default settings
-
In the Layer- Palette: Make Copy of Raster 1 active
15.
Layers- Duplicate
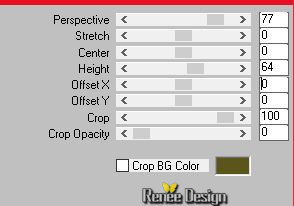
16.
Effects –Plugins – Mura’s Meister – Perspective
Tilling use the settings below
17.
Activate the Pick Tool ( K) – and select my file -Preset ’’STpunk_45_deplacement ‘ -(A place in your default settings of Psp) Click on the preset and effect will apply.
Or manual settings as shown in the example below

-(Hit the M key of your Keyboard to deselect the tool)
18.
Effects- 3 D Effects- Drop Shadow with these settings : 10/8/100/36 black
-
Material Properties: Set your foreground color to Nr.2 - Set your background color to Nr.3
-
Prepare a foreground rectangular gradient use the settings below
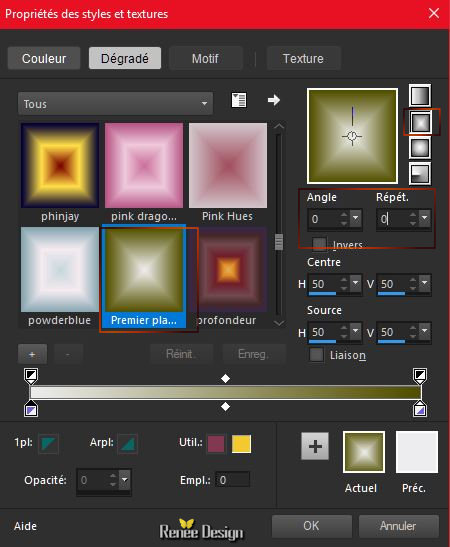
-
To replace the top of the layer-palette
19.
Layers- New Raster Layer
20.
Activate Selection Tool (S) Rectangle with these settings
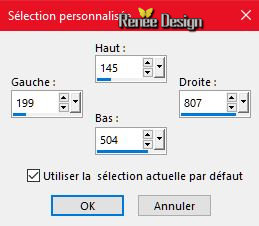
21.
Activate Flood Fill Tool  and fill the selection with the gradient
22.
Layers-Properties-Set the Blend Mode to " Overlay "
23.
Layers- New Raster Layer
24.
Activate the tube ‘’ Renee_tube_interieur.pspimage’’
-
Edit - Copy- Activate your work -Edit - Paste Into Selection
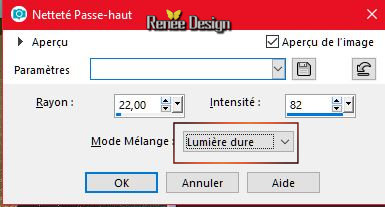
25.
Adjust- Sharpness- High Pass Sharpen/Hard Light
26.
Layers- Merge- Merge Down
Keep Selection
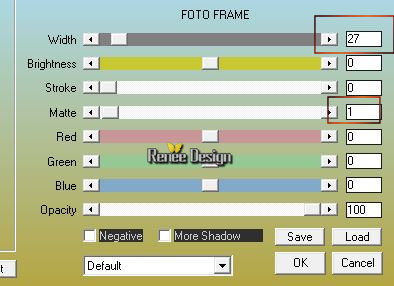
27.
Effects –Plugins- AAA Frame –Foto Frame use the settings below
28.
Selections- Modify- Select Selection Borders
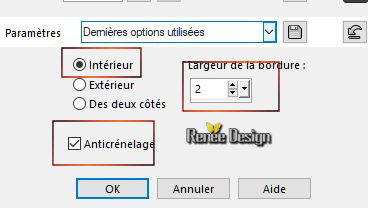
-
Activate Flood Fill Tool and fill the selection with the foreground color Nr.2
Selections- Deselect All
29.
Effects- 3 D Effects- Drop Shadow with these settings : 5/5/42/12 black
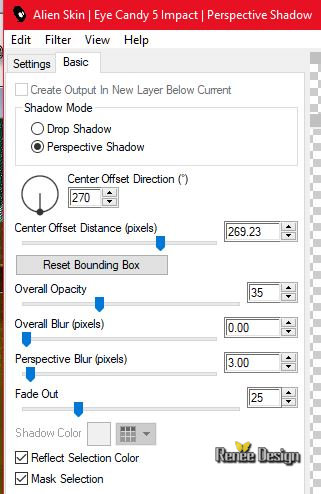
30. Effects –
Plugins – Eyecandy 5 Impact –Perspective shadow
-Tab- Settings- User Settings and choose my Preset ‘’STPunk45_perspective ‘
Or manual settings as shown in the example below
-
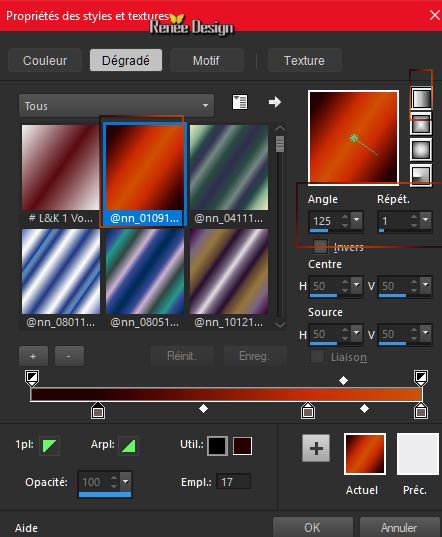
Material Properties: Set your foreground to gradient and select
‘’@nn_010914.PspGradient’’ – Prepare a foreground linear gradient use the settings below
31.
Layers- New Raster Layer
32.
Selections –load/save selection –load selection from disc and select my selection:‘’
STPunk_45-1.PspSelection’’
33.
Activate Flood Fill Tool
and fill the selection with the gradient
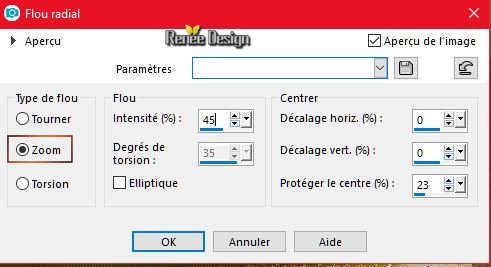
34.
Adjust- Blur- Radial Blur use the settings below
35.
Effects -Plugins – Mura’s meister – Copies use the settings below

36.
Effects- Edge Effects- Enhance More
37.
Layers- Duplicate
38.
Layers-Properties-Set the Blend Mode to" Overlay "
-
Layers- Merge- Merge Down
Selections- Deselect All
39.
Effects- 3 D Effects- Drop Shadow with these settings : 1/1/50/8 black
40. Layers- New Raster Layer
41.
Selections –load/save selection –load selection from disc and select my selection:‘’
STPunk_45-2.PspSelection’’
42.
Activate Flood Fill Tool and fill the selection with the gradient
Selections- Deselect All
43.
Effects –Plugins - Unlimited - Filter Factory Gallery V-
*Sucking
Toad* Bevel IVa... 30 /42
44.
Effects- Edge Effects- Enhance
45.
Effects- Reflection Effects- Feedback with these settings
46.
Activate the tube ‘’ STpunk45_Image
2.pspimage’’
-
Edit - Copy- Activate your work -Edit - Paste as a new layer
47.
Effects- Image Effects- Offset with these settings H = 0 and V = -
113
48.
Activate the tube ‘’ STpunk45_Image
3.pspimage’’
-
Edit - Copy- Activate your work -Edit - Paste as a new layer
-
With the Move Tool (M) move it in the bottom right side
49.
Activate the tube ‘’ STpunk45_ciel’’
-
Edit - Copy- Activate your work -Edit - Paste as a new layer
-
Activate your Move Tool (M) place it in the top left corner
50. Effects- Distortion Effects-Twirl 395
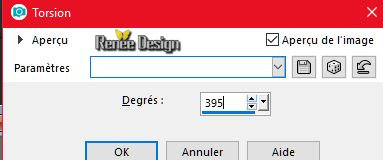
-Blend- Mode to Difference / Decrease the Opacity of the layer to 67%
-
If necessary, replace this effect
51.
Activate the tube ‘’ Renee_tube_OHHHHH.pspimage’’
-
Image Resize to 65%
-
Edit - Copy- Activate your work -Edit - Paste as a new layer
-
Activate your Move Tool (M) move it in the right place (see finished image )
52.
Activate the tube ‘’ STpunk45_Image
4.pspimage’’
-
Edit - Copy- Activate your work -Edit - Paste as a new layer
-
Blend- Mode to Screen – Decrease the Opacity of the layer to 51%
-
Activate Move Tool (M) move it the right place as shown in the example below
53.
Image - Add borders-Symmetric checked 1 Pixels Color 4
54. Image - Add borders-Symmetric checked 6 Pixels #ffffff
55.
Image - Add borders-Symmetric checked 1 Pixels Color
4
56. Image - Add borders-Symmetric checked 55 Pixels #ffffff
57.
Activate the tube ‘’TITRE’’
-
Image Resize to 65 %
-
Edit - Copy- Activate your work -Edit - Paste as a new layer and move to the top right
58.
Activate the tube ‘’ Activer le tube ‘’ STpunk45_Image
5.pspimage’’
-
Edit - Copy- Activate your work -Edit - Paste as a new layer/Activate your Move Tool (M) move it in the right place !!!(see finished image )
59.
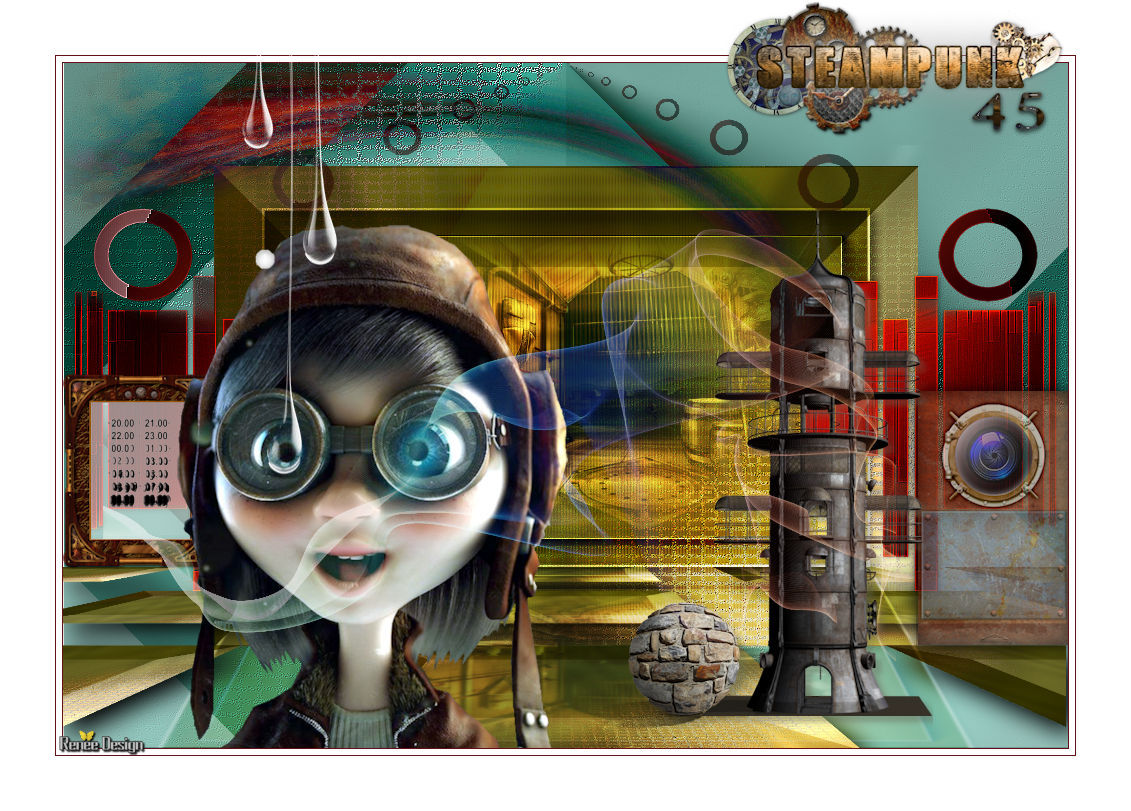
Layers-Merge- Merge All ( flatten)
I hope you enjoyed this lesson
Renée
This lesson was written by Renée 18
March 2018
Edited and Update
2018
*
Any resemblance with an existing lesson is a coincidence
* Do not forget to thank the people who work with us and for us I have appointed the tubeurs and translators
Thanks
*
| 
 Translations


 If a plugin supplied appears with this icon it must necessarily be imported into Unlimited *