|
Let's start the lesson. Open the Color-Palette
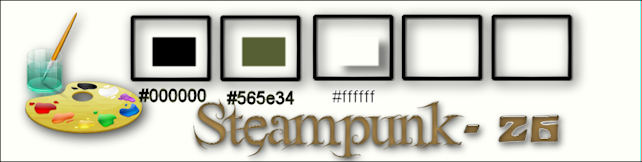
- Material Properties: Foreground color to #565e34- Background color to color black
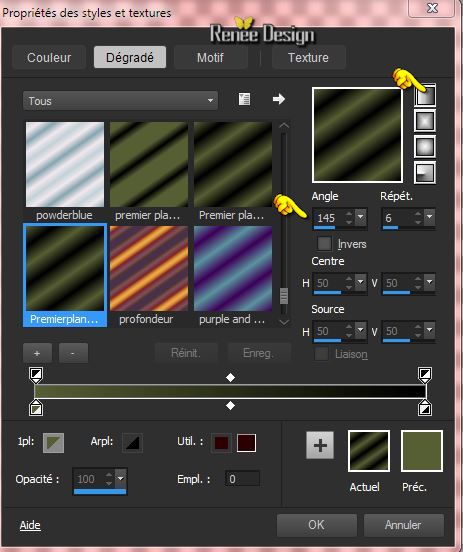
- Material Properties : Prepare a linear gradient configured like this.
1. File - New - New Transparent Image:1015 x 645 pixels
2. Activate Flood Fill Tool and fill the layer with the gradient
3. Adjust-Blur-Gaussian Blur:Radius:74%
4. Layers - New raster layer
5.
Selections-Select All
6. Activate the tube ''steampunk_23_fille_ailee''
- Edit/copy-Edit paste into selection
Selections- Deselect All
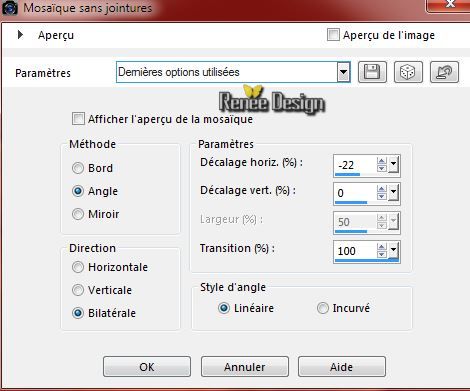
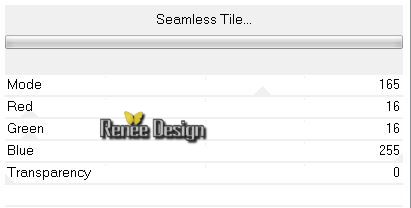
7. Effects- Image Effects- Seamless Tiling with these settings
8. Adjust-Blur- Motion Blur with these settings
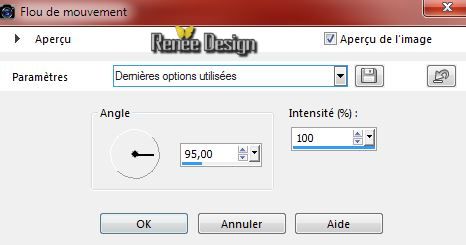
- Repeat: Adjust-Blur- Motion Blur with the same settings
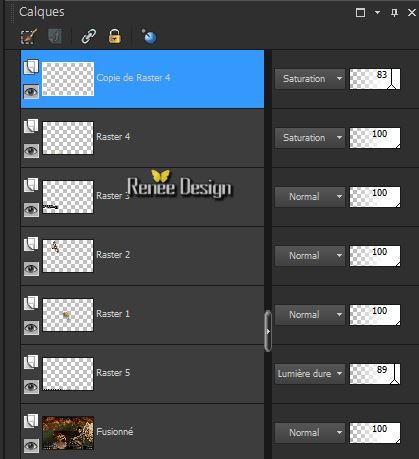
9. Layer Palette -Double click on this layer and set the Blendmode to Hard Light
10.
Effects- Plugins - Unlimited -VM Toolbox - Seamless Tile
11. Layers- Duplicate-Image Mirror (The option Image - mirror/flip is no longer available in PSP versions newer than X3, please use the script )
12. Layers- Merge- Merge Down
13. Layer Palette -Double click on this layer and set the Blendmode to Exclusion and set the layer opacity of this layer to 51%
14. Effects- Plugins -
Medhi - Sorting tiles

15. Activate your magic wand and select the two transparent parts
16. Layers- New raster layer-Activate Flood Fill Tool and fill the selection with the gradient
17.
Effects- Plugins - Unlimited 2.0 - VM Experimental - Every Picture Tells A
Story to 29
Selections- Deselect All
Be placed on the middle layer(Raster 2)
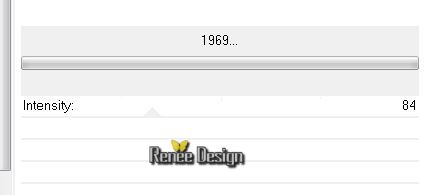
18. Effects- Plugins t
-Unlimited2.0 - DCSpecial- 1969 to 84
If you do not have the same filter
the image is into the zipfile >>>''effect of DC-1969 Special filter ''- paste as a new layer= Raster 2
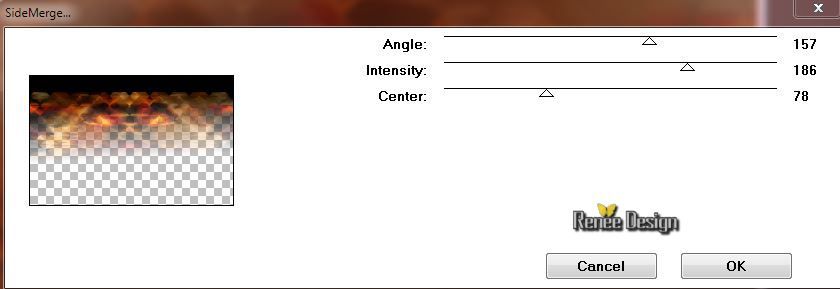
19. Effects- Plugins- DC Layer - Side Merge with these settings
20. Layers- Arrange-Bring to Top
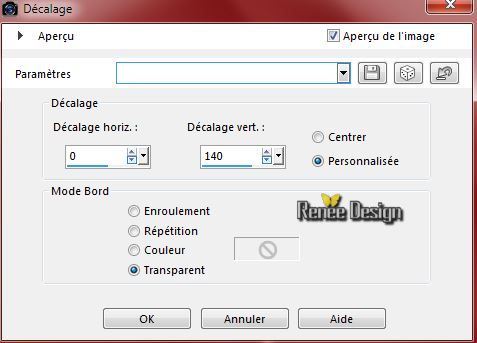
21. Effects- Image Effects- Offsett with these settings
22. Layers- Duplicate
- Layer Palette -Double click on this layer and set the Blendmode to Hard Light and set the layer opacity of this layer to 67%
- This is what you've got:
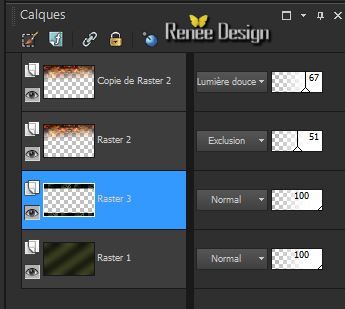
- In the layer palette activate Raster 3
23.
Selections-Custom Selection (S) with these settings
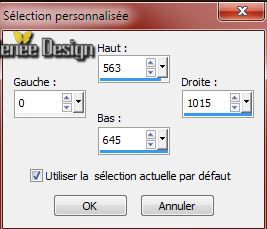
24.
Selections- Promote selection to layer
Selections- Deselect All
25. Effects- Plugins - EyeCandy 5 Imapct- Extrude with these settings

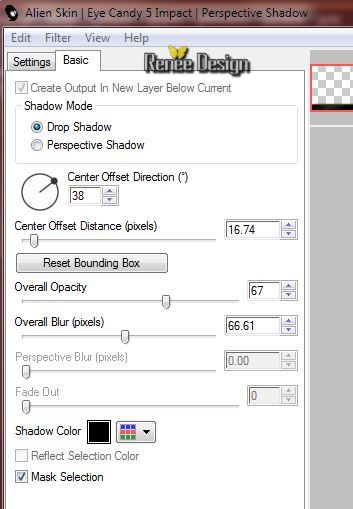
26. Effects- Plugins - EyeCandy 5 Impact - Perspective
Shadow with these settings
27.
Activate the tube ''Steampunk_26__3_arches.pspimage''-
Edit/copy-Edit paste as a new layer on your working area (do not move )
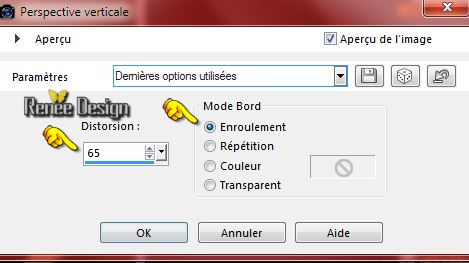
28. Effects- Geometric Effects -Perspective vertical with these settings
29. Effects- Image Effects- Offset with these settings H = 0 and V =320
30. Layers- Arrange- Bring to Top
31. Layer Palette -Double click on this layer and set the Blendmode to Overlay
32. Layers- Duplicate
- Properties Foreground : foreground color to color white
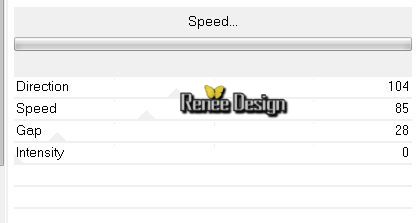
33. Effects- Plugins-
Unlimited 2.0 - VM Natural - Speed
-Material Properties:foreground color to #565e34 Background color to color black
34. Layers- New raster layer
35.
Selections - load/save selection - load selection from disk and choose my selection:''STP_26"- Activate Flood Fill Tool and fill the selection with the foreground color
Selections- Deselect All
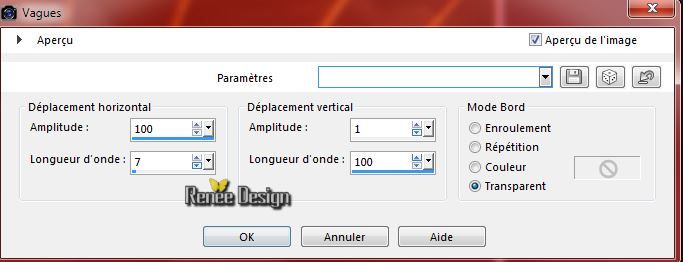
36. Effects- Distortion Effects- Wave with these settings
37. Layer Palette -Double click on this layer and set the Blendmode to Screen
38. Layers- New raster layer
39.
Selections - load/save selection - load selection from disk and choose my selection:''STP_23_1''
40.
Pot of Paint: Change the opacity of the color to
62% -Activate Flood Fill Tool and fill the selection with the background color black
Keep Selected
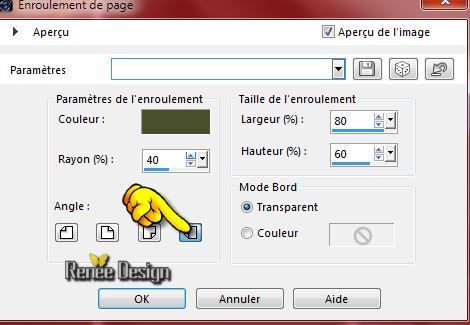
41. Effects- Image Effects Page Curl with these settings-color #484f2b
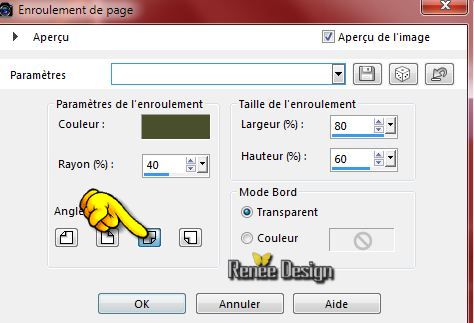
42. Effects- Image Effects Page Curl with these settings-color #484f2b
Keep selected
43. Layers- New raster layer
44.
Pot of Paint: Change the opacity of the color to
62% -Activate Flood Fill Tool and fill the selections with the foreground color
45. Activate Flood Fill Tool and fill the
"masque_STP_26.jpg"
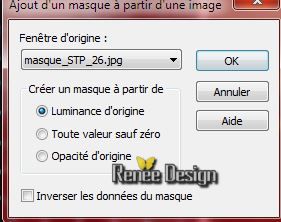
- Layers- Merge- Merge Group
Selections- Deselect All
46. Effects- User Defined Filter-Emboss3 using the default setting
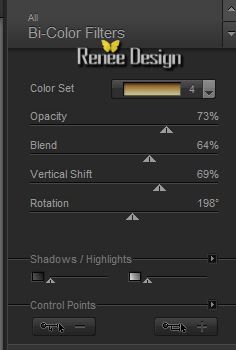
47.
Effects- Plugins -Nick Color Effex Pro3.0 - Bi
Color Filters-Color -Brown - Color set 4
48. Activate the tube''steampunk_23_fille_ailee''-
- Image
Resize with 85 %
- Edit/copy-Edit paste as a new layer on your working area
- With your move tool move to the bottom right side
49. Effects- Plugins -EyeCandy 5 Impact -Perspective shadow-tab settings/user settings - choose my preset
''STP26_pspShadow''
50. Activate the tube ''poisson_Steampunk23.pspimage''-
- Image -
Mirror ( use the script)
- Image
Resize with 60 %
51. Edit/copy-Edit paste as a new layer on your working area
52. Effects- Image Effects- Offsett with these settings

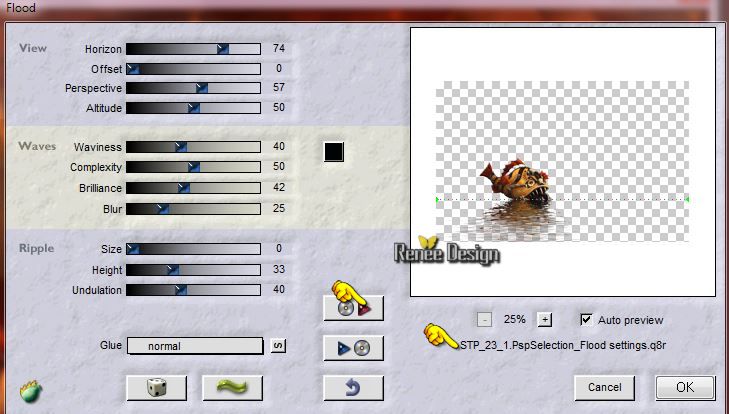
53.
Effects- Plugins - Flaming Pear - flood- click on the red arrow and select my file''STP_23_1.PspSelection_Flood settings.q8r''
54. Layers- Duplicate
55. Effects- Plugins - Amigo Perry Luce (the png image is into the zipfile)
In PSP 12 This filter works well
- In PSP 17 this filter is not working because I install Microsoft Word 2003) It is a choice

56. Layers- Arrange-Move Down
-Activate the top of the layer Palette
57. Layers- New raster layer
58.
Selections - load/save selection - load selection from disk and choose my selection:''STP_26_2''
59.
Pot of Paint: Change the opacity of the color to
100% Activate Flood Fill Tool and fill the selection with color black (click 3 times into selection )
Selections- Deselect All
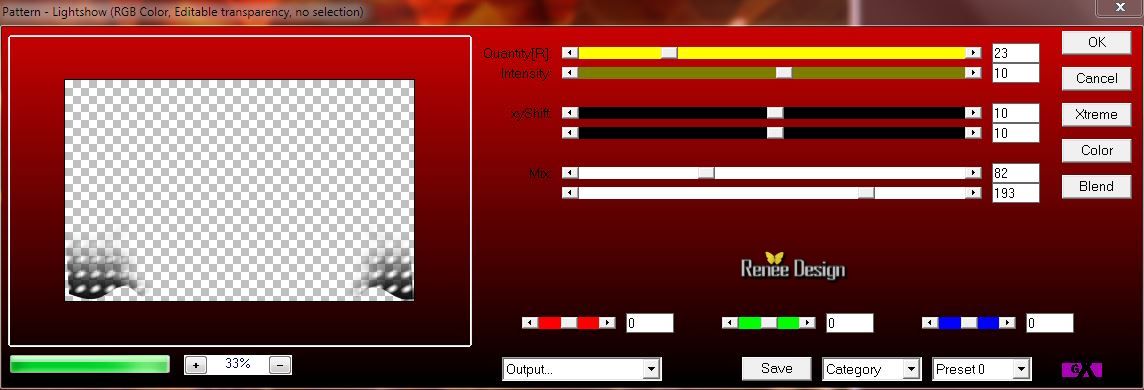
60. Effects- Plugins - AP01(Innovation)-Pattern
Lightshow with these settings
61. Layers- Merge- Merge Visible
62. Activate the tube ''STP_23_bulles.png''- Edit - Copy -Edit - Paste as new layer on your working area and move
63. Activate the tube''AnneStokes_SteampunkMoth.pspimage"
- Image
Resize with 35 %
- Edit - Copy -Edit - Paste as new layer on your working area and move
64. Image
Free Rotate 68° to the right
65.
Effects- Plugins - -Eyecandy5 Impact - Perspective shadow
/-tab settings/user settings - choose my preset ''STP26_pspShadow"
66.
Activate the tube '' steampunk_23_deco-tuyau''
- Activate layer ''tuyau''- of the tube -Edit/copy-Edit paste as a new layer on your working area
-With your Move Tool -move to the bottom left side
67. Activate layer ''flaque '' of the same tube
- Edit/copy-Edit paste as a new layer on your working area
- And move against the bottom edge
- Leave the blendmode to Saturation
68. Layers- Duplicate and place under the tube tuyau/ Opacity of this layer to 51%
See example
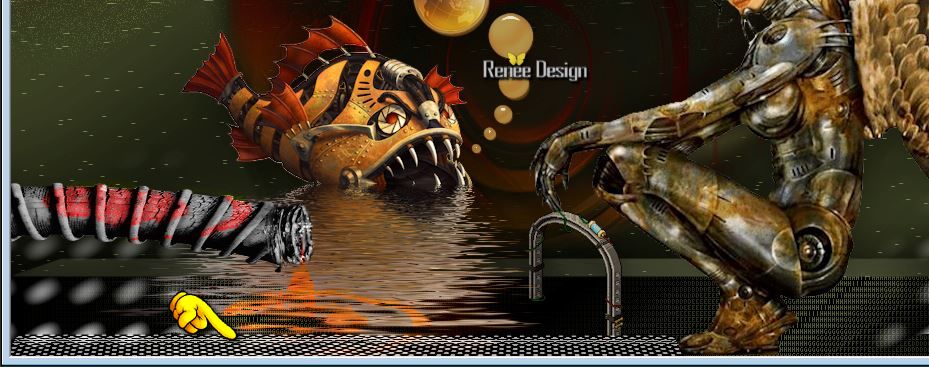
- Tube Flaque see the arrows-erase what exceeds (The result )

- Activate the bottom of the layer palette (merged layer )
69. Activate the tube ''STP_23_Grille''
- Edit - Copy -Edit - Paste as new layer on your working area
- Move to the bottom left side like this
70. Layer Palette -Double click on this layer and set the Blendmode to Hard Light and set the layer opacity of this layer to 89%
71. Layer - Arrange -Move Down above merged layer see screen
Your work look like this now:
- Activate the top of the layer-Palette
72. Layers - New raster layer
73.
Selections - load/save selection - load selection from disk and choose my selection: "STP_23_3"
74. Activate Flood Fill Tool and fill the selection with color white (click 2 x into selections )
Selections- Deselect All
75. Layers- Merge- Merge Visible
76. Window Duplicate
minimize the original and proceed with the copy
77. Adjust- Blur- Gaussian Blur: Radius 100%
78.
Effects- Plugins -Ulimited 2.0- Toadies -Look,Butthead a TV!
/ using the default settings 13/128/115/69
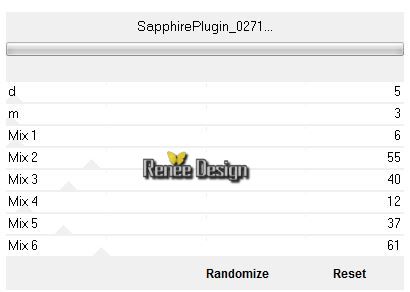
79.
Effects- Plugins -Unlimited 2.0 -Sapphire Filters 03-Sapphire
Plugin_0271
80. Effects- Edge Effects- Enhance More
81 .
Activate your minimized image
82. Image
Resize with 85% -resize all layers checked !!!!
83. Edit/copy-Edit paste as a new layer on your working area
-Activate the layer underneath (merged)
84. Effects- Plugins -
Modules Externes - AAA Frame - Foto
frame with these settings

85. Image - Add borders-Symmetric checked: 1 pixels black
86. Image - Add borders-Symmetric checked: 50 pixels white
87. Activate the tube ''cadredeco_steampuk_23''- Edit - Copy-Edit - Paste as new layer on your working area (do not move)
88. Image - Add borders-Symmetric checked: 1 pixel black
89. Image
Resize with 995 pixels Width
90. Open the text/ Edit/copy-Edit paste as a new layer on your working area .Ore write your own text
91. Activate the tube ''STP_26_filtrage''- Edit - Copy -Edit - Paste as new layer on your working area and move
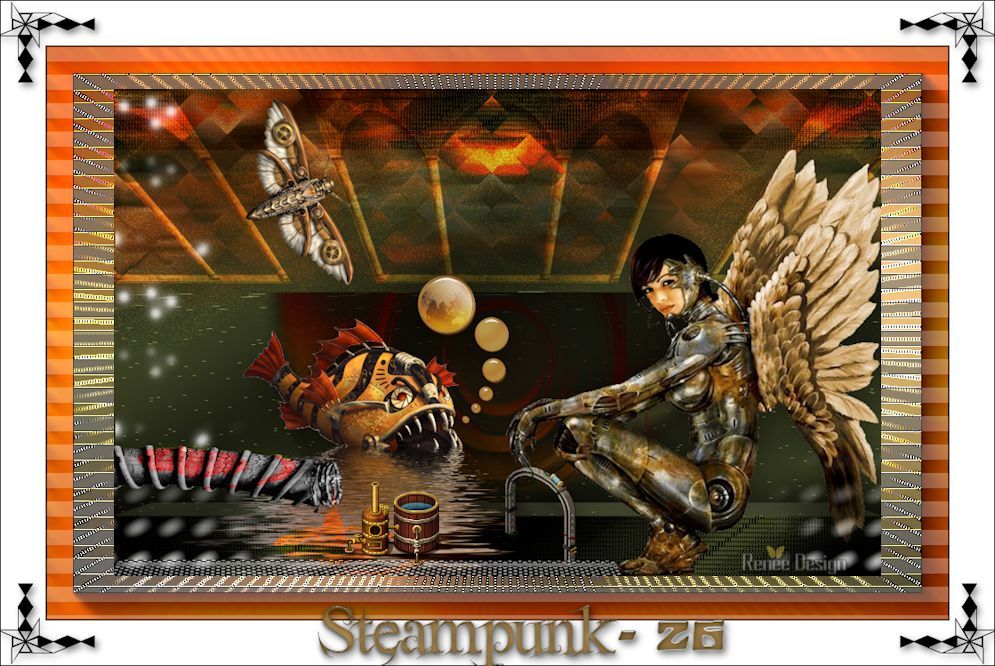
Save as JPG
I hope you enjoyed this lesson
Renée
This lesson was written by Renée 19/12/2014
Created the
01/2015
*
Any resemblance with an existing lesson is merely a coincidence *
* Don't forget to thank the people who work for us and with us. I named the tubeurs - Testers and the translators.
Thanks Renée.
*
| 
 Translations


 When you see this logo the filter is imported in Unlimited *

 All rights reserved