|
Rentrée
scolaire 2019
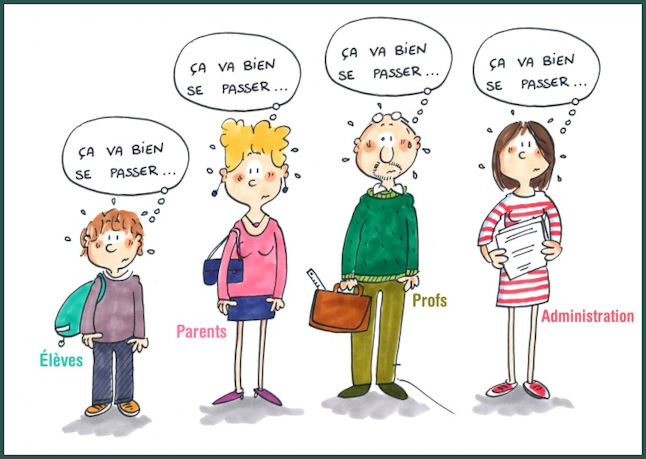
- Preparation
- Color Palette: Set your Foreground color to color #2324a7=1 – Set your Background color to color #93c84c= 3

1. File- Open a New Transparent Image of 900 x 650
Pixels
2. Effects –Plugins- Unlimited 2.0 - VM
Instant Art - Vernissage...Using the default settings (click on reset to put the default filter)
The result
Do you have problems with this?- Image ''effet
vm instant art vernissage'' is included in the zipfile and paste as a new layer on your working area
3. Effects- Plugins–
Transparency – Eliminate white
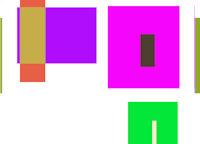
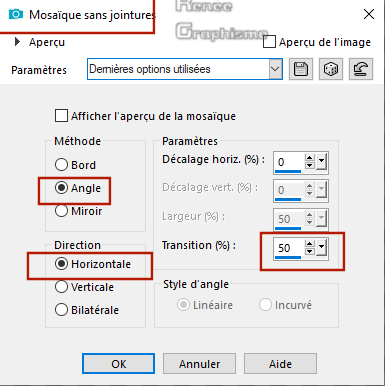
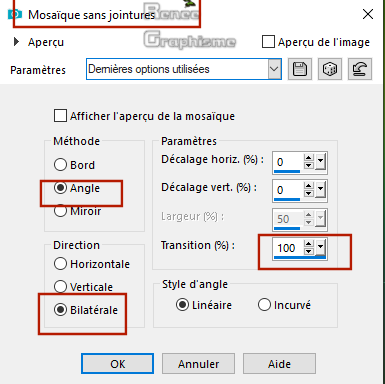
4. Effects – Image Effects- Seamless Tiling use the settings below
5. Activate Selection Tool -Custom Selection (S) -Rectangle with these settings
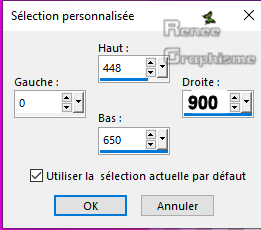
DELETE
Selections - Select none
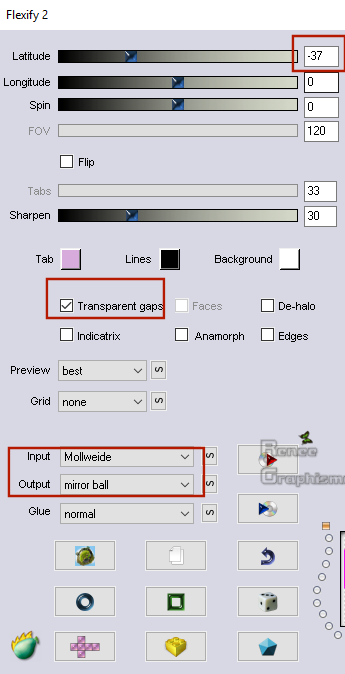
6. Effects – Plugins –
Flaming Pear – Flexify 2 use the settings below
7. Effects –Plugins –
Eye Candy 5 Impact– Glass –tab settings/user settings - choose my preset: Preset ‘’
Rentree_scolaire-Glass’’
8. Effects-Plugins- Unlimited 2.0- VM - VM
Instant Art - Colorfield Generator II...using the default settings
9. Adjust- Blur- Gaussian Blur : Radius 65
10. Layers- Duplicate
11. Effects - Plugins – Mock-
Bevel: 40
12. Effects – Image Effects- Seamless Tiling use the settings below
13. Effects – Edge Effects –Enhance
14. Layers- Merge- Merge Down
15. Effects –Plugins- Unlimited 2.0- Simple –
Blintz
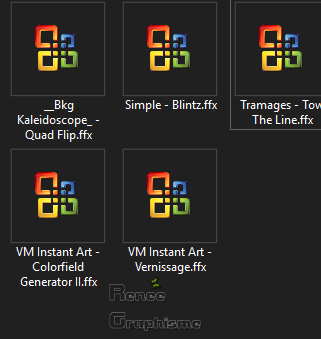
16. Effects –Plugins- Unlimited 2.0 - &<Bkg
Kaleidoscope> -Quad Flip using the default settings
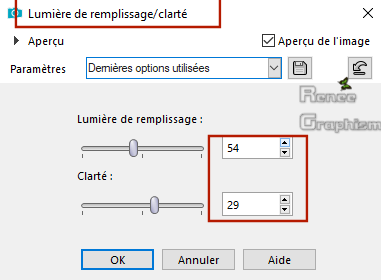
17. Adjust – Brightnee and Contrast
– Fill Light/Clarity with these settings
18. Activate the tube ‘’
Renee_Rentree_scolaire_Image 1’’
- Edit - Copy- Activate your work -Edit - Paste as a new layer
19. Objects – Align - Left
20. Image – Negative Image
21. Layers-Properties-Set the Blend Mode to " Overlay "
22. Effects – 3 D-Effets - Drop Shadow with these settings : 2/0/80/2 Color black
23. Activate the tube ‘’
Renee_Rentree_scolaire_Image 3’’
- Edit - Copy- Activate your work -Edit - Paste as a new layer
24. Objects - Align -Top
25. Effects – Plugins –
Eyecandy 5 Impact – Perspective shadow- Preset : Drop
shadow low
26. Layers- New Raster Layer
27. Selections –load/save selection –load selection from disc and select my selection:
‘’ Rentree_scolaire-1’’
28. Activate Flood Fill Tool  –
Flood fill the selection with the background color = 3 –
Flood fill the selection with the background color = 3
Selections - Select none
29. Effects- Plugins-Unlimited 2.0 – Tramages
- Tow The Line...with these settings: 49/54/48/9
30. Layers- Duplicate
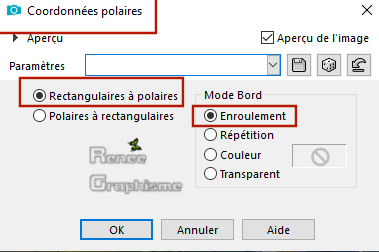
31. Effects –Distortion Effects –
Polar Coordinates-Rectangular to Polar-Warp checked
32. Layers-Properties-Set the Blend Mode to " Luminance " – Reduce the Opacity of this layer to 57%
33. Effects – Edge Effects -Enhance More
34. Open the tube ‘’
Renee_Rentree_scolaire_Image 2’’-Image- Resize 90%
- Edit - Copy- Activate your work -Edit - Paste as a new layer
- With your move tool:move to the top right (see finished image )
36. Activate the tube ‘’
Renee_TUBES_Scolaire-2019’’
Choose the tube that interests you
Renée has chosen tube 1,2,3 and 4
Edit - Copy- Activate your work -Edit - Paste as a new layer and move
On tube 4 !!!!-Image -Resize to 85%
37. Image - Add borders-Symmetric checked: 5 pixels #2324a7=1
38. Image - Add borders-Symmetric checked: 45
pixels #ffffff
39. Image - Add borders-Symmetric checked: 1
pixel #2324a7=1
40. Image - Add borders-Symmetric checked: 25 pixels #ffffff
41. Activate Text Tool - Renée choose font "Monte Carlo" (is into the zip)- Size and Colors and Drop shadow to your taste
42. Activate the tube ‘’school’’ - Edit - Copy- Activate your work -Edit - Paste as a new layer -Image- Resize 95%
- Do not worry if your colors are slightly different
43. Layers- Merge- Merge All (flatten)
44. Image - Resize to 999 Pixels width.
Save as JPG
I hope you enjoyed this lesson
Renée
This lesson was written by Renée 11-07- 2019
Edited and Update
2019
*
Any resemblance with an existing lesson is a coincidence
*
Do not forget to thank the people who work with us and for us
I have appointed the tubeurs and translators
Thanks
*
|

 Translations


 If a plugin supplied appears with this icon it must necessarily be imported into Unlimited *