|
Let's start the lesson
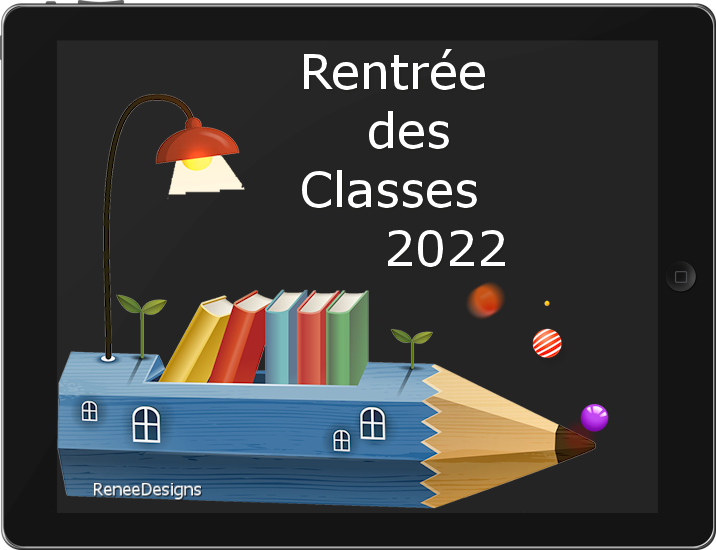
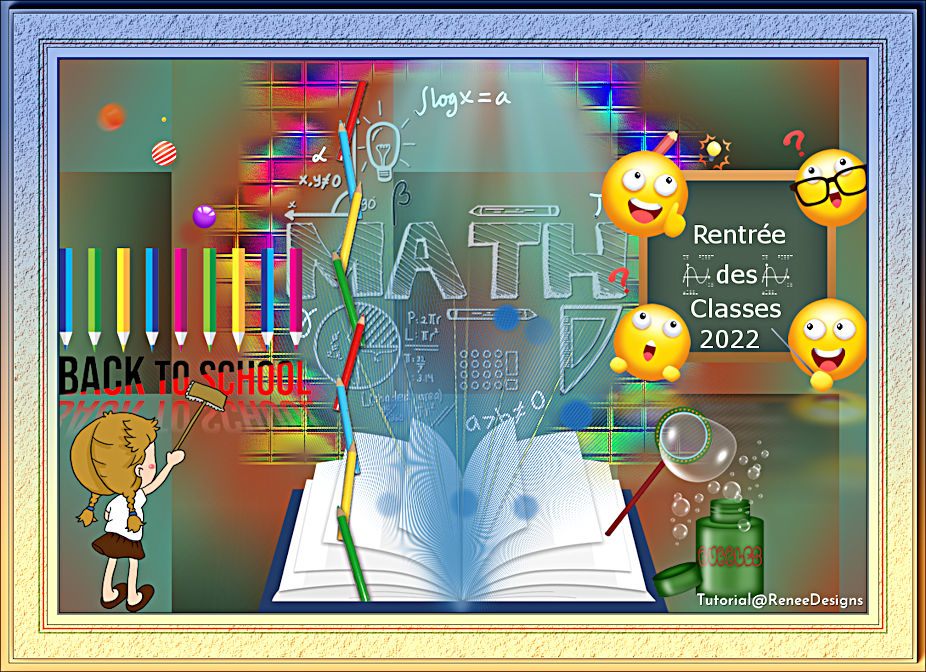
Rentrée des classes
2022
Here are tubes for your back-to-school characters

- Preparation
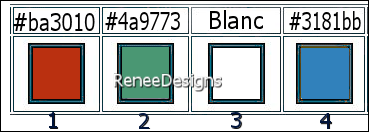
-Material Properties: Set your foreground color to color #ba3010 =color 1 – Set your background color to color #4a9773=color 2
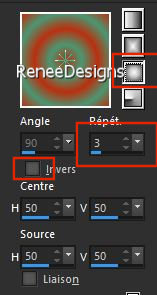
- Set your Foreground color to foreground-background " Sunburst" gradient configured like this
1. File-Open a new transparent image in the size: 950 x 650 Pixels
2. Flood Fill Tool
 –
Fill the layer with the gradient –
Fill the layer with the gradient
3. Adjust-Blur- Gaussian Blur-Radius 40
4. Layers- Duplicate
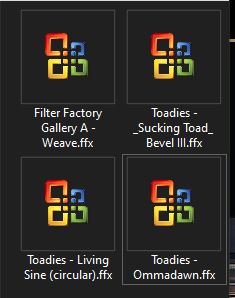
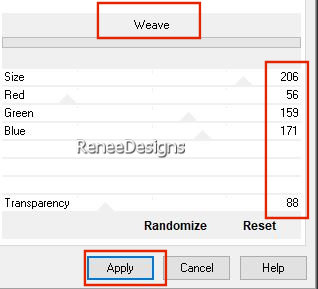
5. Effects - Plugins - Filters in Unlimited 2.0- Filter Factory Gallery
A- Weave use the settings below
6. Layers- Duplicate
7. Effects - Plugins - Filters Unlimited 2.0- Filter Factory Gallery
A- Weave use the settings below

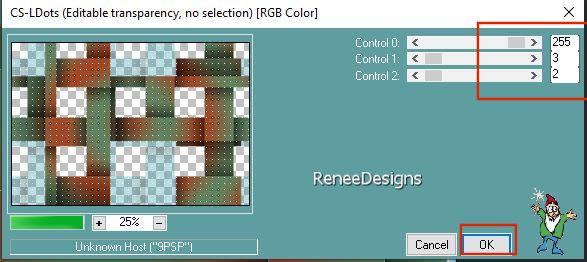
8. Effects – Plugins – Carolaine & sensibility –CS-LDots use the settings below
9. Effects – Edge Effects – Enhance
10. Image - Mirror - Mirror Horizontal (Image - Mirror in older versions of PSP)
- Image - Mirror - Mirror vertical ( Image - Flip in older versions of PSP)
11. Effects - Plugins - Filters in Unlimited 2.0- Toadies - *Sucking
Toad* Bevel III...using the default settings
12. Effects - 3D-Effects - Drop Shadow with these settings: 0/0/60/ 38,45 Color Black
13. Image -
Resize 15% - (Resize all layers NOT checked)
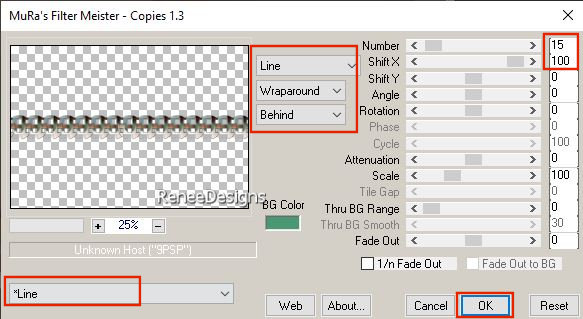
14. Effects -Plugins – Mura’s Meister – Copies use the settings below
15. Effects- Plugins- Flaming Pear – Flexify2 use the settings below

15a.
Objects- Align
- Top
16. Adjust-One Step Photo Fix
17. Effects - Plugins- Filters in Unlimited 2.0 - Toadies - Living Sine
(circular) using the default settings
18. Effects -Plugins - Filters in Unlimited 2.0 Toadies - Ommadawn...using the default settings
19. Effects- Edge Effects
– Enhance More
20. Effects- User Defined Filter - Color sketch ( place in the preset folder of your psp )
21. Open the Tube ‘’Renee-TUBES-RClasses2022-Image 1’’ -Edit - Copy- Activate your work -Edit - Paste as a new layer
- Move the tube in the right place ( see finished image)
22. Open the Tube ‘’Renee-TUBES-RClasses2022-Image 2’’-Edit - Copy- Activate your work -Edit - Paste as a new layer
-Do not move !
23. Layers- Properties- Lower the Opacity to 61%
24. Open the Tube ‘’Renee-TUBES-RClasses2022-Image 3’’ -Edit - Copy- Activate your work -Edit - Paste as a new layer
25. Pick Tool: (K) on your keyboard -Enter these parameters on the toolbar
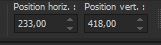 233/418 233/418
Press ( M ) to close the Pick Tool
26. Open the Tube ‘’Renee-TUBES-RClasses2022-Image 4’’ -Edit - Copy- Activate your work -Edit - Paste as a new layer
27. Pick Tool: (K) on your keyboard -Enter these parameters on the toolbar
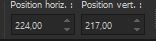 224
/217 224
/217
Press ( M ) to close the Pick Tool
28. Effects – Edge Effects - Enhance
29. Layers- New Raster Layer
30. Selections –load/save selection –load selection from disc and select my selection: ‘’rentree-des-classes2022- 0’’
31.Color Palette- Set your Foreground color to color #3181bb=color 4
Flood Fill Tool
–
Fill the selection with the foreground color #3181bb=color 4 (click 1 or 2 times)

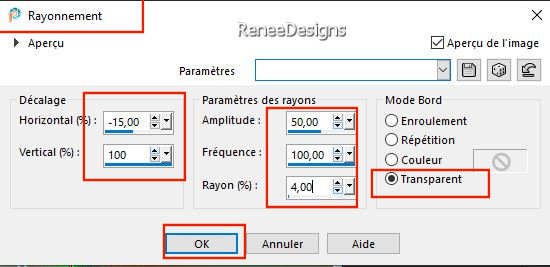
32. Effects - Distortion Effects– Spiky Halo use the settings below
32a. Put the image aside for now, we will need it later
-
File-Open a new transparent image in the size 330 x 330 Pixels
33.Open the Tube "Renee- ‘’TUBES-RClasses2022-Image 5’’ -Edit - Copy- Activate your work -Edit - Paste as a new layer- Do not move !
34. Selections –load/save selection –load selection from disc and select my selection: ‘’rentree-des-classes2022- 1’’
35. Layers- New Raster Layer
36.Color Palette- Set your Foreground color to color #ffffff =color 3
Flood Fill Tool -
Fill the selection with the foreground color #ffffff =color 3 (several clicks)
37. Layers - Duplicate 3 times
- Merge these 3 layers of writing (if necessary duplicate again )
38. Text Tool- with font of your choice -Renée chose the font ‘’Verdana’’ –Color white - Size
28 Pixels - write your text
(Renée: Rentrée des classes
2022)
39. Open the Tube
‘’ Renee- TUBES-RClasses2022-Image 6’’
-Place the decorative elements individually according to your taste
Everything is well placed ?
40. Layers- Merge - Merge Visible
-Edit-Copy !!!
41. Activate the image you minimized at step 32 a
Edit - Paste as a new layer
42. Pick Tool: (K) on your keyboard -Enter these parameters on the toolbar
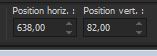 638 /82
Press ( M ) to close the Pick Tool
43. Effects-Plugins - Alien Skin EyeCandy 5 – Impact – Perspective
Shadow-Tab-Settings-User Settings and select my file-preset ‘’Rclasses-2022-shadow’’
44. Open the Tube
‘’Renee-Ecole-2022 ‘’ -I have several tube layers to use – Paste as a new layer and place the decorative elements individually according to your taste
Drop shadow if desired on tube
45. Layers- Merge - Merge Visible
EDIT- COPY !!!
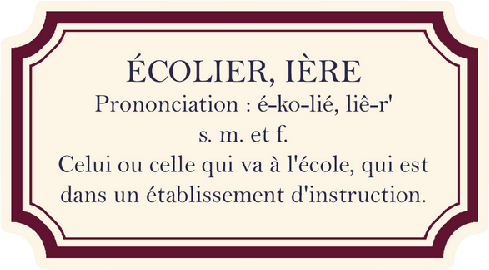
46. Open the Tube
‘’cadre-rentree-classes-2022’’
47. Activate the Magic Wand - select the inside of the frame
Edit - Paste Into Selection (Image is still in your PSP memory)
48. Paste the author's watermark on your work and your own watermark
49. Layers- Merge- Merge all (flatten)
50. Image-
Resize 85 % (Resize all layers checked)
51. Effects – Plugins – Xero - Clarify
Save as JPG
That's it - Thank you / I hope you enjoyed this lesson
Renée
This lesson was written by Renée 10/07/ 2022
Edited and Update
in 2022
*
*
Any resemblance with an existing lesson is a coincidence
* Do not forget to thank the people who work with us and for us
-I have appointed the tubeurs and translators
Thanks
|
 Translations