|
Let's start the lesson
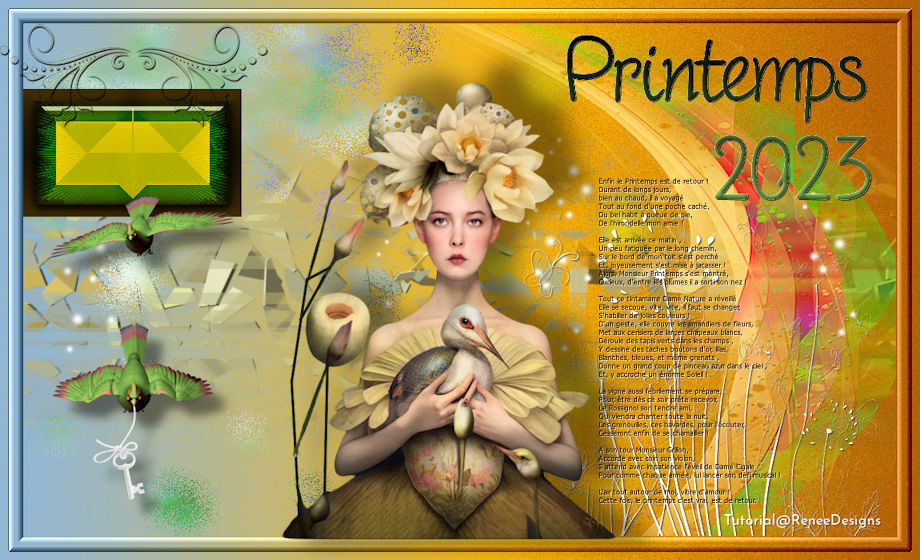
Printemps/Spring 2023
- Material Properties:
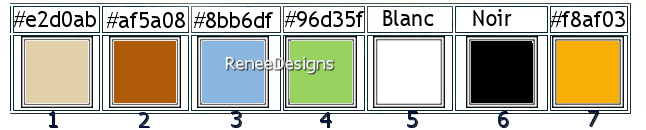
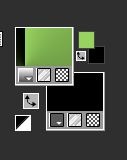
Set your Foreground color to color #8bb6df=color 3 – Set your Background color to color #af5a08=color 2
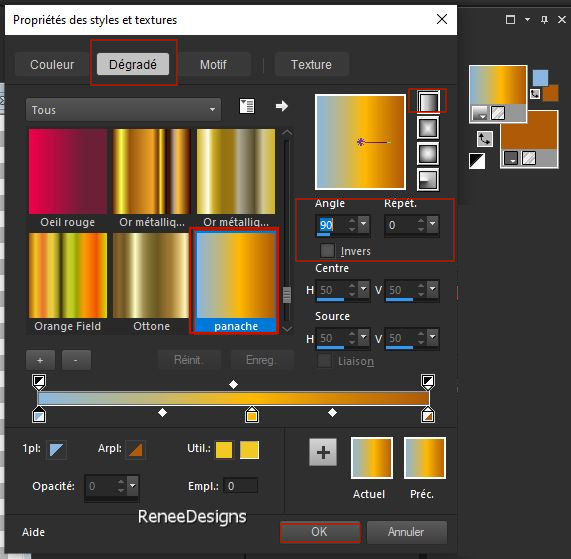
- Material Properties: Set your Foreground color to Gradient and select ‘’Panache’’ Style Linear with these settings
1. File: Open a Transparent Image in this size : 1150
x 700 Pixels
2. Flood Fill Tool
 –
Fill the layer with the gradient –
Fill the layer with the gradient
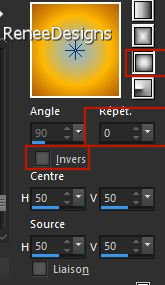
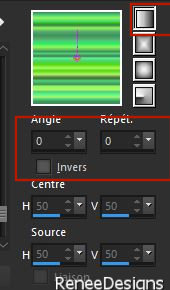
- Material Properties: Change the foreground gradient to a sunburst gradient use the settings below
3. Layers- New Raster Layer
4. Selections –load/save selection –load selection from disc and select my selection: ‘’Printemps-2023-1’’
5. Flood Fill Tool
–
Fill the selection with the sunburst gradient
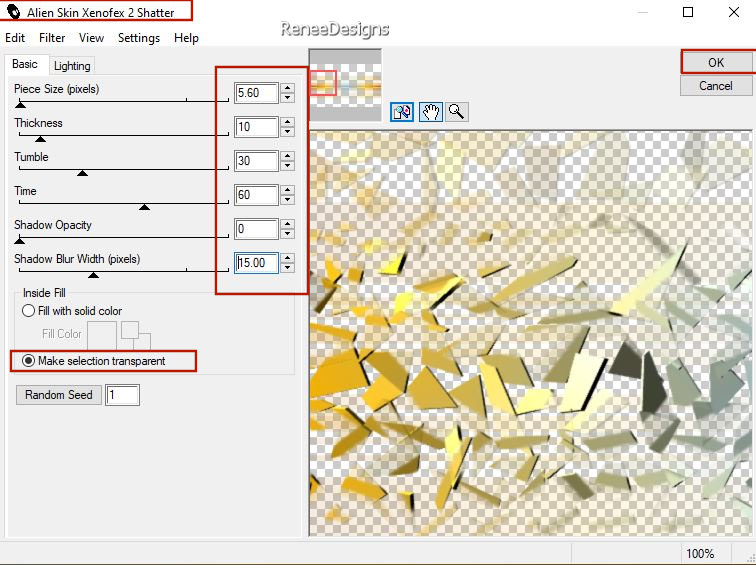
6. Effects- Plugins– Alien Skin - Xenofex 2 – Shatter use the settings below
7. Selections – Invert
 
8. Layers-Properties-Set the Blend Mode to " Luminance " - Reduce the opacity of this layer to 67%
- Material Properties: Set your Foreground color to Gradient and select ‘’pj3-emerald-city’’
- Set the Background color to color # e2d0ab=Color 1
- Properties Foreground- Prepare a Foreground- linear Gradient configured like this
9. Layers- New Raster Layer
10. Selections –load/save selection –load selection from disc and select my selection: ‘’Printemps-2023-2’’
11. Flood Fill Tool
–
Fill the selection with the gradient
12. Layers- New Raster Layer
13.Flood Fill Tool
–
Fill the selection with the Background color #e2d0ab=Color 1
14. Layers-Properties-Set the Blend Mode to " Difference"
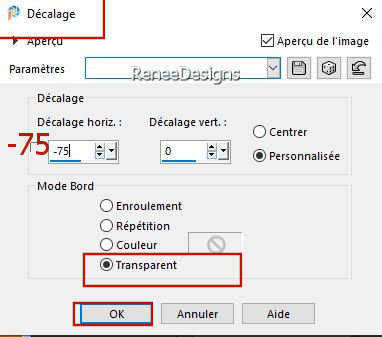
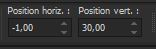
15. Effects – Image Effects
– Offset use the settings below
16. Layers- Merge- Merge Down
17.Effects- Plugins – FM Tile Tools – Saturation Emboss using the default settings
(repeat a second time)
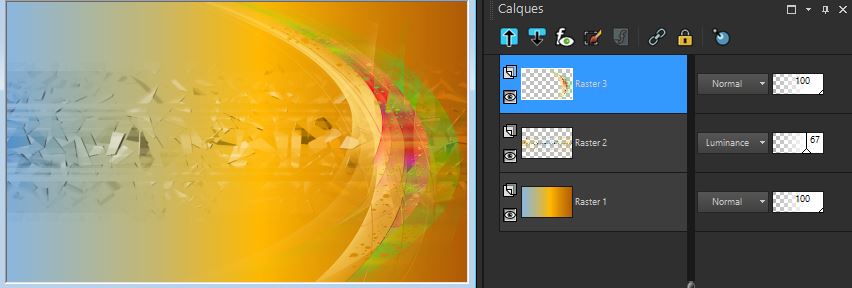
Your work and Layer Palette look like this now-You should have this result
(
if the colors are different it does not change anything for the final result)
18. Open the Tube ‘’Printemps-2023- Image 1.’’ -Edit - Copy- Activate your work -Edit - Paste as a new layer
19.
Layers-Properties-Set the Blend Mode to "Hard Light"
- Material Properties: Set your foreground color to color #ffffff=Color 5
20. Layers- New Raster Layer
21. Selections –load/save selection –load selection from disc and select my selection: ‘’Printemps-2023-3’’
- Flood Fill Tool
–
Fill the selection with the Foreground color #ffffff=Color 5
(click 2 times )
22.Effects – 3D-Effects – Drop Shadow with these settings: 1/1/80/2 Color Black
23.Open the Tube ‘’Printemps-2023- Image 2.’’ -Edit - Copy- Activate your work -Edit - Paste as a new layer
24. Pick Tool: (K) on your keyboard -Enter these parameters on the toolbar
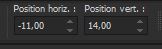 -11/
14 -11/
14
-Press ( M ) to close the Pick Tool
25. Effects- Plugins – I-Decay - X-Y - Diffuse with these settings : 49/62/15
26. Effects- Plugins - Filters in Unlimited 2.0 – Render – Color Clouds
: 249
-
Activate Raster 1 in the Layers palette
27. Effects- Plugins – Amphisoft – Out of Noise use the settings below
Attention
First, click on -Effect Type >=Diffuse
and then Radius >= 77
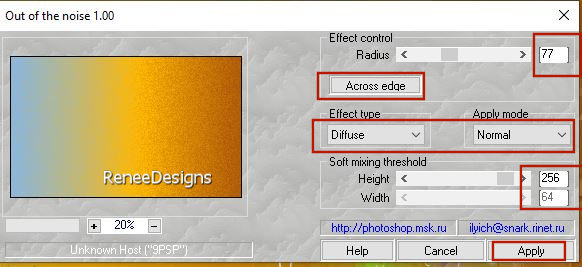
- Repeat this effect a second time
-
Stay on the layer of Raster 1 in the Layers palette
28. Selections –
Select All– Selections- Modify- 10 Pixels
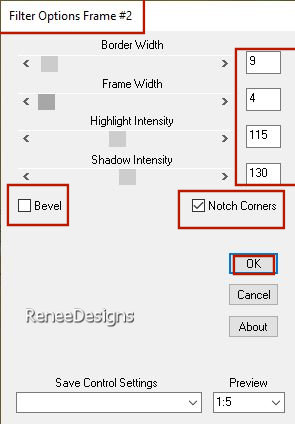
29. Effects-Plugins – Border Mania- Frame 2 use the settings below
if you see this 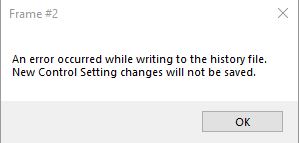
Click OK, the filter will be executed
30.
In the layers palette-close raster 1 -Activate the top of the layers palette
31. Layers- Merge -Merge Visible
-
Stay on the merged layer
32. Selections –load/save selection –load selection from disc and select my selection: ‘’Printemps-2023-4’’
33. Selections – Invert
-
-
Open raster 1 again in the layers palette
-Material Properties:
Set your Foreground color to color #f8af03=Color 7 – Set your Background color to color Black=Color 6
- Properties Foreground- Prepare a Foreground/Background Radial Gradient configured like this

- To replace the top of the layer-palette
34. Layers- New Raster Layer
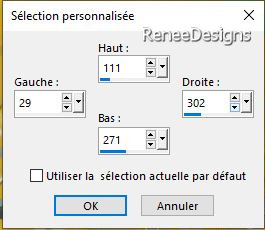
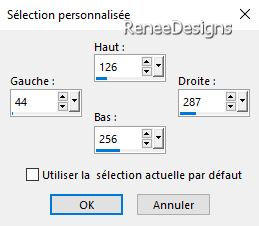
35. Activate Selection Tool -Custom Selection (S) -Rectangle with these settings 
36. Flood Fill Tool
–
Fill the selection with the gradient
37. Effects-Plugins – Simple – Pizza slice Mirror
38. Effects –Reflection Effects– Rotating Mirror use the settings below
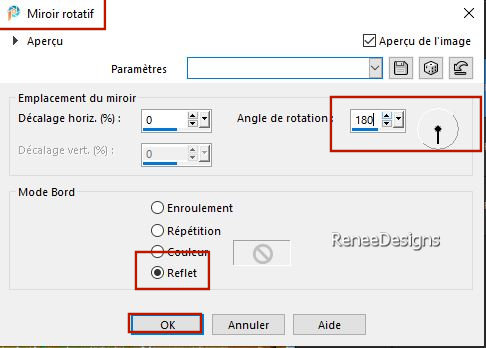
DO NOT DESELECT
39.Layers- New Raster Layer
40.
Activate Selection Tool -Custom Selection (S) -Rectangle with these settings
- Material Properties: Set your Foreground color to color # 96d35f=Color 4
- Properties Foreground- Prepare a Foreground/Background Radial Gradient configured like this
41. Flood Fill Tool
–
Fill the selection with the gradient
42. Effects- Plugins - Filters in Unlimited 2.0 - Filter Factory
Gallery D -Tunnel Tile with these settings: 37/105
43. Effects- Plugins - Alien Skin EyeCandy 5 - Impact - Glass-– Tab- Settings-User Settings -choose my file- Preset : ‘’Printemps-2023- Glasss’’
44. Layers-Properties-Set the Blend Mode to "Hard Light "
45. Open the Tube ‘’ Printemps-2023- Image
3.’’ -Edit - Copy- Activate your work -Edit - Paste as a new layer
46. Pick Tool: (K) on your keyboard -Enter these parameters on the toolbar
 -
1 / 30 -
1 / 30
-Press ( M ) to close the Pick Tool
47. Layers-Properties- Renée set the blend mode to " Multiply " (according to your choice of colors)
48. Open the Tube ‘’ Printemps-2023- Image
4.’’ -Edit - Copy- Activate your work -Edit - Paste as a new layer
- Move the Tube in the right place ( see finished image)
49. Open one of Renée's tubes, or a tube of your own
- Or take this Tube ‘’Renee-TUBES-Printemps-2023-1’’-Resize to 75 %
Edit - Copy- Activate your work -Edit - Paste as a new layer and move
Drop Shadow of your choice
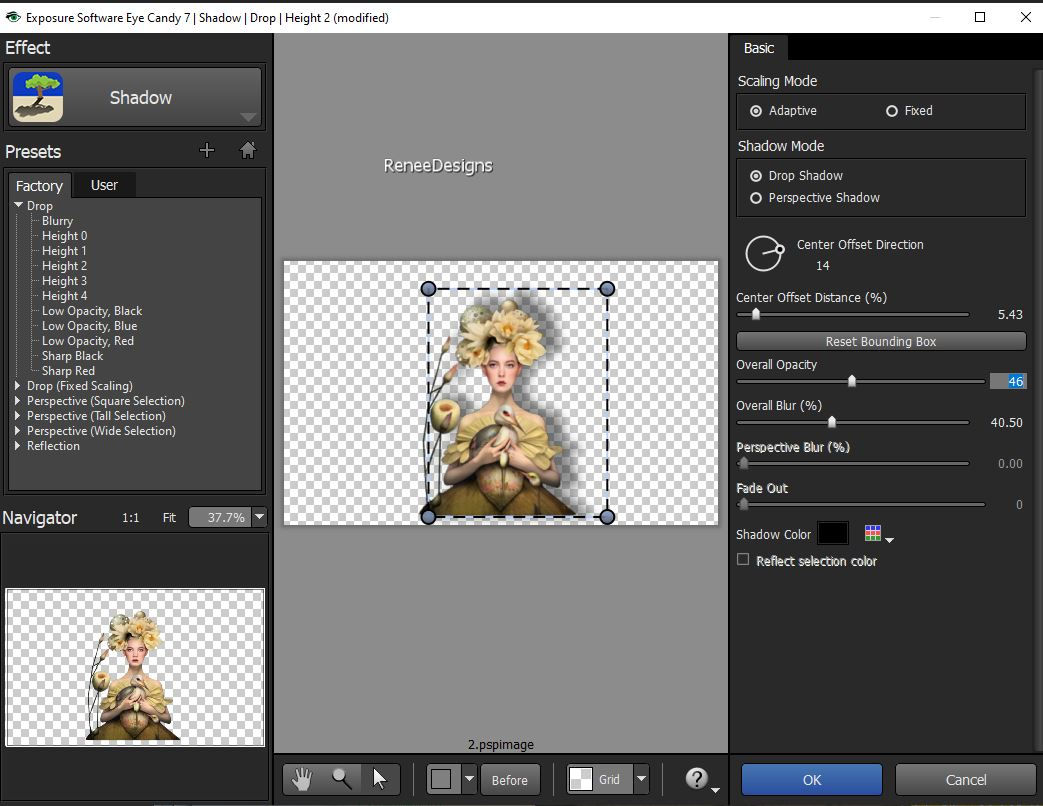
50.
Renée used this filter Effects- Plugins -EyeCandy 7- Shadow-
Drop- Height 2 use the settings below
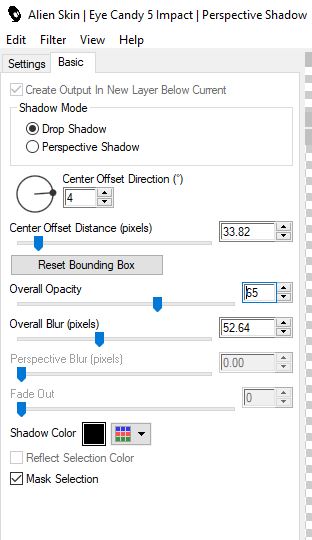
50 a. For the same effect
-Effects- Plugins- Alien skin EyeCandy 5- Impact - Perspective shadow
( Modify "Overall Opacity "to your taste)
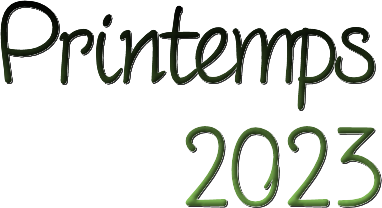
51. Open the Tube "Titre" --Edit - Copy- Activate your work -Edit - Paste as a new layer
Renée chose this font "Fineliner-Script" ( (Included in the material) or choose your own font- Write your text.)
52. Paste the author's watermark on your work and your own watermark
53.
Layers- Merge- Merge Visible
54 Image - Resize
80%
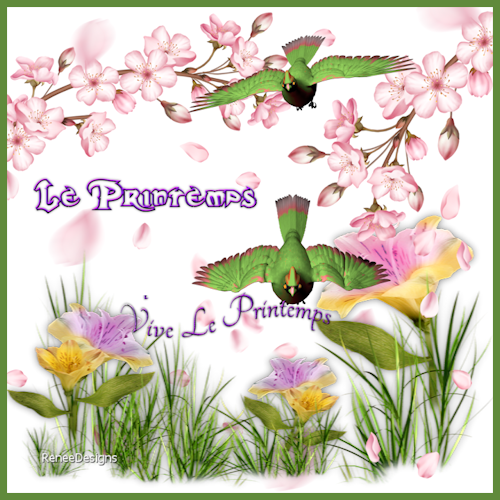
55. Open the Tube
‘’texte-printemps''- -Edit - Copy- Activate your work -Edit - Paste as a new layer
Move to the right side
56. Layers- Merge- Merge All (flatten)
Save as JPG
I hope you enjoyed this lesson
Renée
This lesson was written by Renée
04/02/2023
Edited and Update
in 2023
*
Any resemblance with an existing lesson is a coincidence
* Do not forget to thank the people who work with us and for us -I have appointed the tubeurs and translators
Thanks
|
 Translations