|
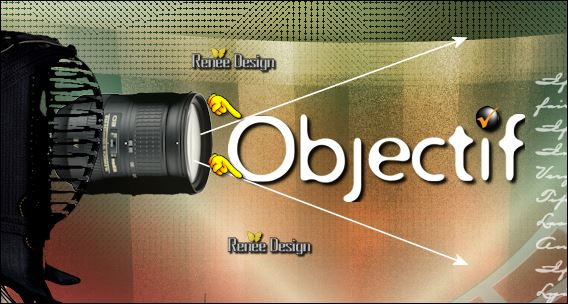
Let's start the lesson.
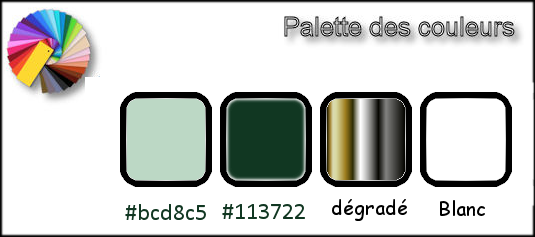
Used Colors
-
Preparation - Color Palette:Set your Foreground color to #bcd8c5 -Set your Background color to #113722
1.
Open Image ‘’fond_Obectif’’ – Window - Duplicate (or shift+D) - Close the original and proceed on the copy -Promote Background Layer = Raster 1
2.
Effects –Plugins - Unlimited – VM Experimental –
Magnetic Detection using the default settings
104/0/0/0
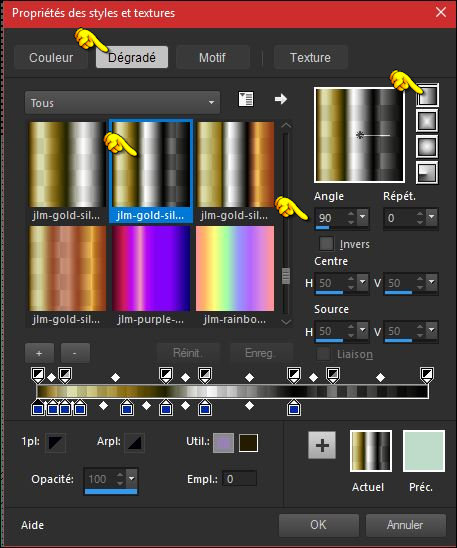
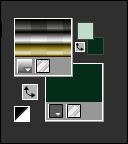
Change foreground material into gradient and select
‘’jlm-gold-silver-black’’ -Put your foreground on the linear gradient configured like this
3.
Layers- New Raster Layer
4.
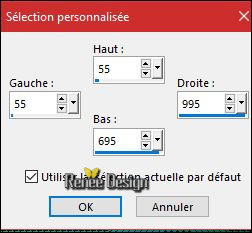
Activate Selection Tool -Custom Selection (S) -Rectangle with these settings
5.
Activate Flood Fill Tool  and fill the selection with the gradient and fill the selection with the gradient
Selections- Deselect All
6.
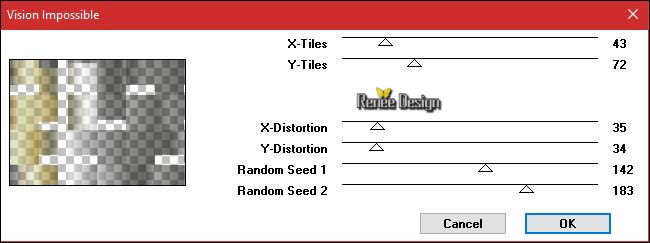
Effects – Plugins or Unlimited - VM Distorsion –
Vision Impossible
7.
Effects – Plugins – Transparency – Eliminate
black
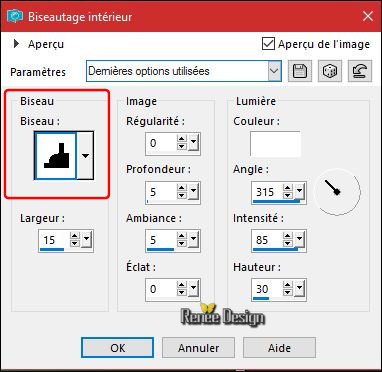
8.
Effects- 3 D Effects- Innerbevel use the settings below /
#ffffff
9. Layers- Duplicate
- Image - Mirror - Mirror Horizontal (Image - Mirror in older versions of PSP)
10. Layers- Merge- Merge- Down
11. Effects- 3 D Effects- Drop Shadow with these settings: 6/12/100/18 black
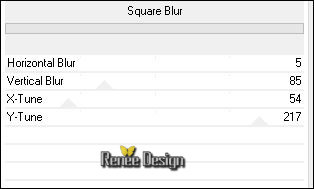
12. Effects
-Plugins - or Unlimited - VM Stylize
- Square Blur
13.
Selections- Deselect All
14.
Selections- Modify- Contract with 45 Pixels
Properties Foreground - Change the settings of the linear gradient into these settings 0/0
15. Layers- New Raster Layer
16. Activate Flood Fill Tool and fill the selection with the gradient
17.
Effects –Plugins- Unlimited – Kang 1 -circuit Weaver
184/131
Selections- Deselect All
18. Layers-Properties-Set the Blend Mode to " Overlay "
19.
Layers- Merge- Merge Down
20.
Effects –Plugins- Unlimited ICNET FILTERS - Tile & Mirror -Seamless
Blend (horizontal)
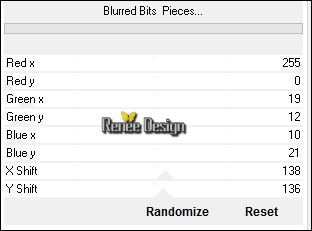
21.
Effects –Plugins- Unlimited - Andrew's Filters 6 - Blurred Bits &
Pieces...
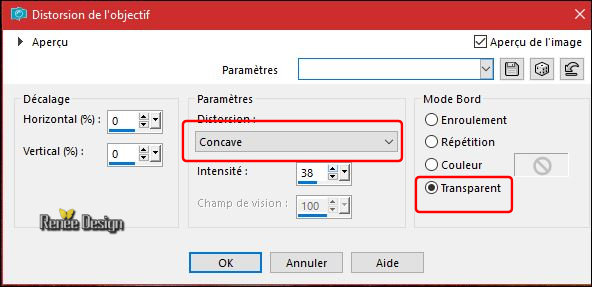
22. Effects- Distortion Effects- Lens Distortion use settings below-( Pincushion)
23. Effects- 3 D Effects- Drop Shadow with these settings: 1/3/100/32 (background color)#113722
- Activate the bottom of the layers palette =Raster 1
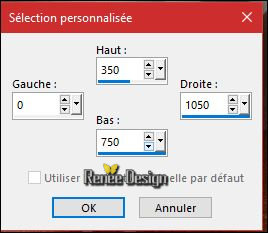
24.
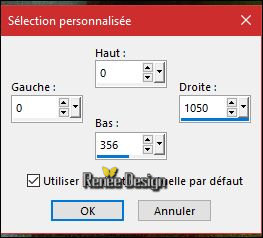
Activate Selection Tool -Custom Selection (S) -Rectangle with these settings
25.
Selections- Promote selection to layer
- Layers- Arrange- Bring to Top
Selections- Deselect All
26. Effects
–Plugins - L & K’s – Sanne 137/0
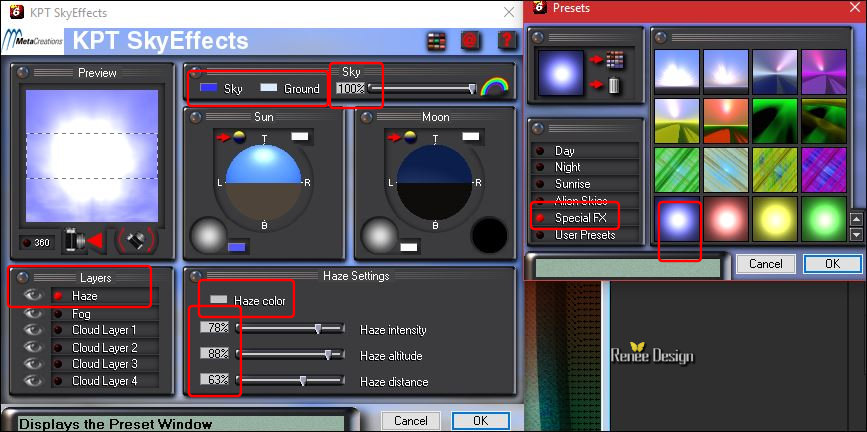
27. Effects
– Plugins – KPT 6- KPT Sky effects
Click the icon "SKY /GROUND und HAZE COLOR"
-
Click on the triangle -Click on the color (Haze color)Select the color and select the color you selected with one click
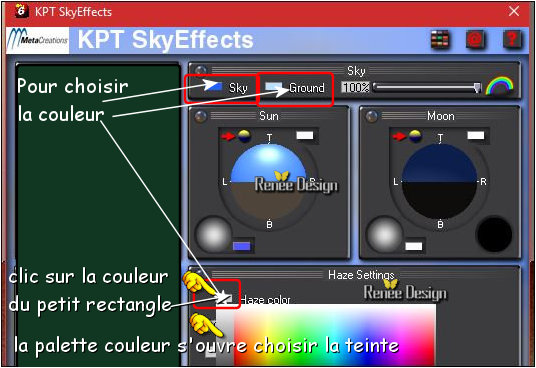
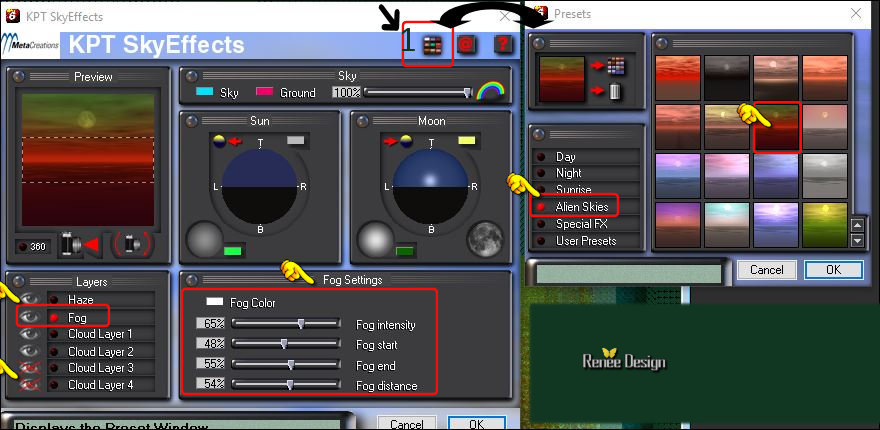
- Click the small icon
 The filter window opens and selects "Alien Skies" and "Fog" The filter window opens and selects "Alien Skies" and "Fog"
-
Follow the instructions. As shown in the example below
28. Layers-Properties-Set the Blend Mode to " Color "
29. Layers- New Raster Layer
30.
Activate Selection Tool -Custom Selection (S) -Rectangle with these settings
31.Color Palette:Set your foreground color to #ffffff - Activate Flood Fill Tool-Settings of your paint pot to 50% –and fill the selection with the foreground color #ffffff
32. Effects
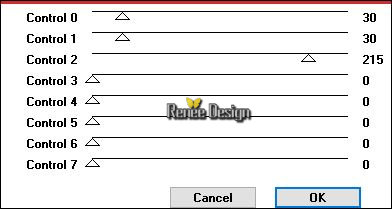
– Plugins – KPT 6 - KPT Sky effect use the settings below
Selections- Deselect All
33.
Layers-Properties-Set the Blend Mode to " Luminance-Legacy "
34.
Effects –Plugins - L & K’s – Sanne
137/0
35. Layers- Merge- Merge Down
-
Layers-Properties-Set the Blend Mode to "Color"
36. Layers- New Raster Layer
37.
Selections –load/save selection –load selection from disc and select my selection:‘’Objectif_1’’
38. Activate Flood Fill Tool –Settings of your paint pot to 100% - and fill the selection with the foreground color #ffffff
Selections- Deselect All
39. Effects- 3 D Effects- Drop Shadow with these settings: 1/1/100/1 black
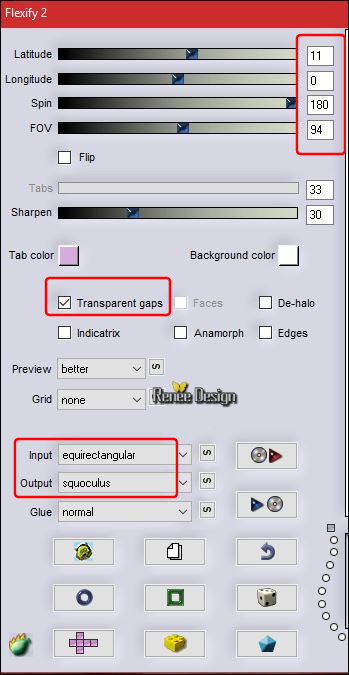
40. Effects
–Plugins – Flaming Pear – Flexify 2 use the settings below
(
Flaming Pear Flexify 2 has many presents to choose from.
If you are
having difficulty finding the correct one, on your keyboard, enter the
first letter of the preset and keep tapping that letter until the correct
preset appears.
Example: Say you want to use the preset " Squoculus". On your keyboard
enter the letter "s" and keep tapping the "s" until " Squoculus" appears.
This
works with any preset - just enter the letter that it begins with and tap, tap
tap until it appears. )
- Color Palette:Set your Foreground color to#bcd8c5 -Set your Background color to
#113722
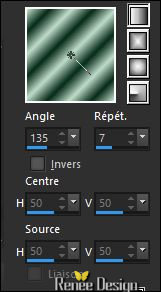
-
Set your Foregroundcolor to foreground-background linear gradient,configured like this.
41.
Layers- New Raster Layer
42.
Activer le pot de peinture and fill the layer with the gradient
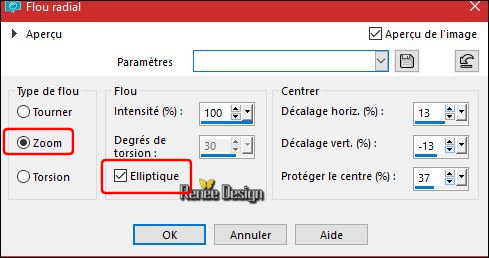
43.
Adjust- Blur- Radial Blur use the settings below
44.
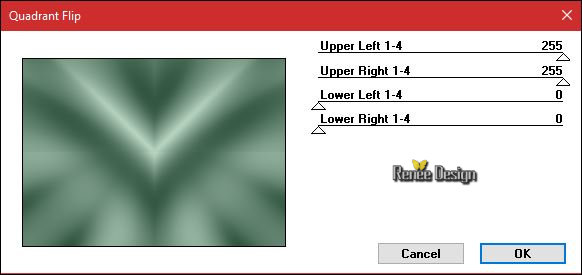
Effects –Plugins - Mirror rave- Quadrant
Flip
-Open the Mask '' Renee_Masque objectif’’ in your Psp
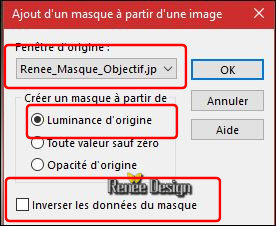
45.
Layers- New Mask layer from Image and choose Mask:
‘’Renee_Masque objectif’’
-
Layers- Duplicate
-
Layers- Duplicate
-
Layers- Merge-Merge Group
46.
Layers-Properties-Set the Blend Mode to " Screen"
47.
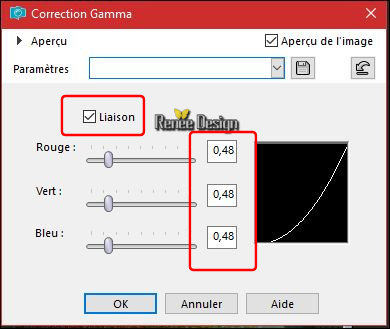
For gamma correction tap keyboard / Shift + G
Effects - Gamma Correction use the settings below
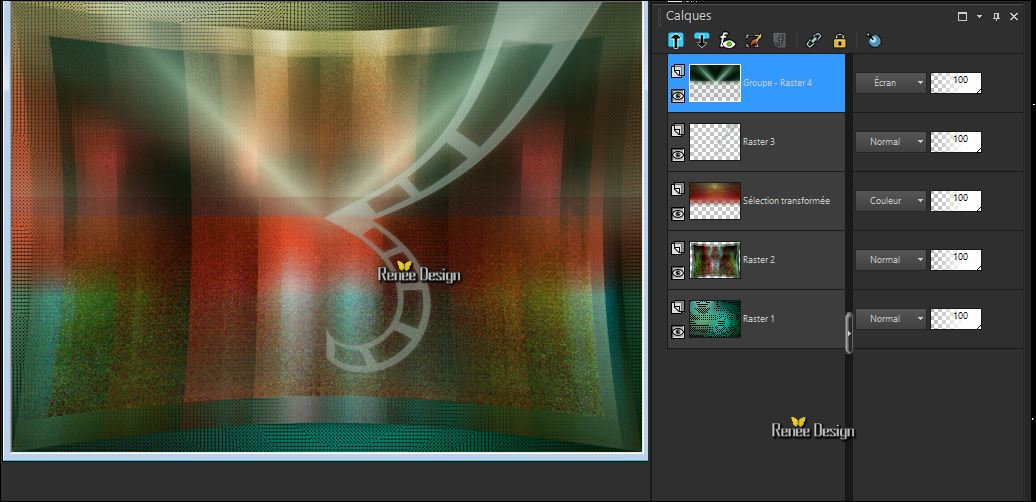
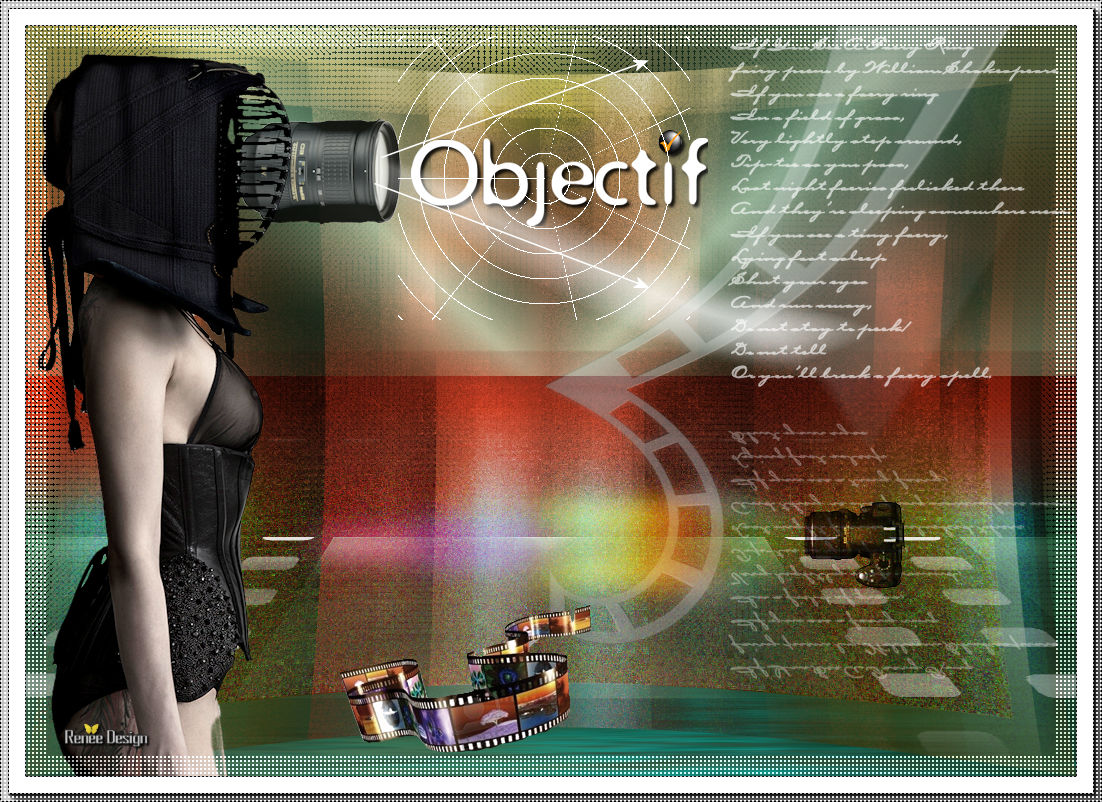
Your work and Layer Palette look like this now-You should have this result
48.
Activate Selection Tool -Custom Selection (S) -Rectangle with these settings
49.
Selections- Promote selection to Layer
-
Layer Palette –Activate the layer underneath = (Group- Raster
4)
DELETE 
Selections- Deselect All
50.
To replace the top of the layers palette
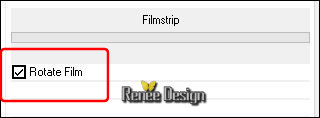
51.
Effects –Plugins- Unlimited - ICNETFILTERS- Special Effects
2-Filmstrip
52. Layers-Duplicate
53. Layers- Merge- Merge- Down
54. Effects- Edge Effects- Enhance
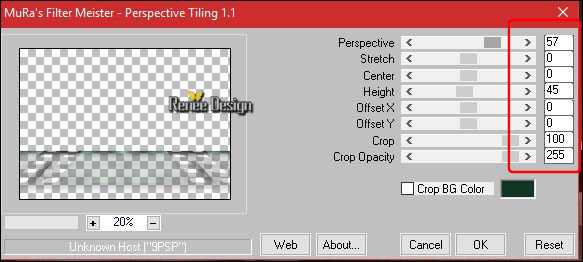
55. Effects
–Plugins – Mura’s Meister – Perspective Tilling use the settings below
56. Layers- Arrange- Move 2 x Down (underneath Raster 3)
57.
Layers-Properties-Set the Blend Mode to " Screen"
- Activate the bottom of the layers palette =Raster 1
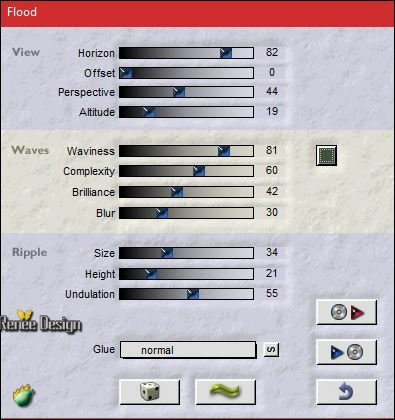
58. Effects
–Plugins – Flaming Pear – Flood use the settings below /color
#3f4f38
59. Open your tube ‘’ Objectif_Renee_texte’’
- Edit - Copy- Activate your work -Edit - Paste as a new layer
- Move Tool / place your tube to the right side of your image
60. Open the tube ‘’ Renee_tube_maja.pspimage’’
- Activate the layer ‘’Pour _tuto_objectif’’ of the tube
- Edit - Copy- Activate your work -Edit - Paste as a new layer
- Move Tool / place your tube to the bottom left of your image
61. Layers- New Raster Layer
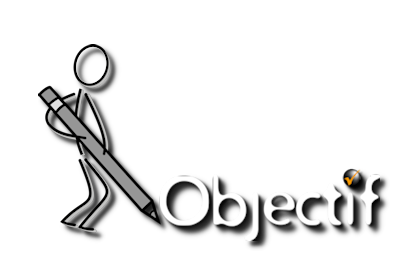
62. Open the tube ‘’Objectif_texte ‘’
- Edit - Copy- Activate your work -Edit - Paste as a new layer
- Activate your Move Tool (M) place it in the right place (see finished image)
63. Foreground color to #ffffff -Activate Pen Tool ( V) – Line Style ‘’Arrow ’’– Width 2 use the settings below

- Draw 2 arrows with the foreground color #ffffff as shown in the example below ( against the ''O''
objectif )
64. Layers- New Raster Layer
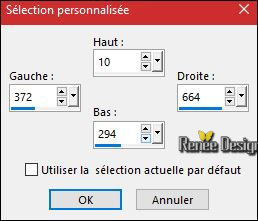
65.
Activate Selection Tool -Custom Selection (S) -Rectangle with these settings
66. Effects
–Plugins – Vanderlee – Starchart use the settings below - color #ffffff
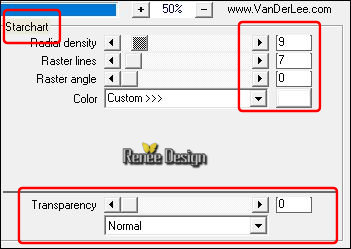
Selections- Deselect All
67. Open the tube ‘’ Objectif_pellicule’’
- Edit - Copy- Activate your work -Edit - Paste as a new layer
- Activate your Move Tool (M) place it in the right place (see finished image)
68. Layers- Merge- Merge Visible
69. Open the tube ‘’effet_lumineux ‘’
- Edit - Copy- Activate your work -Edit - Paste as a new layer and move
70.
Layers-Properties-Set the Blend Mode to " Screen"
71. Open the tube ‘’ Renee_tube_Objectif_Flash’’
- Edit - Copy- Activate your work -Edit - Paste as a new layer
-
Activate your Move Tool (M) move to the bottom of your image (see finished image)
72.
Layers-Properties-Set the Blend Mode to " Hard Light "
73. Image - Add borders-Symmetric checked 25 Pixels #ffffff
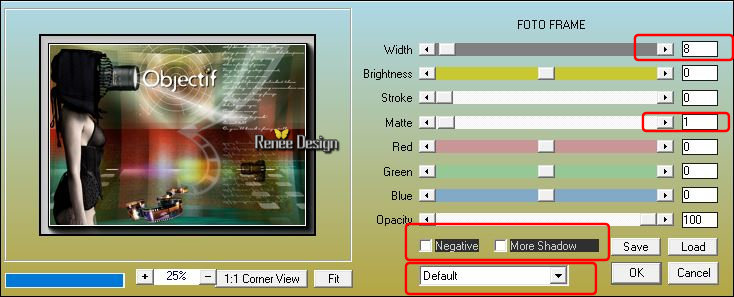
74. Effects
–Plugins - AAA Frame - Foto frame use the settings below
75. Effects
–Plugins -AFS Import – sqborder2 use the settings below
Save as JPG
I hope you enjoyed this lesson
Renée
This lesson was written by Renée 04/05/2017
Edited and Update
2017
*
Any resemblance with an existing lesson is a coincidence
* Do not forget to thank the people who work with us and for us I have appointed the tubeurs and translators
Thanks Renée
| 
 Translations


 If a plugin supplied appears with this icon it must necessarily be imported into Unlimited *

 All rights reserved