|
Let's begin
1.
Open your Image '' fond stvalentin ''/Promote to background layer Raster 1
2.
Selections - load/save selection - load selection from disk and choose selection: ''stvalentin_1''
3.
Selections- Promote selection to layer
4.
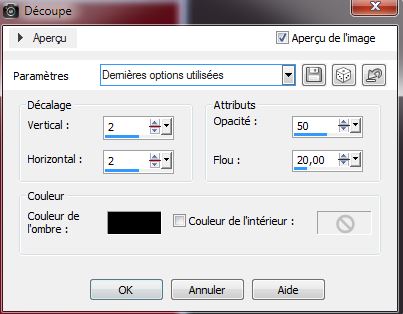
Effects- 3 D Effects - Cutout
-
Selections - Deselect all
5.
Effects - 3D Effects- Drop Shadow 0/0/100/35 black
6.
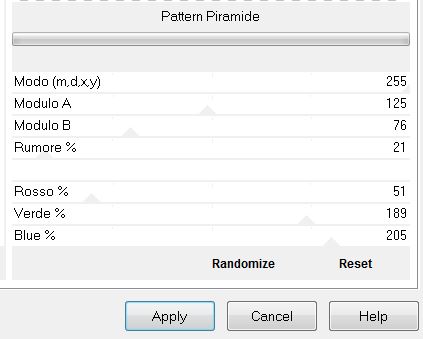
Effects -Plugins Unlimited - Italien Editors Generator- Pattern
Piramide
7. Material Properties: Foregroundcolor: #ad0b00 and your Backgroundcolor to color white #ffffff
8.
Effects -Plugins Unmited Toadies - Blast'n Blur 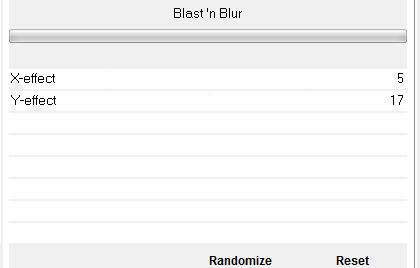
- Blend Mode on this Layer: "Hard Light"
9.
Layers – Duplicate– Layers-Merge-Merge Down
10. Effects
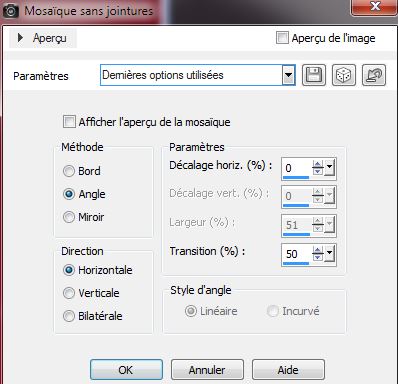
- Image Effects-Seamless Tilling
11.Open your tube
''stvalentin_3coeurs'' - Edit/ copy- Edit/ paste as new layer
12. Effects
- Image Effects - Offset
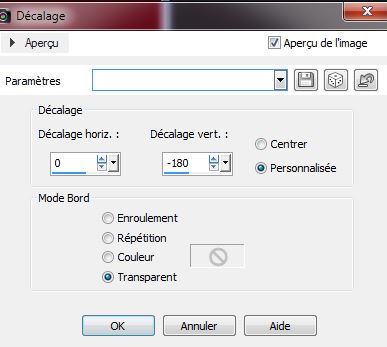
Activate the bottom layer in your layer palette (raster1)
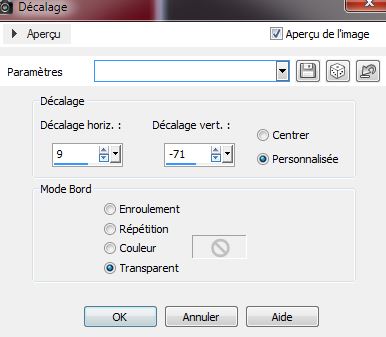
13. Open the tube ''Saint_Valentin_symbol '' / Edith/copy- Edith/ paste as new layer
14. Effects - Image Effects - Offset
15. Blend Mode on this layer: "Soft Light"
16.
Effects - Plugins EyeCandy 5 Impact - Perspective shadow- Preset
"st_valentin_shadow''
. Activate the bottom layer in your layer palette Raster 1
17.
Selections - load/save selection - load selection from disk and choose / Sélection ''stValentin_2"
18..
Selections- Promote selection to layer
19.
Selections - Deselect all
20.
Effects - Edge Effects- Enhance More
21. Layers-Arrange-Bring on Top
Blend Mode on this layer: "Hard Light"
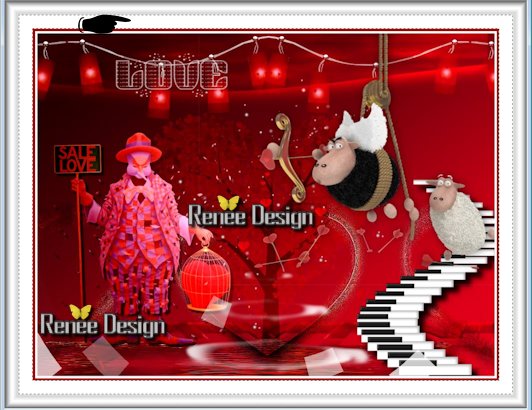
This is the result
22.
Effects - Plugins Unlimited - Toadies - Weaver
59/48/222
23.
Effects - Plugins Simple - Zoom Out and flip
24. Image
- Flip
25.
Layers – Duplicate– Image – Mirror
26.
Layers-Merge-Merge Down
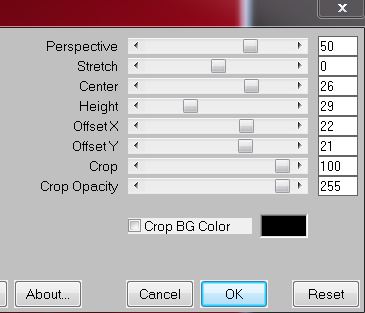
27. Effects
-Plugins Mura's Meister - Perpspective Tilling
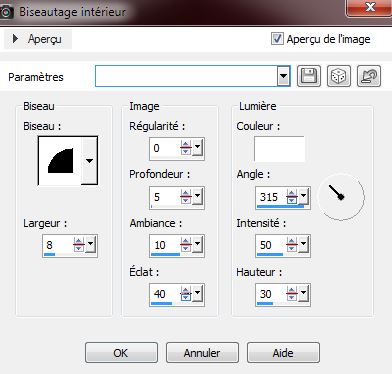
27. Effects
- 3D Effects- Inner Bevel
28. Layers – Duplicate– Image – Mirror
Layers-Merge-Merge Down
29. Layers-Arrange-3x Move Down (above raster 1) and set the Layer Opacity of this layer to 75%
30. Effects
-Plugins Unlimited - Sapphire Fiter 08- sapphire Plugin_0701
... default
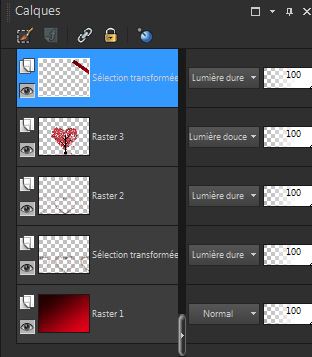
Your work and Layer Palette look like this now
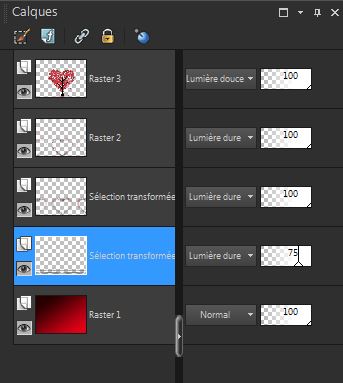 
30. Open the tube ''sparkles_1'' Edith/copy- Edith/ paste as new layer (do not move it is in the right place)
Activate the second bottom layer in your layer palette (copie de Sélection
transformée)
31. Open the tube
''stvalentin_eau"/ Edith/copy- Edith/ paste as new layer (move the tube to the bottom of the layer and at both sides)
32. Layers-Merge- Merge- Visible
Material Properties: Change your Foregroundcolor back to color #ad0b00 and your Backgroundcolor is black
33. Layers - New Raster Layer
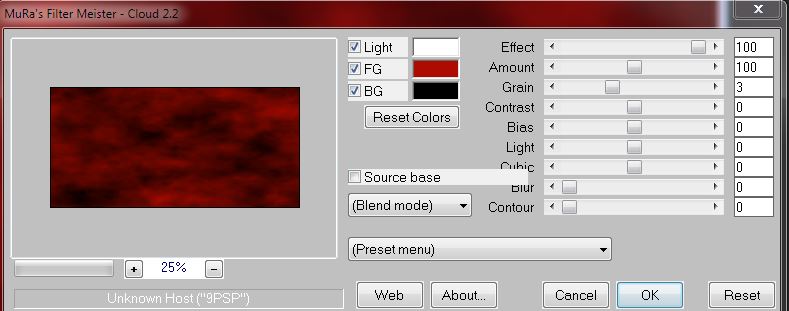
34. Effects
-Plugins Mura's Meister / Clouds
35. Effects-
Plugins Xtras -Elemental / Metals -chrome

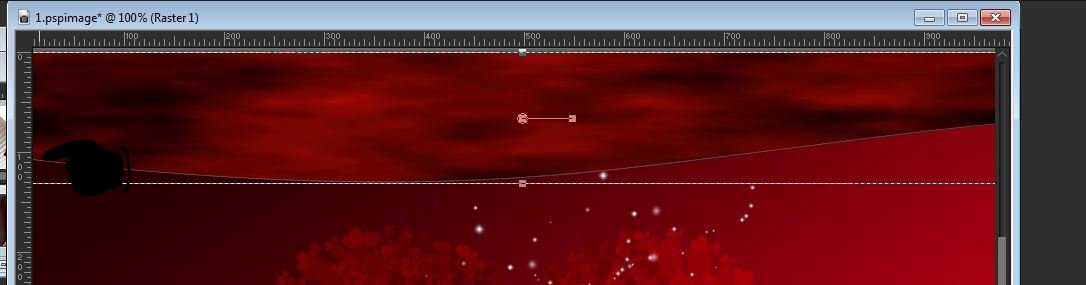
35.
Selections - load/save selection - load selection from disk and choose ''stvalentin_3''
/ Delete
36. With select tool (K) up to 100 pixels like this
37.
Effects -Plugins Eyecandy5 Impact - Perspective shadow /Preset
''stvalentin_shdow2''
38. Open the tube''stvalentin_lanternes''
/Edith/copy- Edith/ paste as new layer and place
39. Blend Mode: "Hard Light"
40. Open the tube 'stvalentin _escalier '' - Edit/ copy- Edit/ paste as new layer. Place to the right side
41. Open the tube ''Liz_sale_Love'' (stay on the layer of the tube) merge raster 1 and the shadow layer ''
-
Image -Resize to 60 % Resize all layers not checked- Edith/copy- Edith/ paste as new layer and place
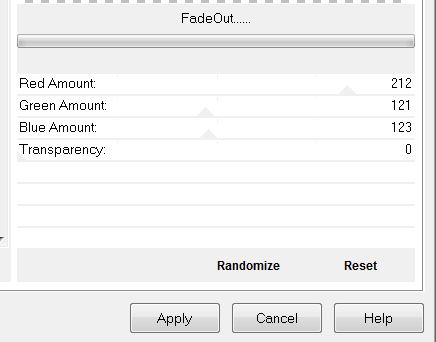
42. Effects
-Plugins Unlimited - Lumiere Ambiante - Fade out
43. Layers - New Raster Layer
44.
Selections - load/save selection - load selection from disk and choose ''stvalentin_4''
45.
Material Properties: Change your Foregroundcolor back to color white
/click 2 times in the selection with the pot of Color
46.
Selections - Deselect all
47.
Layers-Duplicate
48. Effects- Image Effects-Seamless Tilling
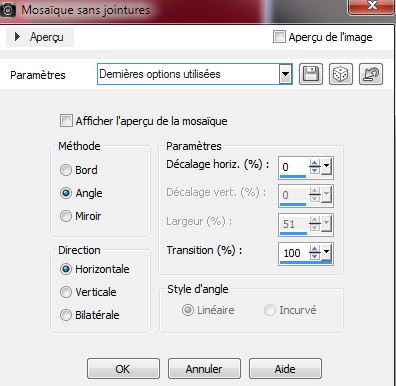
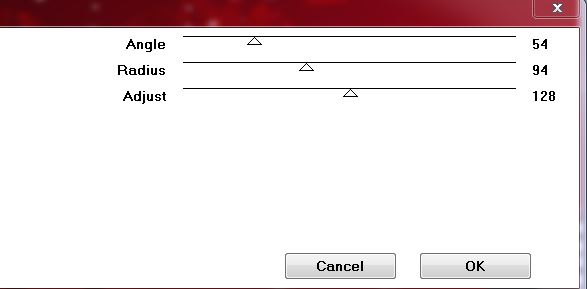
49. Effects
- Plugins VM Toolbox- Radial Mosaic
50. Layers-Duplicate/Layers-Merge-Merge Down
Activate your Top layer
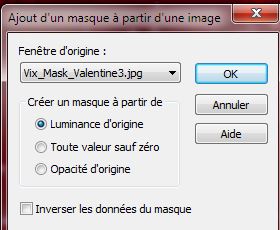
Open the Mask
''Vix_Mask_valentine3'' in your PSP
51. Layers - New Raster Layer /Flood Fill Tool: Fill the layer with color white
52. Layers-New Mask Layer -From Image
Layers-Merge Merge Group
53. Image
- Resize 30 % Resize all layers not checked
Good placed at the top left on this layer
54. Effects
- 3D Effects-Drop Shadow: 1/1/25/2 color black
55. Open the tube ''tube-danimage stvalentin-mouton''/Image Mirror
/Image -Resize to 85%. Resize all layers not checked
Edit/ copy- Edit/ paste as new layer and place
56. Effects
-Plugins EyeCandy 5- Impact / Preset ''stvalentin_persp''
57. Open the tube ''HEARTATRAILS-1'' With your Freehand Selection, select some hearts of your own choice
Edit/ copy- Edit/ paste as new layer and place
58.Layers-Merge- Merge Visible
59.Image - add borders symmetric 5 Pixels #ffffff
60.Image - add borders symmetric 5 pixels color red
61.Image - add borders symmetric 60 pixels #ffffff
62.
Activate your Magic wand : Click with your magic wand in to the 60 pixels
63. Effects
- Plugins ICNET FILTERS / Button & Frames / Glass Frame
2 a 35/ 168
Selections - Deselect all
64. Activate your Magic wand : Click with your magic wand in the white inside border
65. Effects-Plugins
ICNET FILTERS / Button& Frames / Glass Frame
2 a 64/ 128
Selections - Select None
66. Open the tube "Love
by_Mago74'' Edit/ copy- Edit/ paste as new layer and place. Or write your own text
67. Effecs
- 3D Effects-Drop Shadow 7/7/65/8 color black
68. Image
-Resize: 985 pixels width
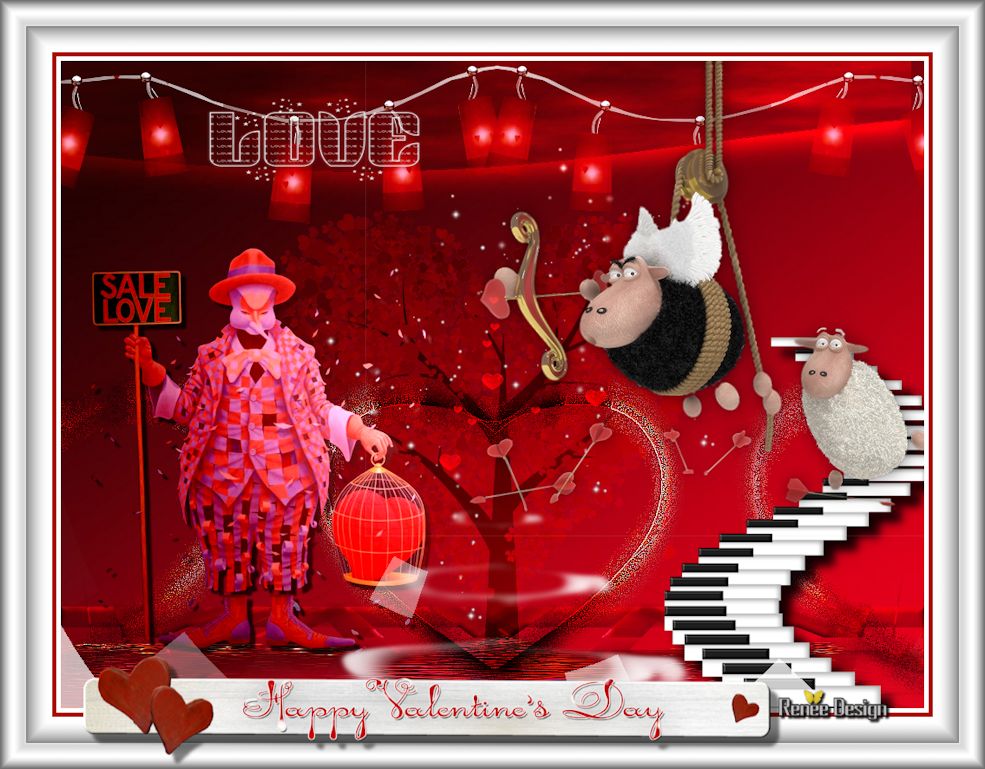
That's it !! You've done it !
Renée
This lesson was written by Renée 8/01/2014
Created the 11-01-2014
thexisting lesson is merely a coincidence
Don't forget to thank the people who work for us and with us. I named the tubeurs - Testers and the translators .
Thank you

| 

 Translation