|
Let's start the lesson. Open the Color-Palette

1. Open the Background image :
''fond_gothique_11 '' -Promote Background Layer =Raster 1''
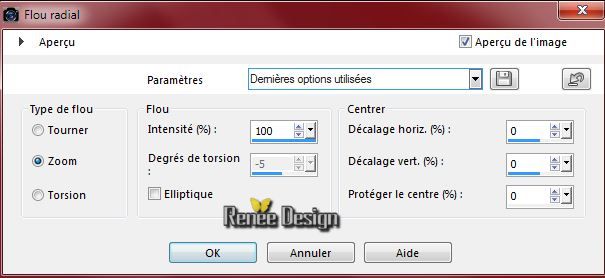
2. Adjust- Blur- Radial Blur with these settings
3. Layers- Duplicate
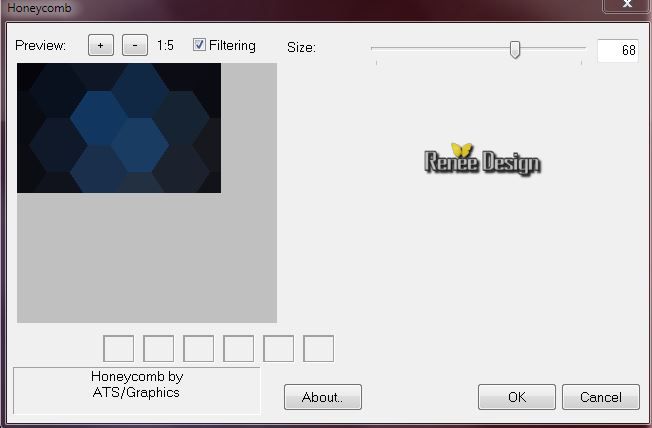
4. Effects- Plugins -FF.Formula -Honey
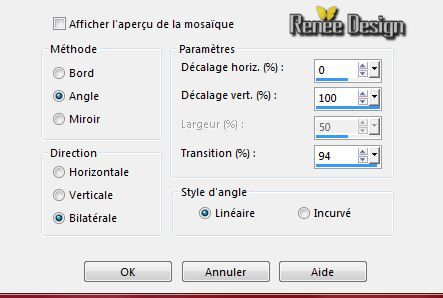
5. Effects - Image effects - Seamless tiling with these settings
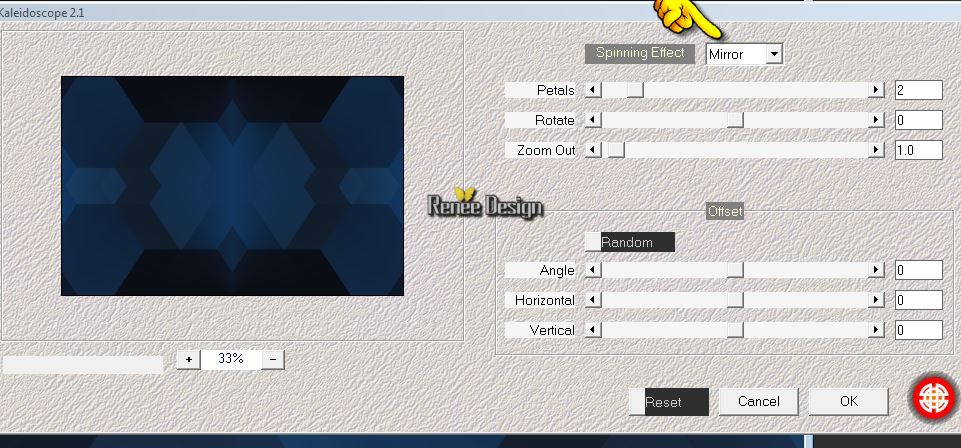
6. Effects- Plugins -Medhi- Kaleidoscope 2.1with these settings
7.Adjust- Sharpness-Sharpen More
8. Layer- New raster layer
9. Selections - load/save selection - load selection from disk and choose my selection: ''Gothique11_1''
- Material Properties: Foreground color to this color #ffffff-Background color to this color: #1c579c
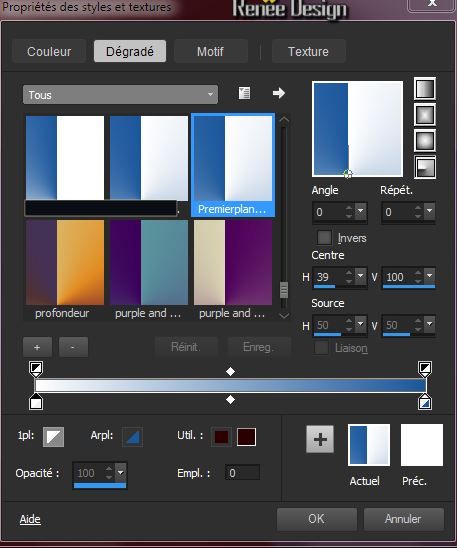
10. Prepare a radial gradient configured like this.
11. Activate Flood Fill Tool and fill the selection with the gradient
12. Effects- Plugins -Simple - Top left mirror
Selections- Deselect All
13. Effects- Plugins - Unlimited 2.0
-&<BKg Designer SF10.1 -Cruncher setting 20/20
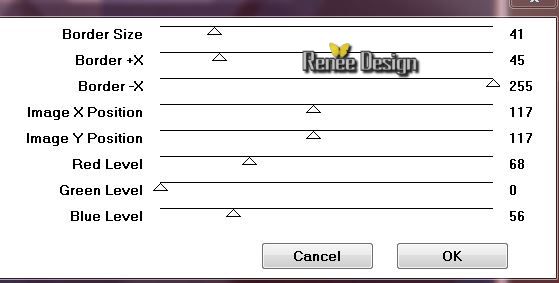
14. Effects- Plugins -Graphic Plus - Metal Border with these settings
15. Effects-Plugins
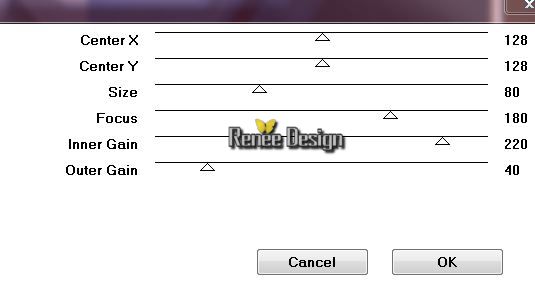
Graphic plus -Spot lite with these settings
16. Layers- Duplicate
17. Effects- Geometric Effects-Circle-Transparent
18. Image Flip
19. Layers- Merge- Merge Down
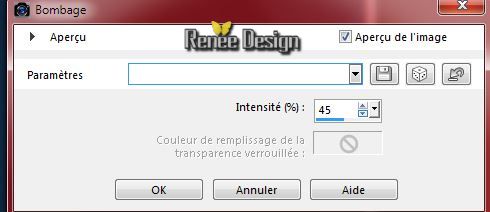
20. Effects- Distortion Effects- Punch with these settings
21. Layer- New raster layer
22. Selections - load/save selection - load selection from disk and choose my selection: ''Gothique11_2''
23. Activate this tube
''metalship_gothique11"- Edit/copy-Edit-paste into selection
Selections- Deselect All
24. Set the layer opacity of this layer to 81%
25. Effects- Plugins - Graphic plus - Cross shadow using the default settings
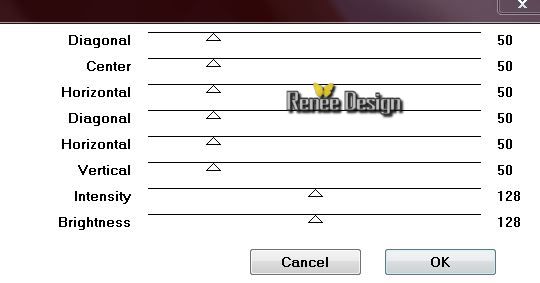
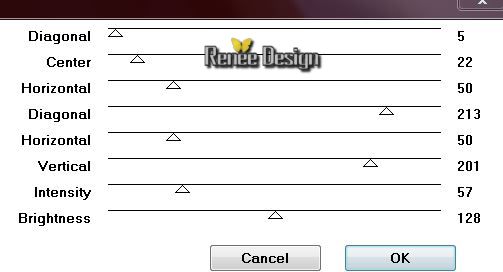
Repeat -Effects- Plugins - Graphic plus - Cross shadow with these settings
26. Activate this tube
''oeil_gothique11'' - Edit/copy-Edit paste as a new layer on your working area
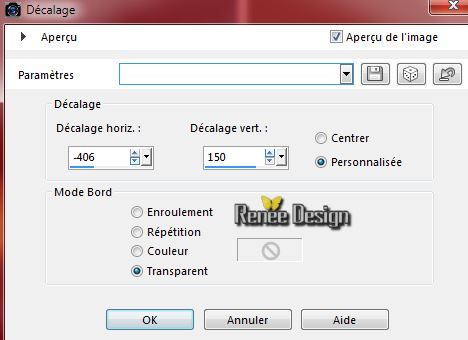
27. Effects- Image Effects Offset with these settings
28. Layers- Duplicate
-Image Flip
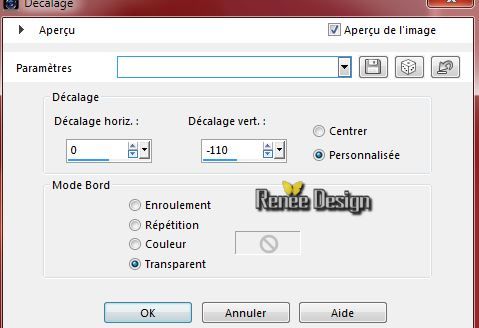
29. Effects- Image Effects Offset with these settings
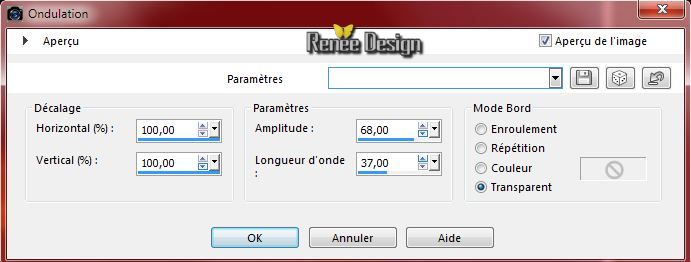
30.Effects- Distortion Effects- Ripple with these settings
31. Layers- Arrange- Move Down
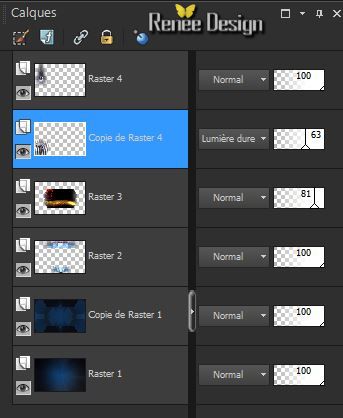
- Layer Palette -Double click on this layer and set the Blendmode to Hard Light and set the layer opacity of this layer to 63%
- Your Layer Palette look like this now:
Activate the top of the Layer Palette
32. Layers- New Raster layer
33. Pot of Paint-Color Opacity 50%
-Properties Forground; Set your foreground color to color white
- Food Fill Tool :fill the layer with the foreground color white
34. Layers- Layers-load/save Maske Load Mask from Disk and select Mask:
''Narah_masque
0345.jpg"
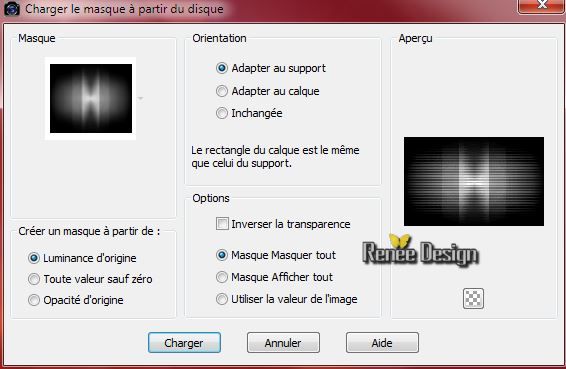
- Layers- Merge- Merge Group
35. Layers- New Raster layer
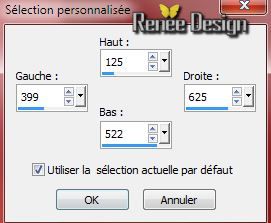
36. Selections Tool (S)-Custom -Selections-with these settings
37. Pot of Paint-Opacity 50%
Activate Flood Fill Tool and fill the selection with the background color
38. Effects- Plugins - Panopticum -Pan alpha Strip
CLICK load
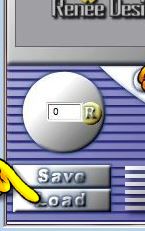 >choose my preset: "effet_panopticum''/ Ok >choose my preset: "effet_panopticum''/ Ok
If you are unable to install the preset in the filter
*The plugin works like this
For the setting using the arrow keys-If difficulty for positive and negative measures use the arrows
> = up = positive measures and negative >> down to make the numbers scrolling
-Please enter all settings
- Follow the order of numbers 1 / 2 and 3 >OK
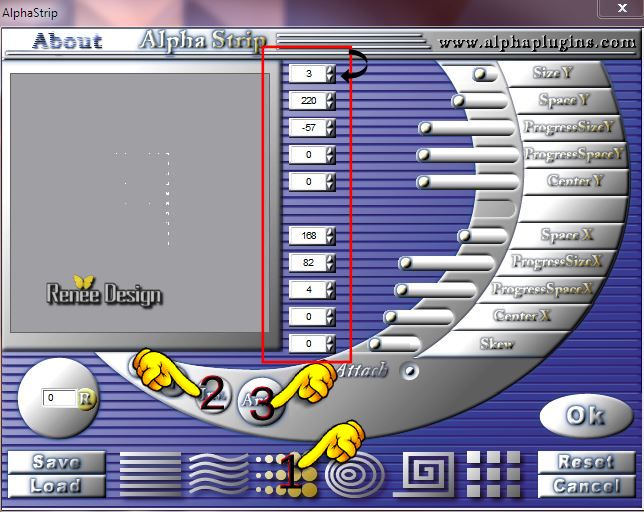
Selections- Deselect All
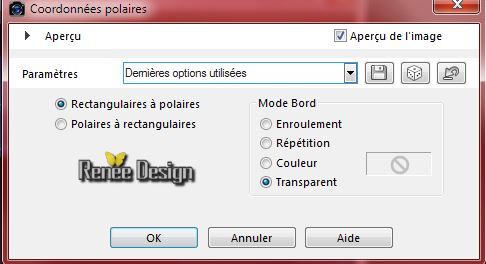
39. Effects- Distortion Effects- Polar Coordinates-Rectangular to Polar-Transparent
40. Layers- New Raster layer
41. Open the Brush :
''gothique11_pinceau_texte.png''in your psp /File- Export Custom Brush (Give it a name)
42. Brush Tool and select my file: ''gothique11_pinceau_texte.png''
Place it in the top left corner with your white foreground color- Size 350

43. Activate this tube ''desespoir''
- The tube is modified for this tutorial " - Edit/copy-Edit paste as a new layer on your working area
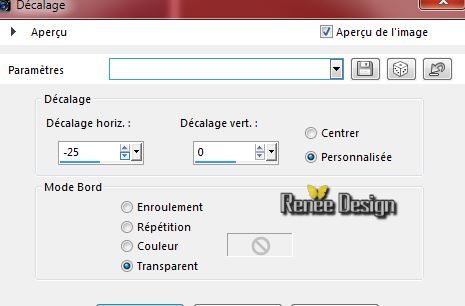
44. Effects- Image Effects Offset with these settings
- Layer Palette -Double click on this layer and set the Blendmode to Overlay
45. Layer-Palette: activate copy layer = Raster 1 (
the second lower layer )
46. Selections - load/save selection - load selection from disk and choose my selection: ''Gothique11_3''-
47. Selections - Promote selection to layer
48. Layers- Arrange- Bring to Top
Keep Selected
49. Effects- Plugins - Simple - Blintz
50. Effects-Plugins
Simple-4 Way Average
51. Effects-Edge Effects-Enhance More
Selections- Deselect All
52. Effects- Plugins - Tramage - Starmaker
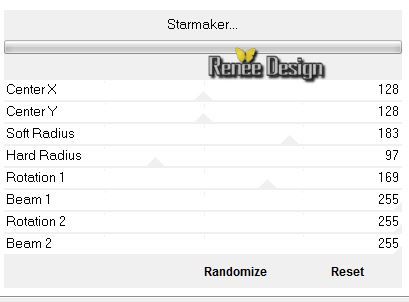
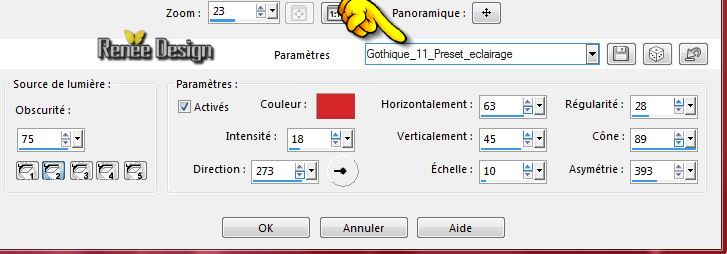
53.Effects- Illimination Effects- Lights -select my file -''Preset_Lights_Gothique_11_Preset_eclairage''
Or manual settings below- color #d7272a
54. Activate this tube ''
renee_steampunk_mist_gothique_11.pspimage''
- Image Resize to 70%
- Edit/copy-Edit paste as a new layer on your working area
55. With your move tool place it to the right side
- Set the layer opacity of this layer to 44%
56. Layers- New Raster layer
- Properties Foreground: FG-Color to color black
57. Selections - load/save selection - load selection from disk and choose my selection: ''Gothique11_4''
58. Pot of Paint: Color Opacity 100- Activate Flood Fill Tool and fill the selection with the FG-Color black
Selections- Deselect All
59. Layers- Duplicate-
Image Mirror -and move like this
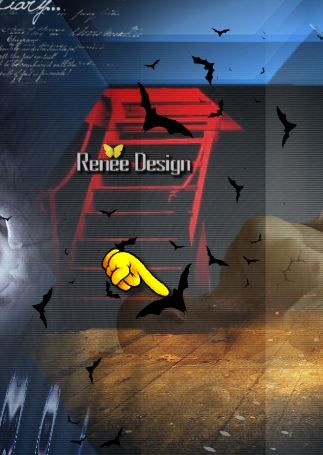
60. Layers- Merge- Merge Down
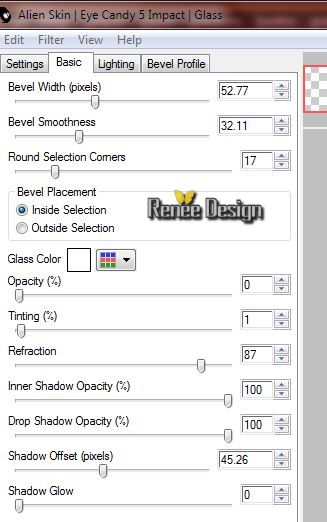
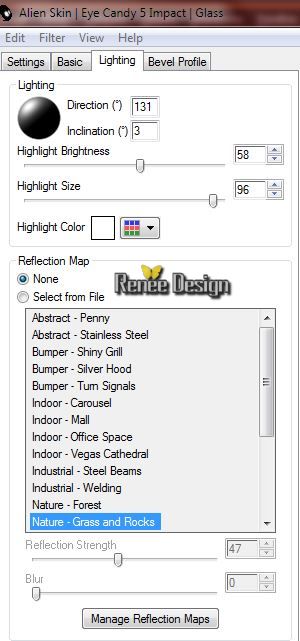
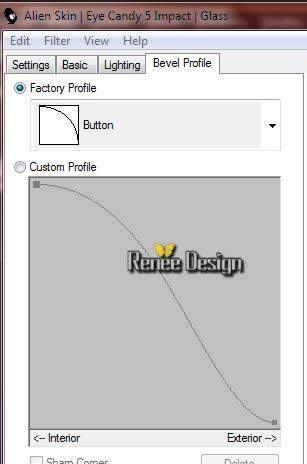
61.Effects- Plugins -Eyecandy 5 Impact - Glass tab Settings/User settings choose my preset:''Gothique-11_glass"
/In psp the preset is Gothique _10 Glass /Or manual settings below
62. Activate this tube''
deco_Gothique11''
- Edit-Copy-Edit-Paste as a new layer on your working area
-With your move tool place it to the right /First, look at the big picture it is very important
63. Layers- Merge- Merge All ( flatten)
Material Properties: Foreground color to this color #ffffff-Background color to this color: #0b0d15
64. Image - Add borders-Symmetric checked: 1 pixel BG-Color #0b0d15
65. Image - Add borders-Symmetric checked: 60 pixels FG-Color
66.Image - Add borders-Symmetric checked: 1 pixel BG-Color#0b0d15
67.Image - Add borders-Symmetric checked: 10 pixels FG-Color
68.Image - Add borders-Symmetric checked: 1 pixel BG-Color #0b0d15
69.Image - Add borders-Symmetric checked: 10 pixels FG-Color
70. Selections - load/save selection - load selection from disk and choose my selection: '' Gothique11_5''
71. Layers- New Raster layer
-Properties Foreground: FG-Color to #fbf8ca
72. Pot of Paint- Color Opacity 60 %
Activate Flood Fill Tool and fill the selection with the foreground color #fbf8ca /Click two times in the selection
Selections- Deselect All
73. Layers- Merge- Merge Visible
74. Activate Magic Wand and click in the first white border of 10 pixels
75.Effects-3D effects-Drop Shadow using the default settings
Selections Deselect All
76. Activate the tube "text "/Edit/copy-Edit paste as a new layer on your working area / Ore write your own text ( Font is included into the zipfile)
77. Image Resize to 995 pixels Width
Save as JPG
I hope you enjoyed this lesson
Renée
This lesson was written by Renée 3/12/2014
Placing
12/2014
*
Any resemblance with an existing lesson is merely a coincidence *
* Don't forget to thank the people who work for us and with us. I named the tubeurs - Testers and the translators.
Thanks Renée.
|