|
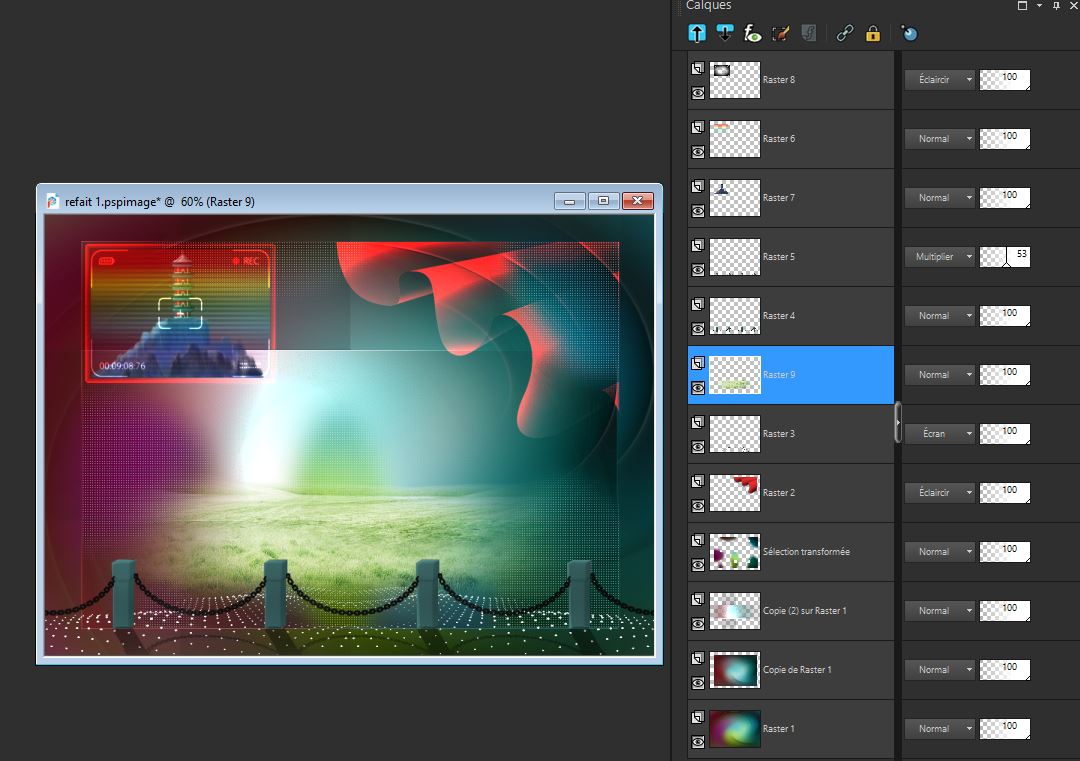
Let's start the lesson
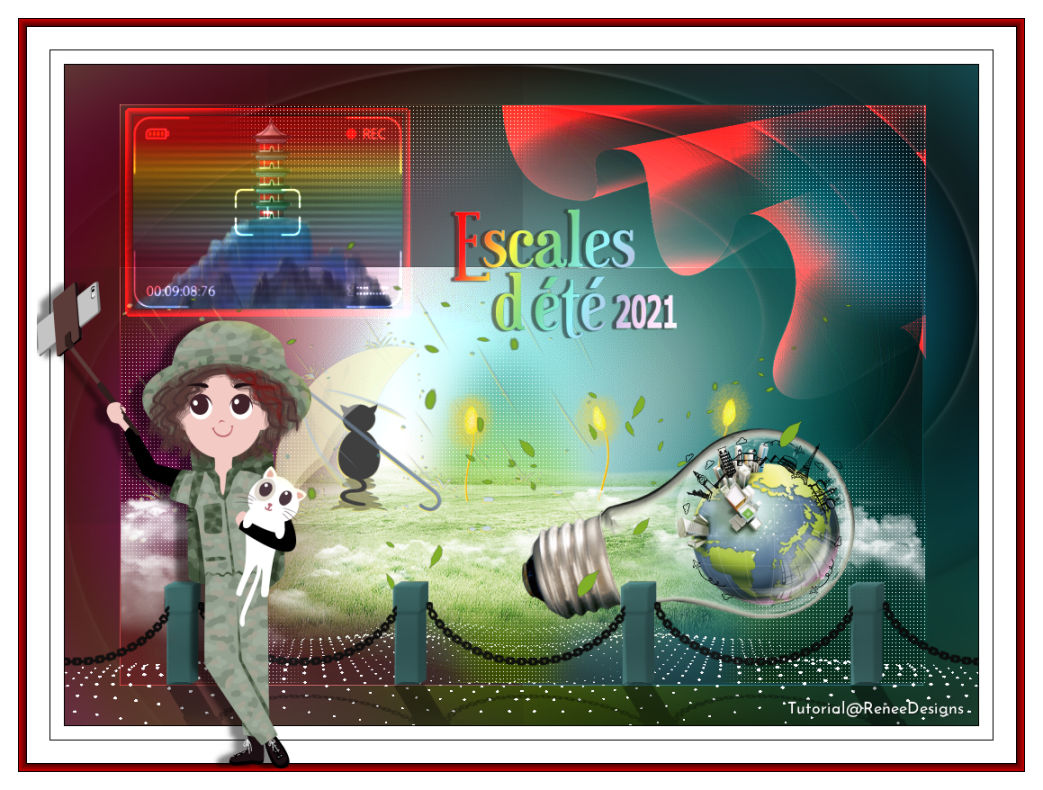
Escales-D’été-2021/Summer-Stopovers-2021
IMPORTANT ! Reset your tools and filters to the default settings

1. Open the background image - ''Fond
Escales-D’été-2021''- Promote Background Layer =Raster 1
2. Adjust-Blur-Radial Blur with the settings shown below

3. Layers-Duplicate
4. Image -
Resize by 88% - Resize all layers not checked
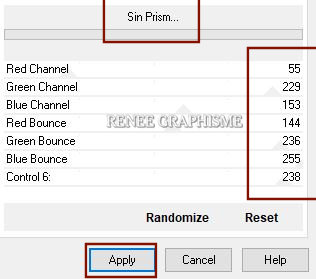
5. Effects –Plugins-
Unlimited 2.0 - Andrew's Filters 10- Sin Prism..with the settings shown below.
6. Effects – Edge Effects – Enhance
7. Layers-Duplicate
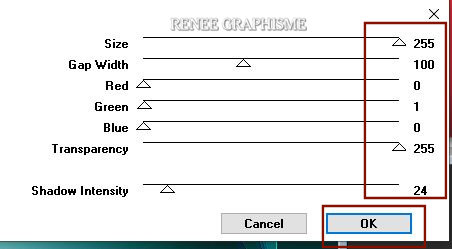
8. Effects – Plugins – VM Natural – Weave No Distorsion with the settings shown below.
9. Effects – Plugins– Transparency- Eliminate Black
10. Effects – Edge Effects – Enhance
- In the layerpalette-activate Raster 1
11. Selections –load/save selection –load selection from disc and select my selection:’’ Escales-D’été-2021-1’’
12. Selections-Promote selection to layer
13.
Layers-Arrange- Bring to Top
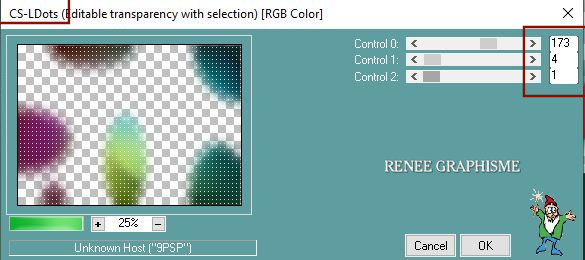
14. Effects- Plugins- Carolaine&Sensibility- CS- LDots with the settings shown below.

15. Adjust- Sharpness-Sharpen More
16. Open the tube ’’ Escales-ete-2021-
Image 1’’ -Edit - Copy- Activate your work -Edit - Paste as a new layer
17. Pick Tool: (K) on your keyboard -Enter these parameters on the toolbar
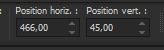 466/
45 466/
45
-Press ( M ) to close the Pick Tool
18. Layers-Properties-Change the Blend Mode to " Dodge "
19. Open the tube ’’ Escales-ete-2021-
Image 2’’ -Edit - Copy- Activate your work -Edit - Paste as a new layer
20. Objects – Align
- Bottom
21. Effects – Edge Effects- Enhance
22. Layers-Properties-Change the Blend Mode to " Screen "
23. Open the tube ’’ Escales-ete-2021-
Image 3’’ -Edit - Copy- Activate your work -Edit - Paste as a new layer
24. Pick Tool: (K) on your keyboard -Enter these parameters on the toolbar
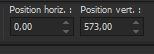 0/
573 0/
573
-Press ( M ) to close the Pick Tool
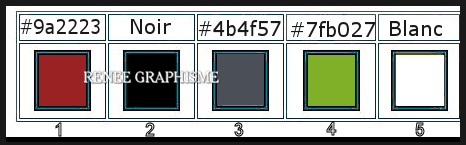
- Color palette -Set the foreground color to color #4b4f57- No 3
25. Layers- New Raster Layer
26. Selections –load/save selection –load selection from disc and select my selection:’’ Escales-D’été-2021-2’’
27. Flood Fill Tool
 –
Fill the selection with the foreground color = No 3 –
Fill the selection with the foreground color = No 3
28. Layers-Properties-Change the Blend Mode to " Multiply "-Reduce the opacity of this layer to 51%
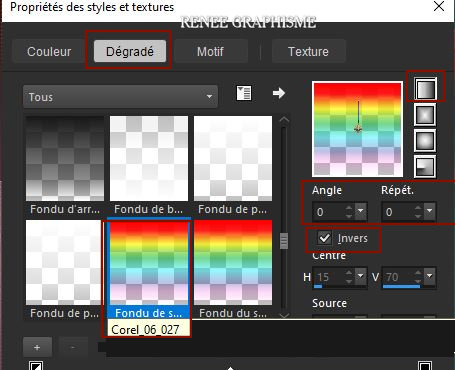
- Material Properties – Foreground on gradient and select gradient – Corel06_027 (You can find it by this name ''Fading Spe'')-
Prepare a linear gradient - configure like this
29. Layers- New Raster Layer
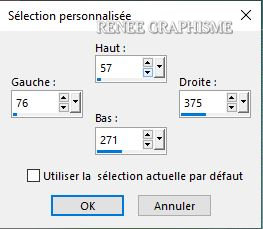
30. Activate Selection Tool -Custom Selection (S) -Rectangle with these settings 
31. Flood Fill Tool
–
Opacity at 40%- Fill the selection with the gradient
Don't forget to set again the opacity to 100%
32. Layers- New Raster Layer
33. Open the tube
‘’ Renee_TUBES-Escales-ETE-2021-Tube-paysage’’
- Edit - Copy- Activate your work -Edit - Paste into selection
34. Layers- Arrange- Move Down
- Activate the top layer in the layer palette
35. Selections-
Modify – Expand by 10 Pixels
36. Layers- New Raster Layer
37. Open the tube ‘’ Escales-ete-2021-
Image 4’’ -Edit - Copy- Activate your work -Edit - Paste into selection
38. Layers-Properties-Change the Blend Mode to " Dodge "
39. Effects-3D-Effects-Drop Shadow with these settings:
1/1/100/1 Color black
40. Effects – Plugins– AAA Frame Works with the settings shown below

- In the layers palette-activate Raster 3
41. Open the tube ‘’ Escales-ete-2021-
Image 5’’ -Edit - Copy- Activate your work -Edit - Paste as a new layer
Pick Tool: (K) on your keyboard -Enter these parameters on the toolbar
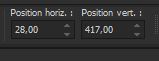 28/417 28/417
- Your work and Layer Palette look like this now-You should have this result
42. Open the tube ‘’Escales-ete-2021-
Image 6’’ -Edit - Copy- Activate your work -Edit - Paste as a new layer
43. Pick Tool: (K) on your keyboard -Enter these parameters on the toolbar
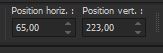 65/
223 65/
223
Effects-3D-Effects-Drop Shadow with these settings: 1/ -1 /100 / Color #f8eb70
44. Layers- New Raster Layer
45. Selections –load/save selection –load selection from disc and select my selection:’’ Escales-D’été-2021-3’’
46. Material Properties: Set your foreground color to color #ffffff-No 5
Flood Fill Tool
–
Fill the selection with the foreground color=5
47. Open the tube ‘’Escales-ete-2021-ampoule’’ -Edit - Copy- Activate your work -Edit - Paste as a new layer
48. Pick Tool: (K) on your keyboard -Enter these parameters on the toolbar
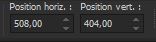 508/
404 508/
404
49. Layers- New Raster Layer
50. Selections –load/save selection –load selection from disc and select my selection:’’ Escales-D’été-2021-4’’
51. Material Properties: Set your foreground color to color #000000 -No2
Flood Fill Tool
– Fill the selection with the foreground color -No2 (3 to 4 clicks)
- Layers-Properties-Change the Blend Mode to "Multiply "
52. Open the tube ‘’Escales-ete-2021-terre’’-Edit - Copy- Activate your work -Edit - Paste as a new layer
Move the tube into the bulb //Place carefully,there is a shadow on the edge of the earth (see red arrow)

53. Layers- Arrange- Move Down twice (comes underneath the layer of the lamp)
Activate the top of the layer palette
-Material Properties: Set your foreground color to color #7fb027 -No 4
54. Layers-New Raster Layer
55. Selections –load/save selection –load selection from disc and select my selection:’’ Escales-D’été-2021-5’’
56. Flood Fill Tool
–Fill the selection with the foreground color - No 4 (2 clicks)
57. Effects-3D-Effects-Drop Shadow with these settings: 0/0/100/1 Color black
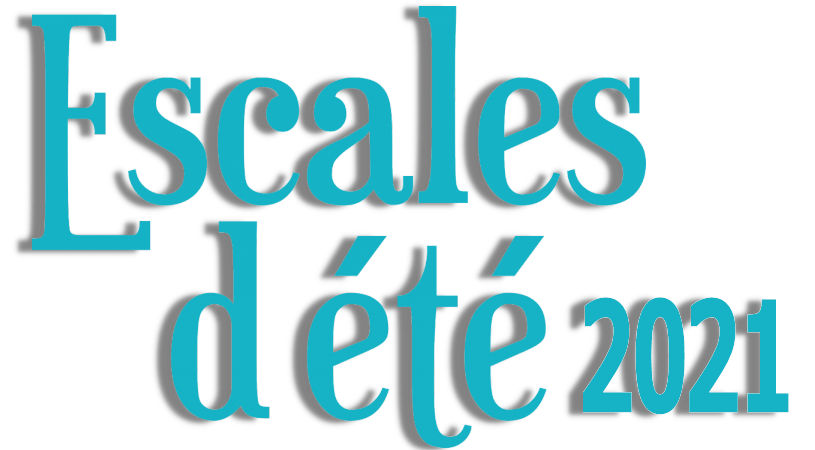
58. Open the tube titre/text or write your own text
59. Image - Add borders-Symmetric checked:1 Pixel Color black
Image - Add borders-Symmetric checked:15 Pixels Color white
Image - Add borders-Symmetric checked:1 Pixel Color black
Image - Add borders-Symmetric checked:55 Pixel Color white
60. Selections- Select All
61. Selections –
Modify - Contract by 25 Pixels
62. Effects - Plugins – AAA Frame Works with the same settings
63. Open the tube ‘’Renee_TUBES-Escales-ETE-2021-Tube fille-chat’’-Edit - Copy- Activate your work -Edit - Paste as a new layer and move
64. Layers- Merge- Merge All ( flatten)
65. Image -
Resize by 90% Resize all layers checked
Save as JPG
That's it - Thank you / I hope you enjoyed this lesson
Renée
This lesson was written by Renée 06-06-2021
and put in place
in 2021
*
Any resemblance with an existing lesson is a coincidence
*
Do not forget to thank the people who work with us and for us -I have appointed the tubeurs and translators
Thanks
*
|

 Translations