|
Let's start the lesson.
-
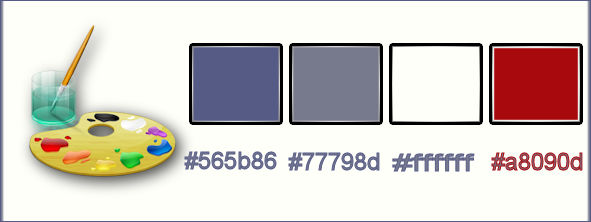
Material Properties:Set your foreground color to:#565b86
- Set your background color to: #77798d
1.
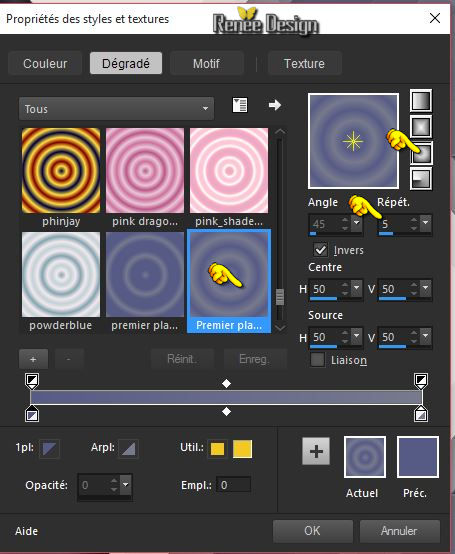
Set your foreground to gradient 'Foreground-background' -Sunburst -with these settings
2.
Open a transparent image of 1015 x 685 pixels
3.
Activate Flood Fill Tool and fill the selection with the gradient
4.
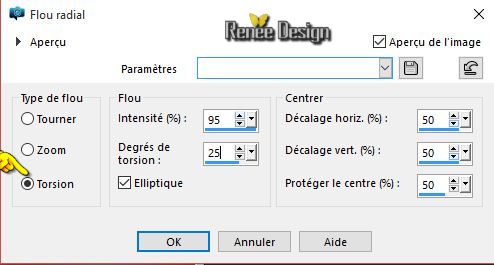
Adjust- Blur- Radial Blur with these settings
-Material Properties:Set your foreground color to:#ffffff
5.Layers- New Raster Layer
–
Activate Flood Fill Tool and fill the forderground color #ffffff
6.
Layers- New Mask layer from Image and select Mask
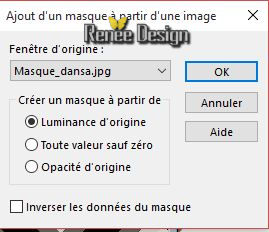
-
Layers- Merge -Merge Group
7.
Effects –Plugins- Eyecandy 5 Impact – Perspective shadow
-tab Settings/User settings choose my preset: “dansa_shadow’’
8. Effects- Plugins – Miror Rave – Quadrant Flip using the default settings 133/120/125/122
9. Layers- Duplicate
8. Effects- Distortions Effects-Polar Coordinates-Rectangular to Polar
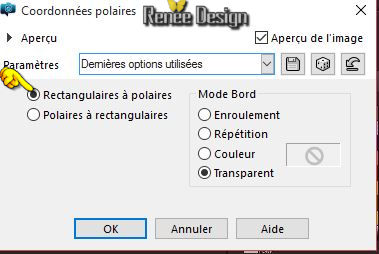
- Activate the layer underneath=( Group - Raster 2)
9. Effects- Plugins – Mura’s Meister –Perspective
Tilling with these settings
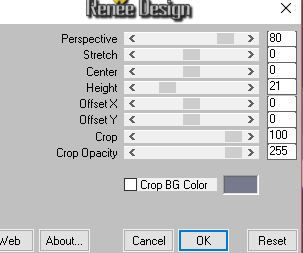
- Activate the top of the layer-Palette (Copy of Group- Raster 2)
10. Image
Resize to 75 % resize all layers not checked
11. Effects- Image Effects- Offset with these settings
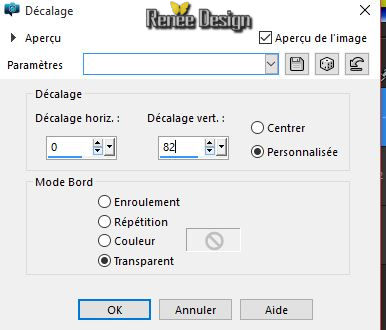
12. Layers- New Raster Layer
13.
Selections - Load/save selections - Load selection from disk and select my file: ‘’Renee_selection_dansa_1’’
14. Activate the tube ‘’dansa_image_1’’
- Edit/Copy-Edit paste into selection
15. Layers- New Raster Layer
16. Effects- 3 D Effects- Buttonize-Color #650203
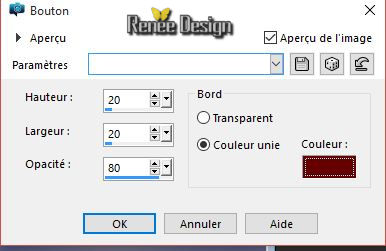
Selections- Deselect All
17. Effects- Plugins –Eyecandy 5 impact – Glass /
-tab Settings/User settings choose my preset:
‘’dansa_glass’’
18. Layers- Merge- Merge Down
19. Effects- 3 D Effects- Drop Shadow with these settings 3/3/100/4 #ffffff
20. Effects
–Plugins - FM Tile Tools – Blend emboss using the default settings
21. Refaire
/Effects-Plugins -FM Tile Tools – Blend emboss using the default settings
22. Activate the tube ‘’ dansa_image_2’’
- Edit/copy- Edit/ paste as new layer on your working image
23. Activate your Pick Tool (K) place it in the right place as shown in the example below
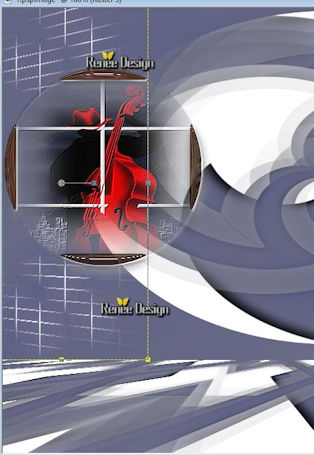
- Double click on this Layer and set the Blend Mode to "Screen "
- Material Properties:Set your foreground color to:#a8090d
24. Layers- New Raster Layer
25.
Selection Tool ( S ) Custom selection use settings below
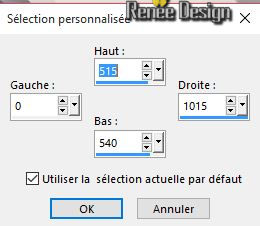
26. Activate Flood Fill Tool and fill the selection with the foreground color #a8090d
Selections- Deselect All
27.
Effects –Plugins - Unlimited – Toadies – Weaver
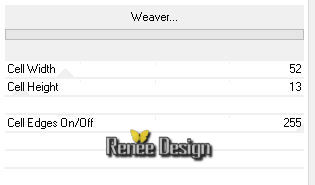
28. Layers- Duplicate
29. Effects- Geometric Effects- Circle-Transparent
30. Effects- 3 D Effects- Drop Shadow with these settings 3/3/100/4 #000000
31. Activate the tube ‘’
Renee_tube_defensa_vespertino.pspimage’’
- Edit/copy- Edit/ paste as new layer on your working image
- Do not move it is in the right place
32. Layers- New Raster Layer
33.
Selections - Load/save selections - Load selection from disk and select my file:
« Renee_selection_dansa_2 »
34. Effects- Plugins –Mura’s Meister – Clouds with these settings - Color:
#ffffff /
#a8090d/#ffffff
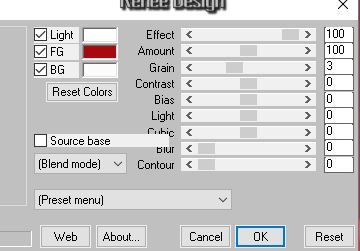
35.
Gamma Correction ( SHIFT + G)
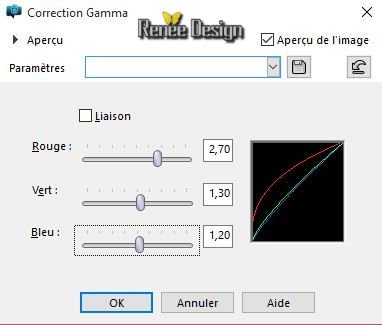
36.Effects- Plugins –EyeCandy 5 Glass –
-tab Settings/User settings choose my preset: ‘’
dansa_glass_2”
Selections- Deselect All
37. Effects- Plugins – Mura’s Meister - Copies with these settings
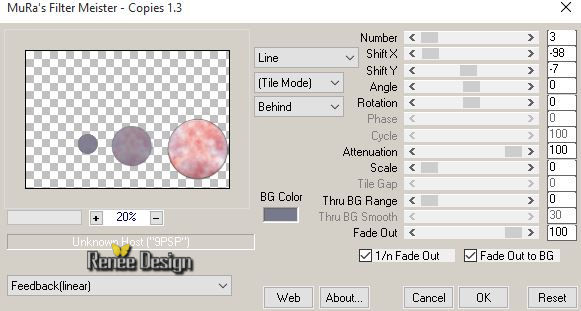
38. Double click on this Layer and set the Blend Mode to "Screen " -Set the layer opacity of this layer to 32%
39. Repeat !!!! Selections - Load/save selections - Load selection from disk and select my file:« Renee_selection_dansa_2 »
40. Layers- New Raster Layer
41. Activate
image ‘’ dansa_image_3.pspimage’’
-Edit/Copy-Edit paste into selection
Selections- Deselect All
42. Effects- User Defined Filter – Emboss 3 using the default settings
43. Layers- Arrange- Move Down
-Activate the top of the layer-Palette
-Material Properties:Set your foreground color to:#ffffff
44. Layers- New Raster Layer
45.
Selections - Load/save selections - Load selection from disk and select my file: ‘’
Renee_selection_dansa_3’’
46. Activate Flood Fill Tool and fill the selection with the foreground color #ffffff (Click 2 x in the selection)
Selections- Deselect All
47. Double click on this Layer and set the Blend Mode to "Screen "
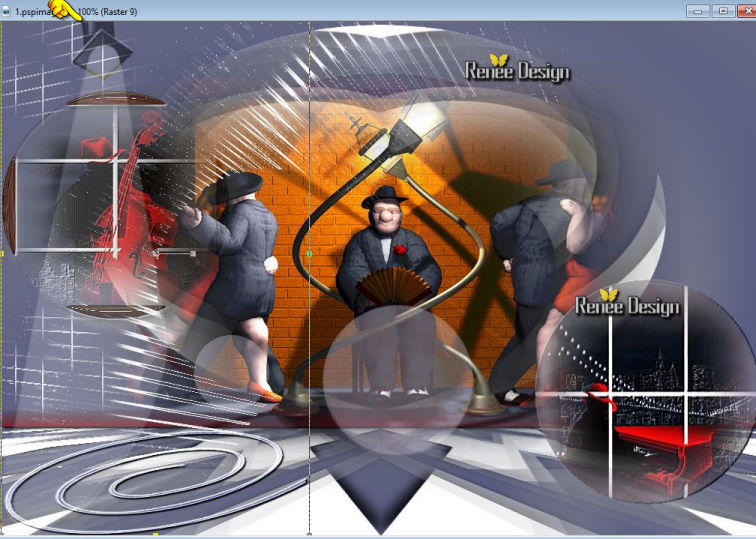
48. Activate the tube ‘’ dansa_image_4’’
- Edit/copy- Edit/ paste as new layer on your working image
- Activate your Pick Tool (K) place it in the right place as shown in the example below
49. Activate the tube’’3 femmes de roserika’’
- Activate raster 3 of the tube
- Edit/copy- Edit/ paste as new layer on your working image
50. Activate your Pick Tool (K) place it in the right place as shown in the example below
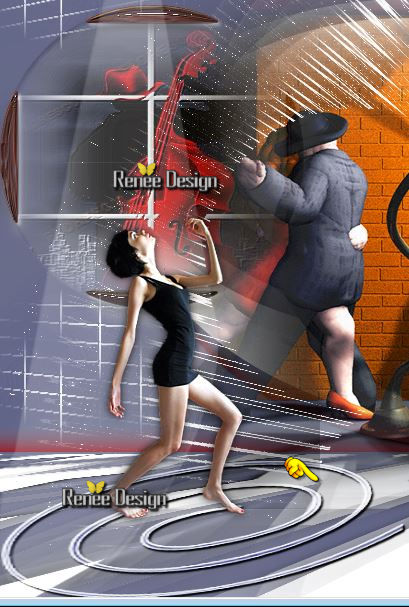
-.
Set the layer opacity of this layer to 85 %
51. Layers- New Raster Layer
52.
Selections –load/save selection –load selection from disc and choose: »Renee_selection_dansa_4 »
53. Activate Flood Fill Tool and fill the selection with:
- 1 click
foreground color
- 1 click
background color
- 1 click
foreground color
Selections- Deselect All
54. Activate the tube ‘’ Renee_dansa_nuages’’
- Edit/copy- Edit/ paste as new layer on your working image
- Move tool / place your tube on the upper right side of your image
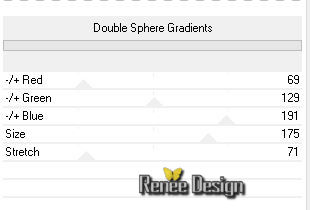
55.
Effects –Plugins Unlimited - Harry's Power Grads -Double Sphere
Gradients
56. Activate the tube ‘’dansa_image_5’’
- - Edit/copy- Edit/ paste as new layer on your working image
- Activate your Pick Tool (K) place it in the right place as shown in the example below
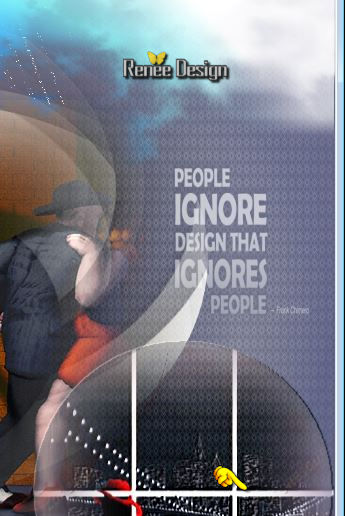
57. Double click on this Layer and set the Blend Mode to "Hard Light "
58. Layers- Merge- Merge Visible
59. Image - Add borders-Symmetric checked:1 pixel #565b86
60. Image - Add borders-Symmetric checked:60 pixels #ffffff
61. Image - Add borders-Symmetric checked:1 pixel #565b86
62. Image - Add borders-Symmetric checked:10 pixels #ffffff
63. Activate the tube ‘’dansa_corner’’
- Edit/copy- Edit/ paste as new layer on your working image
- Move tool / place your tube on the top of your image
64. Layers- Duplicate – Image Flip
65. Activate the tube ‘’titre ‘’dansa_dance »Edit/copy- Edit/ paste as new layer on your working image and move
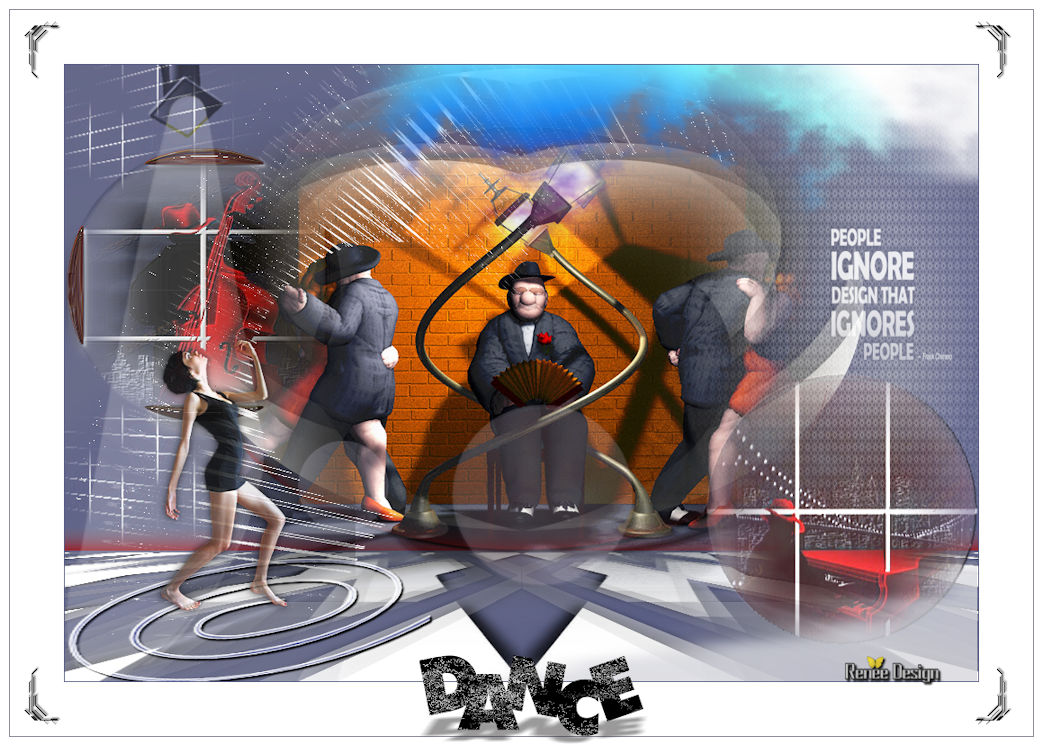
66. Layers- Merge- Merge All
67. Image
Resize to 90%
Save as JPG
I hope you enjoyed this lesson
Renée
This lesson was written by Renée 11/10/2015
edited and update
2015
*
Any resemblance with an existing lesson is merely a coincidence *
* Don't forget to thank the people who work for us and with us. I named the tubeurs - Testers and the translators.
Thanks Renée.
*
| 
 Translations


 When you see this logo the filter is imported in Unlimited


 _All rights reserved