|
Let's start the lesson.
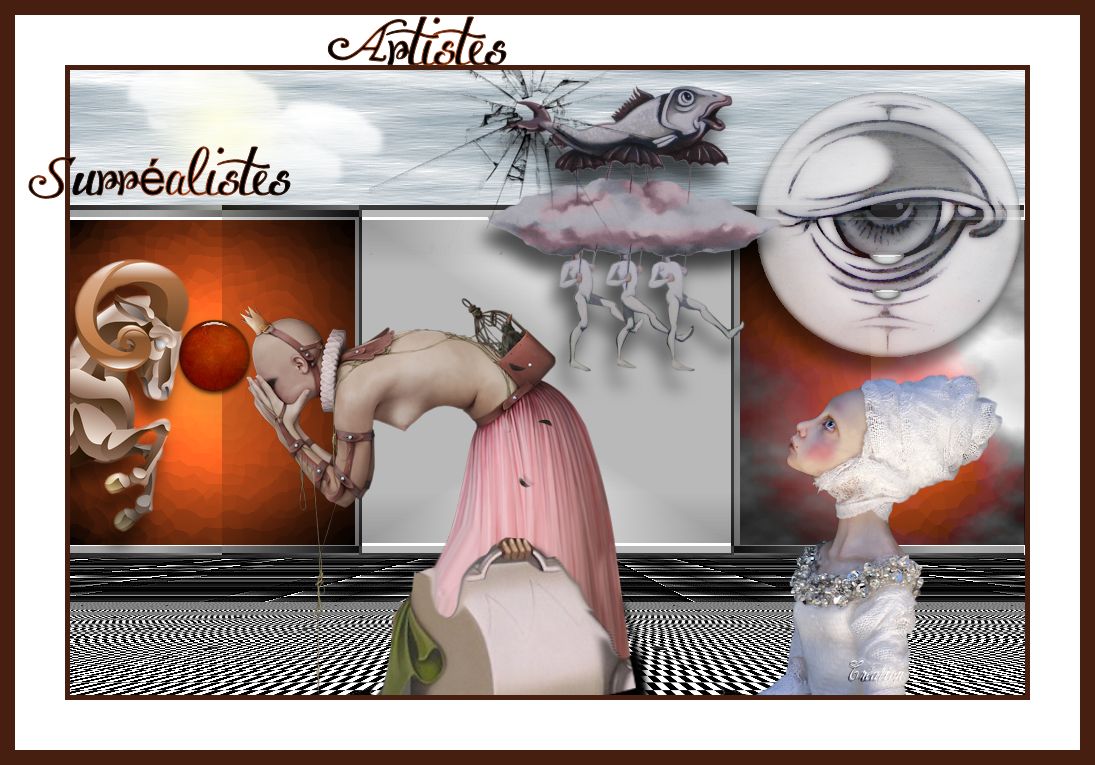
The surrealists Artist
1. File - New - New Image 955 x 625
Transparent
2. Material Properties: foreground color: white #ffffff background color: #000000
3.Put your foreground on the foreground/background linear gradient with these settings 45/1( invert checked)
4. Activate Flood fill tool and fill the layer with the gradient
5. Effects-Plugins -Filtre - Kiwi's Oelifilter – Setzboard / 136
6. Effects- Plugins - Toadies/What are you / 173/139
7. Effects- Plugins - Scribe – 4 Way miror

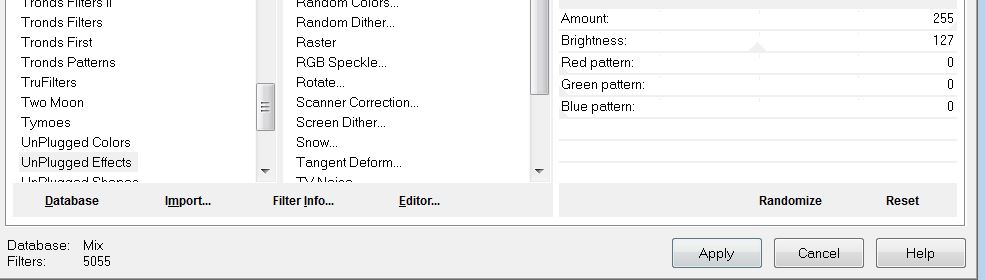
8. Effects- Plugins Unlimited - Unpplugged Effects- Acid
waterfalls
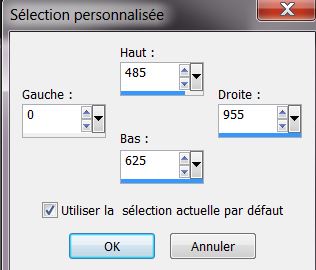
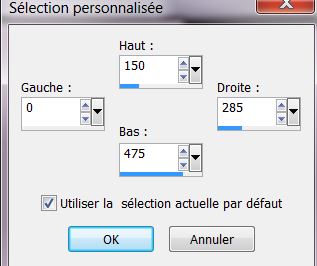
9.Selection Tool ( S ) Custom selection use settings below
10. Promote selection to layer
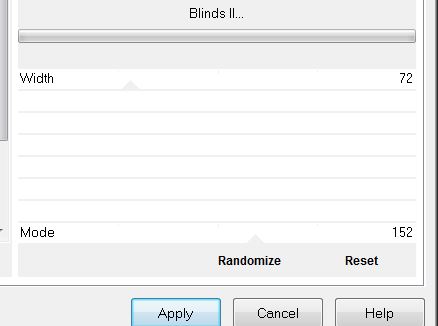
11. Effects- Plugins - Alf's Power Grads – Blindt II
12. Effects-Edge Effects- Enhance
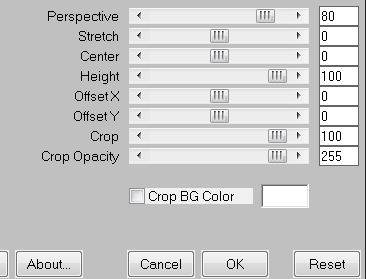
13. Effects- Plugins - Mura's Meister - Perspective
Tilling use settinges below
14.
Effects-Edge Effects- Enhance More
15. Selections- Deselect All
16. Layers- New raster layer
17. Selections - load/save selection - load selection from disk and choose my selection:
''renee_artistes_surrealistes_1 ''
18. Properties Foreground: foreground color to color white
19. Activate Flood fill tool and fill the selection with color white
20.
Effects- Plugins L and K' s - Pia settings on 9
21.
Selections- Deselect All
22.Effects- Plugins - Mura's Meister -Perspective Tilling
with the same settings but put Height on 15
23. Layers- New raster layer
24. Selection Tool ( S ) Custom selection use settings below

25.
Effects- Plugins Mura's Meister – Clouds /Foreground color white .Background color: 91a2ac

26. Selections- Deselect All
27. Layers- New raster layer
28. Selection Tool ( S ) Custom selection use settings below
29. Material Properties: Foreground color on #cc511.Background color on :
#000000
30. Put your foreground on the foreground/background sunburst gradient with these settings
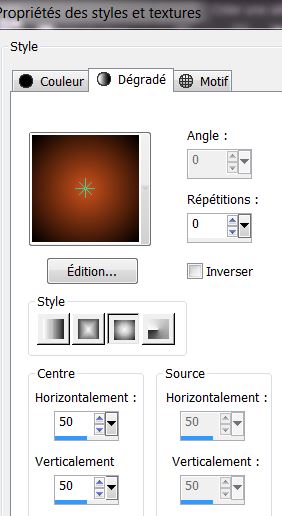
31. Activate Flood fill tool and fill the selection with the sunburst gradient
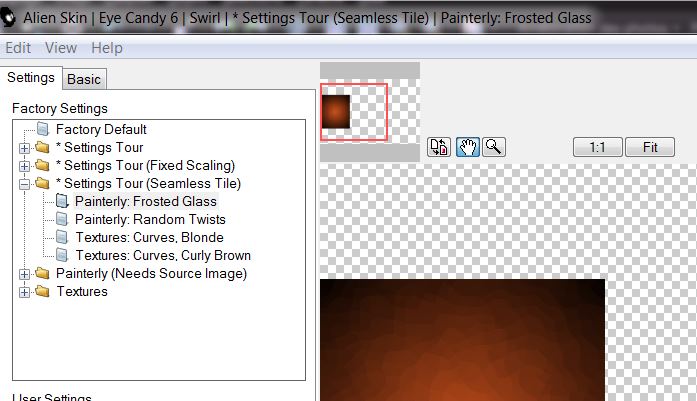
32.
Effects- Plugins -EyeCandy6- Texture- swirl/Setting
tour (seamless tiles) Paintely:Frosted glass
33. Layer Palette :double click on this Layer and set the Blend Mode to "Hard Light "
34. Selections- Deselect All
35. Layers-Duplicate-Image Mirror
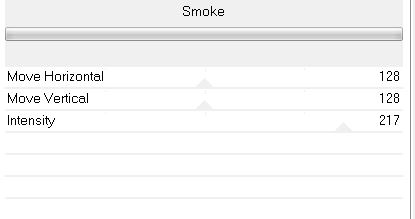
36. Effects-Plugins
Unlimited 2.0- Render - Smoke use settings below
37.
Open the tube ''renee_artistes_surrealistes_lune''
- Edit/copy-Edit paste as a new layer on your working area . With your move tool place it on the right side
38.
Open the tube ''b7'' Edit/copy-Edit paste as a new layer on your working area
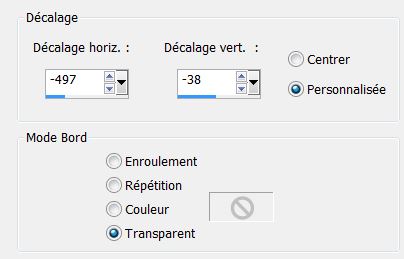
39.Effects- Image Effects-Offset use settings below
40.
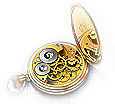
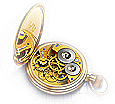
Open the tube ''renee_artistes_surrealistes_boule''
Edit/copy-Edit paste as a new layer on your working area
With your move tool place it against the head of the animal
41. Open the tube ''Jen_woman604-07-04-2012''
Image Resize 65% Edit/copy-Edit paste as a new layer on your working area and move
42. Open the tube de la valise/Edit/copy-Edit paste as a new layer on your working area and move
43. Layers- Merge-Merge Down
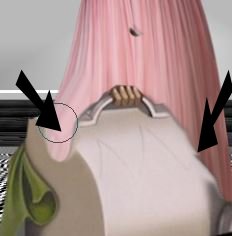
44.
Activate Eraser Tool use settings below

- Erase gently down along the skirt see the example
45.Activate the top of the layer-Palette
46. Layers- New raster layer
47. Selections - load/save selection - load selection from disk and choose my selection: ''
renee_artistes_surrealistes_2''
48. Activate Flood fill tool and fill the selection with color : #000000
49.
Selections- Deselect All
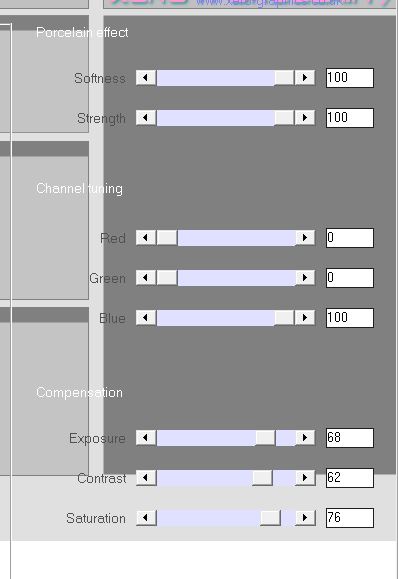
50. Effects- Plugins - Xero XL- Porcelaine use settings below
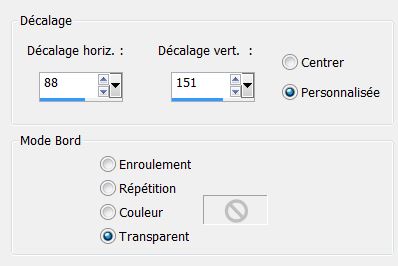
51.Effects- Image Effects-Offset use settings below

52. Open the tube ''logane_renee_02_04_2013'' activate raster 1 of the tube
Edit/copy-Edit paste as a new layer on your working area
53.Effects- Image Effects-Offset use settings below
54. Layers- Arrange- Move Down
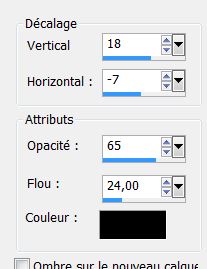
55. Effects - 3D Effects - Drop shadow with these settings:
56. Activate the top of the layer-Palette
57. Open the tube ''Jhanna_571'' Image Resize 65% Edit/copy-Edit paste as a new layer on your working area . With your move tool place it on the right side
58.Open the tube ''nuage '' /Edit/copy-Edit paste as a new layer on your working area . With your move tool place it on the top left side .Layer Palette :double click on this Layer and set the Blend Mode to "Hard Light "
59. Layers- Merge-Merge Visible
60. Image - Add borders-Symmetric checked 5 pixels color #461f10
61.Image - Add borders-Symmetric checked 50 pixels color #fffffff
62.Image - Add borders-Symmetric checked 15 pixels color #461f10
63. Activate the tube" titre"/Edit - Copy -Edit - Paste as new layer on your working area and move. Or write your own text
Save as JPG
I hope you enjoyed this lesson
This lesson was written by Renée 11/04/2013
|

 Translations