|
Demonic Future Travel
Neue
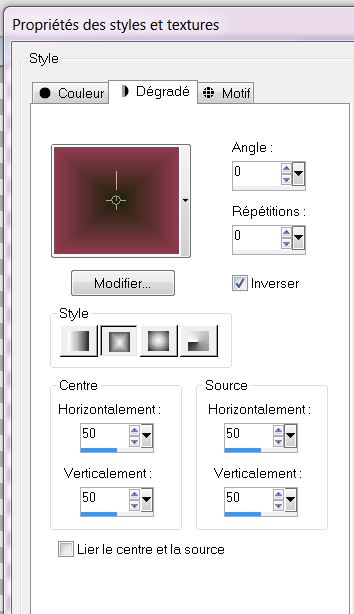
Let's start the lesson. 1. Open a new transparent image 1024 x 600 pixels 2. Material Properties: Foreground color to #913c50 Background color to #1e220b- Prepare a rectangle gradient configured like this
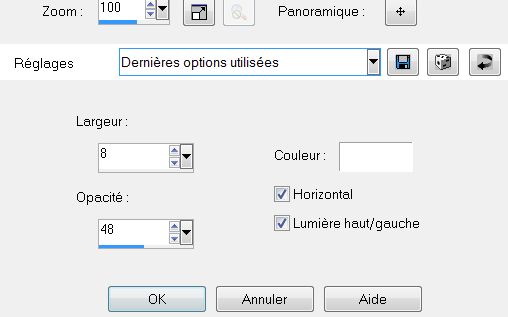
- Activate Flood Fill Tool and fill the layer with the gradient 3. Layer- New raster layer 4. Selections- Select All 5. Open the tube ''femme drapee'' /Edit/copy-Edit-paste into selection 6. Selections- Deselect All 7. Effects- Image Effects- Seamless Tiling with these settings 8. Effects- Texture Effects- Blinds with these settings-Color white
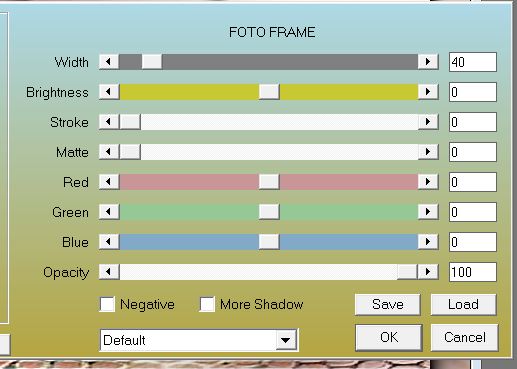
9. Effects- User Defined Filter- -Emboss 3 using the default settings 10. Effects- Plugins -AAA Frame -Foto Frame with these settings
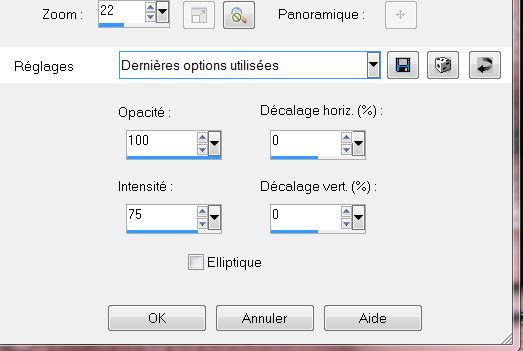
11. Effects- Reflection Effects-Feedback with htese settings
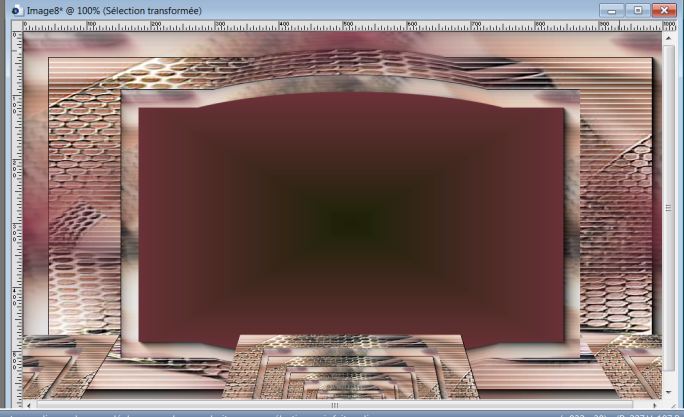
12. Selections - load/save selection - load selection from disk and choose my selection: ''renee-travel demonic'' 13. Selections- Promote selection to layer 14. Layer Palette-Activate the layer underneath
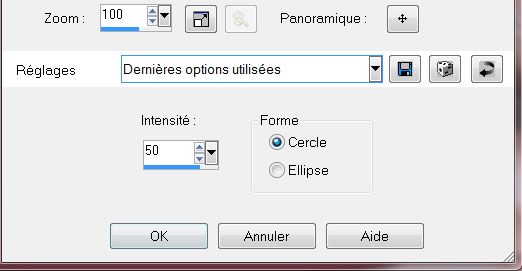
(raster 2)/ Hit the Delete Key of your Keyboard 15. Effects- Geometric Effects- Spherize with these settings- Repeat 2 times
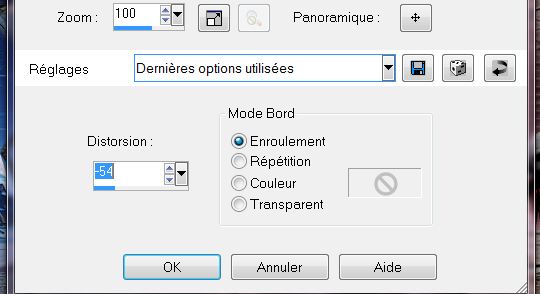
- Back on the layer = Promoted Selection 16. Effects- Geometric Effects -Perspective Vertical
- With the arrow keys (K) on the keyboard to move the layer down
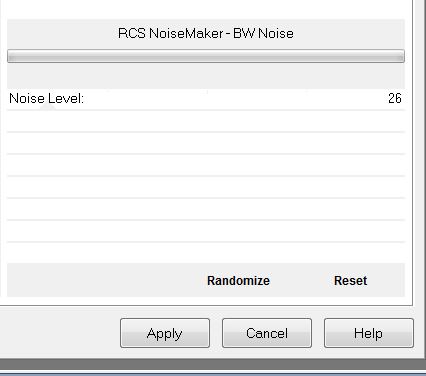
17. Open the tube ''paysage de Nancy'' Edit/copy- Edit/ paste as new layer -Do not move it is in the right place 18. Open the tube ''3 femmes '' Edit/copy- Edit/ paste as new layer on your working area / With your move tool move to the left 19. Open the tube ''renee-travel-demonic vaisseaux- Activate Selection Tool -Rectangle-draw a slection on the right side Edit/copy- Edit/ paste as new layer on your working area 20. Image Flip-Image Resize with 55% Resize all layers not checked -place it in the right place 21. Effects- Plugins - Eye Candy 5Impact -perspective shadow - Preset -''Drop shadow blurry''- 22. Open the tube ''@nn_240307_surr-art_artist02''- Edit/copy- Edit/ paste as new layer on your working area -select a piece of the pipeline or take mine - Activate the changed tube 23. Effects-Plugins -Eyecandy 5 Impact -perspective shadow - Preset /Setting - Drop shadow blury /In the basic -change the color into color white ) 24. Open the tube ''@ann_100908_drawing_zaran_tdstudio'' /Image Resize with 55 % Edit/copy- Edit/ paste as new layer on your working area and move 25. Layers- Merge- Merge Visible 26. Edit-Copy !!! 27. Image - Add borders-Symmetric checked:3 pixels black 28. Image - Add borders-Symmetric checked:50 pixels white 29. Activate Magic Wand and click in the white border of 50 pixels Edit- Paste into Selection(Image is still in your psp memory ) 30. Selections- Promote selection to layer 31. Adjust- Blur- Gaussian Blur: Radius 25 - Keep Selected 32. Effects- Plugins -RCS Filter pack 1/RCS NoiseMaker-BW Noise
33. Selections- Invert 34. Effects- Plugins - Eyecandy 5Impact -perspective shadow-Tab-Settings-User/Settings-and select my preset ''renee-travel demonic persp1'' 35. Selections- Deselect All 36. Image - Add borders-Symmetric checked:5 pixels black 37. Activate the tube "text "/Edit/copy-Edit paste as a new layer on your working area / Ore write your own text Save as JPG I hope you enjoyed this lesson Renée This lesson was written by Renée Placing 23 October 2012 *
Any resemblance with an existing lesson is merely a coincidence * * Don't forget to thank the people who work for us and with us. I named the tubeurs - Testers and the translators. Thanks Renée. *
* I am part of Tutorial Writers Inc. My tutorials are regularly recorded. ReneeGraphisme_All rights reserved
*
|
 Translations


 like this