|
Let's begin
1.
Open the fond ''surprise_rouge.JPG". "promote to background layer jpg''
2.
Open the tube ''surprise_rouge_image1'' Edit/copy-Edit/and Paste as a new layer -move into place
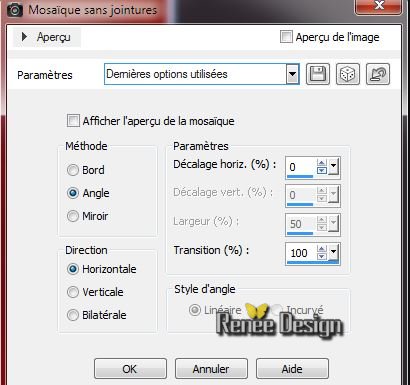
3.
Effects - Image Effects -Seamless tilling
4.
Layers-Duplicate
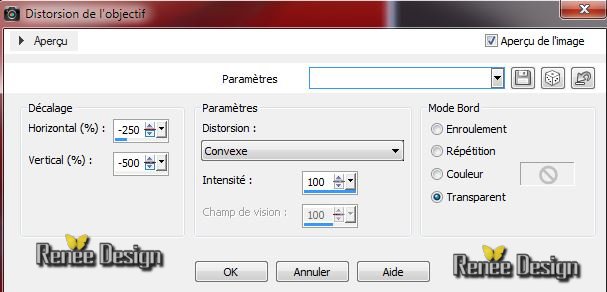
5.
Effects- Distorsion Effects/ Lens Distortion
6.
Effects- Distortion Effects- Twirl Degrees
150
7.
Effects -Image Effects-Offset

8.
Layers-Duplicate /Image Mirror
9.
Layers -Merge-Merge Down
10.
Blend Mode on this layer "Exclusion"
This is the result
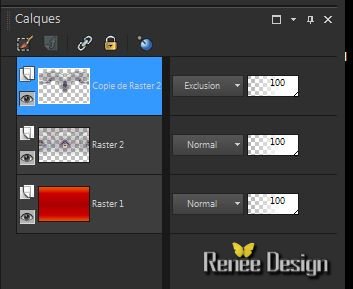
11.
Effects - 3D Effects- Drop Shadow 5/5/20/24 black
12.
Layers-New Rasterlayer /Flood Fill tool: Fill the layer with white
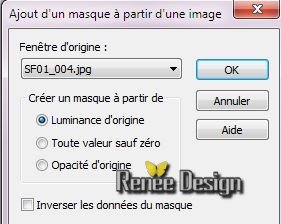
13.
Layers-New Maske layer-From image-open "mask_ ''SF01_004.jpg''
14.
Layers-Merge-Merge Group
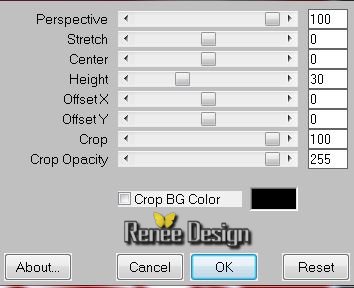
15.
Effects -PluginsMura's Meister -Perspective Tilling
16.
Effects -Distorsion Effects-Twirl- Degrees 20°
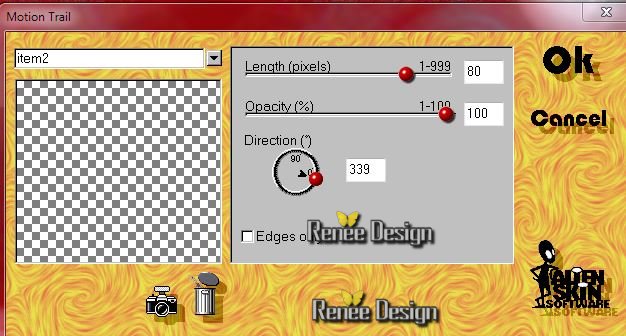
17.
Effects-Plugins Alien Skin-Eye candy 3 Motion Trail
18.
Open the tube ''surprise_rouge_lune''
Edit/copy-Edit /paste as a new layer -move into place
Layers-Merge-Merge Visible
19.
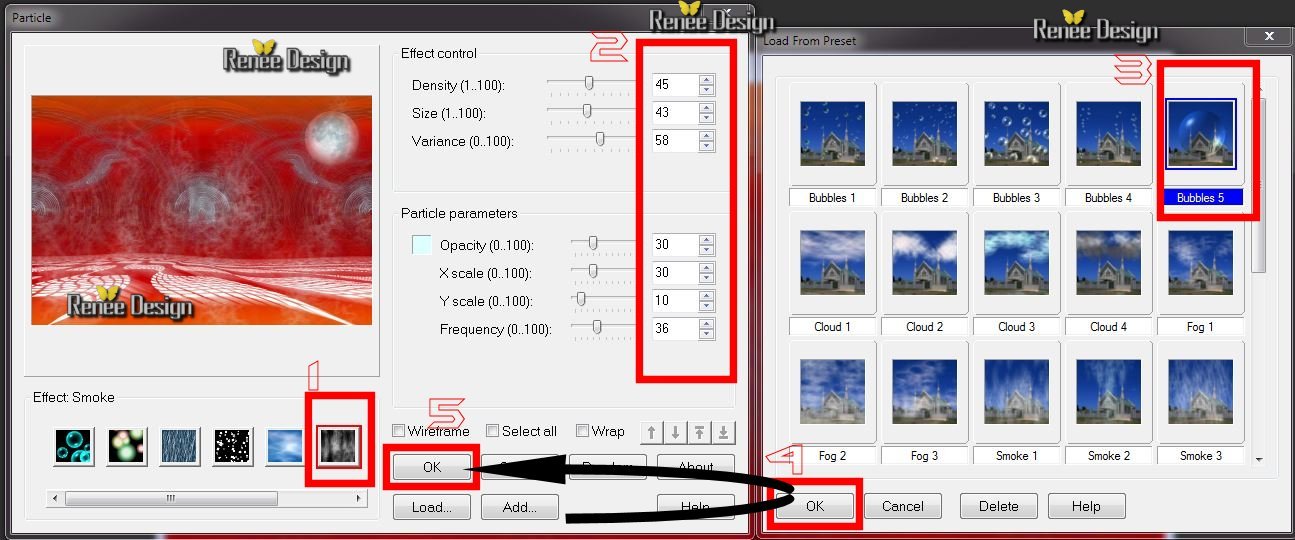
Effects -Plugins Ulead Effect / Particle
clic 1/then on 2 /3 click on Load/take Bubbles 5/and then OK
21.
Layers-Duplicate
22.
Adjust-Blur-Gaussian Blur:Radius 30
23.
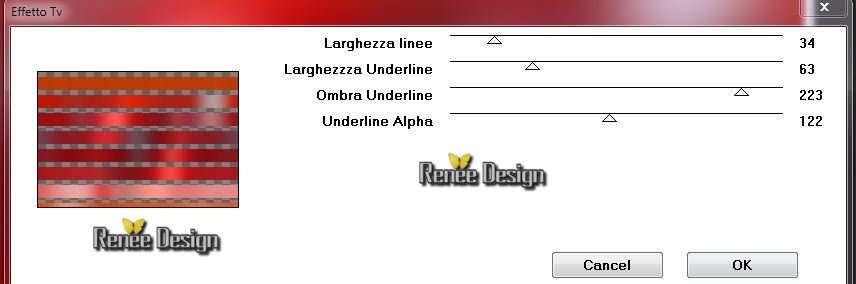
Effects - Plugins Italian Editor/ Effetto TV
24.
Effects -Plugins Eyecandy 5 Impact / Preset Drop shadow blury
default
25.
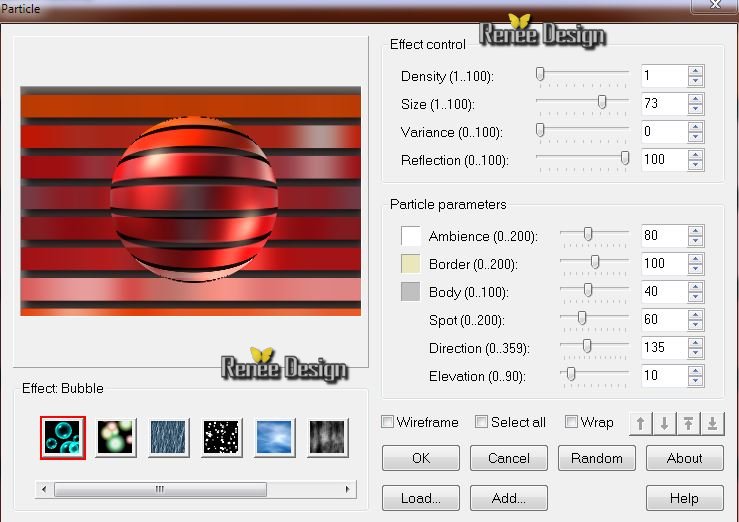
Effects - Plugins Ulead Effect - Particle/ Effects Bubble
26.
Selections - load/save selection - load selection from disk and choose ''
Surprise_rouge1''
27.Selections-Promote selection to layer
28. Activate the layer ''copie de Fusionnée"/ Delete
Selections-Select none
29.Back on the layer below (copie de Fusionné)
30.
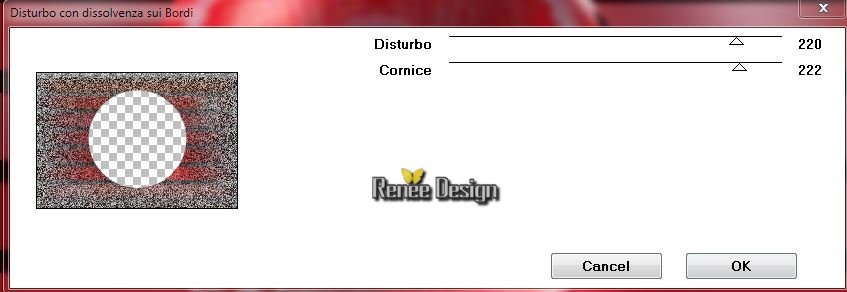
Effects -Plugins Italian Editor effect / Disturbo con
dissolvenza sui Bordi
31.
Effects -Plugins Simple - Center Tiles
32. Effects-
Plugins Alien skin Exposure - Color Film/ Preset
''surprise_rouge_exposure''
33.In your layer palette, activate the layer " sélection transformé" as shown below
34. Image-
Resize to 15 % all layers unchecked
35. Effects- Image Effects-Offset/ H= 250 and V = 0 transparent
36. Layers-Duplicate/ Image Mirror
Your layers palette should look like this now

37. Open the tube ''JHanna720_tubes '' Edit/copy-Edit/and Paste as a new layer/move into place
Blend Mode to "Hard Light"
38. Layers-Merge-Merge Visible
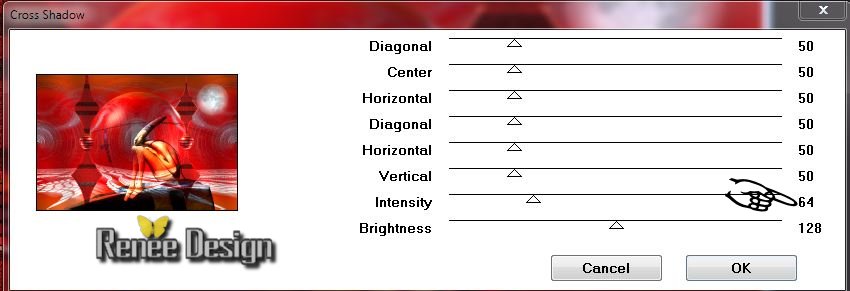
39.
Effects - Plugins Graphic plus - Cross shadow
40.Layers-Duplicate
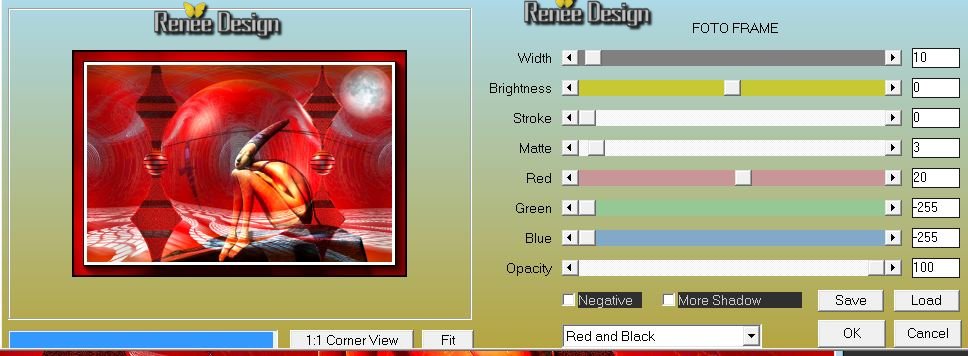
41.
Effects -Plugins AAA Frame - Foto Frame
42. Image
-Resize to 75 %. Don't check Resize all the layers
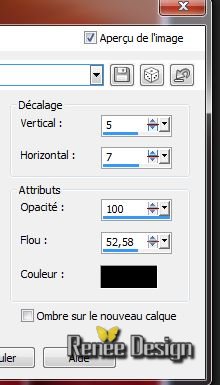
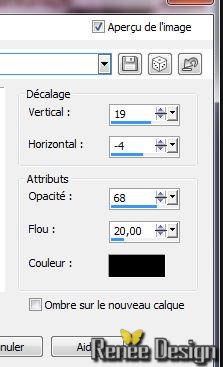
43. Effects
- 3D Effects-Drop Shadow-with the following settings
44. In your palette layer , activate your bottom layer (Fussioné)
(Merged)
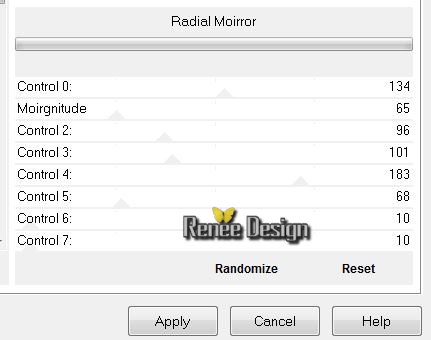
45.
Effects-Plugins Unlimited -Funhouse / Radial Moirror
46. Replace at the top of the Layers palette
47. Open the tube ''surprise_rouge_barres'' / Edit/ copy - Edit/paste as a new layer-move into place
48. Effects
- Image Effects- Offset H = - 420 et V = 0
49. Layers-Duplicate/ Image Mirror
50. Open the tube ''fleche'' - Edit/ copy - Edit/paste as a new layer -move into place
51. Aktivate the Selection Tool (K) Mode Rectangle / Select like this
(opacity of the layer down to see better to draw your rectangles)
52. Delete on the first rectangle(I have already made an example to the left )- Delete on second rectangle
53.
Selections-Select none. Opacity to 100 %
54. Layers-Duplicate /Image Mirror
55. Layers-Merge-Merge Down
56. Effects
- 3D Effects-Drop Shadow / defaut
57. Activate the bottom layer(fusionné)
58.Layers-New Raster Layer
59.
Selections-Custom selection

60.
Floot Fill Tool: Fill the selection with white
61.
Layers-New Maske layer-From image-open "mask_'!cid_F8E403C3-0E36-4FE5-94CF-4992''
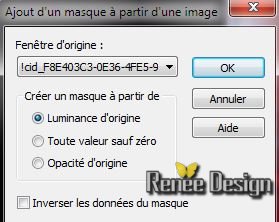
62. Layers-Merge-Merge Group
63.
Selections-Select none
64. Layers-Duplicate /Image Flip
65. With the magic wand with these settings

click on the white square to select like this
66. Effects
- 3D Effects-Drop Shadow-with the following settings
67.
Selections-Select none
68. Open the tube ''bee_glacial_sarah-BNDLE' Edit/ copy - Edit/paste as a new layer - move into place
69. Open the tube "bee_glacial_e102.png'' Edit/ copy - Edit/paste as a new layer and place (not move it in the right place)
70.Image - add borders 5 pixels black
71.Image - add borders 15 pixels white
72Image - add borders 1 pixels black
73.Image - add borders 2 pixels white
74.Image - add borders 1 pixels black
75.Image - add borders 50 pixels white
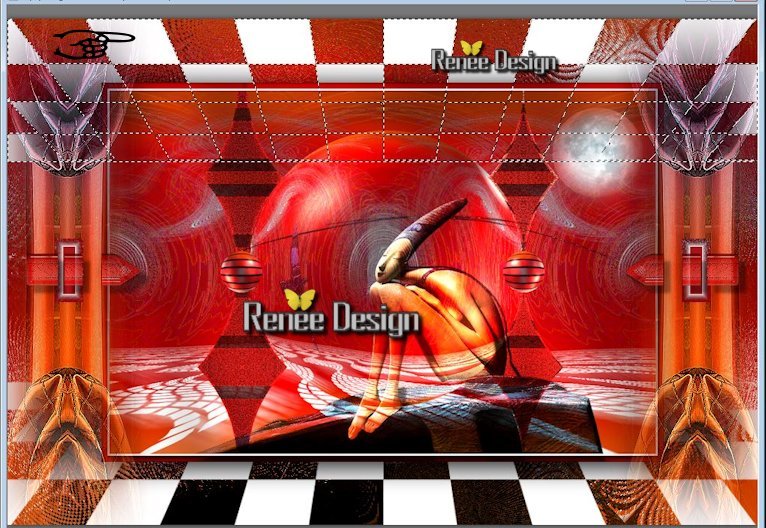
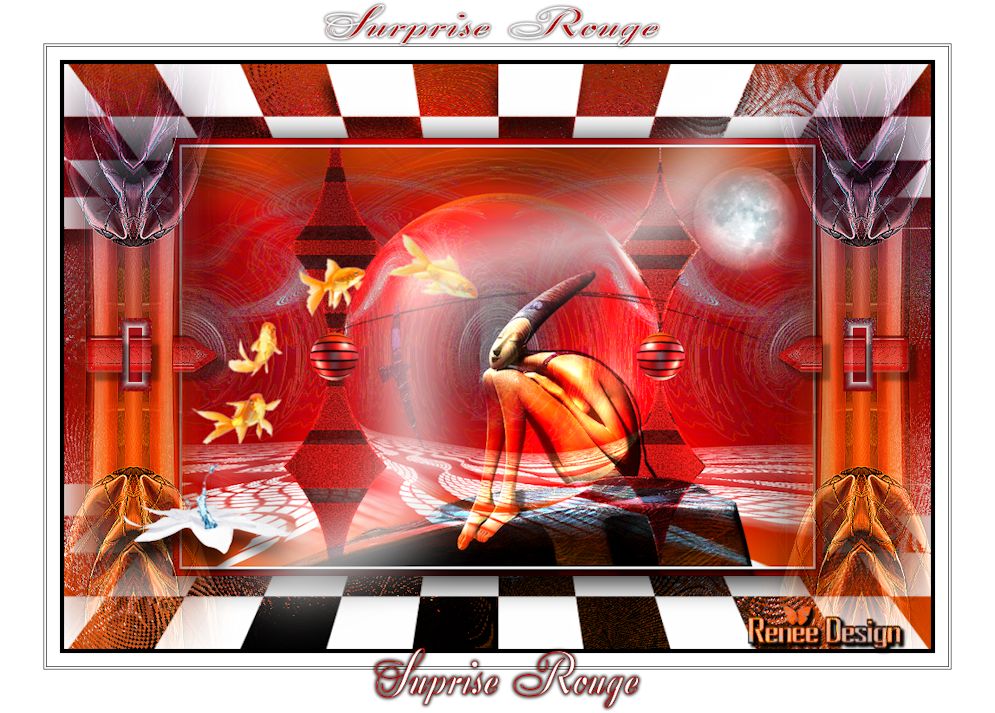
76. Text-Tool : Write
your title I used the font ''Zirkon ''or paste mine '' titre.png"
77.
Layers-Merge-Merge All (Flatten)
Image
- Resize to 995 pixels Width
I hope you enjoyed this lesson
Renée
Write the 15 December 2013
introduction
the 10/01/2014
*
Any resemblance with an existing lesson is merely a coincidence
*
Don't forget to thank the people who work for us and with us. I named the tubeurs - Testers and the translators Thank you
*
| 
 Translation