|
Let's begin
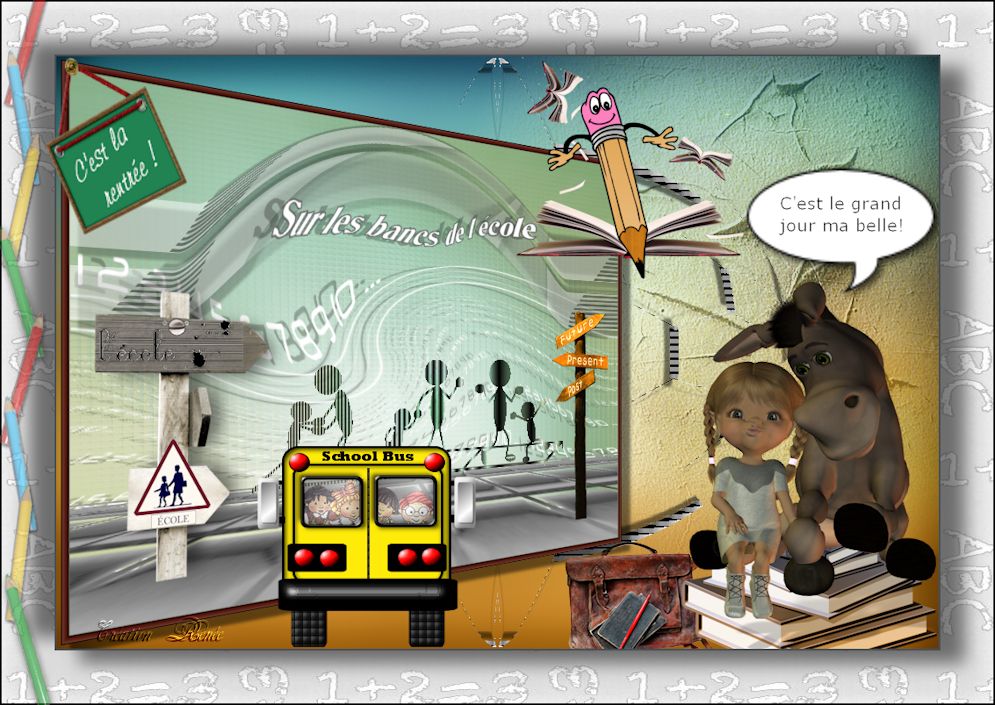
1. Open your background "rentree_des_classes"
/ Window - duplicate and then close the original as we
will work on the copy
Promote to raster layer
2. Color palette - the foreground/ change to a sunburst
gradient
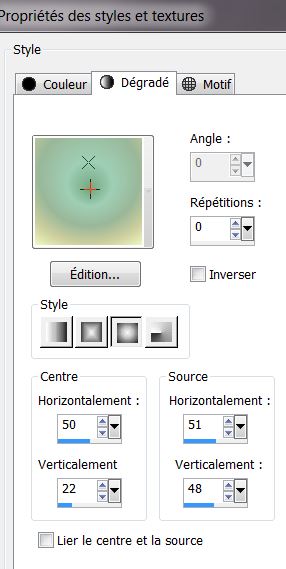
3. Open the gradient "sgd_aqua_gold" configured like
this
4. Layers - new layer - fill with the
gradient
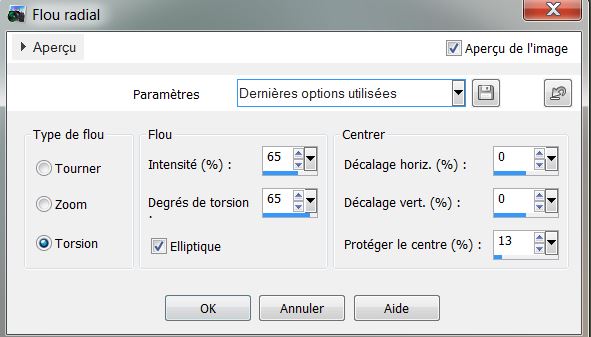
5. Adjust - blur - radial blur
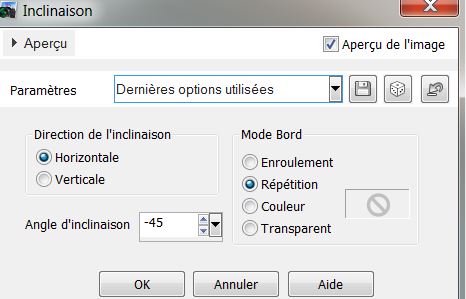
6. Effects - geometric effects - skew
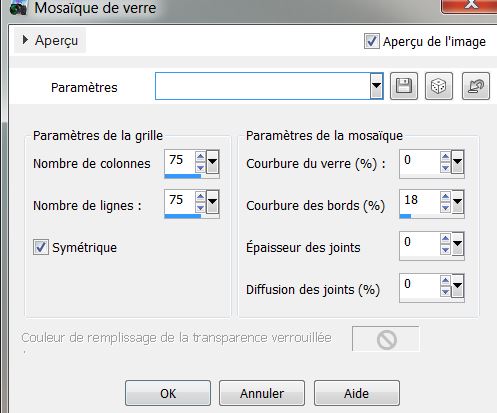
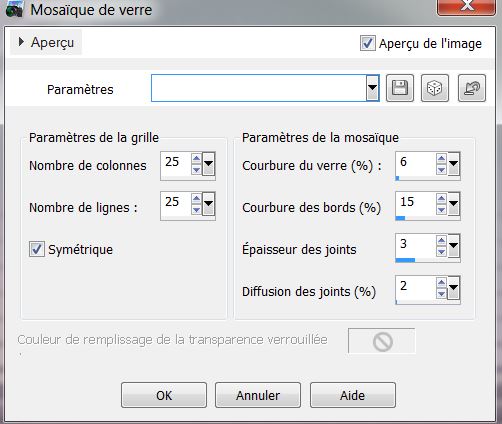
7. Effects - texture effects - mosaic
glass
8. Change the blend mode to Hard Light
9. Layers - Merge - merge down
10. Layers - add a new layer
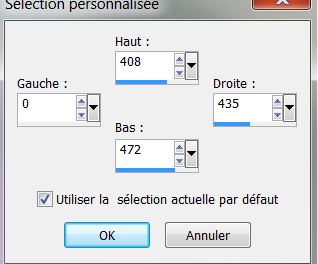
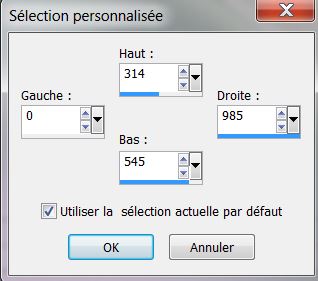
11. Selection tool - custom selection
12. Fill with the color white
13. Selections - select none
14. Effects - Toadies - what are you on 34/34
15. Effects - 3D effects - drop shadow/ black 10/10/50/5
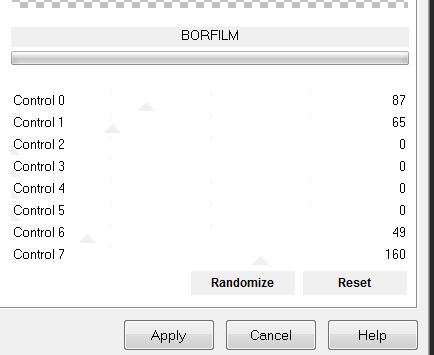
16. Effects - Filters unlimited2.0 - AFS import -
borfilm (import from materials file)
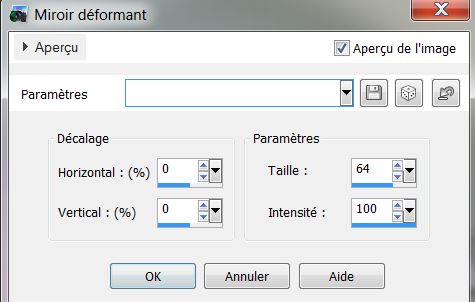
17. Layers - duplicate - image - mirror
18. Layers - Merge - merge down
19. Effects - geometric effects - skew
20. Effects - distortion effects - warp
21. Image - flip
22. Effects - 3D effects - drop shadow settings still in
memory
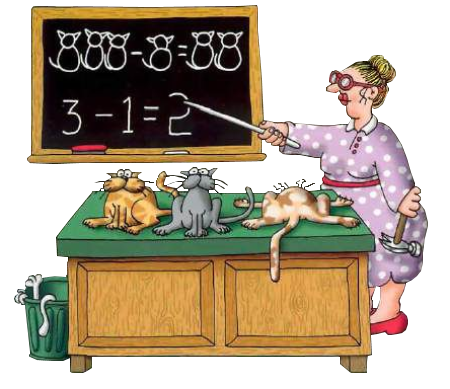
23. Open the tube "image_1.jpg". Copy and Paste as a new
layer - move to the bottom edge
24. Effects - texture effects - mosaic glass
25. Selection tool - custom selection/
see example
26. Delete / select none
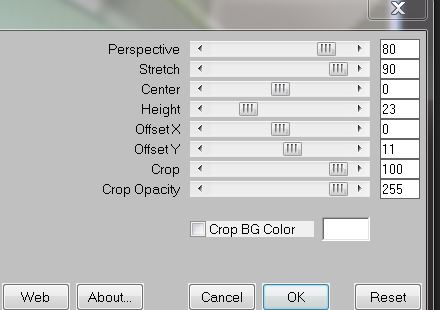
27. Effects - Mura's Meister / Perspective Tiling
28. Open the tube "image_2 'Copy and
paste as a new layer. Move into place
29. Effects - Eye Candy5 Impact - perspective shadow -
preset "rentree_scolaire_1"
30. Click on raster1 (the bottom layer) - Layers - new
raster layer - fill with the color white
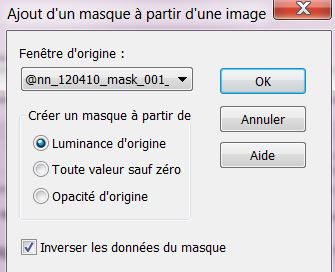
31. Layers - New mask layer from image "@
nn_120410_mask_001tdstudio.jpg "
32. Layers - merge group
33. Effects - distortion effects - Twirl/ -120 degrees
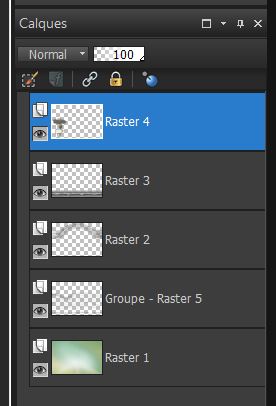
You are here
34. Click on the top layer
35. Layers - new raster layer
36. Selections - load selection from disk "rentree_1"
fill with the same gradient as before
37. Selections - select none
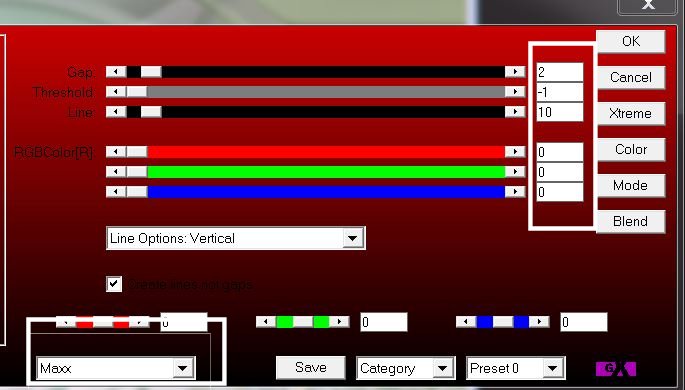
38. Effects - AP01 (innovation) - Lines/ silverlining
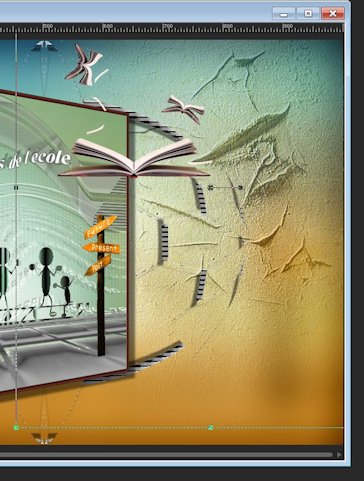
39. Open tubes "image_3" and "image_4"
Copy both tubes and paste as new layers. See the final
image
40. Open the tube "titre" Paste as a new layer - Move
into place
41. Effects - 3D effects - drop shadow -5/-25/30/2 black
42. Open the tube "image_5" Paste as new layer and place
on the school sign as shown
43. Image - add borders 10 pixels #5e6060 - change
background to raster layer
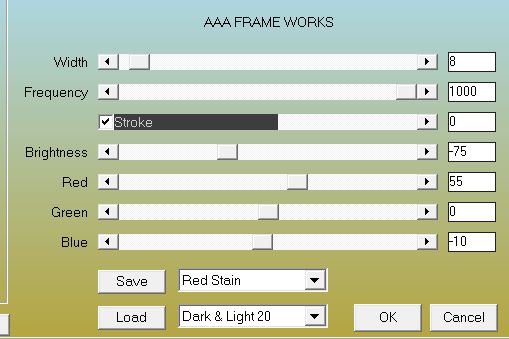
44. Effects - AAA frame - frameworks
45. Layers - duplicate
46. Effects - Andromeda - perpective - sidewalls - it
open
47. Effects - 3D effects - drop shadow default
48. Activate the the bottom layer
49. Adjust - Blur - Gaussian Blur/ 32
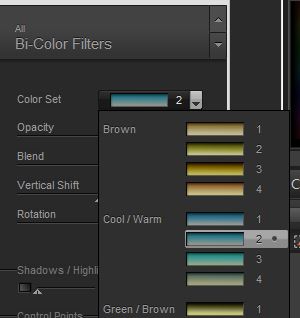
50. Effects - nik color effex pro 3.0 - bi color filters
Layers - Add a new layer
51. Effects - Mura's Seamless/ Hex Pattern
52. Effects - 3D effects - drop shadow /
default
53. Effects - Simple - pizza slice mirror. Apply this
effect twice
54. Effects - Geometric effect - Circle / transparent
box active
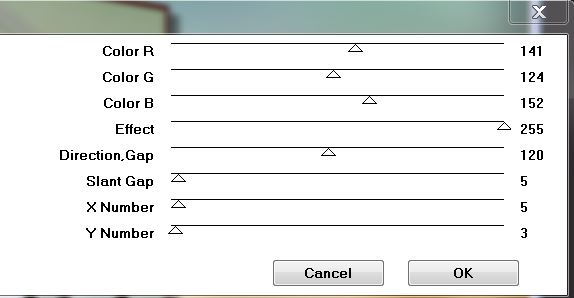
55. Effects - VM Experimental / TeeWee 255/255
Click on the top of the Layers palette
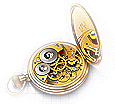
56. Open the tube "livre_6082_L" - Image - resize 55%
(all layers unchecked) - paste as a new layer and place
well
57. Activate Raster 1 - open the tube "image_craquelure"
Paste as a new layer and move into place as shown
58. Effects - User Defined filter - emboss3/ default
59. Activate the upper layer
60. Open tube "crayon" Paste as new layer - move into
place
61. Open tube "bus_scolaire" Paste as new layer - move
into place
62. Open tube "MR cartable_scolaire autrefois" - image -
resize 55% all layers unchecked - paste as a new layer -
move into place
63. Open tube "pile_de_livre" Paste as new layer - move
into place
64. Open tube "mon_ami et moi" Paste as new layer - move
into place on the books
65. Open tube "bulle" Paste as new layer - use text of
your choice
Make sure everything is placed as you want it
66. Image - add borders 2 pixels #475054
67. Image - add borders 60 pixels color white
68. With the magic wand select the larger border and
paste "ecole_papier.png" into the selection

69. Selections - Invert
70. Effects - 3D effects - drop shadow as follows
71. Repeat with negatives - 15/-28/50/30 Black
Selections - Select none
72. Image - add borders 2 pixels black
73. Open tube "ceruzasor" Paste as a new layer move as
shown. Lower the layer opacity to 57
- Open the tube "pancarte_rentree" Paste as a new layer
- move as shown
74. Layers - Merge All / Image resize to 995 pixels wide
*
All finished
Thanks Sally
|