|
New
Translations here
Red Love
Let's start the lesson.
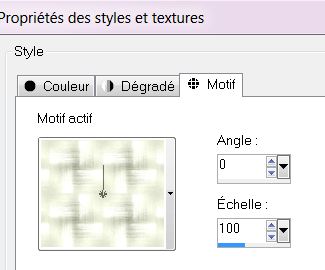
1. Open the Background Image ''fond -red love'' -Promote Background Layer =Raster 1'' 2. Layers- New raster layer 3. Selections - load/save selection - load selection from disk and choose my selection: ''renee- red love -selec 1'' 4. Materialpalett :Open the Pattern ''motif1'' in your PSP with these settings
- Activate Food Fill Tool :fill the selection with the FG-Pattern 6. Selections- Deselect All 7. Effects- Plugins -Unlimited - Mac's - Page curl
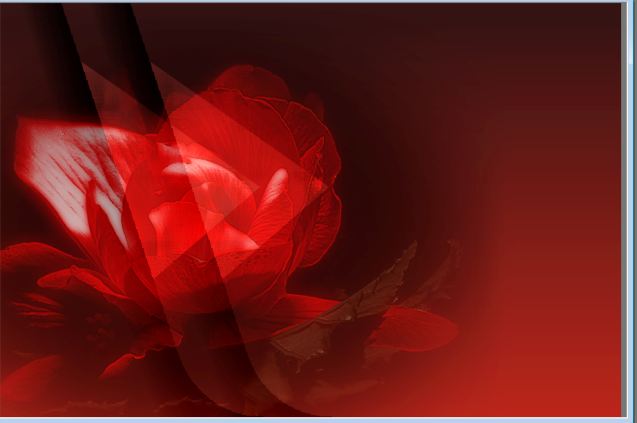
- Double click on this layer and set the Blendmode to Overlay 8. Layers- Duplicate 9. Effects- Image Effects Offset with these settings H=100 and V =0 - Activate the top of the Layer Palette 10. Open the tube ''Treagen 3598_26_09_012' Edit/copy-Edit paste as a new layer on your working area - Place with your move tool as shown in screen below- I have lowered the opacity of that layer to 63%
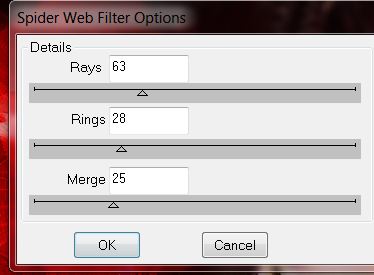
- Activate the bottom of the Layer Palette 11. Layers- Duplicate 12.Effects- Plugins – DBS Flux – spider web
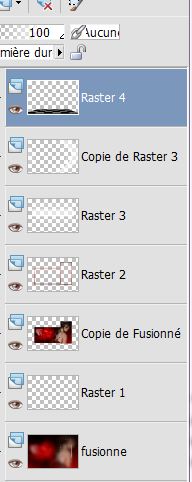
13. Double click on this layer and set the Blendmode to Soft Light - Your Layer Palette look like this now:
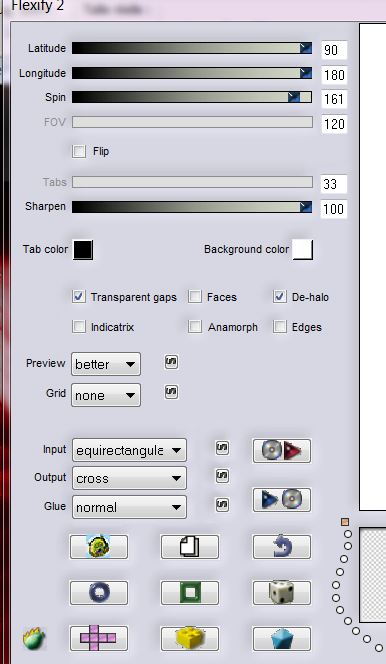
- Activate the top of the Layer Palette 14. Open the tube ''Thaiss_gand_laur_08'' /Edit/copy-Edit paste as a new layer on your working area and move 15. Open the tube '' red love-image ligne ''Edit/copy-Edit paste as a new layer on your working area -Do not move it is in the right place 16. Effects- Plugins -Flaming pear -Flexify 2 with these settings
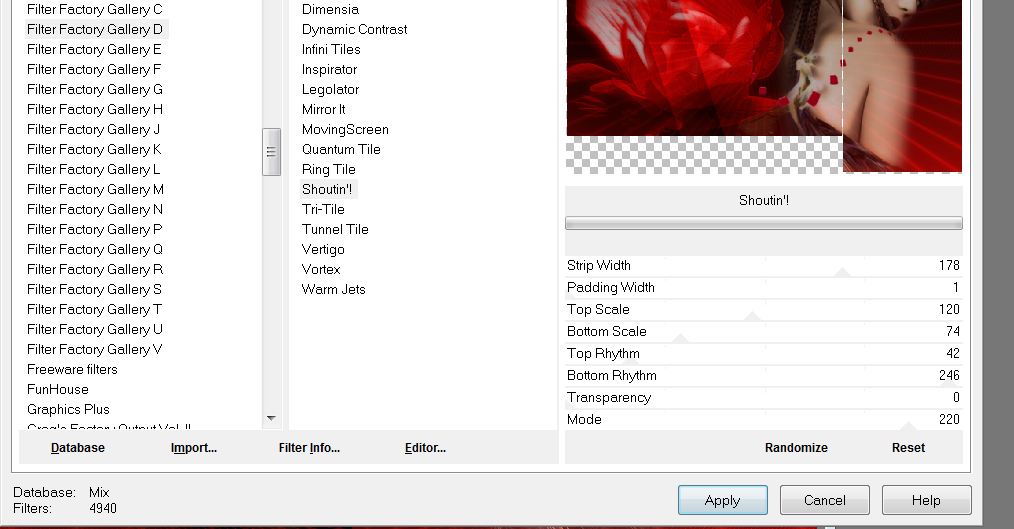
- Put the line of this tube so that it is just right as shown in the example 17. Layers- Merge- Merge- Visible 18. Layers- Duplicate 19. Effects - Plugins - Unlimited - Filter Factory D /shouting
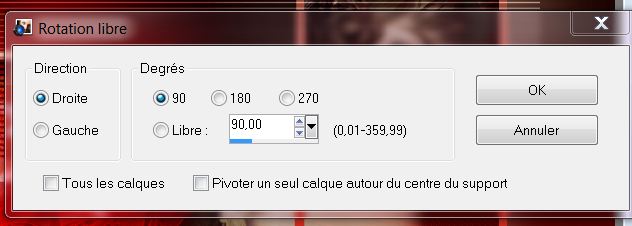
20. Image Resize with 75% (Resize all the layers not checked) - Activate the bottom of the Layer Palette (merged Layer) 21. Adjust- Blur- Gaussian Blur- Radius:25% -Activate the top of the Layer Palette 22. Layers- New raster layer 23. Selections - load/save selection - load selection from disk and choose my selection: ''renee -red love -selec2''-// Change foreground material into gradient and select "'red_love'' linear 0/0 Invert checked - Activate Flood Fill Tool: fill the selection with the gradient 24. Selections- Deselect All - Activate the top of the Layer Palette 25. Open the tube ''red love-image traverses'' Edit/copy-Edit paste as a new layer on your working area -Do not move it is in the right place --Double click on this layer and set the Blendmode to Soft Light 26. Layers- Duplicate 27. Image Free Rotate-90 right
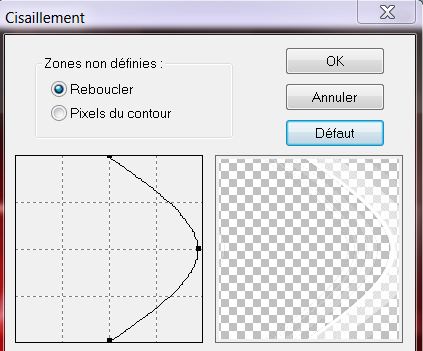
28. Effects- Plugins - Déformation -Cisaillement---to reset the filter click default
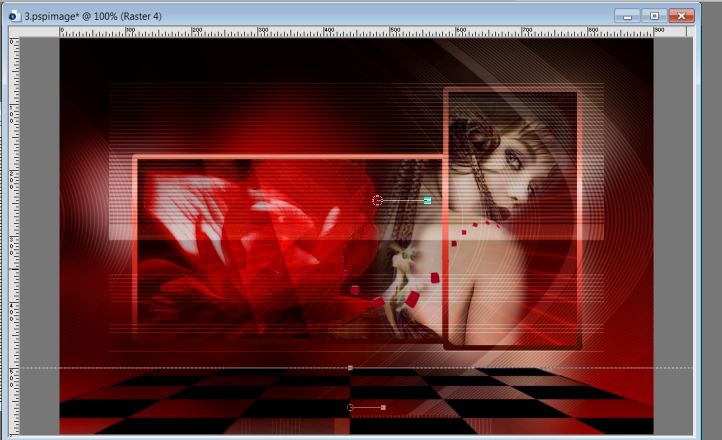
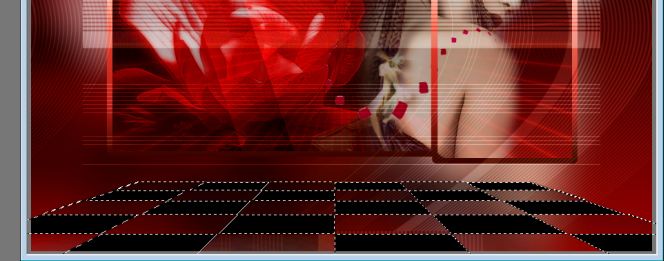
- I have lowered the opacity of that layer to 62% 29. Open the tube ''plancher '' Edit/copy-Edit paste as a new layer on your working area - Place with your move tool as shown in screen below
- - Layer Palette -Double click on this layer and set the Blendmode to Hard Light - Your Layer Palette look like this now
30.Activate the magic wand with settings shown below and click into the black parts
- You have this selected
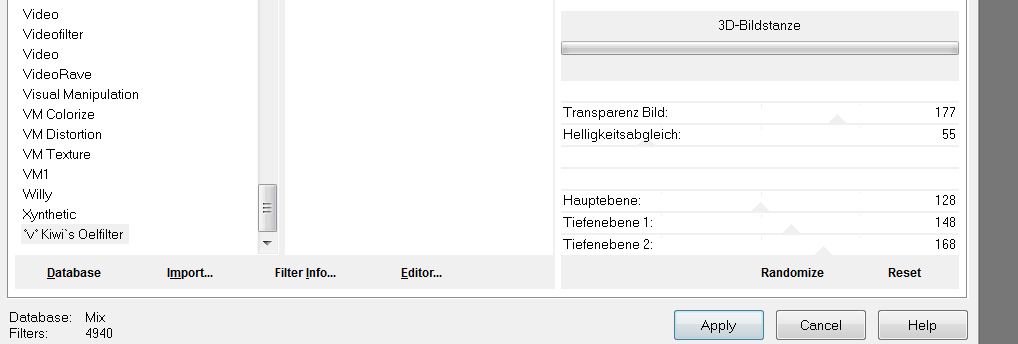
31. Effects- Plugins -Kiwi's Oelifiter-3D Bildistanze
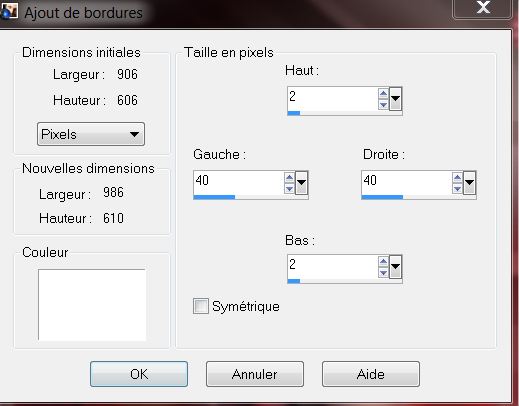
*your filter will give you can be a slightly different result but it has no impact on your work ** 32. Selections- Deselect All 33. Open the tube ''DragoBluTube0310_RedRose&Cross'' close the layer of the watermark -Merge visible the two other layers Image -Resize with 35% -Edit/copy-Edit paste as a new layer on your working area and move 34. Open the tube « Love »Edit/copy-Edit paste as a new layer on your working area and Move 35. Open the tube '' red love -bouton '' Edit/copy-Edit paste as a new layer on your working area and move 37. Open the tube ''lut tube 97 270411 '' Edit/copy-Edit paste as a new layer on your working area and move 38. Effects- 3D Effects-Drop Shadow with these settings: 8/10/50/12 black 39. Layers- Merge- Merge Visible 40. Effects- Plugins -FM Tile Tools- Blend emboss /Using the default settings 41. Image - Add borders-Symmetric checked: 3 pixels black 42. Image - Add borders asymmetric with these settings -white
43. Open the tube ''bande'' Edit/copy-Edit paste as a new layer on your working area and move to the left side 44. Layers- Duplicate- Image Mirror 45.Layers- Merge- Merge Visible 46. Image - Add borders-Symmetric checked: 4 pixels black. Save as JPG I hope you enjoyed this lesson Renée This lesson was written by Renée Placing 1 October 2012 *
Any resemblance with an existing lesson is merely a coincidence * * Don't forget to thank the people who work for us and with us. I named the tubeurs - Testers and the translators. Thanks Renée.
* I am part of Tutorial Writers Inc. My tutorials are regularly recorded. ReneeGraphisme_All rights reserved
*
|
 Translations