|
New
Translations here
Origami
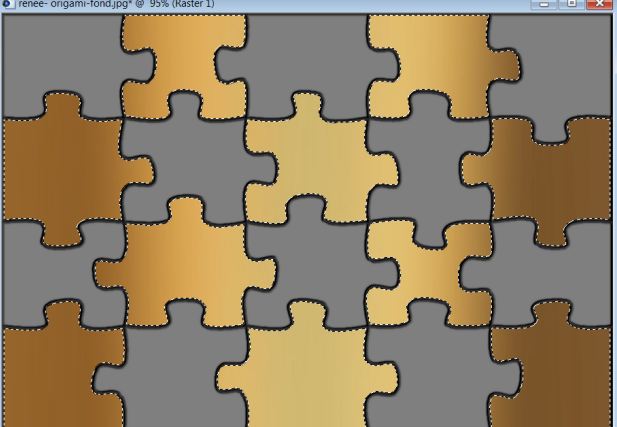
Let's start the lesson. 1.File - New - New Transparent Image:945 x 645 pixels - Foreground color to #808080 Activate Flood Fill Tool and fill the layer with the foregroundcolor #808080 2. Effects- Plugins– Xenofex -puzzle
3.Activate the magic wand and select the yellow part as shown in the example below **I have yellow colored you can see it better **
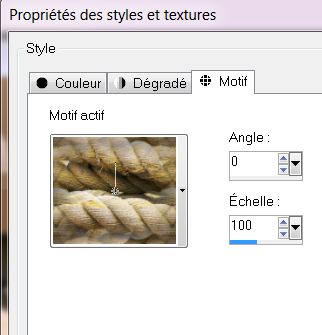
Do not add new layer 4. Change the foreground color into texture and select my texture: '' corde ''/with these settings
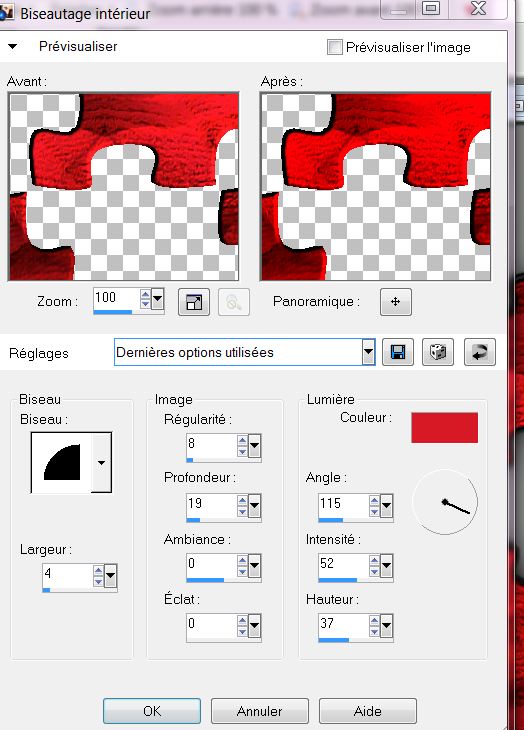
5.- Flood Fill Tool: fill the selections with the foreground color/texture - Keep Selected 6. Effects- Eyecandy 5 Impact -perspective shadow ''–tab Settings/User settings choose my preset:-"renee-origami-perspec1'' 7. Effects- 3D Effects- Inner Bevel with these settings-Color #d71926
8. Selections- Invert 9. Effects- Texture Effects-Blinds with these settings- Color #760906
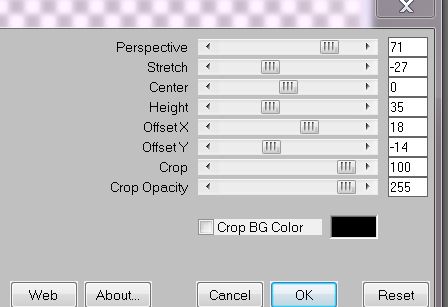
10. Selections- Deselect All 11. Effects- Plugins -Mura's Meister -Perspective tilling with these settings
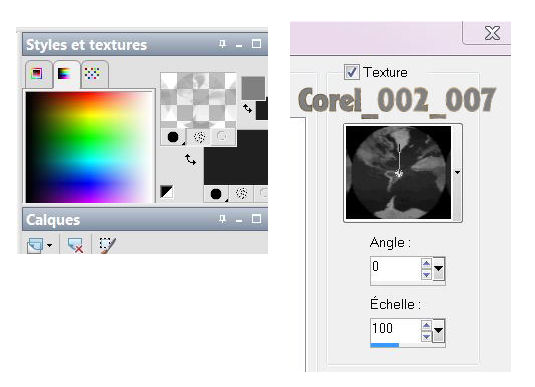
12. With your magic wand select the transparent part 13. Layers- New raster layer-Flood Fill Tool: fill the selections with the backgroundcolor black - Material Properties: Foregroundcolor to color #808080 - Backgroundcolor =black -Change the foreground color into texture and select my texture:''corel_002_007'' with these settings
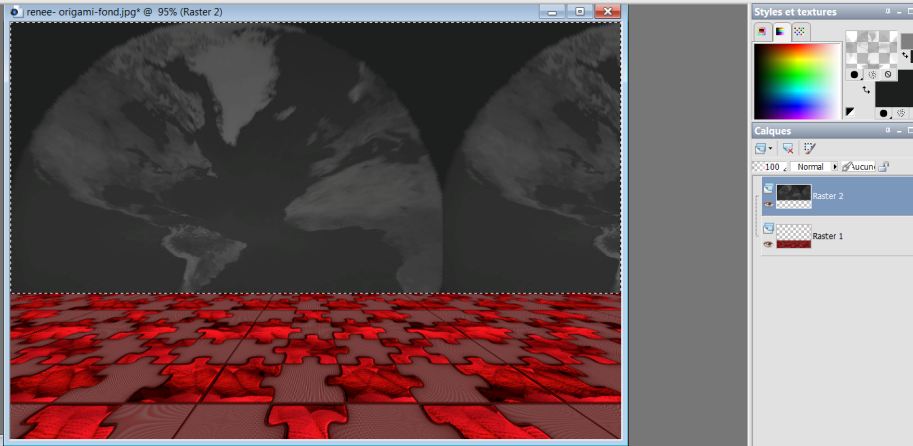
14. Flood Fill Tool: fill the selections with the foreground color/texture - Your work looks like this -View your layer palette on the right for comparing and ok
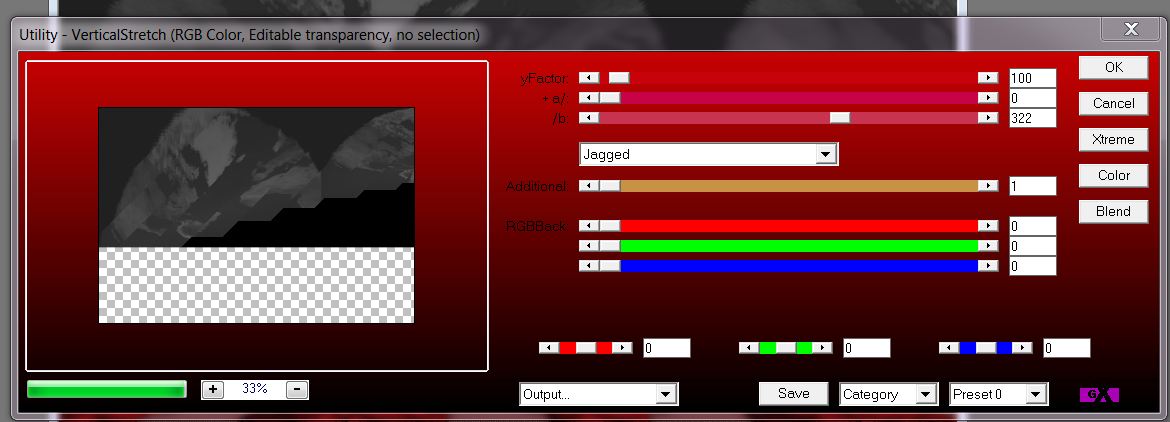
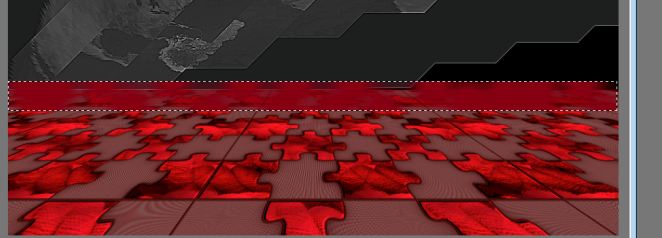
15. Selections- Deselect All 16. Effects-Plugins - AP 07 - Utility -Vertical Strech /effects -Jagged with these settings
17.Effects- Edge Effects- Enhance More 18. Layers- New raster layer 19. Selections - load/save selection - load selection from disk and choose my selection: ''renee-origami-selec 1'' 20. Activate Airbrush with these settings
21. Change the foreground color into this color #870115 -
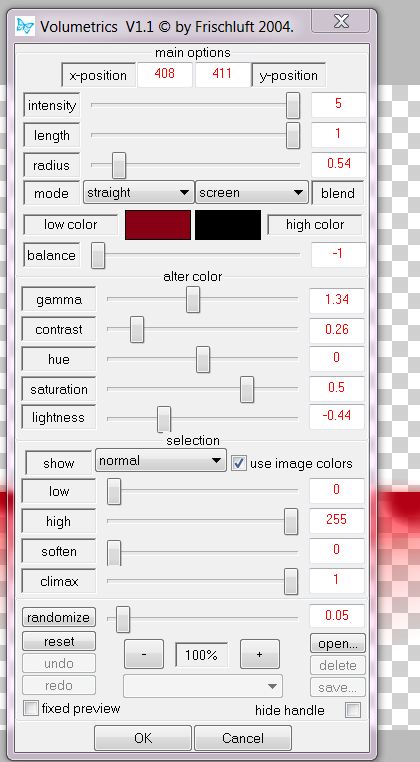
22. Effects- Plugins – Frischhuft V1.1../.Volumetrics with these settings -colors #8B0016 and #000000
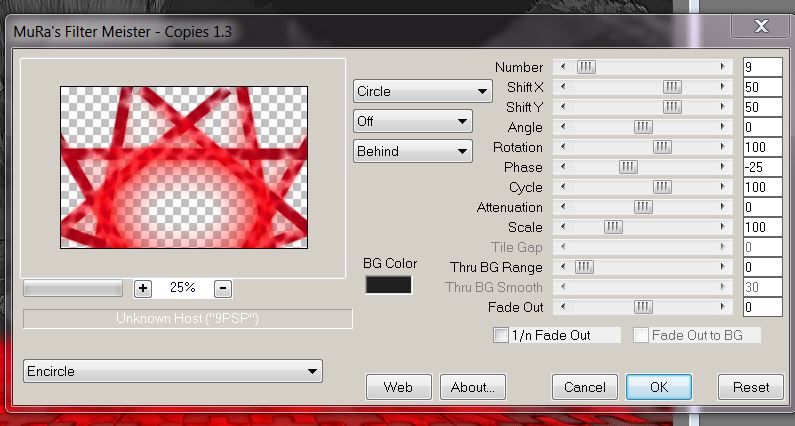
23. Selections- Deselect All 24. Layers- Duplicate 25. Effects- Plugins - Mura's Meister - Copies with these settings
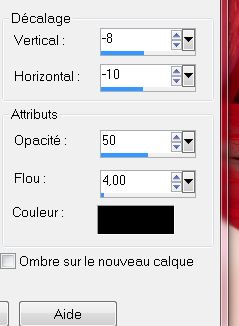
- Set the layer opacity of this layer to 81% 26. Layers- New raster layer 27. Selections - load/save selection - load selection from disk and choose my selection: ''renee-origami-selec2 '' -Activate Flood Fill Tool and fill the selection with the this color #870115 28. Selections- Deselect All 29. Effects- 3D Effects-Drp Shadow with these settings
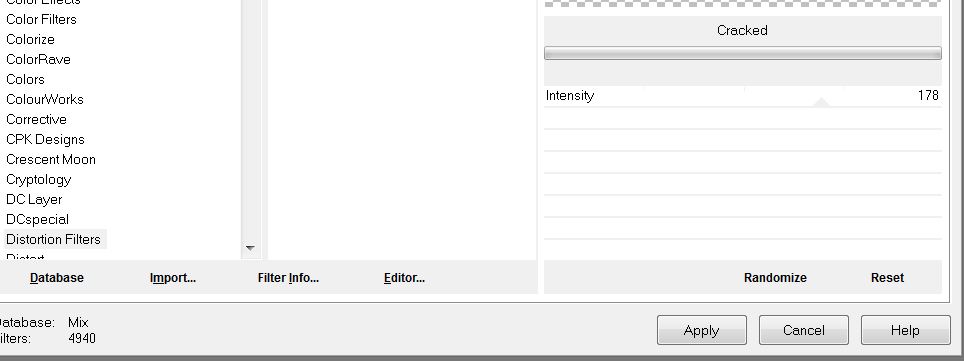
30. Layers- Duplicate - Layers- Arrange- Move Down 31. Effects- Plugins -Distorsion Filters -Cracked
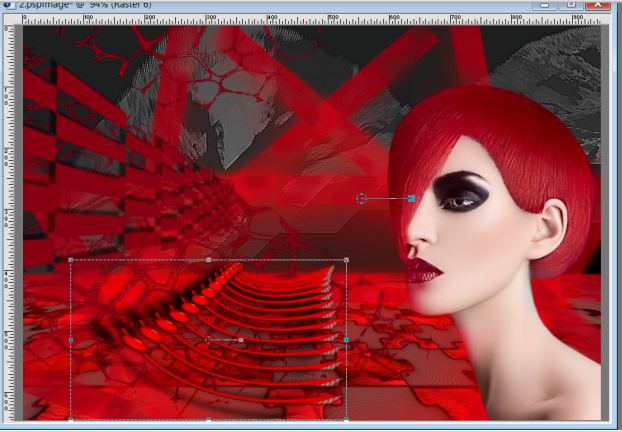
32. In the layer palette: activate raster 4 33. Open the tube ''fashion_Yulia_gorbachenko_1-by-thafs'' Image Resize with 75% Edit/ Copy-Edit - Paste as new layer on your working area .With your move tool move to the right 34. Open the tube ''renee-origami-grille Edit/ Copy-Edit - Paste as new layer on your working area and move - leave for now 35. Effects- Distortions Effects-Polar Coordinates-Rectangular to Polar-Transparent 36. Image - Mirror - Activate your Pick Tool (K) Mode Scale place it in the right place as shown in the example below
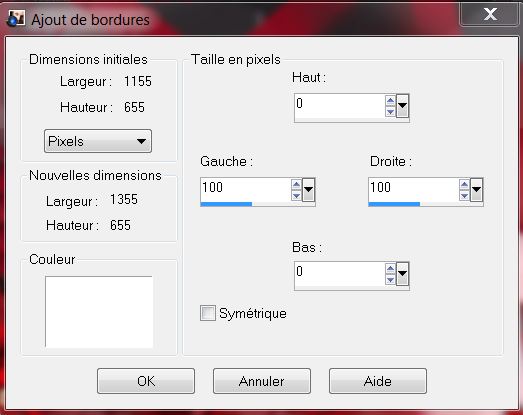
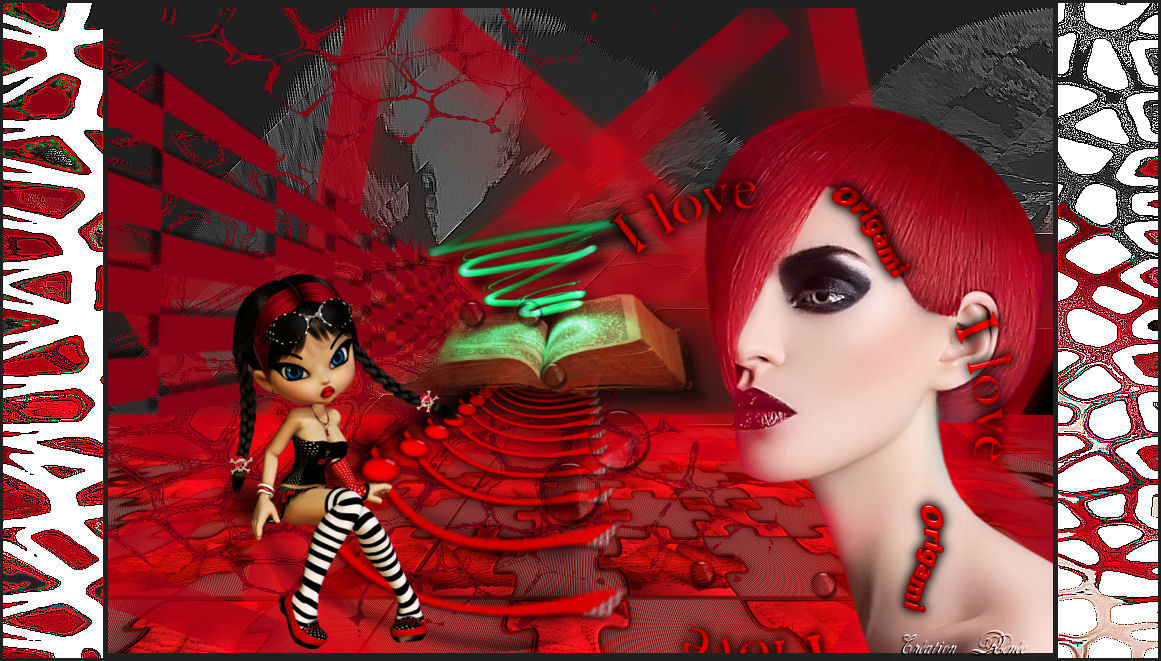
36. Effects- Plugins – Distort -Pinch - amount=100 37. Open the tube ''livre -origami '' Edit/ Copy-Edit - Paste as new layer on your working area and move 38. Image - Free Rotate -5 to the right and place 39. Open the tube ''SSLisa-cookie-emoshion -Rose2'' Edit/ Copy-Edit - Paste as new layer on your working area and move - Image Resize with 75% (Resize all the layers not checked) 40. Open the tube ''renee-origami-pastilles ''Edit/ Copy-Edit - Paste as new layer on your working area and move- Set the Blend Mode to Hard Light 41. Open the tube ''renee-origami-texte'' Edit/ Copy-Edit - Paste as new layer on your working area and move 42. Image - Add borders-Symmetric checked: 5 pixels black 43. Image - Add borders-Asymmetric with these settings- Color white
44. Material Properties:Foreground color to #870115 Backgroundcolor = black 45. With the magic wand -select the border two white borders 46. Effects-Plugins – Distorsion Fiters- Cracked-intensity to 64 47.Effects- Edge Effects- Enhance 48. Selections- Deselect All 49. Image - Add borders-Symmetric checked: 3 pixels black
I hope you enjoyed this lesson Renée This lesson was written by Renée Placing 2 October 2012 *
Any resemblance with an existing lesson is merely a coincidence * * Don't forget to thank the people who work for us and with us. I named the tubeurs - Testers and the translators. Thanks Renée. *
* I am part of Tutorial Writers Inc. My tutorials are regularly recorded ReneeGraphisme_All rights reserved
*
|
 Translations