New Translations

In [Dutch translated ] by Marion

Here

In [Englisch translated ] by Marion

Here

In [Italien translated ] by Graziella

Here

  In [German translated ] by Marion

Here

**********


Translations here

DOWNLOAD material here


These Plugins are used for this Tutorial

*

Alien Skin Xenofex2 -electrify

F Tile Tools -Warp

Mura's Meister-cloud

You can find my filters

Website

http://www.reneegraphisme.fr/


Tube are of

*

Claudia Viza

ATTENTION

If it is your intention to share these tubes or these lessons in a group,club or forum please ask permission to the owner

. The tube may not be send without the lesson .

Please do not make changes to the tube, because this tube was made for this lesson only.

It is forbidden to share this tutorial without a link to the original lesson.

Thank you very much Renée *

These tubes were received from tubeurs sharing groups

Or found by me searsching on the net.

I Am grateful to have been given permission these beautiful tubes so please use any copyright information as needed.

If one of these tubes is yours? Contact me.

so I can make a link to your site or remove it.

Thank you very much Renée


Before starting *


* Open hardware Open / tubes and close duplicate originals


Minimizing Mask at the bottom of your PSP


Put filters into their appropriate folders


Brushes and other tools in their records - respective Psp


To import presets Eye Candy 5 / Double click on the file it will automatically move in the setting file Filter


* For older versions of PSP

if you have an error message to open the tubes


Click> OK and they will open

Thank you Renée


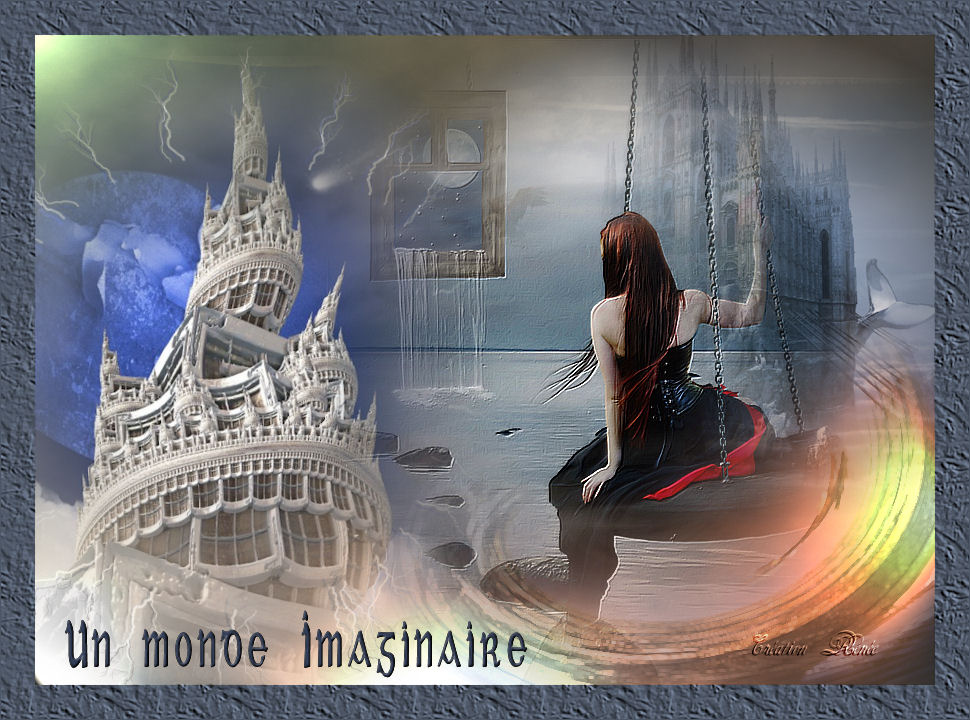
Un Monde imaginaire/An imaginary world

Let's start the lesson.


1. File - New - Open a new transparent image 900 x 650 pixels

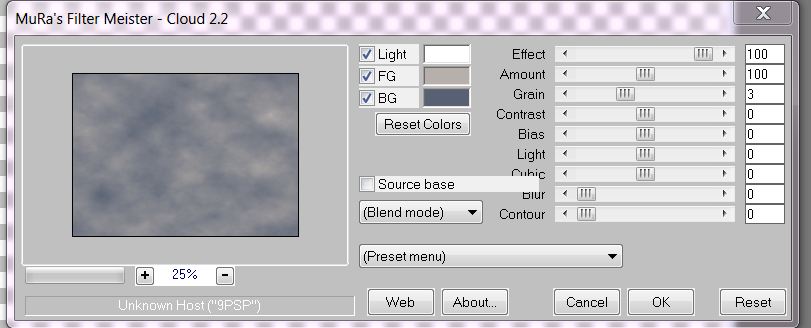
2. Color-palette:Set your foreground color to color #b7afab -Set your background color to color #576173

3. Effects- Plugins - Filtre Muras Meister - Clouds with these settings

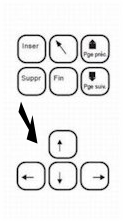
4. Open the tube "Claudia Viza-fantasia45" - - Edit/ Copy-Edit - Paste as new layer on your working image

5. Image Mirror /With your arrow keys on the keyboard left until it abuts against the edge

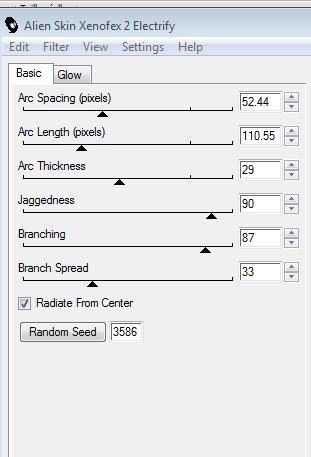
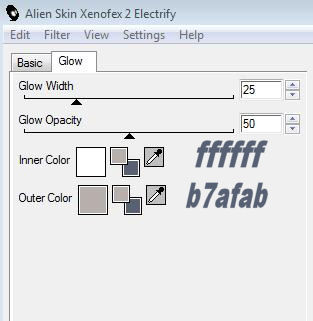
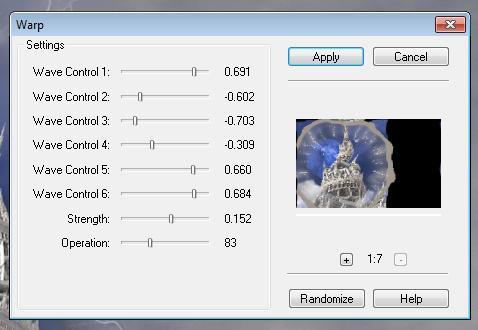
6.Effects -Plugins -Alien skin - Xenofex 2 /Electrify with these settings

7. Effects- Plugins - FM Tile Tools / Warp with these settings

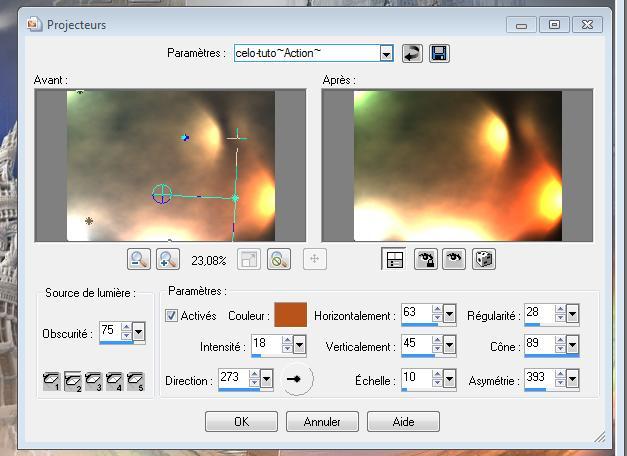
8. Open the tube "Claudia-Viza -fantasia13 " Edit/ Copy-Edit - Paste as new layer on your working image and move to the right / Image Resize to 80% all layers not checked

9.  Layers- Arrange- Move Down

10. Layers- Duplicate

11. Activate the layer underneath

12. Effects- Distortion Effects- Twirl 320°/and move to the bottom right

13. In the Layer- Palette- Double click and set the Blend Mode to " Hard Light " -Set the layer opacity of this layer to 59%

14. Effects- Edge Effects- Dilate

15. Open the tube "Claudia Viza-fantasia 29" Edit/ Copy-Edit - Paste as new layer on your working image and move to the right

16.  Effects- Plugins -FM Tile tools/   Blend emboss using the default settings

17. Activate the bottom of the layer palette /Effekts- Illumination Effects- Lights- select my preset preset "celo action "and OK

janaly thank you for use your preset


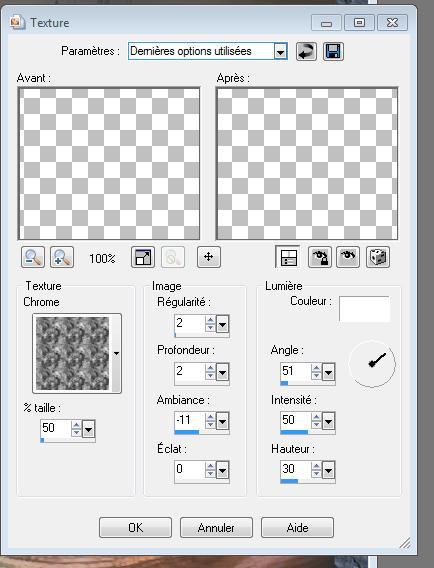
18. All in Place?

19. Layers- Merge- Merge Visible

20. Image - Add borders-Symmetric checked:35 pixels- dark color #576173

21.Activate the Magic Wand and select the Border of 35 px

22. Effects- Texture Effects- Texture -select my

  • motif /chrome with these settings

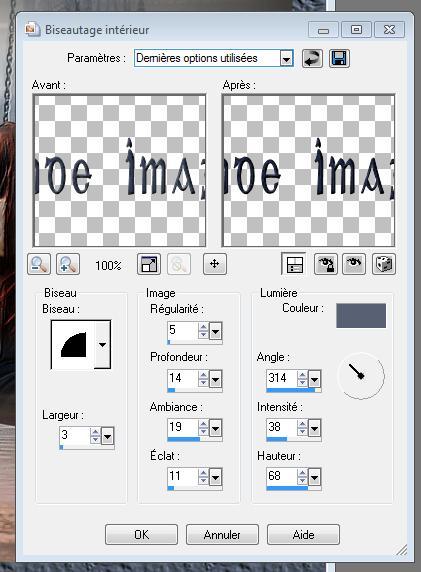
23. Click on your Text Tool/Font " Celtic "Is into the zip -and write your text

24. Effects- 3 D Effects- Inner Bevel with these settings-Color #586073 with these settings


I hope you enjoyed this lesson


Renée


This lesson was written by Renée 2008

Edited and Update


2009

*

Any resemblance with an existing lesson is a coincidence

* Do not forget to thank the people who work with us and for us I have appointed the tubeurs and translators

Thanks Renée


I am part of the Tutorial Writers Inc.

My tutorials are registered regularly

ReneeGraphisme_All rights reserved


*

Your Gallerie click here