|
 Translated by
Sally
Translated by
Sally
Translator Here
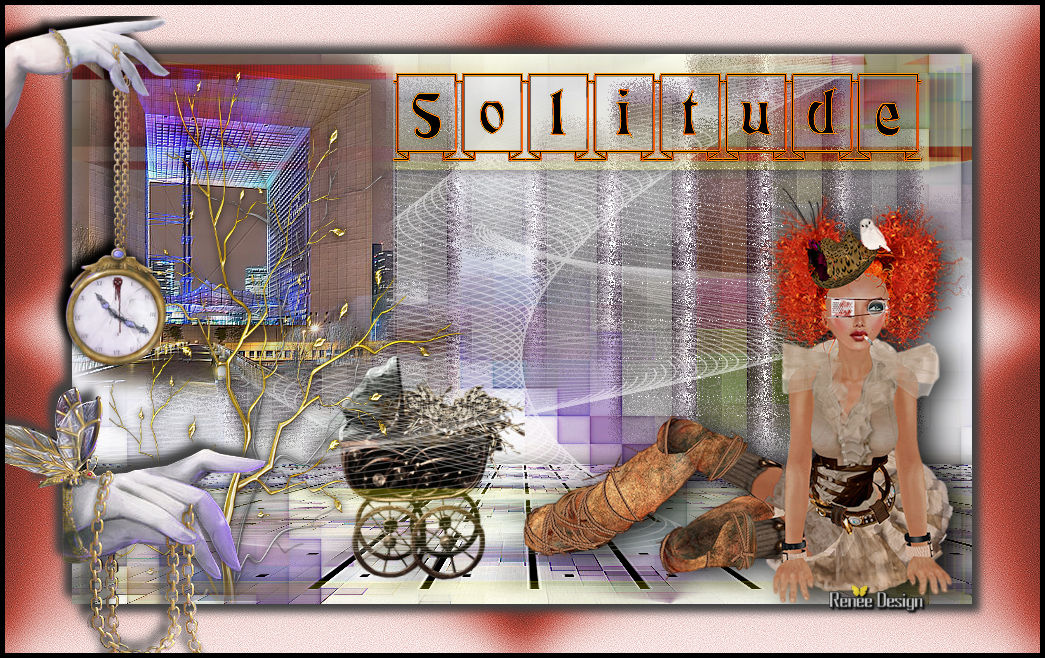
SOLITUDE
Material here

TUBES
are
Odette-Colacao and Sabine
These
tubes were received from tube sharing groups
or found by me searching on the net
I am grateful to have been given permission to use these beautiful
tubes so
please use any copyright information as needed.
If one of these tubes is yours,
Contact me
so I can make a link to your site
or remove it
Thank you Renee
*
Filters
Mura's Meister
Toadies Unlimited 2.0/plain Mosaic2
Eyecandy
5 Impact
Toadies /Blast'Blur
Dragonfly - Sinedots
II
FM
Tile Tools
*
click here
http://www.reneegraphisme.fr/filtres/Mes filtres.html
Let's begin
1. Open a new transparent image/ 900 x 550 pixels
2. Selections / select all
3. Open tube "fond" / copy and paste into selection / Select none
4. Effects - Image effects - seamless tiling as shown
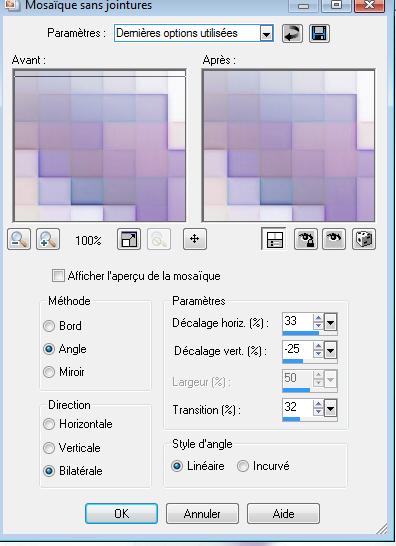
5. Layers - Duplicate / Effects - Image effect - seamless tiling
with the same settings as before
6. Set the blend mode to multiply
7. Stay on this layer (copy of raster 1)
8. Selections - select all / open the tube "barre" - copy and paste
into the selection
9. Selections - deselect
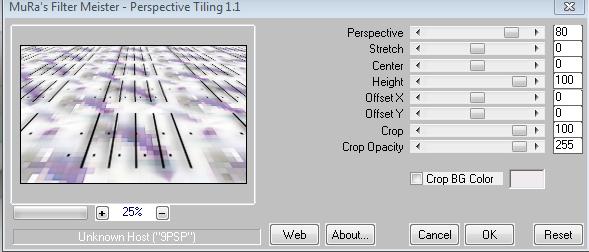
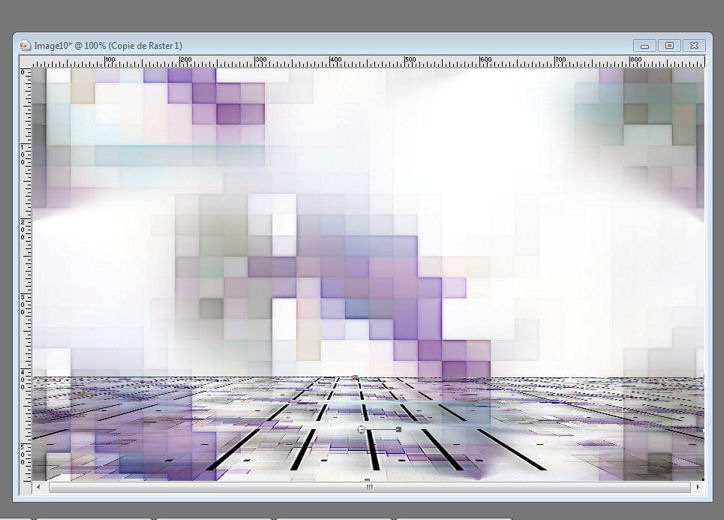
10. Effects - Plugins - Mura's Meister - Perspective Tiling
11. Effects - Edge effects - Enhance more
12. With your selection tool (k) / Scale mode - move the layer to
approx 410 pixels
13. Effects - Plugins - Eyecandy 5 Impact / Perspective shadow /
Preset - Drop shadow blurry
14. Layers - Add a new layer - Selections - Load Selection ''renee_solitude''
15. Open tube "image_mosaic1"/ copy and paste into the selection
16. Selections / select none
17. Effects - Filters Unlimited 2.0 -Toadies/ plain mosaic2
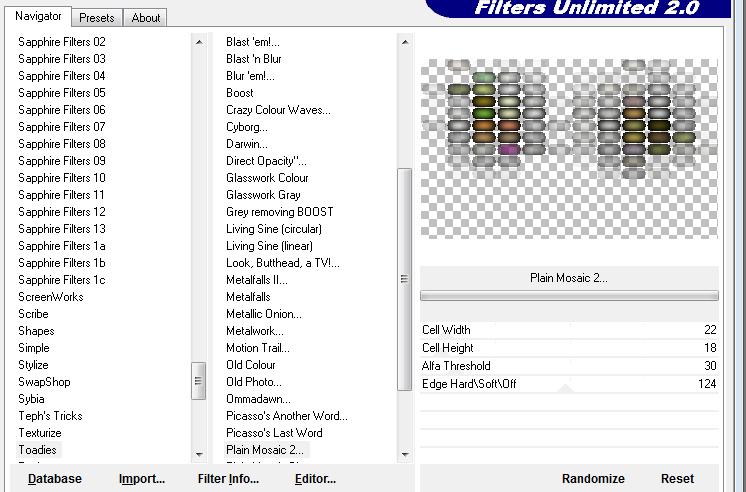
18. Effects - Filters Unlimited 2.0 / Toadies / Blast 'n Blur
parameters = 5/17
19. Layers - duplicate
20. Effects - Distortion Effects / pixelation check symmetrical @ 25
21. Effects - Plugins - FM Tile Tools / Blend Emboss (default)
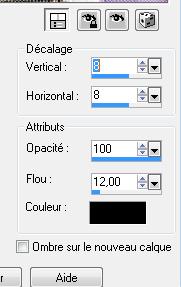
22. Open tube "arbre ornement" and paste as new layer
23. Effects - Image effects - Offset/ H = -255 and V = 0 /
transparent box selected
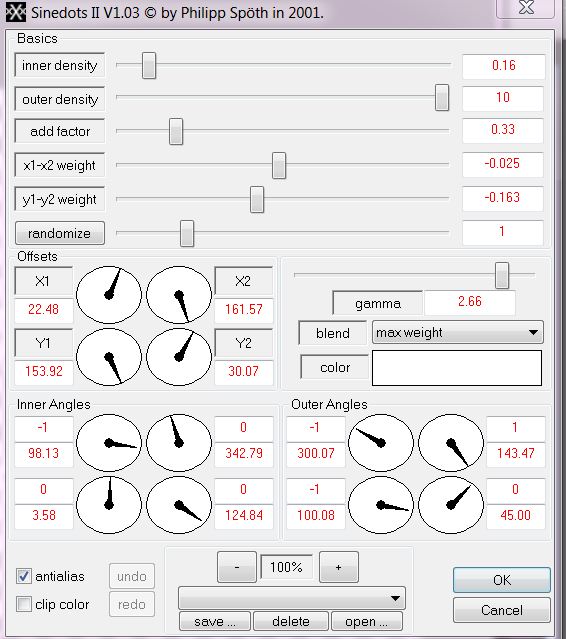
24. Layers - new raster layer
25. Effects - Plugins - Dragonfly/ Sinedots II - (if you do not
succeed pspimage effect is in the folder/ paste as a new layer)
** I added a complete Sinedots file-effects presets in the tube
folder. They are to be imported into your filter just for you in
your next creations **
26. Lower the layer opacity down to 55
27. open tube "image7" - copy and paste as a new layer
- Set the layer to hard light mode and the opacity down to 42
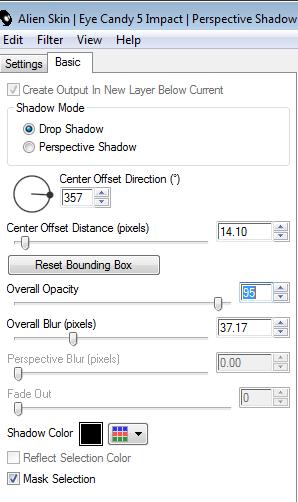
28. Open the tube "Colacao doll" remove the watermark / Resize to
65% and paste as new layer
Move to the right bottom corner
29. Effects - Plugins - eycandy5 Impact / Perspective Shadow with
these settings
30. Open tube "misted 807" / mirror image / and paste as a new layer
/ Move to the upper left as shown
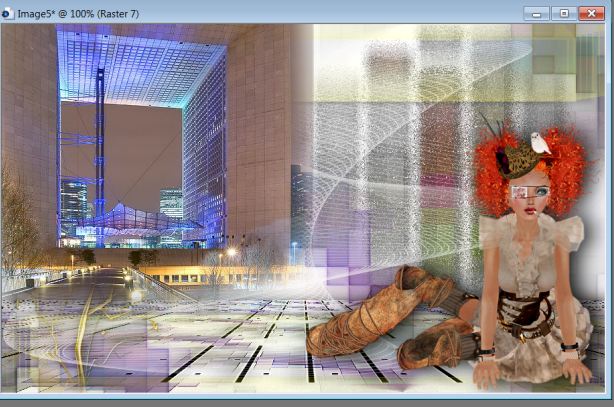
31. Arrange layer down (above copy of raster 1)
You have this in your layers palette
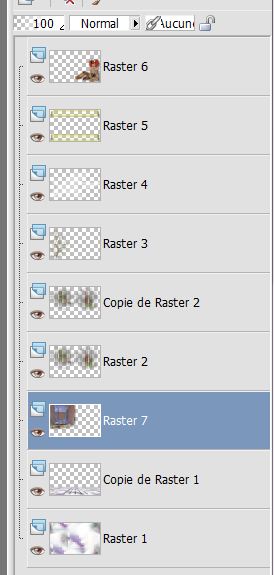
32. On the raster layer 7 / Effects - Plugins - FM Tile tools /
blend emboss default
- Layers / duplicate to strengthen its lighting effect
33. Go back to the layer on top of the layers palette
34. Open the tube "voitutrette'' - copy and paste as a new layer /
Arrange down so the layer is raster 4
35. Get back on the layer on top of the layers palette
36. Layers - Add a new layer
37. Selections / Load selection "@renee-solitude1 "
38. Open the tube "image 13" and paste into selection / select-deselect
- Set the layer to overlay and opacity 79
39. With the font "Fanfold" write a title or paste my title
I used these colors #c6381a and black for mine
40. Effects - 3D Effects / Drop shadow 2/-2/100/2 Black
41. Layers - Merge Visible
42. Edit - copy
43. Open the background "image 15"
44. Edit - paste as a new layer / image is in memory
45. Effects - 3D effect / Drop shadow/ like this
Repeat changing the horizontal and
vertical to negatives
46. Open tube "mechanical_butterflies-by-RomanticFae" - Lasso tool
select the hand with the watch / Resize to 60% and paste as a new
layer. Move into place
47. Effects - 3D effects - Drop Shadow / negatives H -8 / V
-8/100/12 Black
48. Image add borders 5 pixels in black
49 Go back to the previous image "mechanical_butterflies-by-RomanticFae''-
select and copy the other hand
50. Edit - copy and edit paste as new layer. Mirror image
All finished
Thanks Sally
*
I am part of Tutorial
Writers Inc.
My tutorials are
regularly recorded


|
Your creations here
 |
|