|
Let's begin
Open the color folder in your psp
1.
Open a new transparent image of 1024 x780 pixels
2.
Material Properties: foreground color to color: #dee9e1
Background color to color #577978
3.
Effects-Plugins- Medhi -Wavy Lab 1.1

4.
Selections - load/save selection - load selection from disk and choose
''maison_reves_1''
5.
Layers-New raster layer
6.
Activate tube ''maison_reve_planches_en bleu.pspimage''/
Edit/copy- Edit/paste into selection
7.
Effects-3D effects-Drop Shadow/black
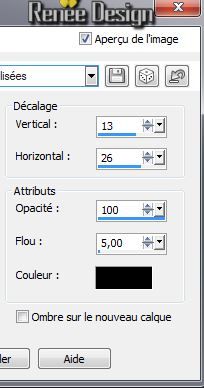
8.
Effects-3D effects-Drop Shadow/black
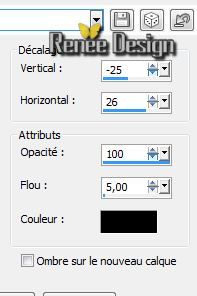
9.
Effects-Plugins- Graphic plus - Cross
shadow
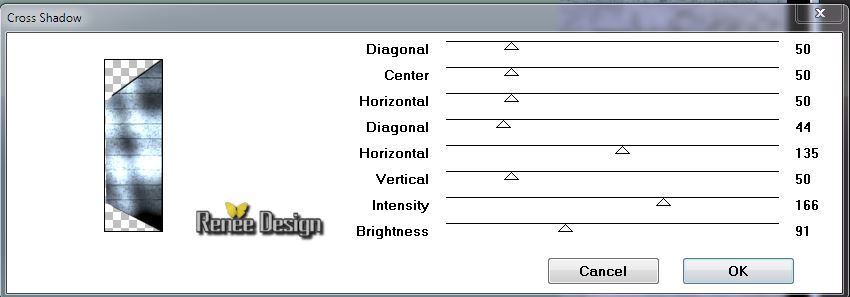
Selections-Deselect All
10.
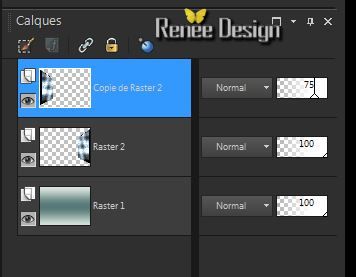
Layers-Duplicate / Image Mirror / Opacity:
75%
The result
11.Layers-Merge-Merge-Down
12.
Layers-New raster layer
13.
Selections - load/save selection - load selection from disk and choose ''''maison_reves_2''/ Flood Fill Tool: fill the selection with this color:#9abba8
14.
Effects-Plugins - L and K's / Elvida /
230
15.
Layers-New raster layer
16.
Activate tube ''maison_reve_planches_en bleu.pspimage''/
Edit/copy- Edit/paste into selection
Layer palette: Blend mode: "Luminance"
17.
Layers-Merge-Merge-Down(Blend Mode"Normal")
Selections-Deselect All
18.
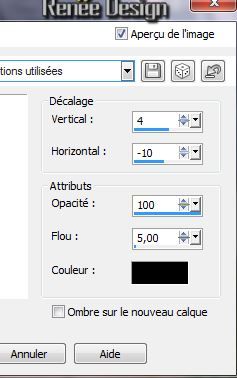
Effects-3D effects-Drop Shadow: 7/10/100/5 black
19.
Effects-3D effects-Drop Shadow: 4/-10/100/5 black
-
Activate the bottom of the Layers palette (raster 1)
20.
Layers-New raster layer
21.
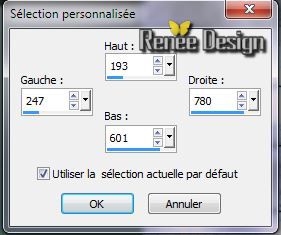
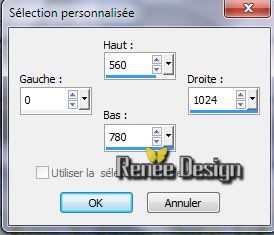
Activate Selection Tool - custom selection with these settings (S) 
22.
Activate tube ''maison_reves_mur_central'/ Edit/copy- Edit/paste into selection
Selections-Deselect All
23.
Effects-Plugins- EyeCandy 5 Impact - Perspective
shadow-tab-User-User Settings click on the preset ''maison_reves_shadow''
-
Close bottom layer but keep top layer active /Layers-Merge-Merge Visible
-
Open the bottom layer
-Activate the top of the layer-palette.
-Material Properties: foreground color to color:
#1e73b8
24.
Layers-New raster layer
25.
Activate the brush tool and choose the brush:''maison_reve_pinceau_1''/ with these settings/Size 500/ Foreground color

26. Stamp as follows with your FG-Color
 
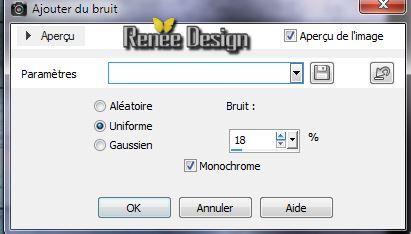
27.Adjust-Add/Remove Noise-Add Noise
28.
Layers-New raster layer
29.
Change the foreground color into:#ffffff
30.
Again brush tool: with the same settings but change the rotation from the brush into 180°
/ Stamp 1x in the left top corner.
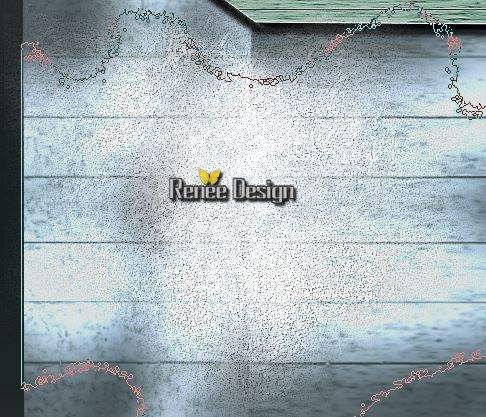
31.
Layers-Edge Effects-Enhance
32.
Layer palette: Blend mode: "Hard Light" /Opacity:
71%
33.
Activate tube ''maison_reves_cercles.pspimage'' /
Edit/copy-Edit paste as a new layer. With your move tool place it in the right place (placed on ceiling)
34.
Effects-Plugins- Eyecandy 5 Impact -Perspective shadow
tab-User-User Settings click on the preset '' maison_reves_shadow2''
35.
Layers-New raster layer
36.
Open a tube file ''herbes '' creer the grass on your work to your personal taste (No problems if there is a tube already created)(''reserve -herbe.pspimage''in the file)
-
Edit/copy-Edit paste as a new layer. With your move tool place it in the right place .Opacity: 89%
(playing with this opacity)
37.
Activate tube ''maison_reves_arbre_clef.pspimage''/Edit/copy-Edit paste as a new layer. With your move tool place it on the left side .
38.
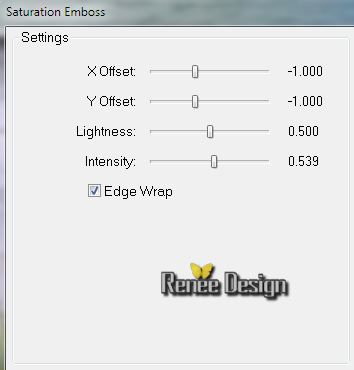
Effects-Plugins- FM Tile Tools - Saturation
emboss
-
Layer palette: Blend mode: "Luminance Legacy"
39.
Activate tube '''KDesigns_element _1.pspimage''/
Edit/copy-Edit paste as a new layer. With your move tool place it in the right place
40.
Activate tube ''krysdesign- 26-05-2014-194.pspimage'' activate raster 5 of the tube /Edit/copy-Edit paste as a new layer. With your move tool place it in the right place
41.
Activate tube ''krysdesign- 26-05-2014-194.pspimage'' activate raster 1 of the tube / Edit/copy-Edit paste as a new layer. With your move tool place it in the right place
42.
Layers- Arrange-Move 3x Down( under the raster 6 ) Layer palette: Blend mode: "Luminance Legacy"
-
Effects-3D effects-Drop Shadow 2/2/50/5 black
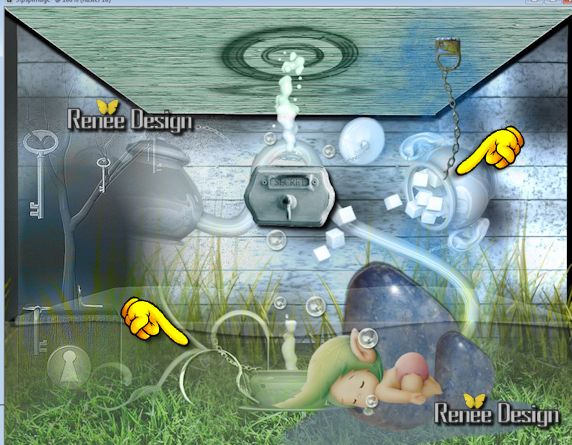
Your work look like this now
Activate the top of the layer-palette.
43.
Activate tube '' fairi_2.psp''/Image Resize
75%/
Edit/copy-Edit paste as a new layer. With your move tool place it in the right place
44.
Layers-New raster layer
45.
Selections - load/save selection - load selection from disk and choose '' maison_reves_3''
Material Properties: Foreground color to color #dee9e1.
46.
Pot of Paint-Opacity:50 %/Flood Fill Tool: Fill the selection with your FG-Color
Keep selection
47.
Effects-Plugins-Eyecandy 5 Extrude- tab-User-User Settings click on the preset
''maison_reves_extrude''
Selections- De select All
48.
Effects-3D effects-Drop Shadow/black
-
Layer palette: Blend mode:"Soft Light"
49.
Layers-New raster layer
50.
Activate Selection Tool - custom selection with these settings
51.
Pot of Paint-Opacity 20 %. Flood Fill Tool: fill the selections with the FG-Color/#ffffff
52.
Effects-3D effects-Drop Shadow with the same setting
53.
Layers-New raster layer
54.
Selections - load/save selection- load selection from disk and select my file ''maison_reves_4'' /Pot of Paint: Opacity: 100% . Flood Fill Tool: fill the selection with the FG-Color#ffffff
55.
Effects-3D effects-Drop Shadow/ 2/2/50/5
black
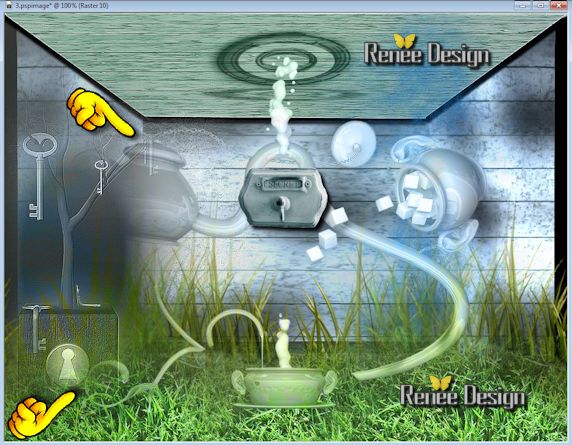
56.Activate the layer of the sleeping baby(raster
10)
57.
Activate tube '' maison_reves_pierre_bleue.pspimage''/
Edit/copy-Edit paste as a new layer.
Layers-Arrange-Move Down. With your move tool place it in the right place
58.
Activate tube '' maison_reves-Chaine.pspimage'' /Image
Resize 80%/
Edit/copy-Edit paste as a new layer. With your move tool place it in the right place
59.
Activate tube ''krysdesign- 26-05-2014-194.pspimage'' activate raster 4 of the tube / Image Mirror
-
Edit/copy-Edit paste as a new layer. With your move tool place it in the right place
-Layer palette: Blend mode:"Luminance Legacy"
60.
Effects-3D effects-Drop Shadow with the same setting
With your move tool place it like this
61.
Activate tube ''maison_reves_papillon''/Activate raster 1 of the tube -
Edit/copy-Edit paste as a new layer. With your move tool place it in the right place (Raster 1 is there for you if you want to use and colorize to your taste)
62.
Activate tubes ''maison des reves_echelle and
''maison_reves_gramophone' '' /
Edit/copy-Edit paste as a new layer. With your move tool place it in the right place
-
Layer of the gramophone / Opacity:71%
63.
Activate tube ''maison des reves_briques'' /
Edit/copy-Edit paste as a new layer. With your move tool place the tube to the top right
-
Layer palette: Blend mode:"Soft Light" -Layers-Arrange-Move Down
Activate the top of the layer-palette.
64.
Layers-New raster layer
65.
Selections - load/save selection - load selection from disk and choose ''maison_reves_5'' / Flood Fill Tool: fill the selection with the FG-Color#ffffff
66.
Selections- Deselect All
67.
Layers-Duplicate -
68.
Effects-Geometric Effects-Circle/Transparent
69.
Layers-Merge-Merge-Down
All
is in place?
70.
Layers- Merge- Merge Visible
71.
Image - Add Borders - Symmetric checked 2 pixels black
72.
Image ajouter des bordures 25 pixels white
73.
Image - Add Borders - Symmetric checked 1 pixel black
74.
Image - Add Borders - Symmetric checked 55 white
75.
Activer et coller le tube''maison_reves_lampes"Edit/copy-Edit paste as a new layer. With your move tool place it at the top
76.
Image - Add Borders - Symmetric checked 2 pixels black
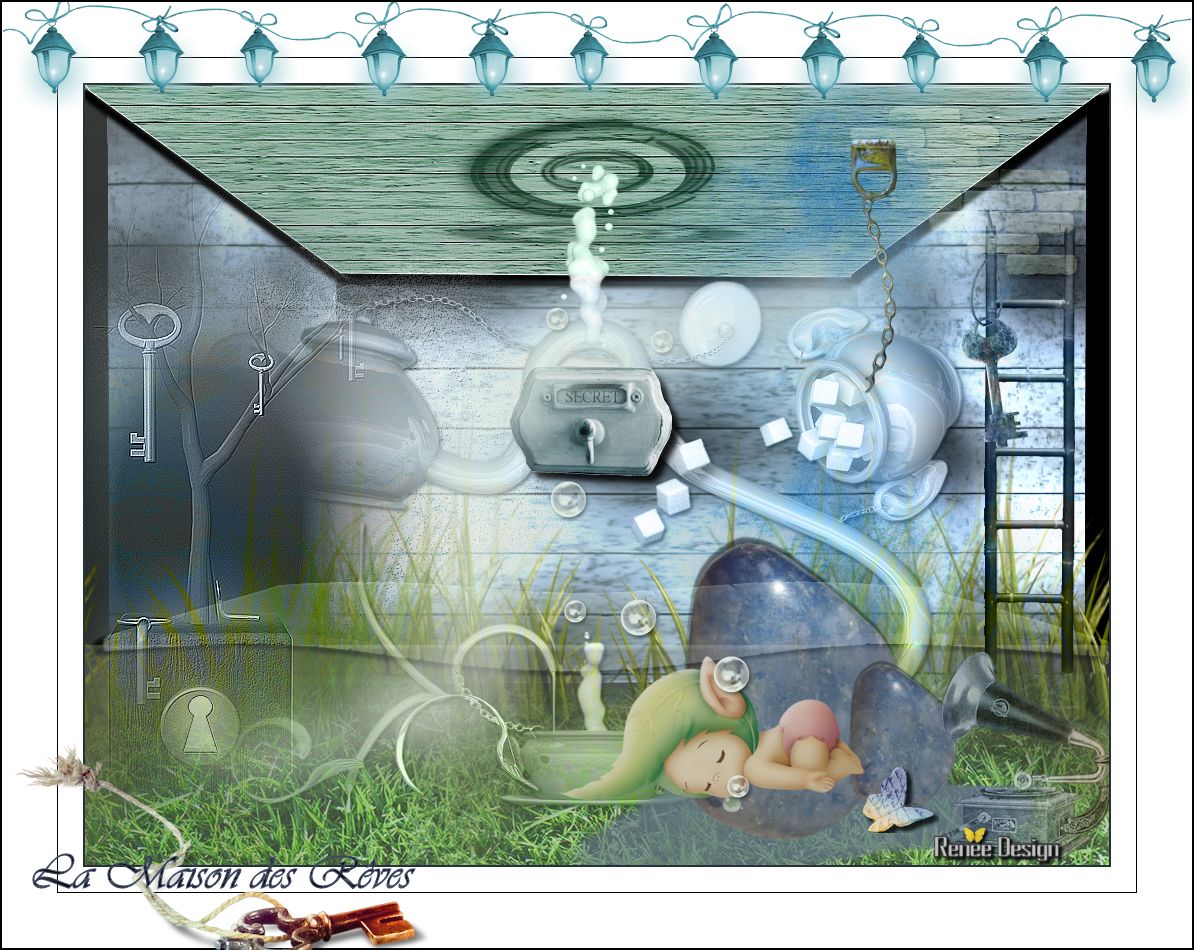
77.
Activate the " titre"
Edit/copy-Edit paste as a new layer. With your move tool place it in the right place
Resize if desired
I hope you enjoyed this lesson
Renée
This lesson was written by Renée the 28-05-2014
Created the 1/06/2014
*
Any resemblance with an existing lesson is merely a coincidence
*
Don't forget to thank the people who work for us and with us. I named the tubeurs - Testers and the translators.
Thanks Renée.
| 
 Translations