|
New
Translations here
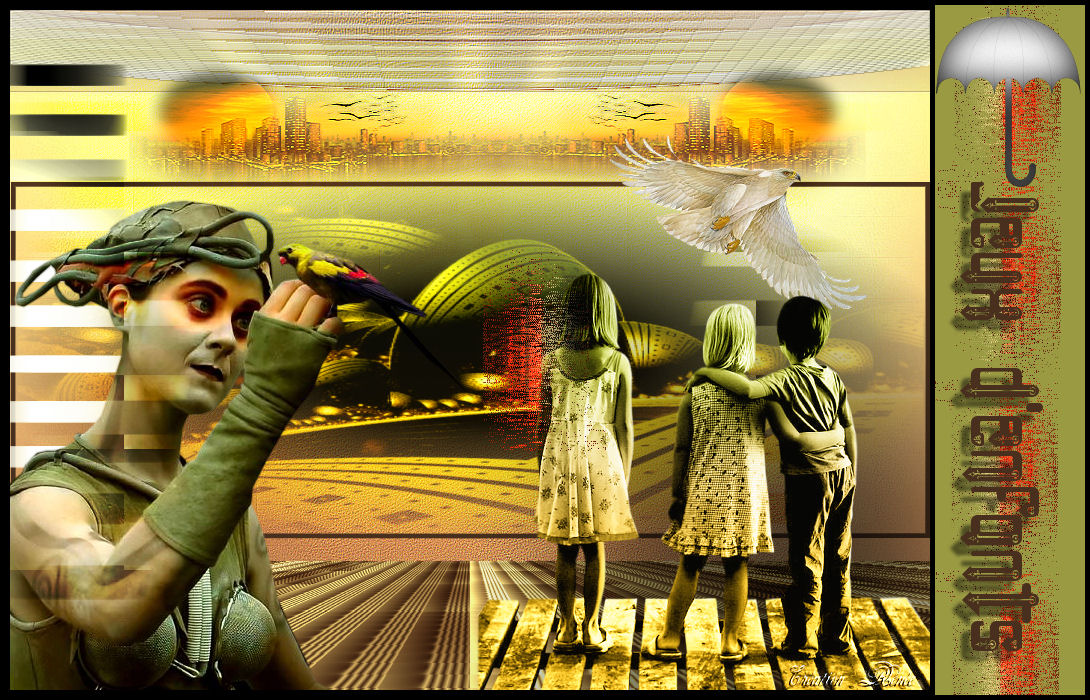
Jeux de gosses
*
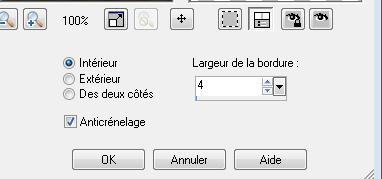
Let's start the lesson. 1. Open the image'' fond renee" at 920 x 680 pixels 2. Material Properties:Set your foreground color to: #ffffc4- Set your background color to: #c87333 3.Open the tube « bordures » Edit/copy- Edit/ paste as new layer on your working image 4. Effects-Plugins - FM Tile tools /blend emboss using the default settings 5. Layers-New Raster layer 6. Selections –load/save selection –load selection from disc and choose:@renee jeux de gosses 2 7. Open the tube " planete fractale " Edit /Copy-Edit Paste into selection 8. Selections-Modify-Select-Selection Borders with these settings:
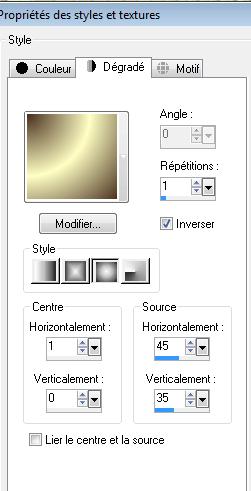
9. Activate Flood Fill Tool and fill the selection with this color: #49301e 10. Selections-Deselect all 11. Material Properties:Set your foreground color to: #ffffc4 - Set your background color to: #49301e - Prepare a sunburst gradient configured like this.
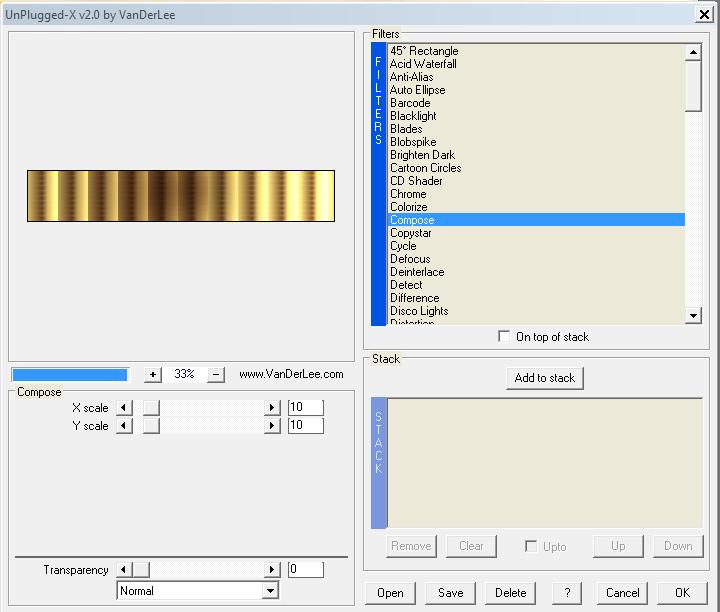
12. Layers-New Raster layer 13. Selections –load/save selection –load selection from disc and choose:@renee jeux de gosses 3 Activate Flood Fill Tool and fill the selection with the gradient *Keep selected 14. Effects-Plugins - Vanderlee Unplugged X v2.0 /compose
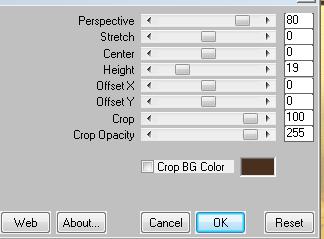
15. Selections-Deselect all 16. Effects-Plugins - Mura's meister /perpsective tilling with these settings
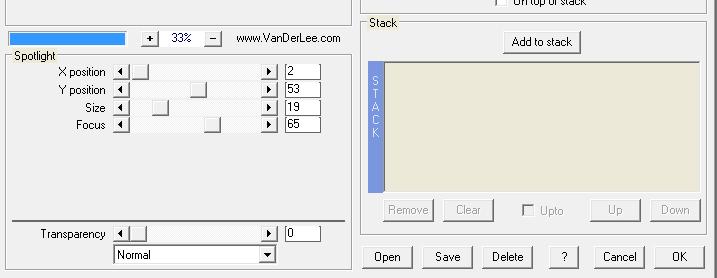
17. Layers-New Raster layer 18. Selections –load/save selection –load selection from disc and choose: @renee jeux de gosses4 Activate Flood Fill Tool and fill the selection with the foreground color 19. Selections Deselect all 20. Effects-Plugins - Vanderlee Unplugged X/spot light
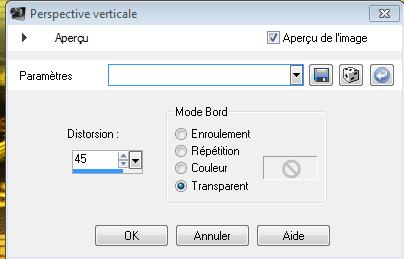
21. Layers- Duplicate 22. Effects-Geometric Effects-Perspective vertical with these settings
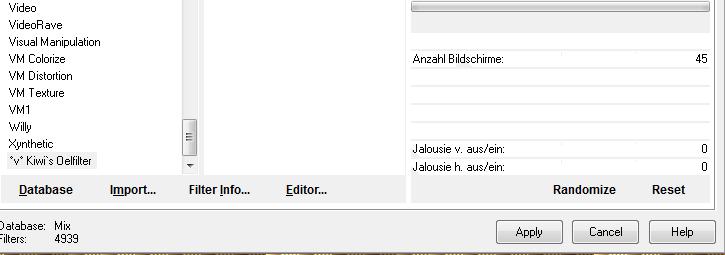
23. Effects-Plugins - Kiwi's Oelifter/ videowand
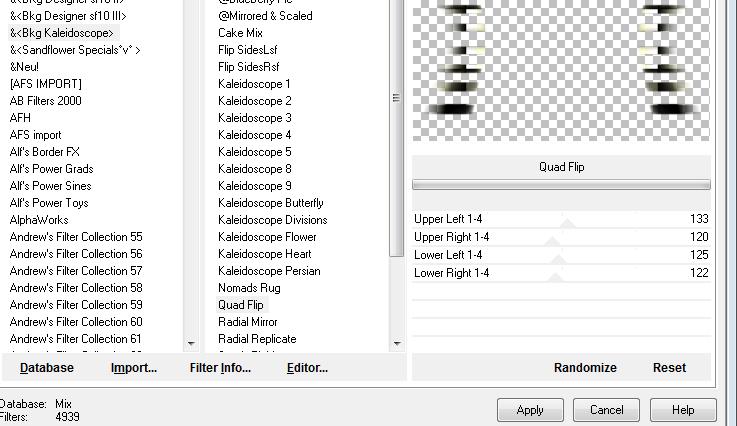
24. Effects-Plugins -Unlimited 2.0 - &<Bkg Kaleidoscope sf10 III> /Quad flip
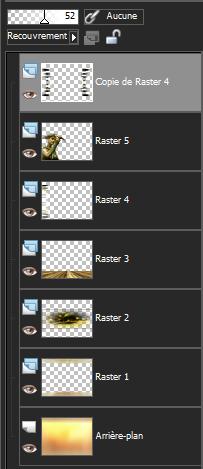
25. Double click on this Layer and set the Blend Mode to "Overlay" -Reduce the opacity of this layer to 52% 26. Open the tube « calguisFCD2111201 » take only the tube layer--Edit/copy-Edit paste as a new layer on your working area and place Image Mirror 27. Layers-Arrange-Move Down - Your work look like this now
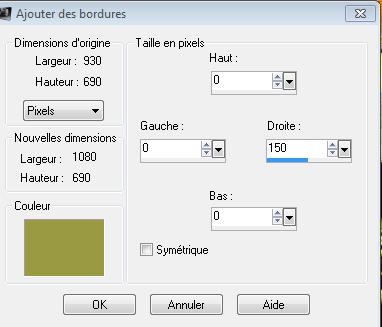
28. Open the tube « paysages « -Edit/copy-Edit paste as a new layer on your working area and place 29. Open the tube « white eagle « -Edit/copy-Edit paste as a new layer on your working area and place 30. Open the tube « enfant groupe »-Edit/copy-Edit paste as a new layer on your working area and place 31. Effects-Plugins -Eyecandy5 /perspective Tab-Settings- drop shadow blury 32. Layers-Merge- Merge Visible 33. Image - Add borders-Symmetric checked: 5 pixels black 34. Image - Add borders-Asymmetric checked: #9a9a43
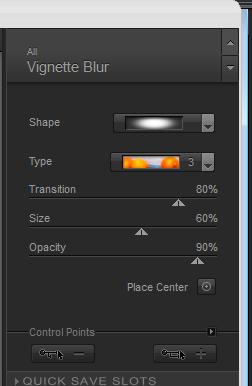
35. Open the brush "jeux d'enfant "Edit/copy-Edit paste as a new layer on your working area and place to the right side 36. Layers-Merge-Merge Visible 37. Layers-New Raster layer - Activate shape Tool>choose a form /I have take the form of the umbrella -Draw your chosen shape 38. Effects-Plugins -Nick software color Pro.3/Vignette blur
39. Layers-Merge- Merge All 40. Image -Free Rotate 90° Left 41. Activate Text Tool: With your font "Angie Impressing " Size 85 write the text (colors at your choice ) 42. Effects-3D Effects-Drop Shadow using the default settings 43. Layers-Merge- Merge All 44. Image - Add borders-Symmetric checked: 5 pixels black Save as JPG
I hope you enjoyed this lesson Renée This lesson was written by Renée edited and update 2008 * Any resemblance with an existing lesson is merely a coincidence * * Don't forget to thank the people who work for us and with us. I named the tubeurs - Testers and the translators. Thanks Renée.
*-*-* I am part of Tutorial Writers Inc. My tutorials are regularly recordedt ReneeGraphisme_All rights reserved
|
 Translations