|
New
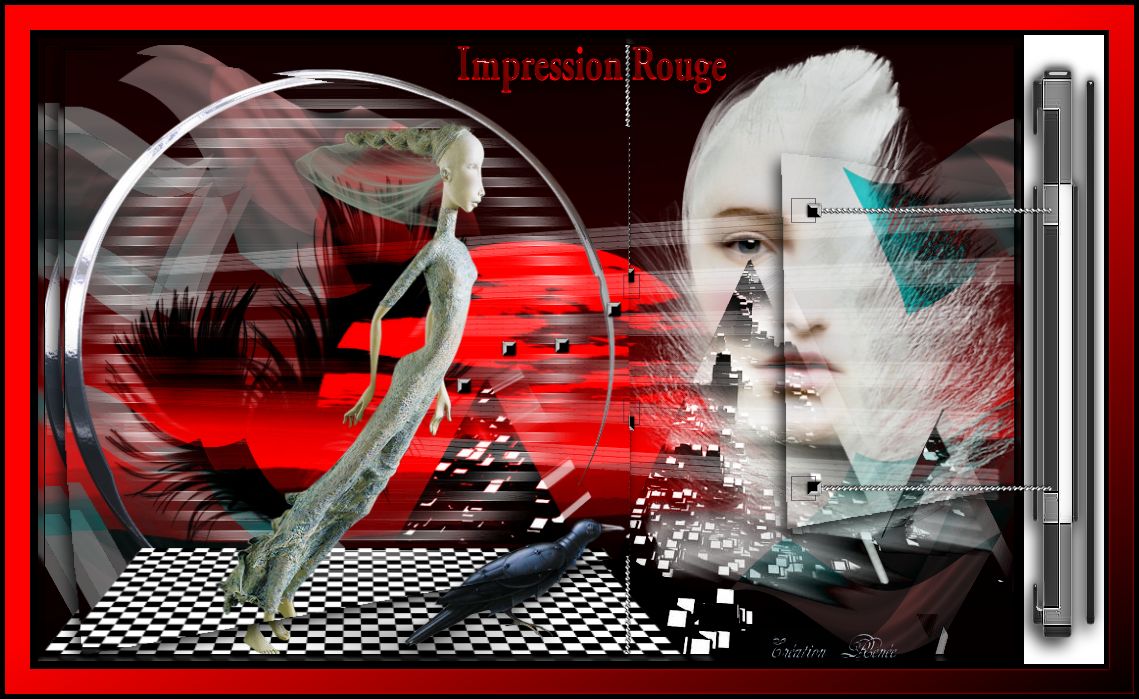
Impression Rouge
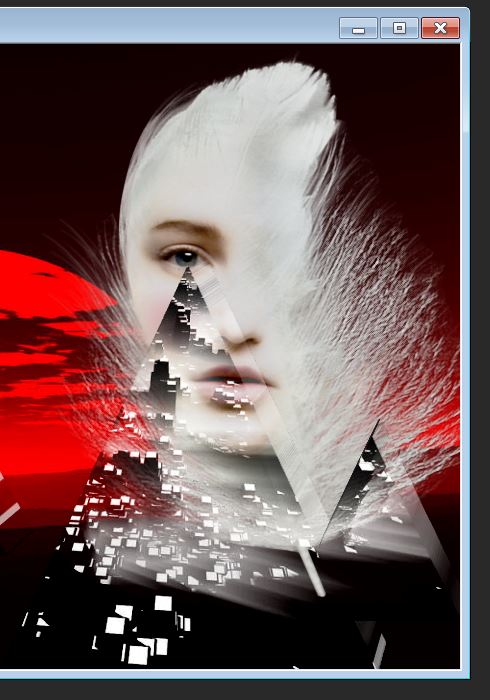
Let's start the lesson. 1. Open the image ''renee-fond-empire-rouge'' /- Window - Duplicate (or shift+D) - Close the original and proceed on the copy -Promote Background Layer =Raster 1 2. Layers-New raster layer 3. Selections –load/save selection –load selection from disc and choose: ''renee-empire-rouge-sélection 1'' 4. Open the tube ''image 102'' Edit/Copy- Edit- Paste into selection 5. Selections-Deselect All 6. Effects-Plugins -Eyecandy5 impact -extrude – tab Settings/User settings choose my preset: ''renee-empire-rouge-extrude''' - Double click on this layer and set the Blend mode to Hard Light 7. Open the tube ''Jhanna-122_21_1_09'' -Edit/copy-Edit paste as a new layer on your working image Layers-Arrange -Move down and place as shown
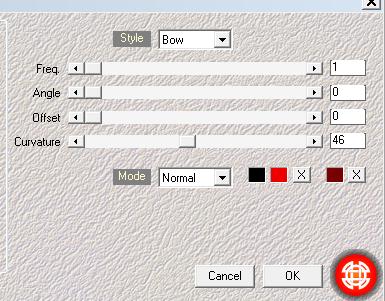
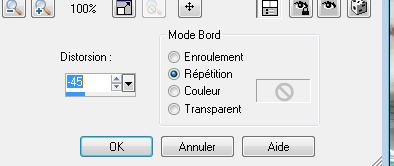
8. Activate the top of the layer palette 9. Layers-New raster layer 10. Material Palette : Set your foreground color to #ee0000 -Set your background color to black 11. Selections –load/save selection –load selection from disc and choose: ''renee-empire-rouge-selection 2'' 12. Effects-Plugins -Medhi - Wavy Lab with these settings
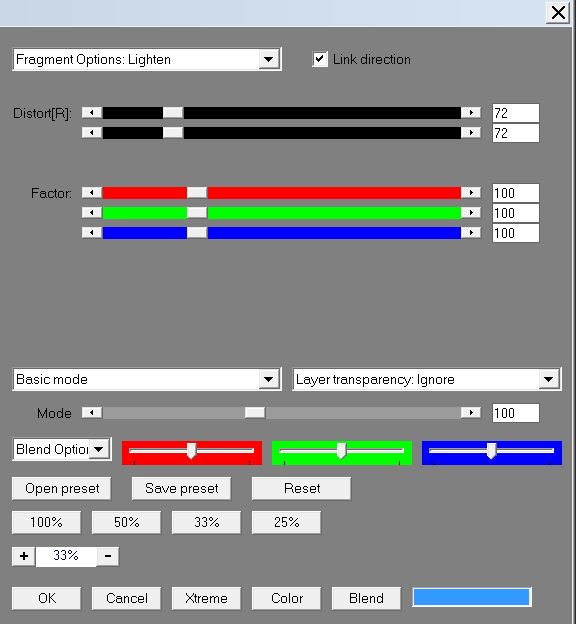
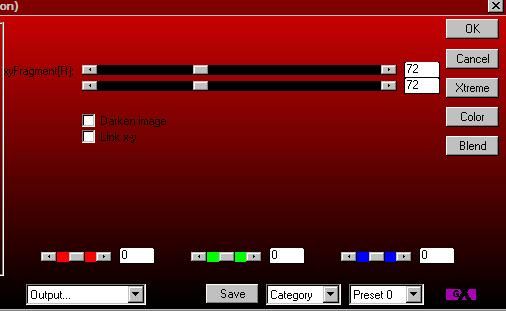
13.Double click on this layer and set the Blend mode to Difference 14. Selections-Deselect All 15. Effects-Plugins - AP [Blur] /Fragment (ore take filter AP 09)/ with these settings
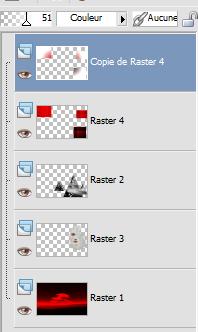
17. Layers-Duplicate 18. Double click on this layer and set the Blend mode to Color -Set the layer opacity of this layer to 51% 19. Effects-Plugins - Italian editor Effects/vignetta 156/228 - Layer palette look like this now - Make raster 4 active -Blend mode Normal
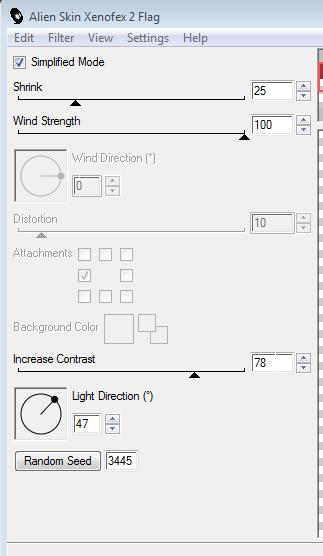
20. Layers-Merge-Merge down /Double click on this layer and set the Blend mode to Difference 21. Effects-Plugins - Alien skin Xenofex2- Flag with these settings (click Random seed -change the setting to : 6440 for a good result)
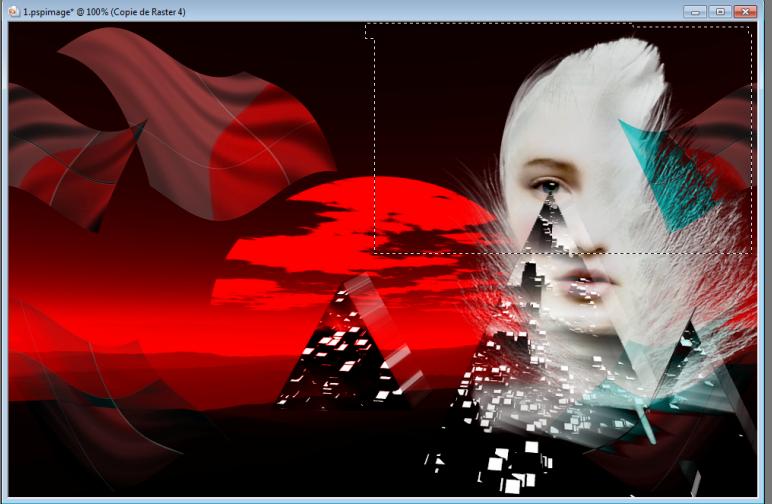
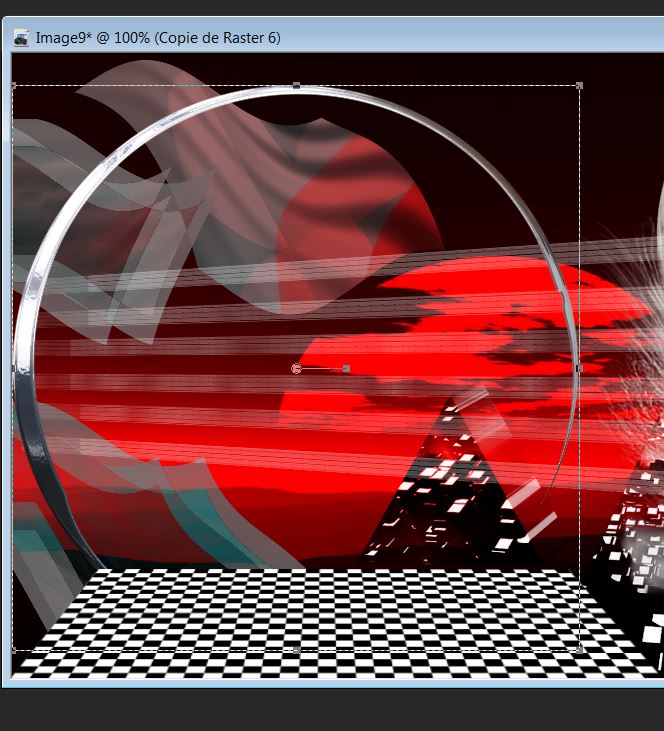
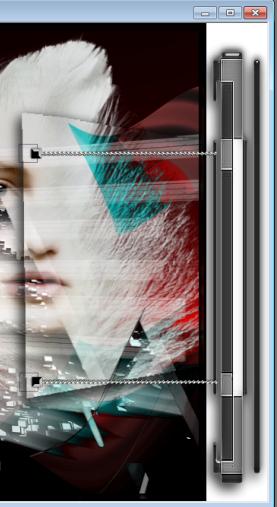
Set the Blend mode to Difference 22. Layers-Duplicate /Image Mirror 23. Selection Tool -Rectangle – Draw a selection as shown below
24. Hit the Delete Key of your Keyboard 25. Selections-Deselect All 26. Material palette: Set your background color to #ffffff 27. Effects-Plugins - Toadies - what are you 12/12 28. Set the Blend mode to Difference 29. Open the tube ''renee-empire-rouge-barres'' -Edit/copy- Edit/ paste as new layer on your working image (do not move it is in the right place) 30. Effects-Geometric Effects -Perspective horizontal with these settings
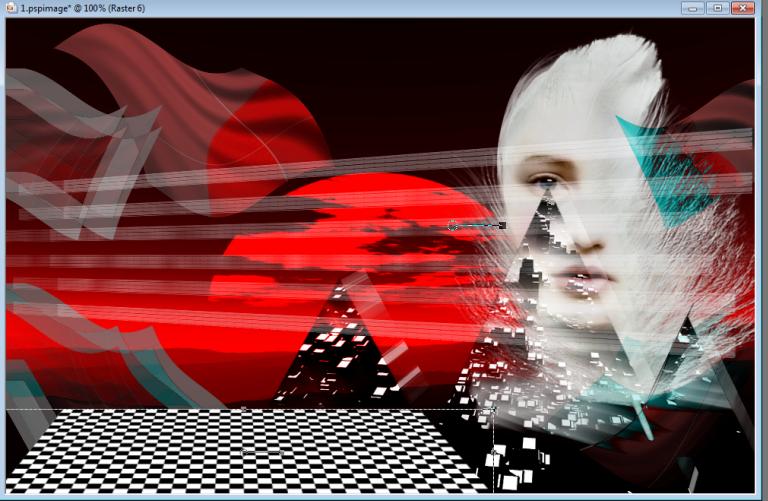
31. Double click on this layer and set the Blend mode to Screen -Set the layer opacity of this layer to 79% 32. Open the tube ''floors'' Edit/copy-Edit paste as a new layer on your working image -With the Move Tool, move it in the right place - as shown in the example below
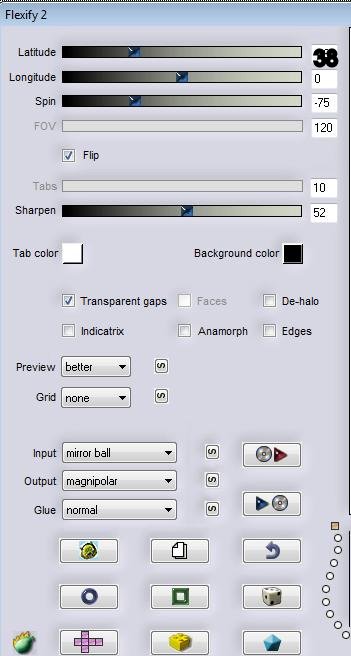
33. Layers-Duplicate 34. Effects-Plugins - Flaming Pear - flexify2 with these settings
36. Effects-Image Effects-Offset with these settings
37. Effects-Plugins - EyeCandy5 Impact /chrome - tab Settings/User settings choose my preset: ''renee-empire-rouge-chrome'' /Layers-Arrange-Move down and place as shown in the example below
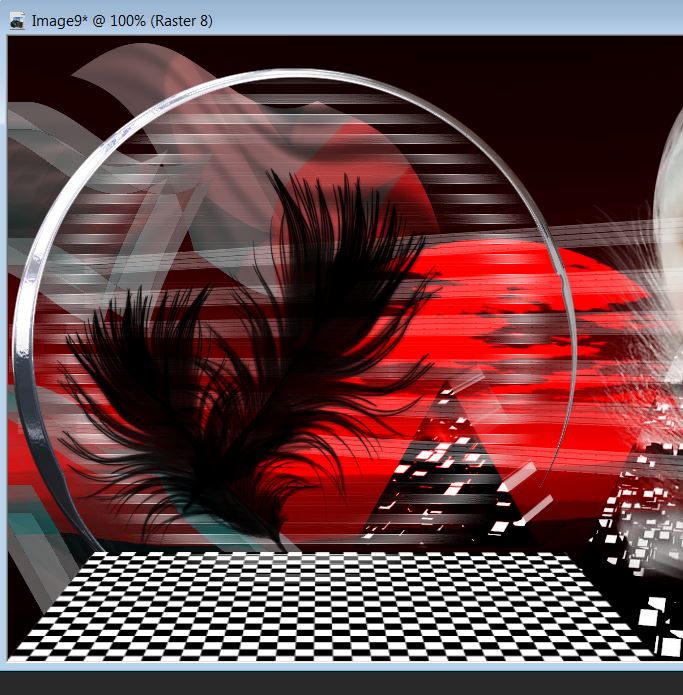
Activate the top of the layer palette 38. Open the tube ''renee-empire-rouge-effet strie''- Edit/copy-Edit paste as a new layer on your working image and move 39. Double click on this layer and set the Blend mode to Screen /Effects-Edge Effects-Enhance 40. Open the tube ''renee-empire-rouge-plumes'' -Edit/copy-Edit paste as a new layer on your working image -With the Move Tool, move it in the right place -Image Mirror
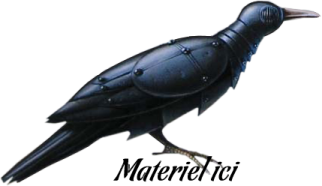
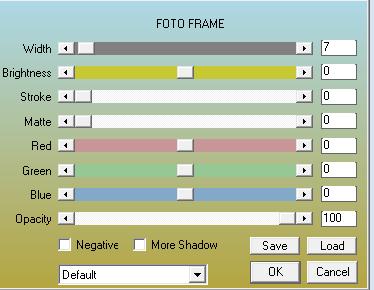
41. Double click on this layer and set the Blend mode to Overlay 42. Open the tube ''Jhanna_230-Tube'' /Image Mirror- Image Resize 75% -Edit/copy-Edit paste as a new layer on your working image -With the Move Tool, move it in the right place 43. Effects-Plugins - Eyecandy 5 perspective shadow/Preset - Floating low 44. Open the tube ''renee-empire-rouge-barres2"- Edit/copy-Edit paste as a new layer on your working image Effects-Image Effects-Offset with these settings: H = 97 and V = 0 transparent 45. Open the tube ''renee-empire-rouge-cubes'' -Edit/copy- Edit/ paste as new layer on your working image (do not move it is in the right place) 46. Open the tube ''mou-iron-bird''/Image Resize 50% /Image Mirror -Edit/copy- Edit/ paste as new layer on your working image and move 47. Effects-3D Effects-Drop Shadow with these settings: 4/2/65/20 black 48. Layers Merge Merge Visible 49. Effects-Plugins -AAA Frame /Foto Frame with these settings
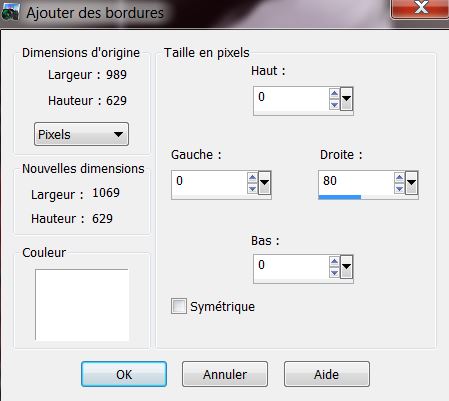
50. Edit Copy!! 51. Layers-New raster layer 52. Selections –load/save selection –load selection from disc and choose: ''renee-empire-rouge-sélection3' 53. Edit Paste into selection 54. Selections-Deselect All 55. Effects-3D Effects-Drop Shadow with these settings: 8/-5/80/22 black 56. Layers Merge Merge Visible 57. Image - Add borders-Symmetric checked: 2 pixels black 58. Image - Add Borders NO SYMMETRIC with these settings-color white
59. Open the tube ''renee-impression-rouge-ferrures'' -Edit/copy- Edit/ paste as new layer on your working image and move to the right side (I used the aditascreation mask ) 60. Effects-3D Effects-Drop Shadow settings as in step 55 61. Open the tube ''renee-empire-rouge-demi-barres '' -Edit/copy- Edit/ paste as new layer on your working image and move 62. Layers-Duplicate /Image -Flip as shown below
63. Image - Add borders-Symmetric checked: 5 pixels black 64. Image - Add borders-Symmetric checked: 25 pixels #e30000 65..Image - Add borders-Symmetric checked: 5 pixels black 66. With the Magic Wand select the border of 25 pixels 67. Effects-Plugins - Filtre Mock / Bevel a 25/ Selections-Deselect All 68. Open the tube text ''impression rouge Edit/copy- Edit/ paste as new layer on your working image and move 69. Effects-3D Effects-Drop Shadow settings as in step 55 Save as JPG
* I hope you enjoyed this tutorial . Renée
I am part of Tutorial Writers Inc. My tutorials are regularly recordedt ReneeGraphisme_All rights reserved
*
|
 Translations