|
New
Translations here
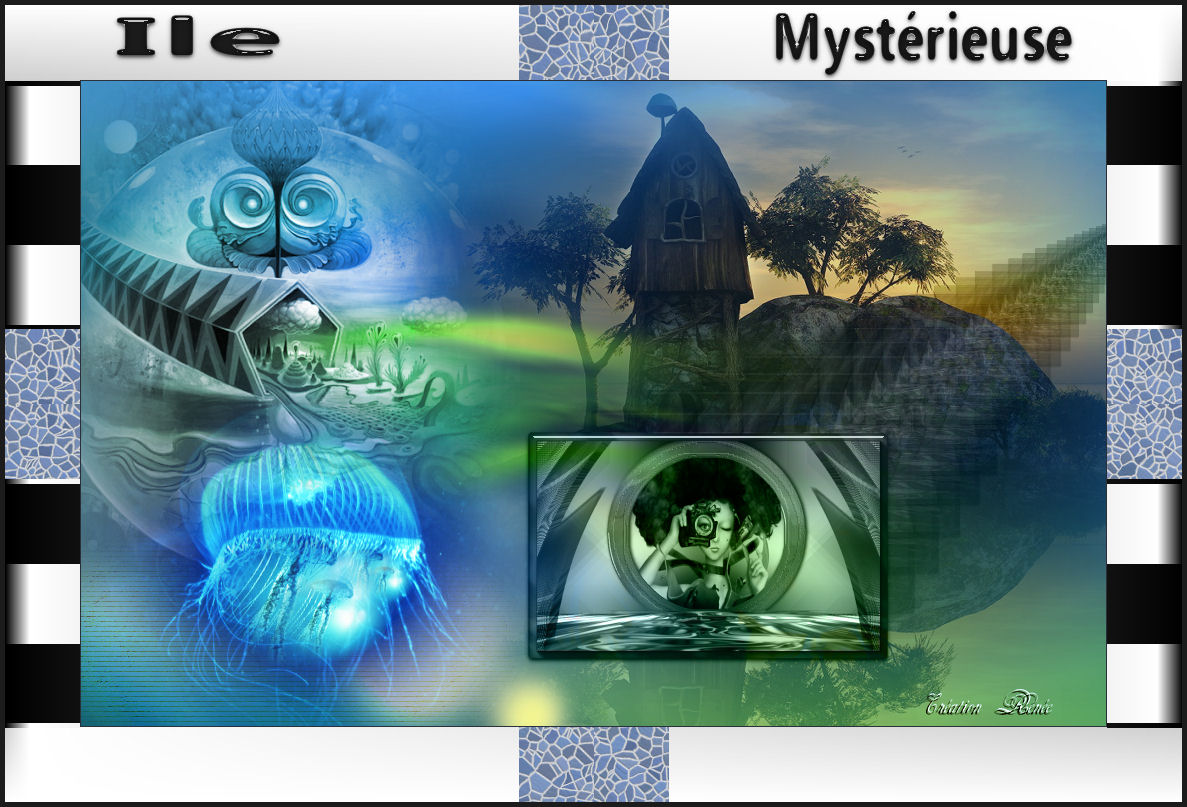
Ile Mystérieuse
Let's start the lesson.
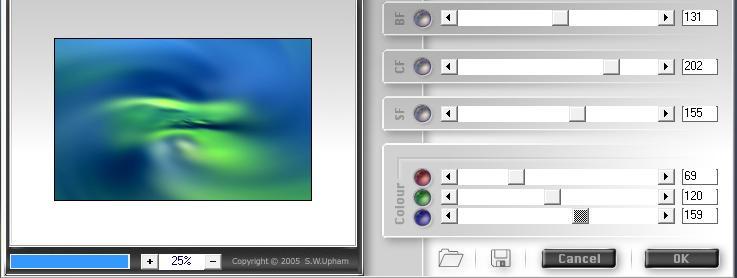
* First part --------------------------------------------------- 1. Open the Background image : ''renee-fond -Ile mystérieuse '' 2. Effects-Plugins - Fotomatic/Fast fix with these settings
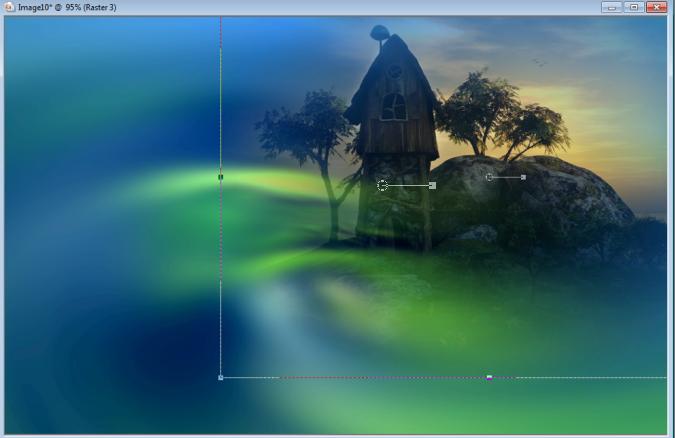
3. Open the tube '' paysage-@-catherine'' Edit-Copy-Edit-Paste as a new layer on your working area and move as shown below
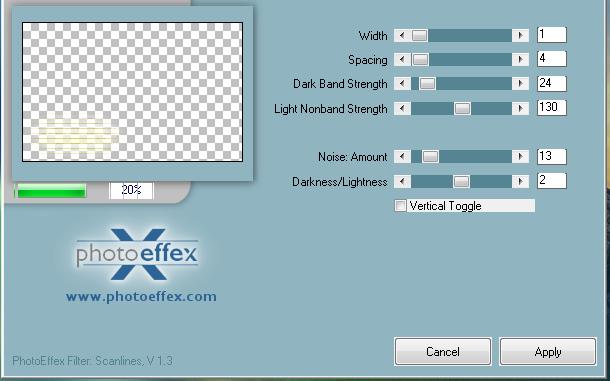
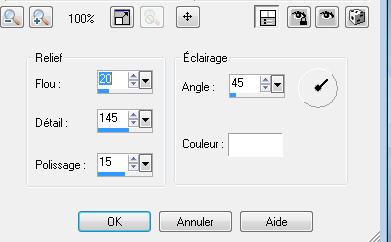
4. Set the layer opacity of this layer to 85% 5. Layers- Duplicate 6. Image Flip- and place for creating a shadow .Set the layer opacity of this layer to 32% 7. Layers- New raster layer 8. Selections - load/save selection - load selection from disk and select my file: ''renee-ile-mysterieuse'' -Activate Flood Fill Tool and fill the selection with color white and color #ffff7e on the same layer 9. Selections Deselect All 10. Open the tube '' renee-ile-mysterieuse-image 1'' / Edit-Copy-Edit-Paste as a new layer on your working area -With your move tool:move to the bottom left 11. Effects-Plugins - FM Tile tools - Blend emboss using the default setting 12. Effects-Plugins - Photo Effex /Scanlines V.1.3 - Vertical Toggle with these settings
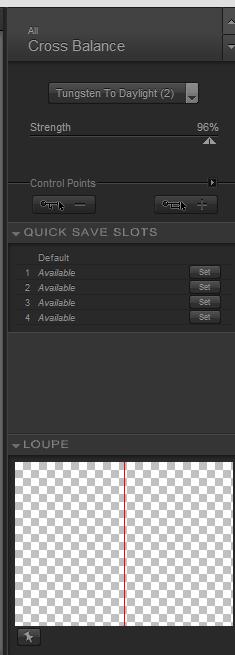
13. Layer Palette -Double click on this layer and set the Blendmode to Overlay 14. Open the tube ''renee-ile-mysterieuse-meduse-Aequora''/ Edit-Copy-Edit-Paste as a new layer on your working area / With your move tool:move to the left I put 2 jellyfish original images into the zipfile 15. Effects- Plugins -Nick Color effex /Cross balance with these settings
16. Open the image "fantaysy-23"/Image Resize with 85% -Edit-Copy-Edit-Paste as a new layer on your working area 17. Layers- Arrange- Move Down 18. Layer Palette -Double click on this layer and set the Blendmode to Luminance
* Part two ------------------ 1. Open the image ''renée -fond 1 -Ile mystérieuse '' 2. Effects-Plugins - Simple - Blintz 3. Effects- Plugins - Simple - 4 way average 4. Effects- Plugins-Factory A /zoom out -Tik Reset and OK 5. Effects-Plugins -FM Tile tools - Blend emboss using the default settings 6. Layers- Duplicate 7. Effects- Plugins -Unlimited &>Bkg Kaleidoscope -/ Preset / @-blueberry Pie 8. Free Selection Tool (lasso) Point to Point-select the part as shown below
9. Selections- Promote selection to layer ***Attention -Set the backgroundcolor to #1d1d6b -This is really very important 10. Effects- Plugins -Unlimited -Factory Gallery M /Loom - with these settings 60/255 11. Selections Deselect All 12. Layer Palette -Double click on this layer and set the Blendmode to Multiply 13. Effects- Plugins - Vanderlee /unplugged X- Verticale tile
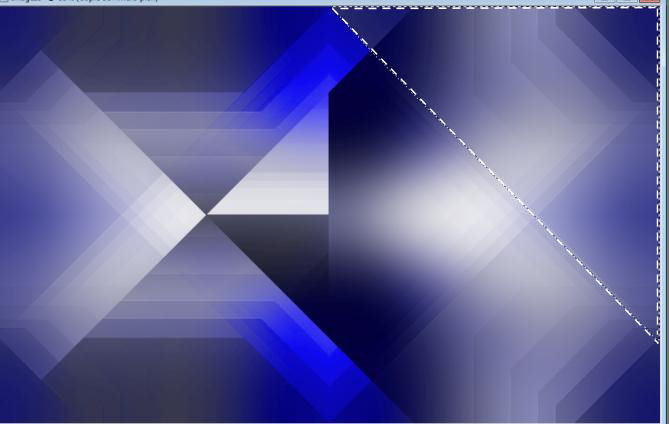
14. Effects- Distortion Effects- Warp with these settings
15. Effects- Plugins - Eyecandy 5 Ompact - Extrude
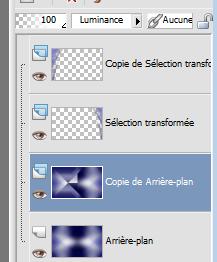
-tab Settings/User settings choose my preset: 16. Layers Duplicate 17. Image Mirror - Your Layer Palette look like this now:
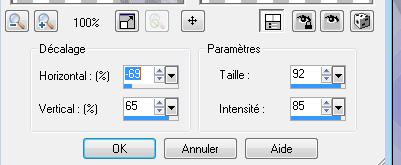
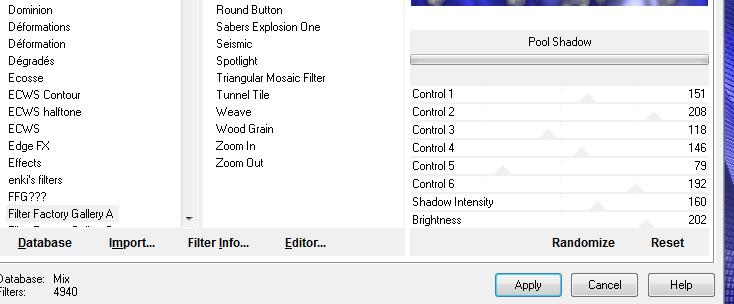
18. Activate the top of the layer palette-Layers-Merge -Merge Down -Layer Palette -Double click on this layer and set the Blendmode to Hard Light - Activate the second layer from the bottom of the Layer palette 19. Adjust-Blur-Gaussian Blur: Radius: 35% 20. Effects- Plugins - Unlimited - Filter Factory Gallery A /Pool Shadow with these settings
21. Effects-Plugins -Mura's Meister /Perspective Tilling -Tik Reset and Height at 20 22. Layers- New raster layer 23.Selections - load/save selection - load selection from disk and select my file : '' renee-ile-mysterieuse 2'' - Activate Flood Fill Tool and fill the selection with this color #b4b5c8 24. Effects- Texture Effects-Polished Stone with these settings
25. Effects- Plugins -Eyecandy 5 Impact - Glass / 26. Selections- Deselect All - Layer Palette -Double click on this layer and set the Blendmode to luminance -Legacy 27. Avec votre baguette magique sélectionner intérieur du cercle 28. Selections- Modify-Expand 15 pixels 29. Open the tube ''Logane_renee_31juillet 2012'' -Edit/Copy-Edit Paste into selection ( on the same layer ) 30. Selections- Deselect All - Your Layer Palette look like this now:
- Stay on raster 3 31. Effects- Plugins -Flaming Pear - Flood with these settings /color #c0c0ff
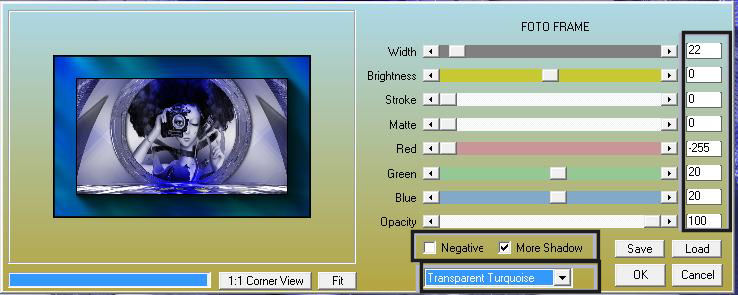
32. Layers- Merge- Merge Visible 33. Effects- Plugins -AAA Frame - Foto frame with these settings
34. Image Resize with 35 % (Resize all the layers not checked) 35. Edit/Copy!! 36. Now activate the image from step 19 - Edit-Copy-Edit-Paste as a new layer on your working area Place the image at the right place 37. Effects- Plugins -Eyecandy 5 Impact - Glass
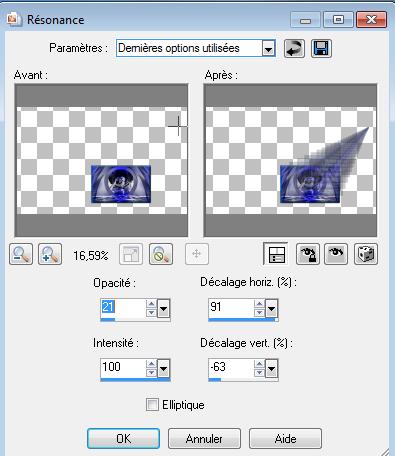
/ 38. Layers-Duplicate 39. Effects- Reflection Effects-Feedback with these settings
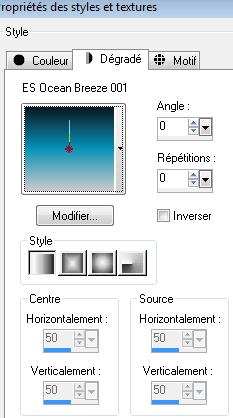
40. Layers- Arrange-Move Down 41. Activate the top of the Layer Palette /Layers-Merge- Merge Down - Layer Palette -Double click on this layer and set the Blendmode to Luminance -Legacy 42. Image - Add borders-Symmetric checked: 1 pixels #b4b5c8 43. Image - Add borders-Symmetric checked: 75 pixels white 44. Activate Magic Wand and click in the white border of 75 pixels 45. Layers- New raster layer - Open the Pattern ''pierre '' in your PSP 46. Color Palette :open the Pattern ''''pierre '' /Angle =0 and Repeats= 100 - Activate Food Fill Tool :fill the selection with the FG-Pattern 47. Effects- Plugins -Simple - Half wrap 48. Selections -Deselect All 49. Layers- Merge- Merge Visible 50. With the magic wand select the white parts 51. Layers- New raster layer 52. Material of the foreground -select my file in the list ''ES Ocean Breeze" -Prepare a linear gradient configured like this Activate Flood Fill Tool and fill the selection with the gradient
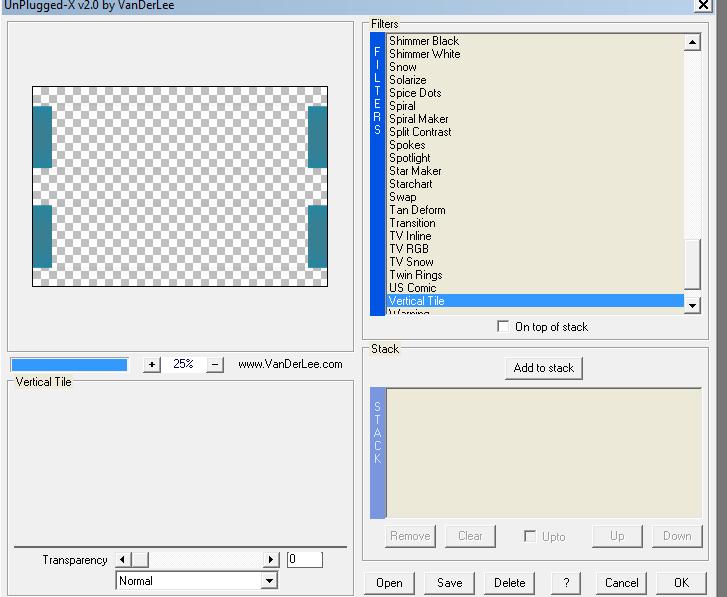
53. Effects- Plugins -Unpplugged X V.0.2 by Vanderlee / Vertical Tile
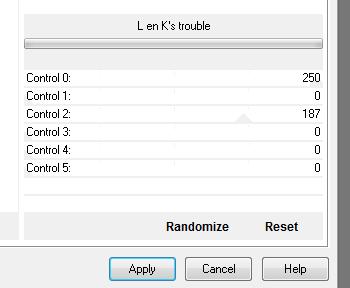
54. Effects- Plugins - L and K's - Trouble with these settings
55. Selections- Deselect All 56. Image - Add borders-Symmetric checked: 5 pixels black 57. Activate the tube "text "/Edit/copy-Edit paste as a new layer on your working area / Ore write your own text. Save as JPG - I hope you enjoyed this lesson Renée This lesson was written by Renée Placing 2011 * Any resemblance with an existing lesson is merely a coincidence * * Don't forget to thank the people who work for us and with us. I named the tubeurs - Testers and the translators. Thanks Renée. *
I am part of Tutorial Writers Inc. My tutorials are regularly recorded. ReneeGraphisme_All rights reserved
|
 Translations