|
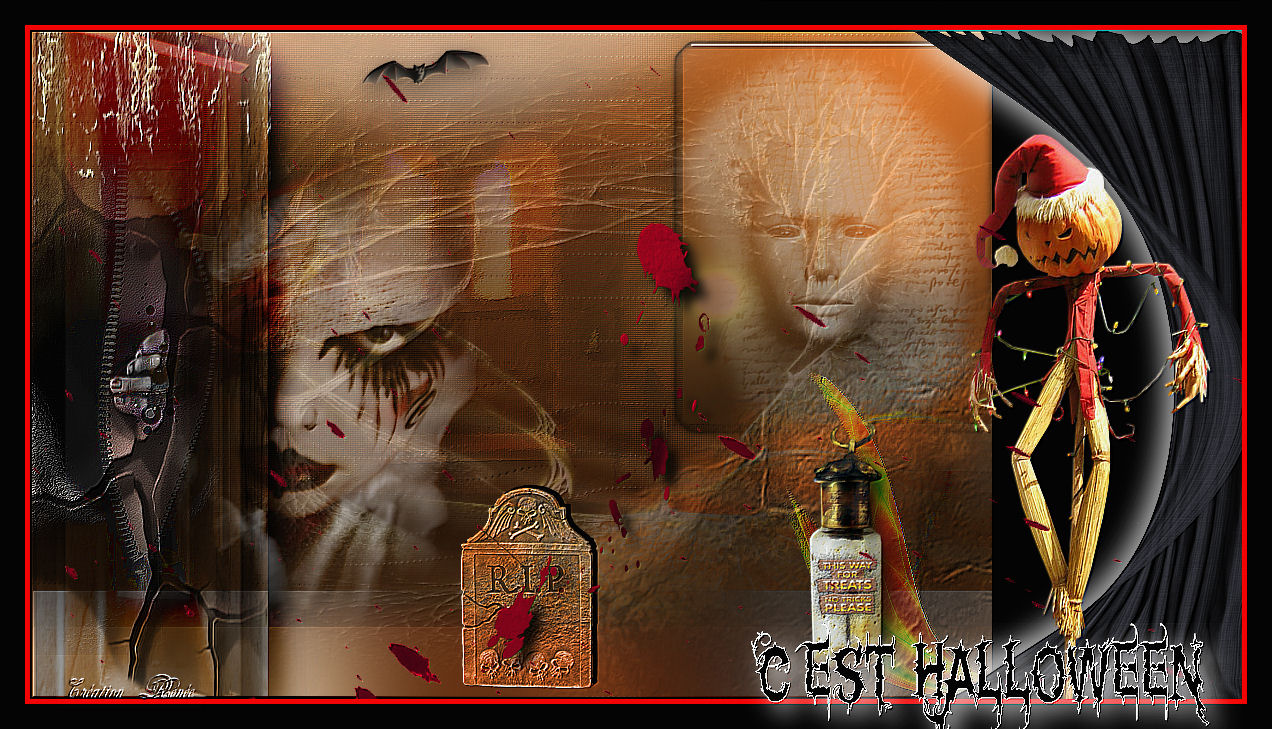

It's Halloween
*
Halloween
Materials
link for download
Click
here

Attention: If you are using older versions of PSP to
load the tubes and receive an error message, please disregard it and
click ok.
|
FILTERS
*
Scribe
L
and K's -Zitah
Toadies
Redfield
Eyecandy
5 Impact
Andromeda
Frischluft
FM Tile
Tools
*
Click here

My website
Click here
http://www.reneegraphisme.fr/ |
|
Tubes are of

Castorke -Jhanna -Sissiet de Marif
*
These tubes were received from tubeurs
sharing groups
Or found by me searching on the net
I am grateful to have been given
permission these beautiful tubes so
please use any copyright information as
needed
If one of these tubes is yours,
Contact me
so I can make a link to your site
or remove it
Thank you Renee
|
|
Before you start
*
Open PSP
Open / tubes duplicate and close originals
Open then Minimize the mask in PSP
Put filters in their proper folders
Brushes and other tools in their respective folders
To import presets / Double-click the file it will
automatically install |
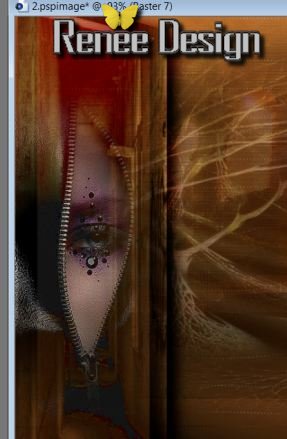
Let's begin
1. Open a new transparent image of 960 x 665 pixels
2. Change your foreground color to #f4812e and background to black
3. Prepare a radial gradient configured like this
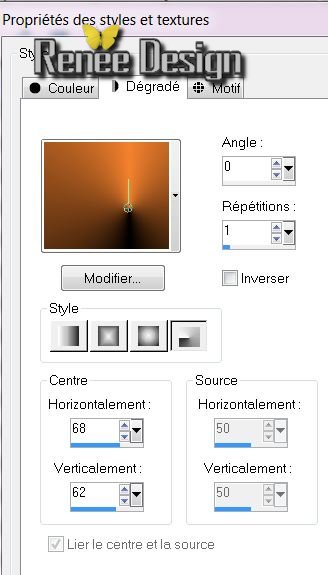
- Fill the layer with the gradient
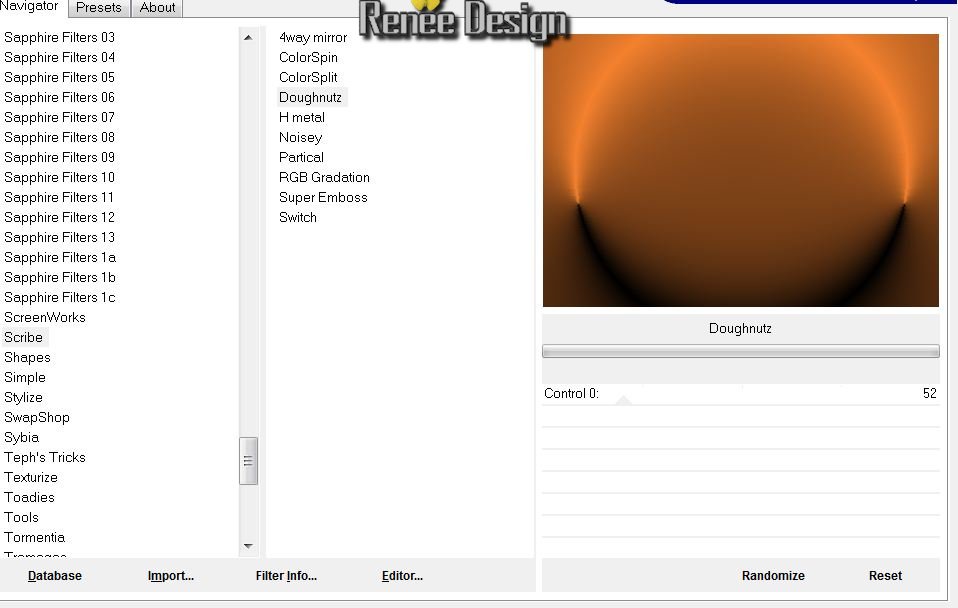
4. Effects - Scribe - Doughnutz
6. Layers - duplicate
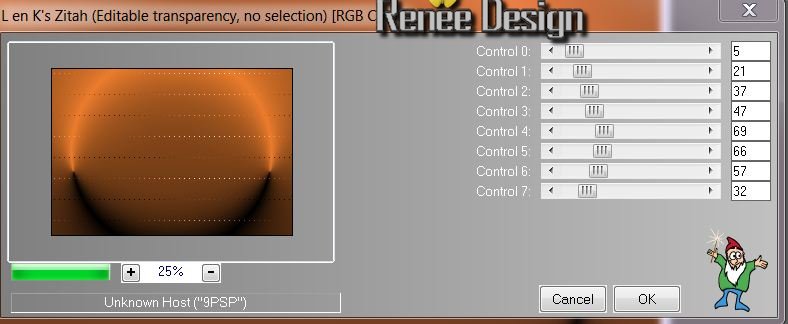
7. Effects - L and K's Zitah
8. Layers - duplicate
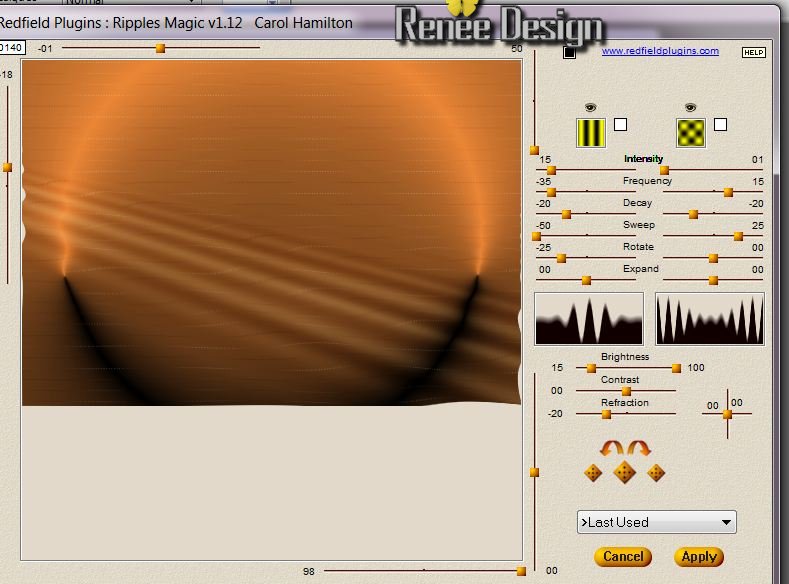
9. Effects - Redfield/ Ripples Magic
10. Using your Select tool(K)/ scale mode -
stretch right, left and down to no longer see the white cutouts on
the sides
11. Layers - merge down
12. Copy and Paste the tube ''Jhanna bakground-191'' . Change the
blend mode to hard light and lower the opacity to 66
13. Layers - Add a new layer
14. Selections - Load Selection
''renee-halloween1''
15. Fill it with the same radial gradient
16. Selections - select none
17. Effects - Toadies - what are you/ 12-12
18. Effects - Eyecandy 5 Impact / Glass - preset - ''renee halloween
glass''
19. Layers - Add a new layer
20. Selections - Load selection (again) '' renee-halloween1''
21. Open the tube ''56s1mdk'' paste into selection
22. Selections - deselect and change the layer to screen and opacity
to 52
23. Layers - add a new layer / Selections - select all
24. Open the tube ''castorke_hal_tube_14_092012'' and paste into the
selection
25. Selections - deselect
26. Layers - lower the opacity of the layer
down to 24 / normal blend mode
27. Layers - Add a new layer
28. Selections - load selection ''renee-halloween2''
- Fill it with black color
29. Effects - Eyecandy 5 - Glass preset ''renee-halloween glass 2''
/ select none
30. Effects - Andromeda perpsective - preset / It open close
31. Set the layer mode to luminance and opacity to 40
32. With your magic wand set like this

Click with your magic wand in the door - and move a little to the
left in the dark part
33. Layers - add a new layer
34. Paste the tube "renee_halloween_image_porte" into the selection
35. layers - Arrange - move down
36. Selections - select none
37. Change the layer mode to Overlay
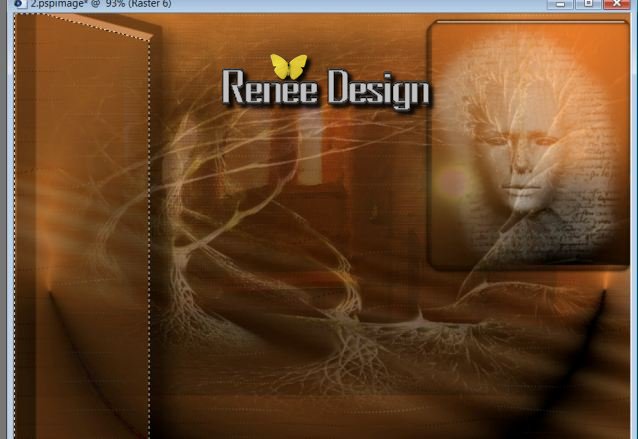
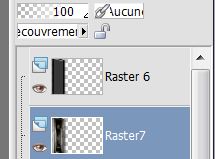
38. Attention: on raster layers 6 and 7 - apply EyeCandy5 impact -
perspective shadow - drop shadow blurry on both
39. Open the tube ''Tubed_by_monique42_3781'' Paste as a new layer
like this
40. Move this layer under raster6
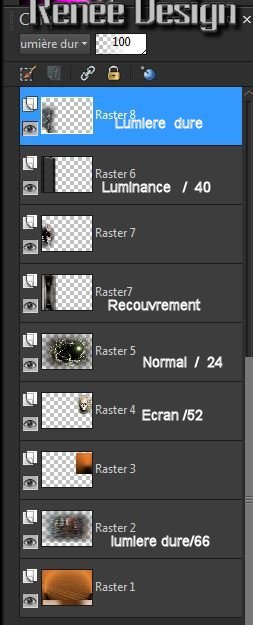
41. Click to activate the top layer
42. Open the tube ''Marif_2006_misted_fantasy038'' (click on raster
2) copy and paste as a new layer / position on the previous tube

- Make sure it is well placed to the left and change the layer to
hard light
- Your palette looks like this
43. Click to activate the bottom layer (raster 1)
44. Selections - load selection ''renee-Halloween3''
- DO NOT ADD NEW LAYER and KEEP SELECTED
45. Tools - Airbrush/ set like this and the color as #efd6c2

- Apply a few times left and right like this

46. Adjust - blur / gaussian blur at 60
- STAY WITH THE SELECTION
47. Effects - Frischluft - Volumetrics
Color filter ** #8d6834 and #f1ac23 if you use other colors play
with the settings **

48. Selections - select none
49. Open the tube ''401NLF24080844" Copy and paste moving into place
like this
50. Set the layer to hard light mode and opacity 57
- Click on top of the layers palette
51. Layers - Add a new layer
52. Selections - load the selection ''renee-Halloween4''
53. Open the tube "renee_halloween_structure" - paste into the
selection
54. Selections - select none
55. Change the layer to luminance mode and lower the opacity down to
81
56. Open the tube''pinceaux1" paste as a new layer - move slightly
to the left
57. Open the tube "renee_halloween1_flamme" - paste as a new layer -
bottom right
- Lower the opacity to 53 - leave as hard light
58. Effects - edge effects - enhance
Stay on the top layer
59. Layers - add a new layer
60. Selections - load selection ''renee-halloween5''
- Fill with white color (click once with the flood fill)
61. Selections - select none
62. Set the layer mode to luminance and opacity to 43
63. Open the tube "renee_halloween_plaque mortuaire" - paste as a
new layer - place it well - Change the layer mode to luminance
64. Open tube "renee_halloween_tache de sang" - paste as a new layer
- Move into place
65. Open the tube ''renee-halloween-lampe" and paste it in place
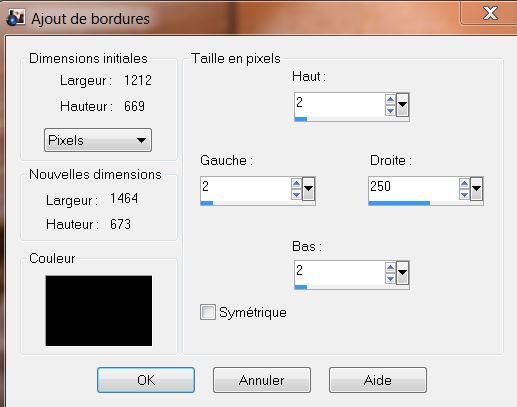
66. Image add borders asymmetrical in black like this
67. Open the tube "drape2" - paste as
a new layer on the right
68. Effects - 3D effects - Drop shadow 0/0/70/40 white - repeat
69. Open the tube "calguisepouvantaille71010'' Image - mirror - Move
into place
70. Open the tube "vleermuis_sissy" - paste as a new layer - Move to
a good place
71. Open the tube "renee_halloween_tache rouge" - paste as a new
layer - do not move it is in the right place
72. Image - add borders 5 pixels #F20500
73. Image - add borders 20 pixels black
74. Open the tube "texte" Paste as new layer - or write something of
your choice - the font is in the file
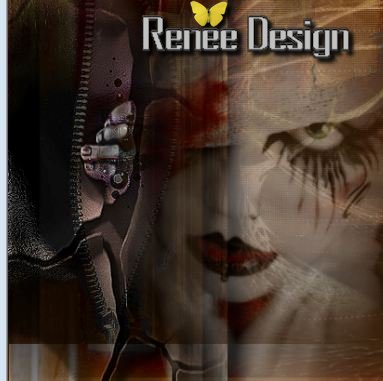
75. Merge all layers
76. Effects - FM Tile Tools - blend emboss
All Finished
Happy Halloween
Sally
*
I am part of tutorial writers inc.
My tutorials are regularly recorded

|
Your Gallerie
click here
 |
|