|
Let's start the lesson
Grenade
1.
Material Properties: Foreground color to color:#8c3231
Background color tot color white
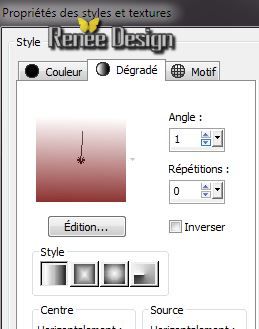
2.
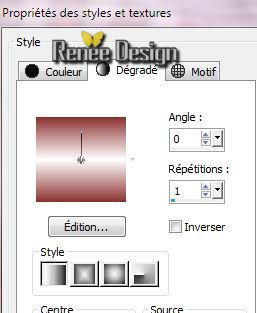
Prepare a linear gradient configured like this.
3.
File - New - New Transparent Image: 950 x 725 pixels /Flood Fill Tool: Fill the layer with the gradient
4.
Layers-Duplicate
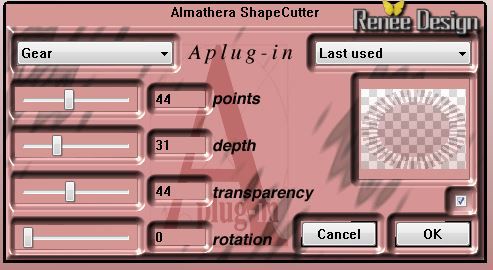
5.Effects-Plugins - Almathera - Shape
cutter
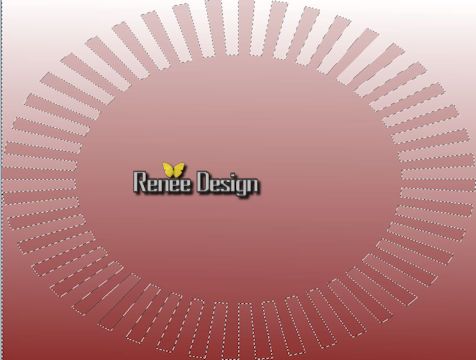
6.
With your magic wand :click in the transparent part like this

7.
Delete
8.
Selections-Invert
9.
Effects - Art Media Effects-
Colored Chalk
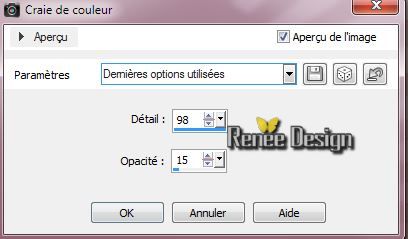
10.
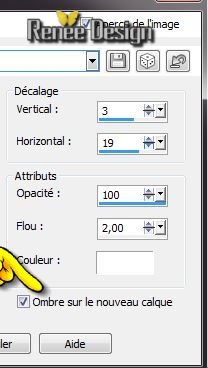
Effects - 3D Effects - Drop shadow: 2/2/35/12 Color black
Selections - Deselect all
11.
Layers-New raster layer raster
12.
Change the settings of this gradient
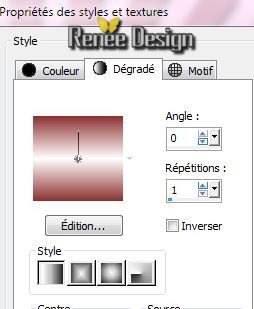
-Flood Fill Tool: Fill the layer with the gradient
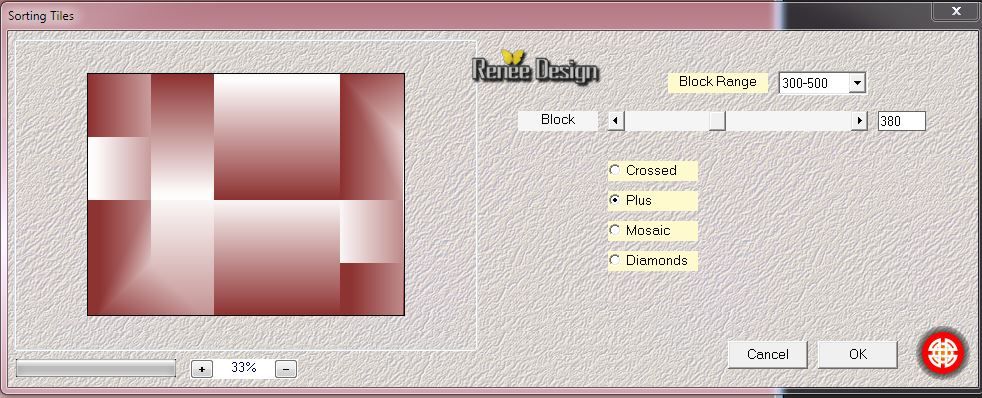
13.
Effects -Plugins -Medhi - Sorting Tiles
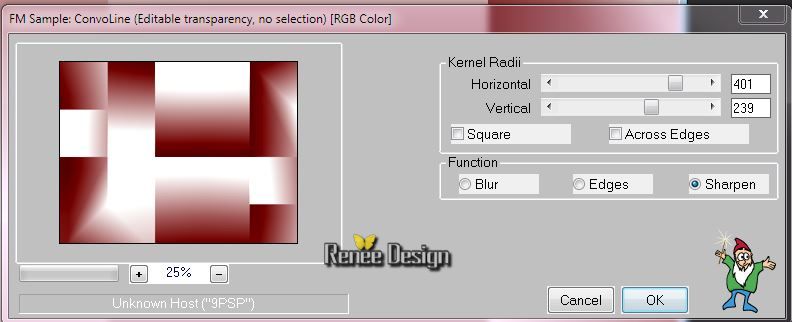
14.
Effects -Plugins- Filter Meister - FM Sample-
Convoline
15.
Effects - Image effects - Seamless tiling with these settings
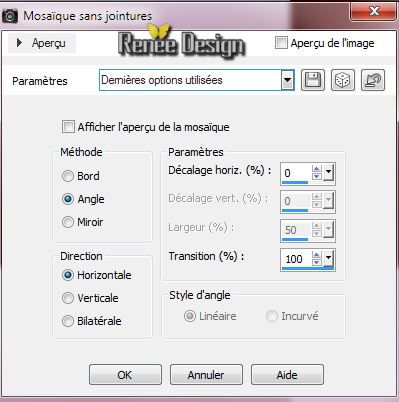
16.
Selections - load/save selection - load selection from disk and choose ''grenade_1""
17.Selections - Promote selection to layer
18.Effects - 3D Effects - Drop shadow keep the settings
Selections - Deselect all
19.Effects-Plugins- Unimited&<BKgdesigner sf10I/Cruncher
20/20
20.
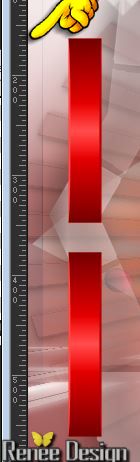
Activate selection tool - custom selection with these settings:(S)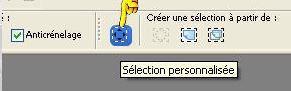
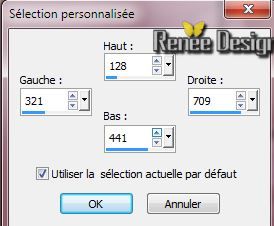
21. Edit-Cut-Edit paste as a new layer
Selections - Deselect all
Your work look like this now
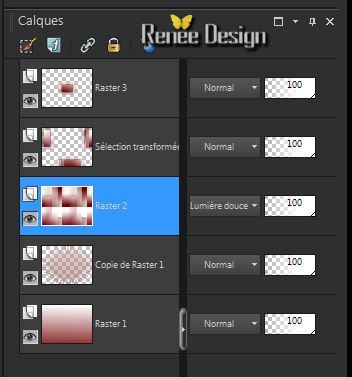
22.Layer Palette:activate Raster 2 -Layer-Palette: Change the Blend Mode to :"Soft Light"
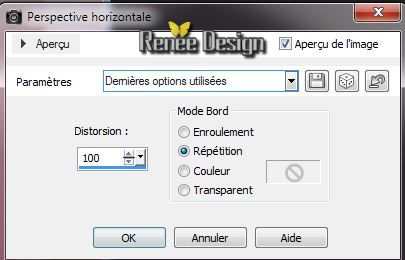
23. Effects-Geometric Effects-Perspective Horizontal with these settings
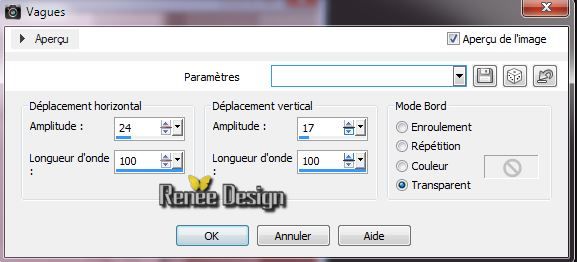
24.Effects-Distortion Effects-Wave with these settings
25.
Effects-Plugins Unimited - &<BKgdesigner sf10I/Barcode
generator

26.Layers - Arrange -Move Down under (Copie de Raster
1)
27. Layer-Palette: activate the second layer from the top (sélection transformée)
28.Effects-Plugins - Mura's Meister -
Perspective Tilling

29. Effects-Plugins
-Plugins -Eyecandy 5 Impact -Motion trail in the settings tab, click on the Preset
''grenade_motiontrail''
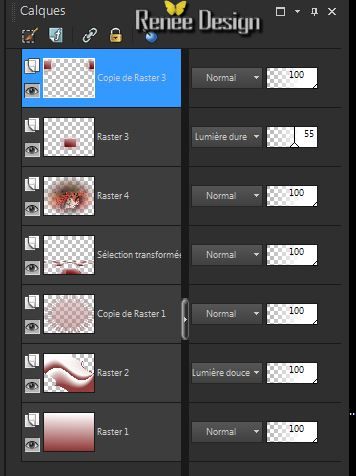
30. Activate the tube ''renee_grenade_image 1 / Edit - Copy -Edit - Paste as new layer on your working area (do not move!!!)
Layer Palette;activate the top of the layerpalette (Raster 3)
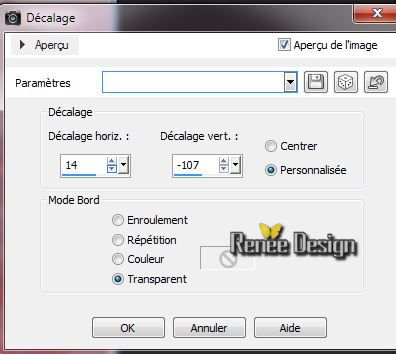
31. Effects - Images Effects - Offset
32. Layer Palette: change your Blend Mode to "Hard Light" .Reduce the opacity of this layer to : 55%
33. Layers-Duplicate
34.Effet
-Plugins - Simple - Half Wrap
Layer Palette: change your Blend Mode to " Normal " Opacity 100%
Your work look like this now
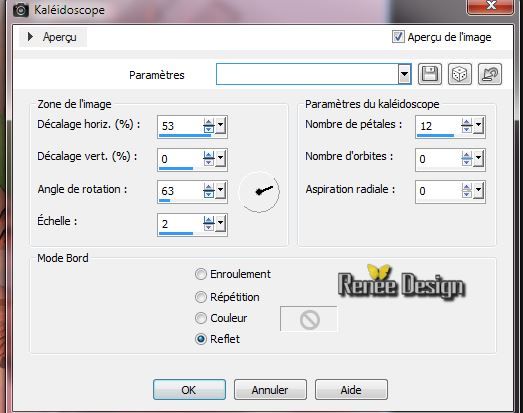
35.Effects-Reflection Effects-Kaleidoscope
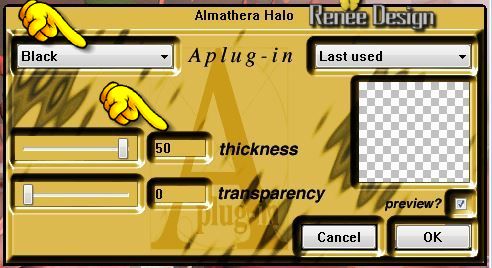
36. Effects-Plugins - Almathera -Halo (Black)
37.Effects-Plugins - EyeCandy 5- Impact - Perspective
shadowin the settings tab, click on the Preset "grenade_persp''
38.
Layers- Newe raster layer
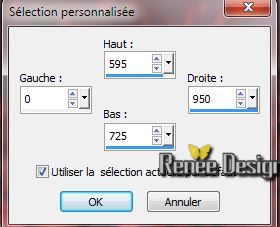
39.Activate Selection Tool - Custom selection with these settings:(S)
Activate Flood Fill Tool and fill selection with the background color/white
Selections - Deselect all
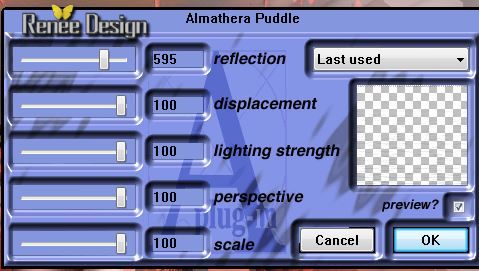
40. Effects-Plugins -Almathera - Puddle
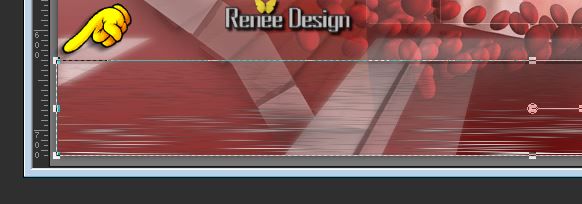
41. Activate your Pick Tool(K) Mode Scale- Move Down to 640 pixels
(Like this)
42. Effects-Edge Effects-Enhance
43. Layers-Duplicate -Image Flip /Layer-Palette: Change the Blend Mode to : "Multiply "
44. Effects-Edge Effects-Enhance
45. Layers-New raster layer
46.
Selections - load/save selection - load selection from disk and choose ''grenade_2'' / Activate Flood Fill Tool and fill selection with the foreground color
47. Effects-Plugins - Vanderlee Unplugged X- Defocus
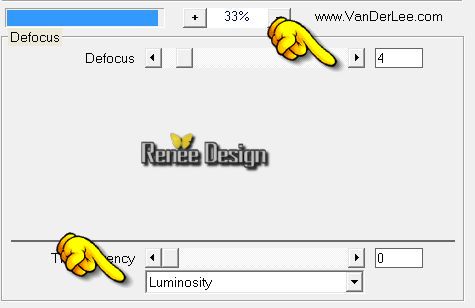
Selections - Deselect all
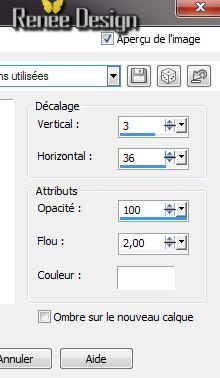
48. Effects-3D Effects-Drop Shadow/color white
49.Layers-New raster layer
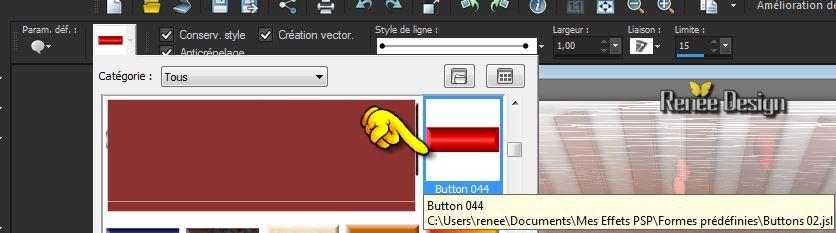
50. Preset shapes Tool (P) /preset shape Buttons 02/Take Button 044 as shown in the example and draw a shape. Foreground color red like this
51. Layers-Duplicate Image- Flip (there is a png tube in the zip-File)
Layers-Merge-Merge Down
52. Layers-Duplicate / Image Mirror/put it in the right place
53. Activate the tube ''grenade_boules" /Edit - Copy -Edit - Paste as new layer on your working area /Layer Palette: change your Blend Mode to "Hard Light"
54.Layers-New raster layer
55.
Selections - load/save selection - load selection from disk and choose ''grenade_3''
56. Flood Fill Tool: fill the selection with the gradient with these settings
Selections - Deselect all
57.Effects-Plugins -Eyecandy5 Impact /Black light in the settings tab, click on the Preset
''grenade_light''
58. Layer Palette: change your Blend Mode to "Luminance"
59. Activate the tube ''grenade_grilles'' /Edit - Copy -Edit - Paste as new layer on your working and move
60. Activate the tube''grenade_pierres"/ Edit - Copy -Edit - Paste as new layer on your working area and move ( you can duplicate and place them as you like)
61.Effects - 3D Effects - Drop shadow/color white (Attention shadow on the new layer checked)
62. Activate the shadow layer / Layer Palette: change your Blend Mode to "Hard Light " .Reduce the opacity of this layer to :
65%
63.
Layers-Merge-Merge Visible
64. Image - add borders: 2 pixels FG-Color
65. Image - add borders:10 pixels Color white
66. Image - add borders: 2 pixels FG-Color
67. Image - add borders: 50 pixels Color white
68. Image - add borders: 2 pixels FG-Color
69. Open the tube ''grenade_cadre''and tube texte Edit-Copy-Edit paste as a new raster layer
I hope you enjoyed this lesson
Renée
This lesson was written by Renée the1/06/2014
Created the
le 06/2014
*
Any resemblance with an existing lesson is merely a coincidence
*
* Don't forget to thank the people who work for us and with us. I named the tubeurs - Testers and the translators.
Thanks Renée. | 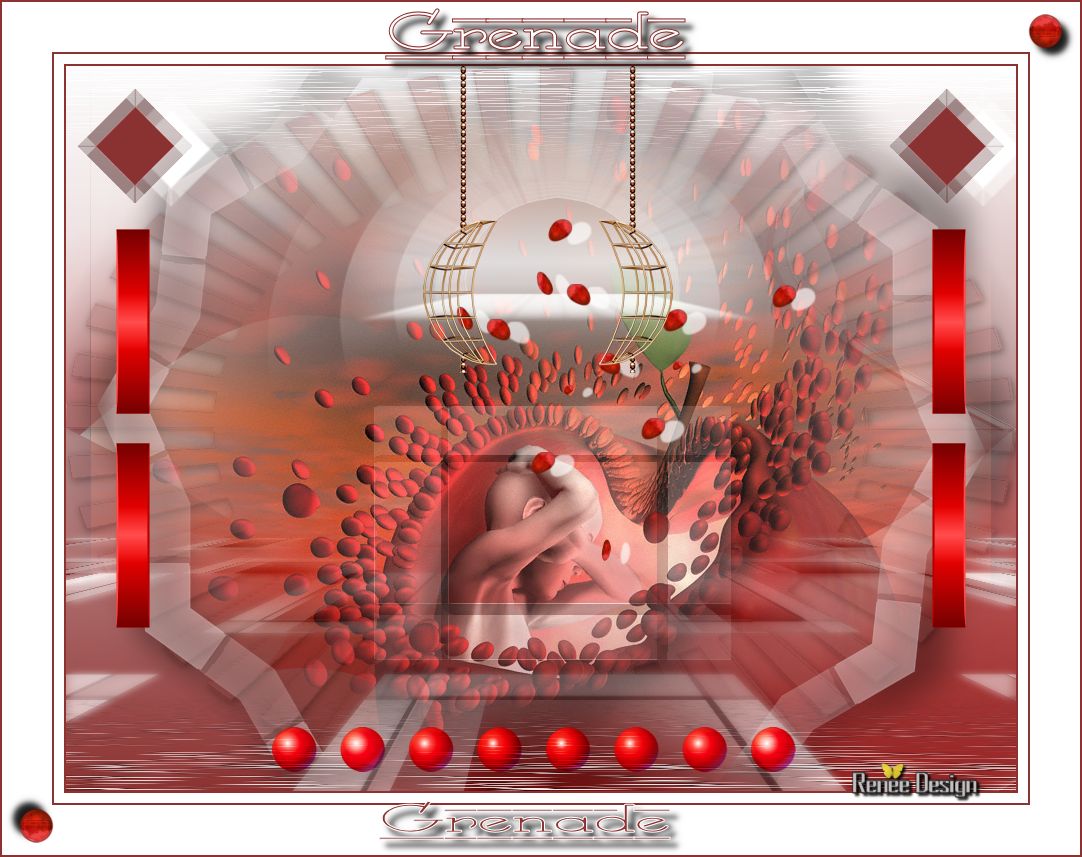
 Translations