|
New
Translations here
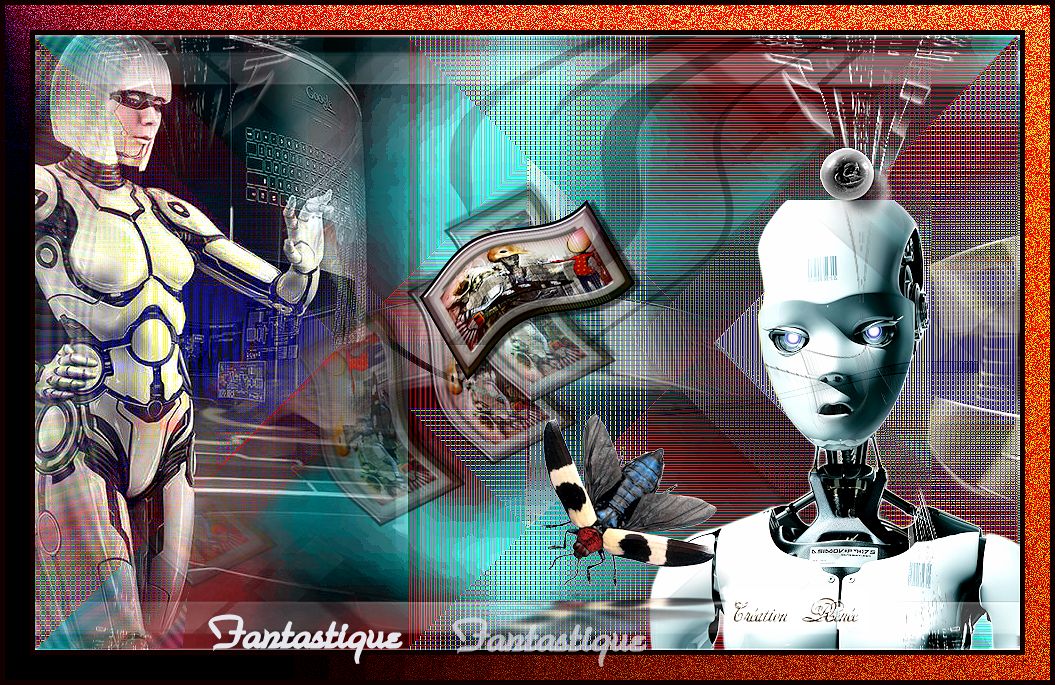
Fantastique
*
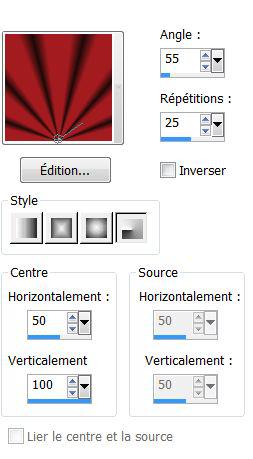
Let's begin 1. Open a transparent image of 985 x 615 pixels 2. Material Properties: Forgroundcolor to #a31c20 and the backgroundcolor to #1d0b09 3. Prepare a radial gradient configured like this
4. Flood Fill Tool: Fill the layer with the gradient 5. Selections-Select All:Open the tube ''chouchoucats82-tubes-fantastique042_sep'' Edit/copy-Edit/past into selection/on the same layer 6. Selections-Select none 7. Effects-Image effects-Seamless Tilling Factory default 8. Adjust-Blur-Gaussian Blur 30. 9.Layers-Duplicate
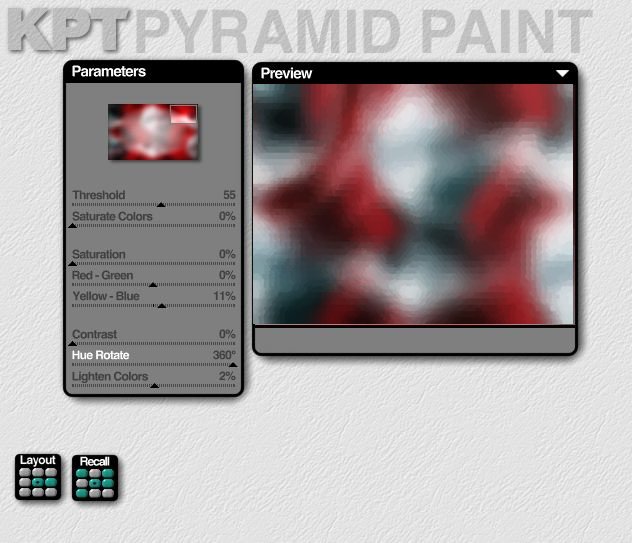
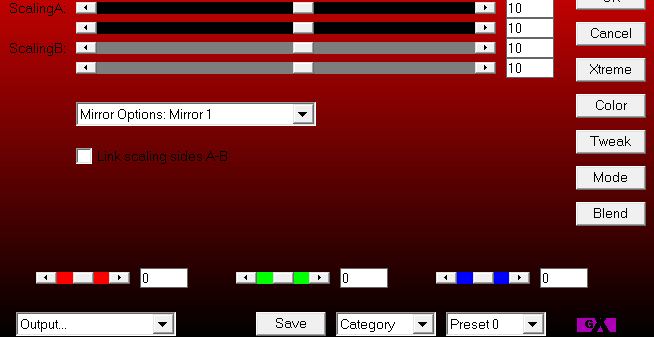
10. Effects- Distortion Effects– Pinch 100 11.Blend Mode to "Soft Light" 12. Effects-Plugins Andrew's collection Andrews 56 ou 55 / Blits Pieces / default 13. Layers-Merge-Merge Down 14. Layers-Duplicate 15. Effects-Plugins KPT -Pyramide Paint
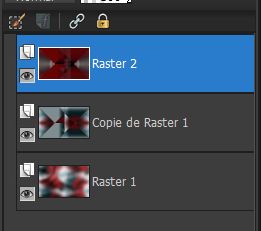
16. Effects -Plugins Factory Gallery U- Serrate 13/21/31 17. Layers-Merge-Merge Down 18. Layers-Duplicate 19. Effects -Plugins Simple -Pizza Slice Mirror( Repeat twice) 20. Open the tube ''renee_triangulaire_fantastique .jpg' - Edit/copy-Edit/paste as a new layer -You are there in your layers palette
21. Layers-Merge-Merge Down /Blend Mode to "difference" 22. Effects-Edge Effects-Enhance 23. Selections –load/save selection –load selection from disc and choose ''renee_fantastique'' 24. Selections-Promote selection to layer 25. Selections-Select none 26. Effects-Edge Effects-Enhance More 27. Layers-Duplicate 28. Effects-Plugins Toadies – What are you / 45/4 29. Open the tube ''image 13 '' Edit/copy-Edit/paste as a new layer and place 30. Effects- Distorsion Effects - Warp
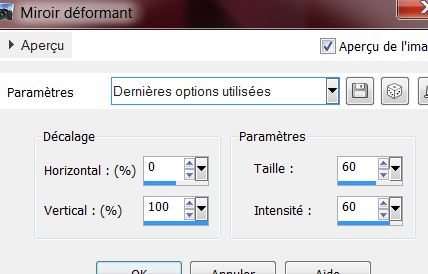
31. Open the tube ''barre_mysterieuse'' Edit/copy-Edit/paste as a new layer 32. Effects-Image Effects - Offset H= 20 and V = 47 33. Blend Mode to "Difference" 34. Open the tube ''image 14'' Edit/copy-Edit/paste as a new layer and place 35. Effects – Plugins Simple - 4 way average 36. Effects -Plugins AP01-Innovation - Mirror réflexions
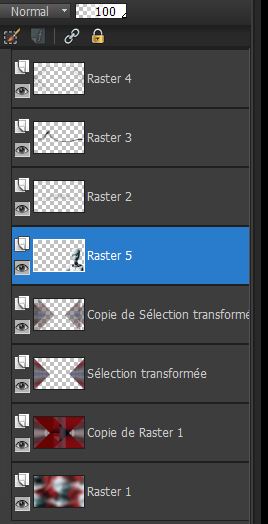
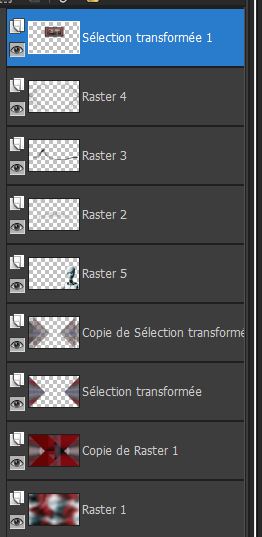
37. Open the tube ''chouchoucat82-s_tubes_fantastique042''' Image-Resize to 62% Edit/copy-Edit/paste as a new layer 38. Effects-Image Effects - Offset H= 290 and V = -83 39. Layers-Arrange-Move Down 3 x -You are there in your layers palette
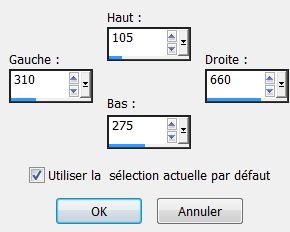
40. Aktivate the layer: copie de Raster1 41. Selections-Gustom Selection with these settings
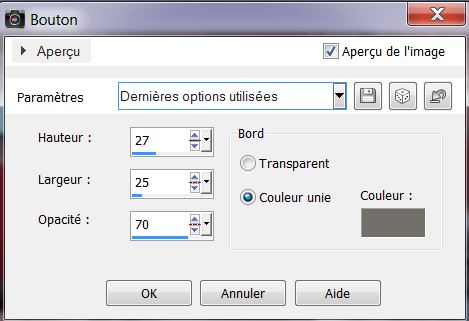
42. Selections-Promote selection to layer 43. Layers-Arrange-Bring to Top - Keep Selection 44. Layers-New Raster Layer 45. Effects-3D Effects– Buttonize color: #726f69
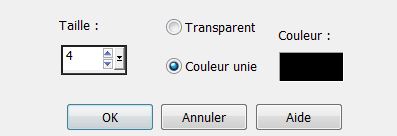
46. Effects- 3D Effects – Chisel
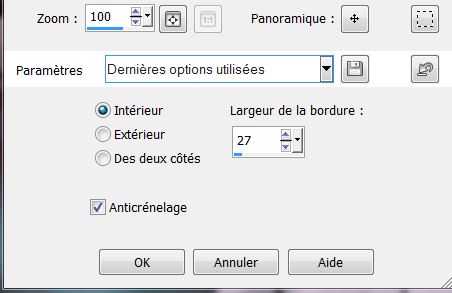
47. Layers-Merge-Merge Down 48. Selections-Modify-Select-Selection Borders
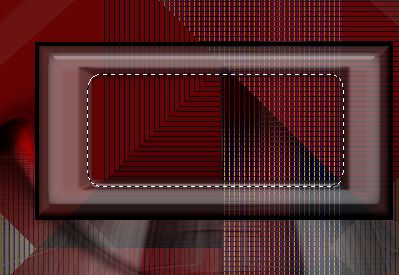
49. Effects -Plugins EyeCandy 5 Impact - Glass- clear with reflection 50. Layers-New Raster Layer 51. Open the tube ''renee_fantastique_fenetre ''Edit/copy/Edit past into selection 52. Lower the opacity to 51% 53. Selections-Select none 54. Magic-Wand with these settings
select inside like this
52. Selections-Modify-Expand 12 pixels 53. Layers-New Raster Layer 54. Open the tube ''renee_fantastique_partie'' Edit/copy/Edit past into selection 55. Effects- Plugins FM Tile Tools - Blend emboss/Layers-Arrange-Move Down 56. Selections-Select none Aktivate the top of the layers palette 57. Layers-Merge -Merge Down ( twice) (Now you have one layer) -You are there in your layers palette
58. Rename Layer 1 of the transform selection = Cadre - Aktivate layer cadre 59. Effects- 3 D Effects -Drop Shadow choose default 60. Effects- Distortion Effects-wave
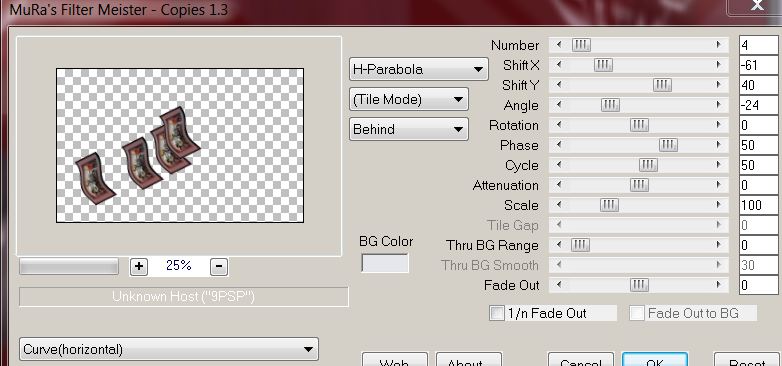
61. Image- Free Rotation 30° to the left 62. Image Resize 54% Don't check Resize all the layers 63. Layers-Duplicate 64. Effects-Plugins Mura's Meister -Copies
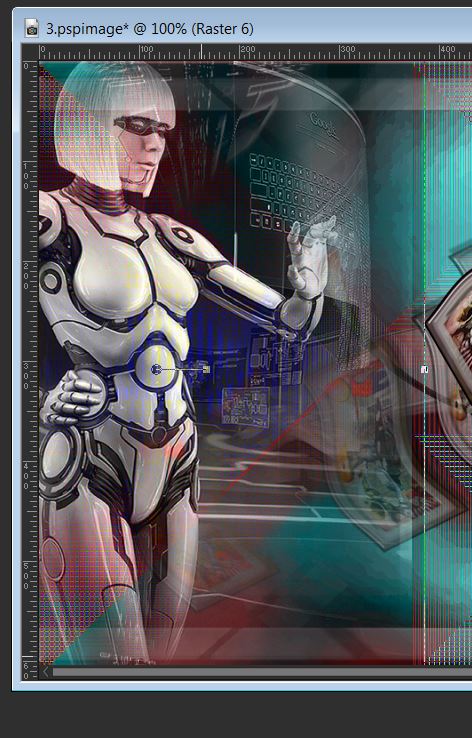
65. Layers-Arrange-Move Down 66. Lower the opacity to 55% 67. Aktivate the top of the layers palette 68. Open the tube ''renee_robot2_fantastique'' Edit/copy-Edit/paste as a new layer and place - Place it as shown like this
69. Layers-Arrange- Move Down ( twice) 70. Blend Mode to "Luminance Legacy" 71. Aktivate the top of the layers palette 72. Open the tube 'fantastique_boule mini '' Edit/copy-Edit/paste as a new layer and place 73. Adjust-Sharpness-Sharpen More 74. Aktivate the top of the layers palette 75. Layers-New Raster Layer 76. Selections –load/save selection –load selection from disc and choose ''renee_fantastique_1'' 77. Material Properties: Forgroundcolor to:#e6e6ed .Paint settings normal mode but the opacity down to 26% / Fill the selection with the new color. 78. Selections-Select none Paint setting 26 %
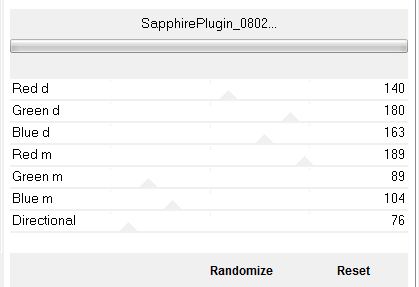
79. Effects –Plugins Unlimited 2.0 / Sapphire Filters 09/ Sapphire Plugin_0802
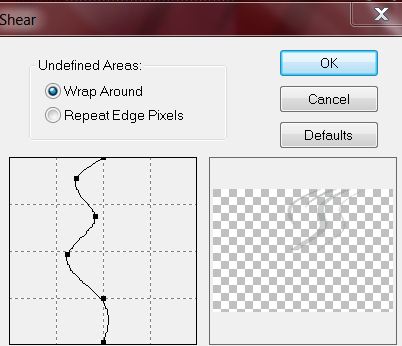
80.Layers-New Raster Layer 81. Selections –load/save selection –load selection from disc and choose ''renee_fantastique_2'' 82. Pant setting with the same setting/ Fill the selection with black / Blend Mode to "Hard light" 83. Selections-Select none 84. Effects-Plugins – Distort -Shear- déformer See example.
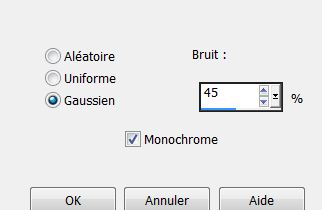
85. Open the tube ''insect_L''/Edit/copy-Edit past as a new layer and place 86. Effects-Plugins Eye Candy 5 - Perspective shadow -choose my preset ''renee_fantastique_shadow'' 87. Layers-Merge-Merge-Visible 88. Image - add borders symmetric 5 pixels black 89. Image - add borders symmetric 25 pixels color #660404 90. Image - add borders symmetric 5 black 91. Magic Wand-Match Mode RGB-Value. With your magic wand select the border with 25 pixels 92. Adjust-Add/Remove-Noise-Add Noise
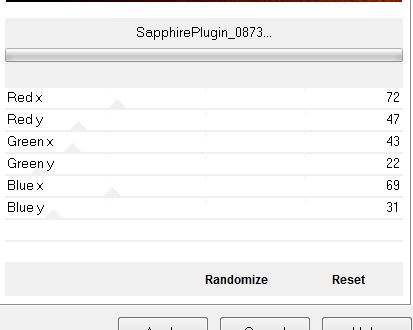
93. Effects– Plugins Unlimited 2.0 / Sapphire Filters 09/ Sapphire Plugin_0873
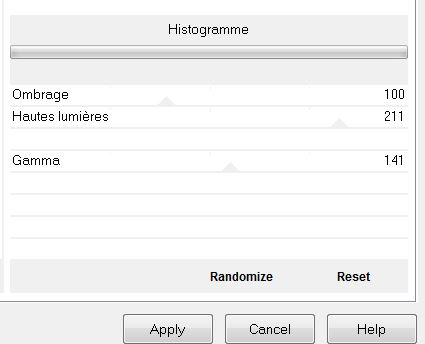
94. Selections-Select none 95.Adjust-Sharpness-Sharpen 96 .Effects-Plugins Unlimited 2.0 / Image amélioration /Histogramme
97. Text Tool : Write your title I used the font ''celebrity'' or paste mine
I am part of tutorial writers inc. My tutorials are regularly recorded
*
|
 Translations