|

Translated by Sally
*********
Translator Here
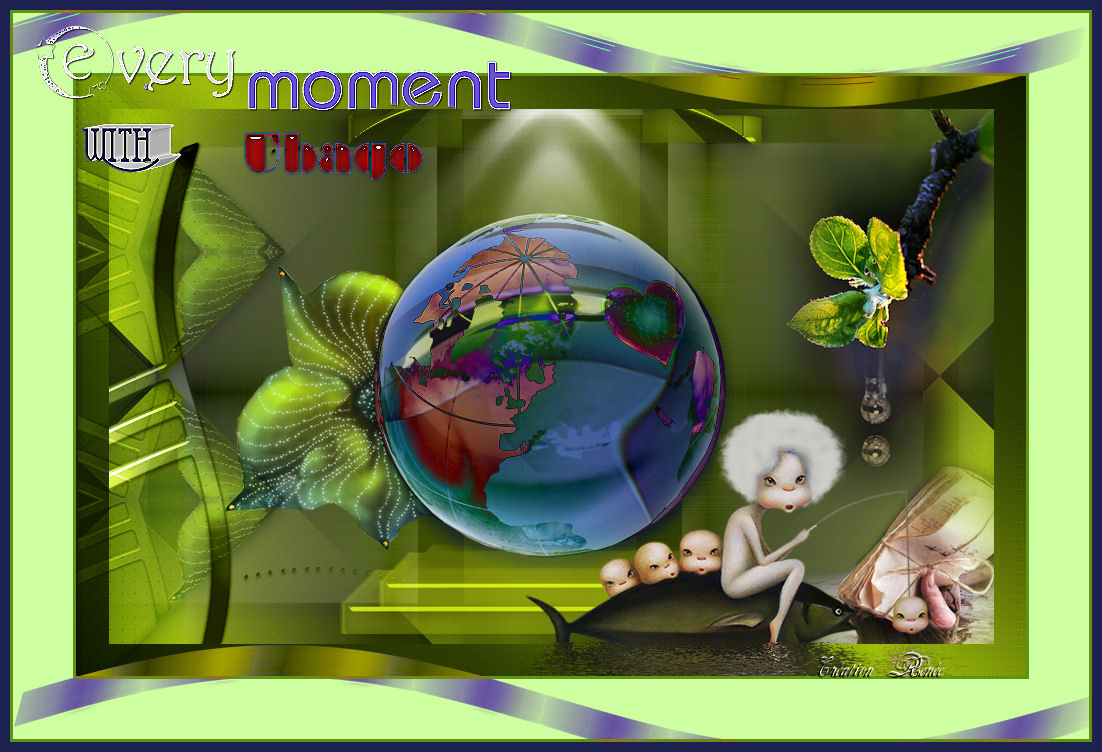
Every
moment with Ubago
Material Here
************
Filters
*
AP 16 Distort /Gridge Edge
Simple /Diamonds
EyeCandy5
Medhi /Weaver
AAA Framer
Xero/Improver
here :http://www.reneegraphisme.fr/filtres/Mes
filtres.html
my website
http://www.reneegraphisme.fr
***************
Tubes are
Guismo – Kitty’s
and Zon project
These tubes were
received from tubeurs sharing groups
Or found by me
searching on the net
I am grateful to have
been given permission these beautiful tubes so
please use any
copyright information as needed
If one of these tubes
is yours,
Contact me
so I can make a link
to your site
or remove it
Thank you Renee
**********
|
Before you start
*
Open PSP
Open / tubes duplicate and close originals
Open then Minimize the mask in PSP
Put filters in their proper folders
Brushes and other tools in their respective folders
To import presets / Double-click the file it will
automatically instal
|
Let's begin
1. Open the tube "fond vision" - Window/duplicate and close the
original. We will work on the copy
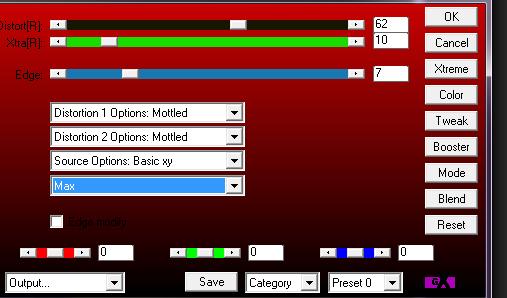
2. Effects - Plugins/ AP 16 - distort - gridge edge
3: Effects - edge effects - enhance more
4. Layers - Duplicate
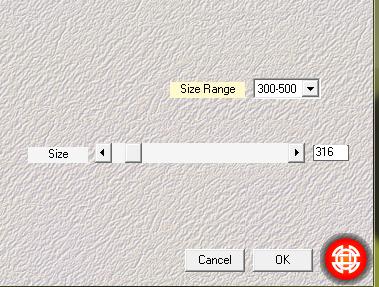
5. Effects - Simple - Diamonds
6. Selections - Load selection from disk/ "renee_vision"
7. Promote selection to layer
8. Selections - select none
9. Effects - EyeCandy5/glass / preset / "renee-vision"
10. Effects - Mehdi / weaver
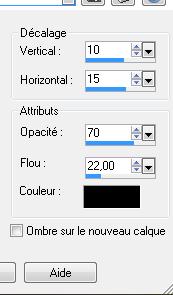
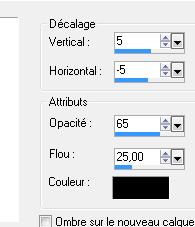
11. Effects - 3D effects / Drop shadow
12. Open the tube "vision_terre". Copy
and Paste as a new layer/ it is in the right place 1
13. Set the mode to Difference and lower the opacity to 79
14. Open tube "calguismonde 1019" Resize to 65%
Paste as a new layer
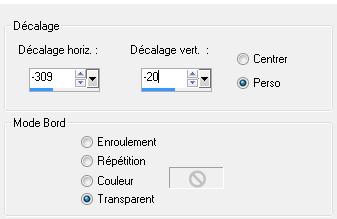
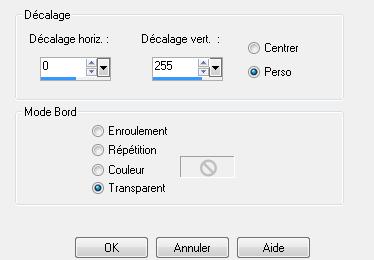
15. Image effects - Offset
16. Layers - Arrange - move down
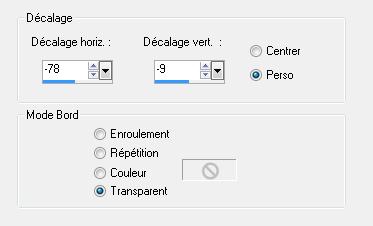
17. Open the tube "vision_barre lateral" - Paste as a new layer
18. Effects - Image effects - Offset
19. Open the tube ''image2-vision-horizontal bar'' and paste as new
layer
20. Effects - Image effects - Offset/ H = 0 and V = -238
21. Set the layer mode to screen and leave the opacity 85
22. Effects - Plugins - EyeCandy5 Impact/ extrude / preset - "renee_vision_extrude"
23. Duplicate layer / image resize to 85% - all layers unchecked
24. Layers - merge down
25. Effects - 3D effects/ Drop Shadow
26. Open tube "barre 12" - paste as a new layer
27. Effects - Image effects/ Offset H = 0 and V = 250 - tick
transparent
28. Open tube "effet eclairage" - Paste as new layer - move to the
top of the layers palette
29. Image effects - Offset
30. Open tube "e & ce soleil_25040071723" modifier (changed) paste
as a new layer
The original is to show "soleil project" in respect of the creator
of this tube. You can save this tube to your files but it is not
used in this lesson You should use the other.
31. Open the tube "main_de soleil project" / resize to 75% and paste
as new layer
32. Place the tube in the lower right corner
33. Close the eye of the bottom layer in the layers palette
34. Click on another layer - Layers - merge visible
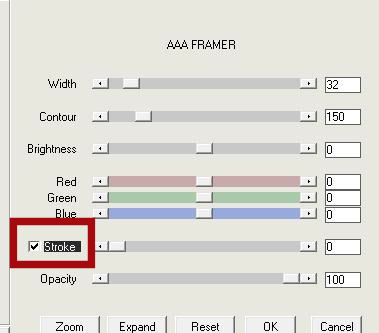
35. Effects - Plugins - AAA Filters/ AAA Framer
36. Open tube "frame 25'' paste as new layer move to the left (leave
the Overlay mode/ opacity 52 as is)
37. Open tube "kitty's_dobbel" Paste as new layer - Layers/ move
down
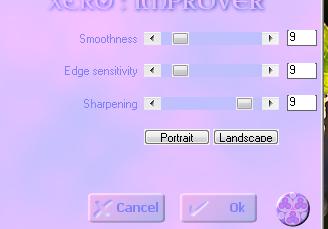
38. Effects - Plugins - xero - Improver
39. Layers - merge visible
40. Image - add borders 3 pixels #609312
41. Image - add borders 60 pixels #ceffa1
42. Image - add borders 3 pixels #609312
43. Paste ''image 26'' as a new layer and Set the blend mode to
exclusion
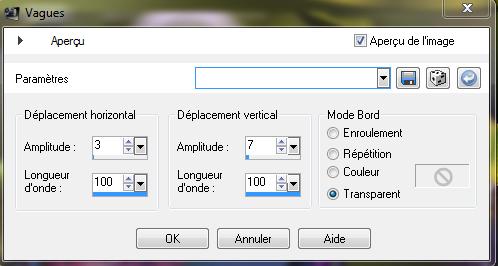
44. Effects - Distortion effects / wave
45. Image - add borders 10 pixels
#1c2151
46. Paste the text tube or write text of your choice
All Finished
Thanks Sally
*****
I am part of Tutorial Writers Inc.
My tutorials are regularly recorded


|
Your creations here

|
|