|
New
Translations here
EPHEMERE
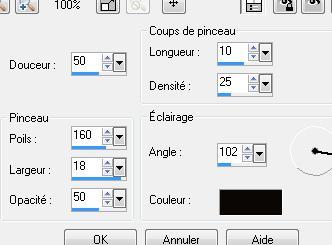
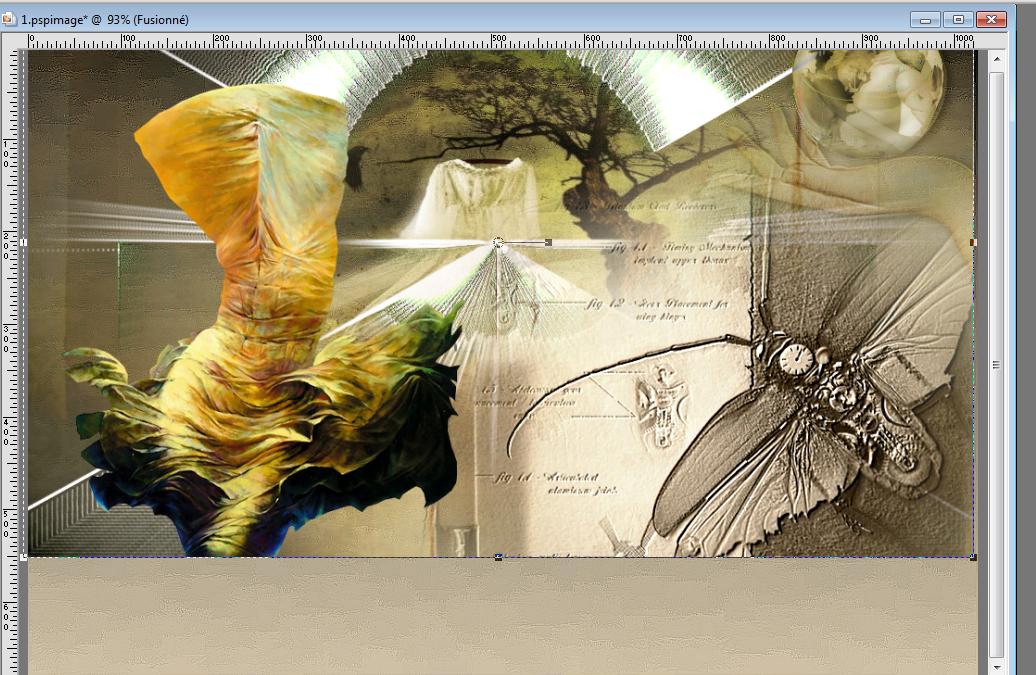
Let's begin 1. File - New - New Image: 1025 x 680 pixels transparent 2. Material Properties: Foreground color to color: #d0c2a7 Background color to color: #0a0704 3. Prepare a linear gradient configured like this. 0/0 /Invert not checked 4. Flood Fill Tool: Fill the layer with the gradient 5. Effects-Art Media Effects / Brush strokes
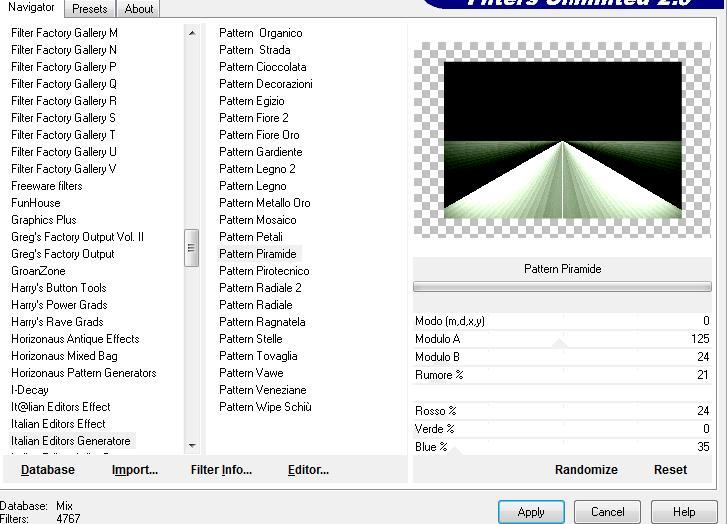
6. Layers-New Raster Layer 7.Selections-Select All /Open the tube « arbre magique « Edit/copy-Edit paste into selection 8. Layer Palette: Set the Blend mode to "Hard Light "/ Selections-Select none 9. Layers-Duplicate/ Image Resize 80% (all layers not checked) 10. Effects-Plugins Italian Editors Genaratore /Pattern piramide (Attention well leave your starting colors in your layers palette for this filter)
11. Effects -Plugins Transparency /eliminate black/ Layer Palette: Set the Blend mode to "Normal" 12. Effects -Edge Effects - Enhance 13. Effects -Plugins Eyecandy 5 Black light and choose my preset-'' phenomene 1'' 14. Effects -User Defined Filter-Emboss 4 15. Open the tube
« abeille » Edit/copy -Edit/paste as a new Layer and place
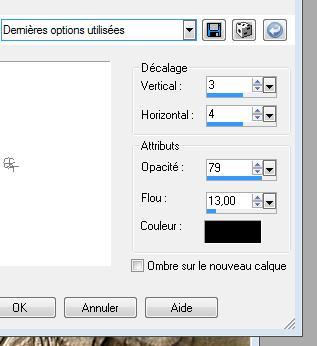
16. Effects -User Defined Filter-Emboss 4 17. Open the tube « main globe » Edit/copy -Edit/paste as a new Layer /Image Mirror /and place 18. Effects -3D Effects-Drop Shadow
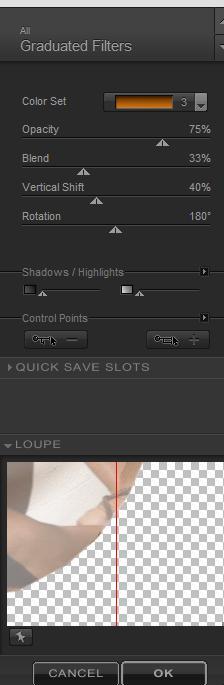
19. Open the tube « nicole-abstrait1KarolBak » /Image Resize 90% Edit/copy -Edit/paste as a new Layer 20. Effects -Image Effects -Offset H = -255 and V= -95 21. Open the tube « "084-silvana -vanesa-orsi enero -10-2009" On this tube Effects-Plugins Color effex Pro3 /Graduated Filters/Orange
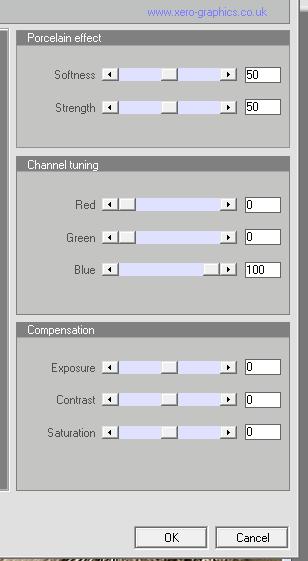
- Edit/copy!!!! Back to your image: Selection Tool: Circle / /draw a circle around the globe / the layer hand globe - Layers-New Raster Layer Edit paste into selection 22. Selections - Deselect all - Place the tube in the middle of the circle 23.Effects -Plugins Xero - Porcelaine
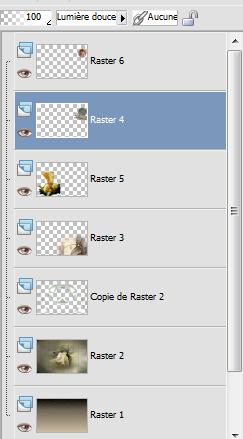
24. Layer Palette: Set the Blend mode to "luminance" . Set the layer raster 4(« main globe »): Blend Mode to "Soft Light" - Your work and Layer Palette look like this now:
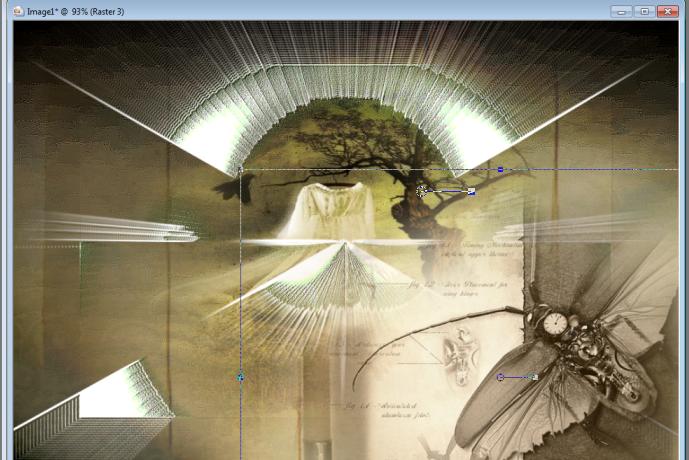
25. Aktivate the bottom of the Layers palette = raster 1/Layers-Duplicate - Close visibility and put on another layer and : Layers-Merge-Merge-Visible 26.Open the layer 27. Activate the merged layer / Activate your Pick Tool: place to example
- Stay on this layer 28. Effects - 3D Effects Chisel /color #b3780c
- Repeat: Effects - 3D Effects Chisel /color/#010207
29. Aktivate the bottom of the Layers palette 30. Layers-New Raster Layer 31. Selections-Select All 32. Open the tube '' template renée »/Edit/copy-Edit paste into selection 33. Selections-Select none - Layer Palette: Set the Blend mode to "Luminance Legacy" 34. Effects-Plugins L and K's /Paris
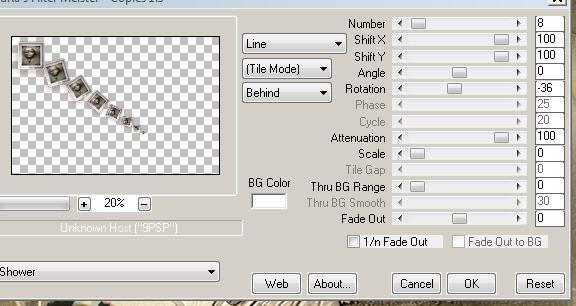
35. Open the tube « miniature « Edit/copy -Edit/paste as a new layer 36. Effects- Image Effects- Offset / H = -395 and V = 225 37 Layers-Duplicate (on the original)/Effects-Plugins Muras Meister/ Copies
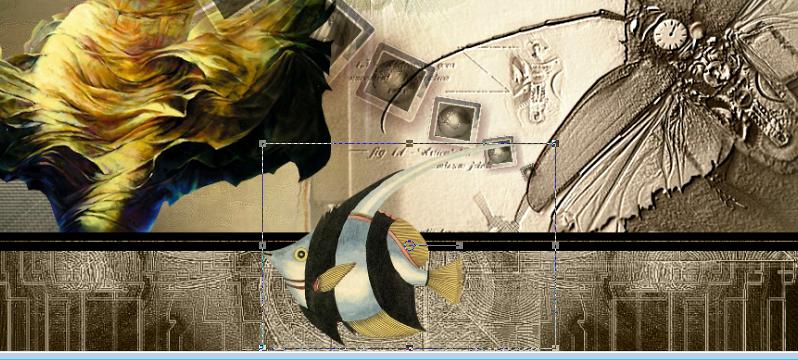
- Layer Palette: Set the Blend mode to "Multiply" 38. Open the tube « poisson »/Image Resize to 50% Edit/copy -Edit/paste as a new layer and place
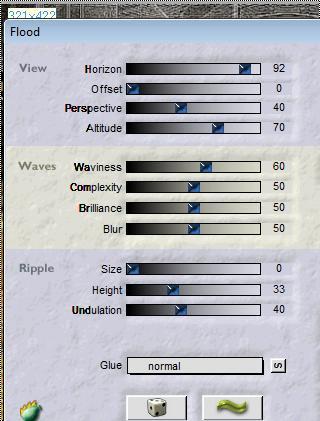
38. Effects- Plugins Flaming pear -Flood Setting Horizon depends on where the tube is placed
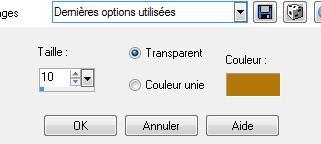
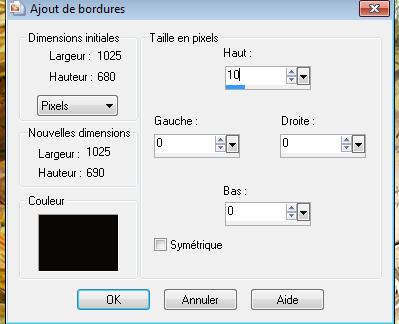
39. Layers-Merge-Merge Visible 40. Image - Add Borders 10 pixels asymmetric-BG Color
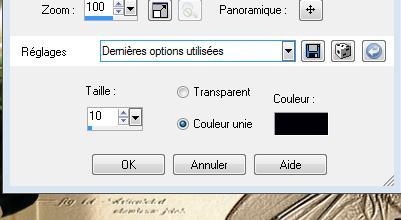
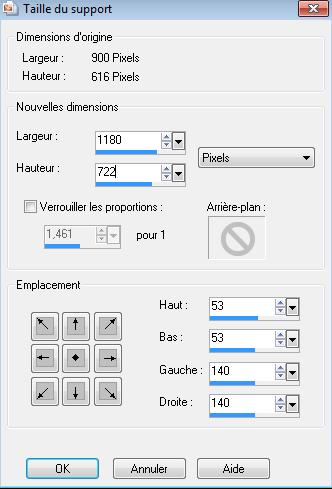
41.Image - Add Borders - Symmetric 2 pixels FG-Color 42. Image - Add Borders - Symmetric 10 pixels BG-Color 43 Promote Background Layer 44. Image Resize 900 pixels Width 45. Image Canvas Size
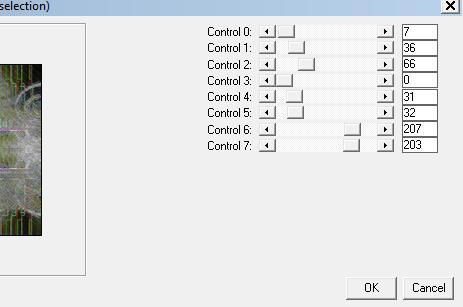
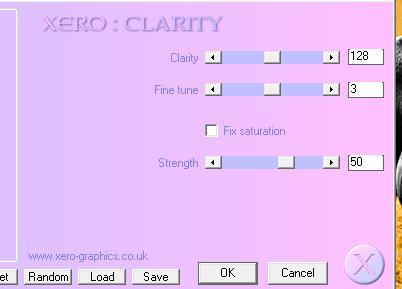
46. Layers-New Raster Layer Flood Fill Tool: fill the selection with this color: #d18b12 47.Layers-Arrange-Move Down 48.Layers-New Raster Layer 49.Selections-Select All 50.Open the tube ''fond 2 ''Edit/copy -Edit/paste into selection 51. Selections - Deselect all - Layer Palette: Set the Blend Mode to "Multiply" 52. Activate your top layer in your layer palette 53. Effects-Plugins EyeCandy5-Impact - Perspective and choose my preset ''@renee_ephemere_perpsective'' 54. Layers-New Raster Layer 55. Selections - load/save selection - load selection from disk and choose @renee_phenomene » 56.Open the tube « travel3 » Edit-copy-Edit paste into selection - Layer Palette: Set the Blend Mode to "Screen" 57. Layers-Arrange-Move Down 58. Open the tube @ann_170707body_127_s » Image Resize 722 pixels Height 59. Edit/copy -Edit/paste as a new layer and place - Layer Palette: Set the Blend Mode to "Hard Light" /Lower the opacity down to 81% 60. Open the tube « 1Patries_DS53-3dancers-Pirelli-1988-02_15_10-09 « Image Resize: 75% 61. Edit/copy -Edit/paste as a new layer and place 62. Layers-Merge-Merge Visible 63. Image - Add Borders - Symmetric 2pixels black 64. Image - Add Borders - Symmetric 20 pixels color #d1921a 65. Image - Add Borders - Symmetric 2 pixels black 66. Effects-Plugins Xero /clarity
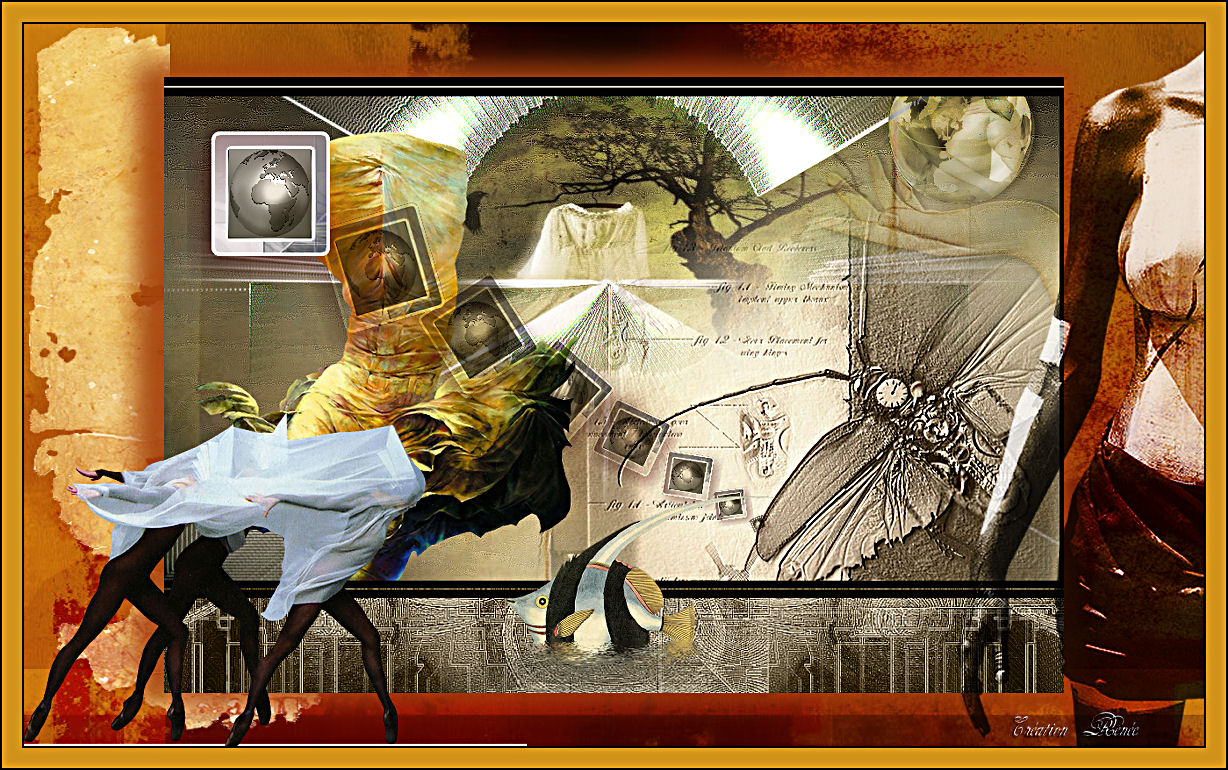
That's it !! You've done it ! Renée This lesson was written by Renée 2010
2010
* Any resemblance with an existing lesson is merely a coincidence Don't forget to thank the people who work for us and with us. I named the tubeurs - Testers and the translators , Thanks Renée.
|
 Translations