|
Energie New
Translations DOWNLOAD material here
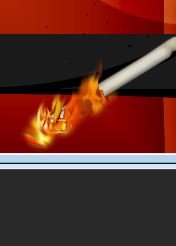
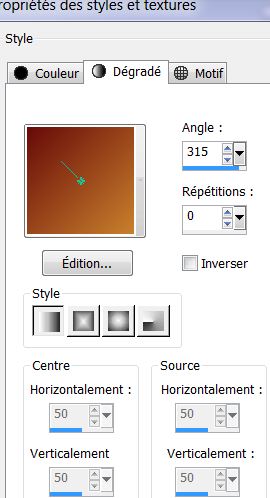
Let's start the lesson. 1. File - New - New Transparent Image:945 x 645 pixels 2. Material Properties: Set your foreground color to color #c8802c -Set your background color to color #680b0a 3. Properties Foreground -Prepare a foreground/background linear gradient with these settings
4. Activate Flood Fill Tool and fill the layer with the gradient 5. On the same layer 6. Activate Paint Brush with these settings-Limit=Blend mode "Darken"
7. Draw lines from left to right do it gently to create a natural effect - Change the Blend mode>> limit = Exclusion
-and put it again on your working area as shown in the example - Change the Blend mode>> limit =Burn - Now draw lines like this on the example ---and sign a few points
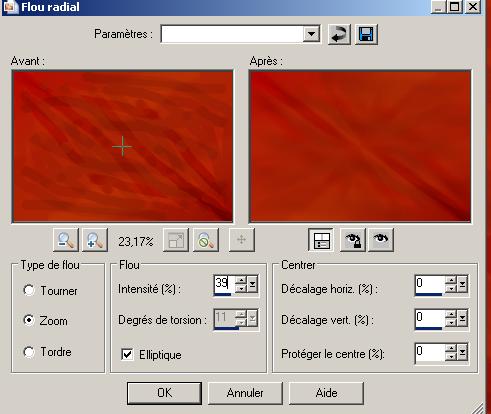
8. Layers- Duplicate -Image -Mirror -Image Flip 9. Adjust-Sharpness-Sharpen 10. Layers-Properties - Change the Blend Mode of this layer to "Hard Light" Layers- Merge- Merge Down 11. Adjust- Blur- Radial Blur with these settings
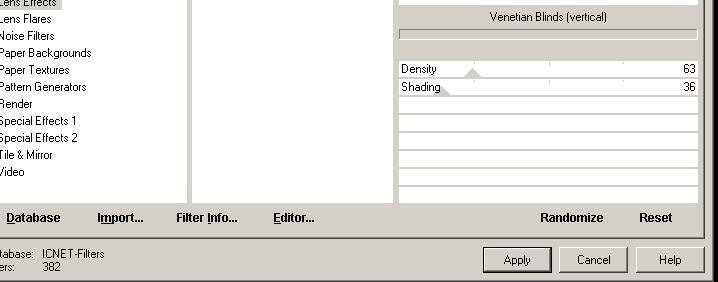
13. Effects-Plugins -Simple -Pizza slice mirror - and repeat !! 14. Layers- Duplicate 15. Effects- Plugins - Land K's -Raisa to 246 / 167 16. Effects- Plugins - Simple -Diamonds - Layers-Properties - Change the Blend Mode of this layer to " Color " 17. Effects- Edge Effects- Enhance More 18. Layers- Merge- Merge Down 19. Effects-Plugins -ICNET FILTERS– Special Effect 1- Venitian Blinds vertical
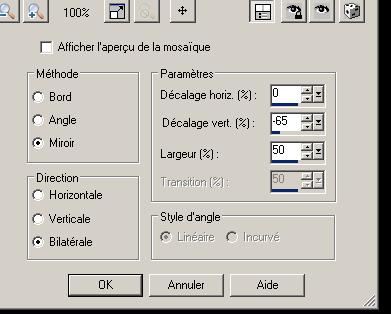
21. Layers- Duplicate 22. Effects- Plugins- Mehdi -Sorting Tiles with these settings
23. Selections - load/save selection - load selection from disk and choose my selection: ''renee-energie2'' 24. Selections- Promote selection to layer 25. Selections Deselect All 26. Effects-Plugins - Eyecandy 5 perspective shadow –Tab- Settings- Preset - Drop shadow blury 27. Effects- Plugins -Richard Roseman -Lens Corrector The colors of the filter are >> #c0c0c0 - Black and White
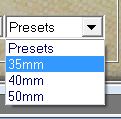
Click on presets and then choose
28. Activate the Magic Wand with these settings
Select the black parts
29. Effects- Plugins -EyeCandy 5 Extrude – tab Settings/User settings choose my preset: 30. Selections- Promote selection to layer 31. Selections Deselect All - You are there in your work
32. Activate the top of the layer-Palette ( Promoted selection 1 ) 33. Effects- Geometric Effects-Circle- Transparent - Layers-Properties - Change the Blend Mode of this layer to "Soft Light" 34. Open the Tube ''renee-energie-image 1'' /Edit/copy-Edit paste as a new layer on your working area and place to the left 35. Effects- Plugins - FMTile Tools -Blend Emboss using the default settings 36. Adjust- Sharpness-Sharpen 37. Layers- Duplicate-Image Mirror 38. Open the Tube ''anna.br-1230-mascara'' /Edit/copy-Edit paste as a new layer on your working area and place to the right 39. Layers- Arrange- Move 2x Down - Layers-Properties - Change the Blend Mode of this layer to "Soft Light" - Stay on this layer 40. Open the tube ''castorke_tube_div_71_072012'' activate layer (copy of merged )/Edit/copy-Edit paste as a new layer on your working area and place 41. Activate the top of the layer-Palette 42. Open the tube ''logane_coccinelle1_09mai2022'' Image Resize 65% -Image Mirror /Edit/copy-Edit paste as a new layer on your working area and place 43. Activate Clone Brush with these settings
Activate the layer of the girl/ Clone some fire and go back to the ladybuget /Go to the spot where you want to apply your shape and push your left mouse button to apply/ see screen
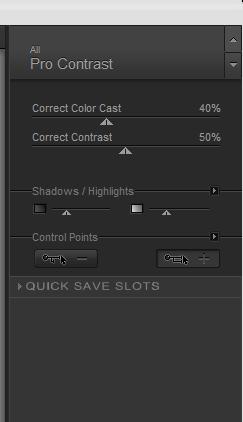
44. Effects- Plugins -EyeCandy 6 -Perspective shadow-Setting Tour-Drop height 1 If you have Filter -EyeCandy 5 with these settings-Drop Shadow High Tab- Basic Overall Blur to 10.53 45. Open the tube ''mou_bug_'' Image Resize 45% Edit/copy-Edit paste as a new layer on your working area and place -Repeat -Effects- Plugins -EyeCandy 6 Perspective Shadow/Drop Heigh 1 46. Layers- Merge-Merge Visible 47. Effects- Plugins -Nick Color effex Pro3- Pro contraste
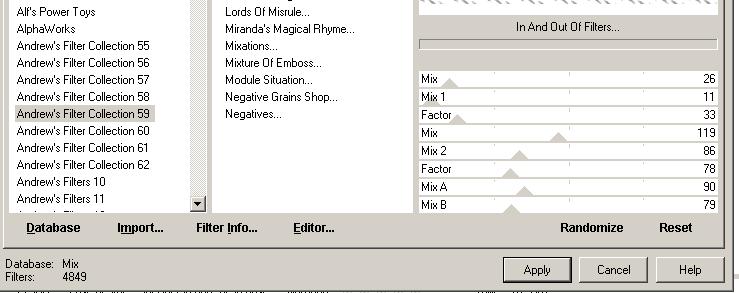
48.Image - Add borders-Symmetric checked:5 pixels black 49.Image - Add borders-Symmetric checked: 55 pixels white 50. With the Magic wand -select the border of 55 pixels 51. Effects- Plugins- Andrew's Filter collection 59- In And -Out Of Filters
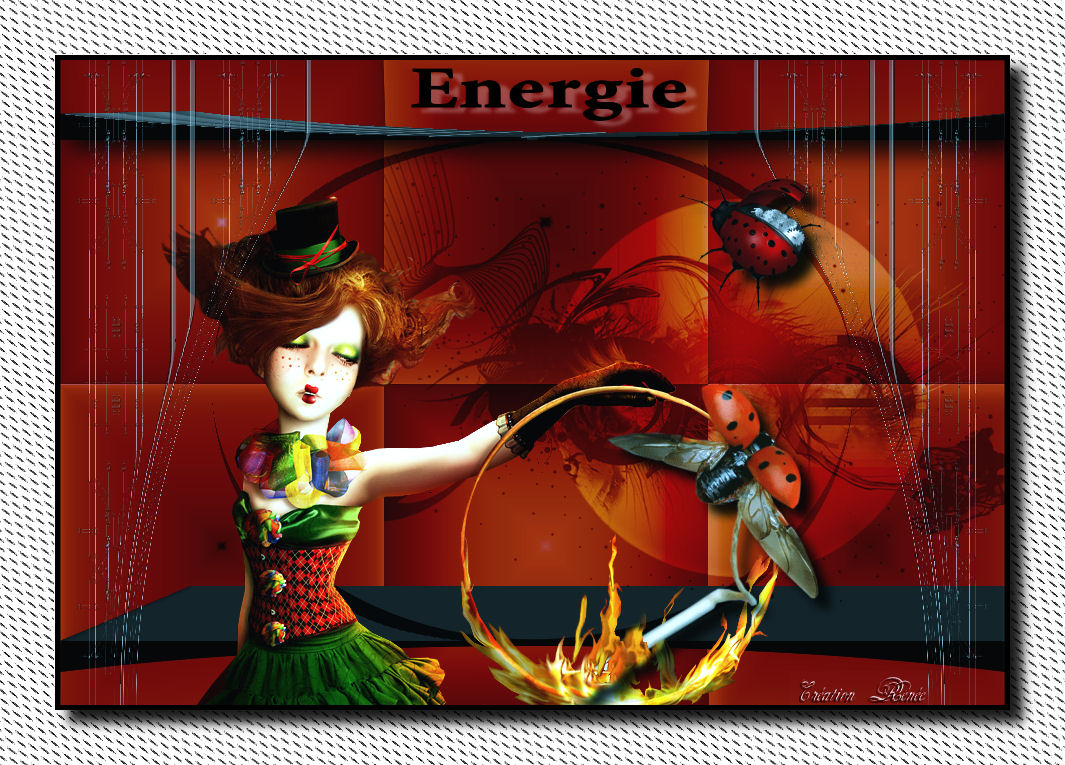
52. Effects- Edge Effects- Enhance 53. Selections- Invert 54. Repeat-Effects- Plugins- EyeCandy 6- perspective shadow with the same settings (see point 44) 55. Open the text/ Edit/copy-Edit paste as a new layer on your working area .Ore write your own text Save as JPG I hope you enjoyed this lesson
Any resemblance with an existing lesson is merely a coincidence * * Don't forget to thank the people who work for us and with us. I named the tubeurs - Testers and the translators. Thanks Renée. * 2014 reçu de TWInc I am part of Tutorial Writers Inc . My tutorials are regularly recorded. ReneeGraphisme_All rights reserved
*
|
 Translations


 Check the horizontal and vertical settings