|
New
Translations here
Douleur
Let's start the lesson.
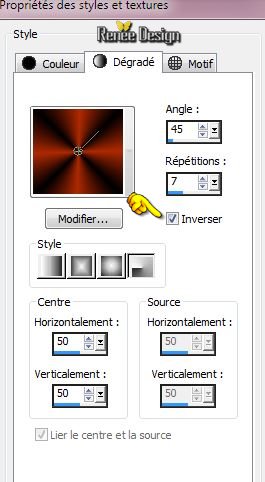
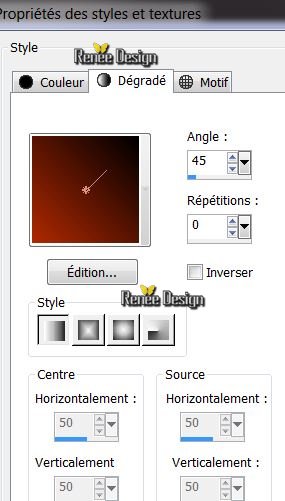
2. lor-palette:Set your foreground color to color #af2901 -Set your background color to color: #000000 3. Color Palette:Set your foreground to gradient 'Foreground-background' -Radial -configured like this.
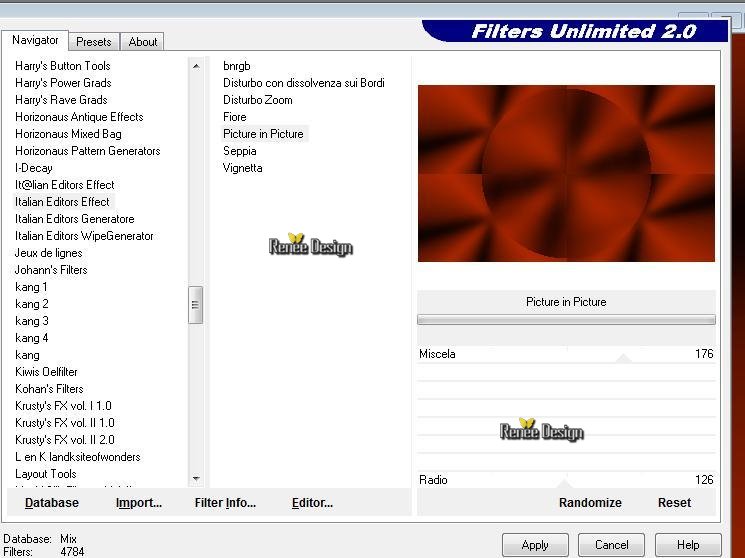
- Activate Flood Fill Tool and fill the layer with the gradient 4. Adjust- Blur- Gaussian Blur : Radius 25 5. Effects- Plugins - Unlimited2.0 /Italian editors /Picture in Picture
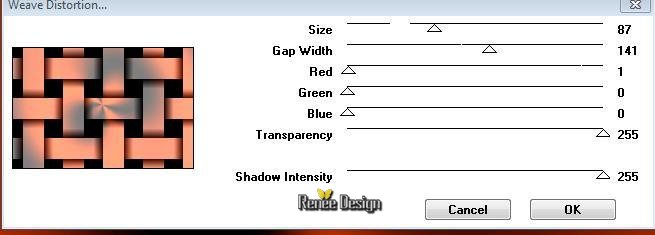
6. Effects-Edge Effects- Enhance 7. Layers- Duplicate 8. Effects-Plugins -import into !! Unlimted 2.0- VM Natural/ Weave Distortion Warning to the VM filter in Unlimited otherwise the result will be different
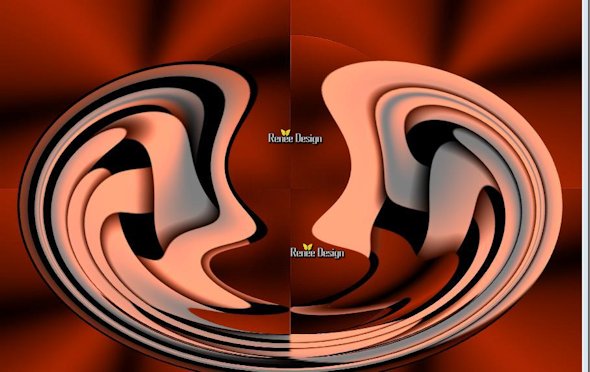
9. Effects- Distortions Effects-Polar Coordinates-Rectangular to Polar-Transparent - Repeat this 3 times for this effect as shown in the example below
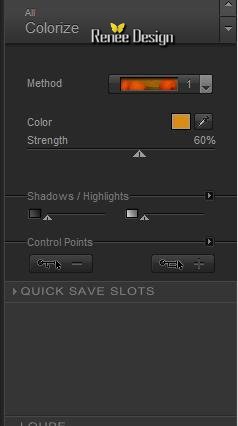
10. Effects -Plugins - Nick Software ColorEffex Pro.3.0 / Colorize
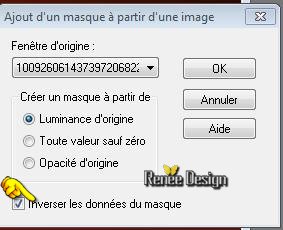
12. Image Resize to 72% all layers not checked 13. Image Free Rotate 90° to the left 14. Effects- Image Effects- Offset with these settings H = 280 and V =10 transparent 15. Layers- New Raster Layer 16. Selections- Select All 17. Open the « aditascreation_mask_13 « - Edit/ Copy-Edit - Paste into selection 18. Selections- Deselect All 19. Effects- Plugins - Transparency /Eliminate black 20. Effects- Edge Effects- Enhance More 21. Selections- Select All-Selection Float- Defloat 22. Open the tube « chalk_femelles_mist_byMaria '' Edit/ Copy-Edit - Paste into selection 23. Selections- Deselect All 24. Effects- 3 D Effects- Drop Shadow with these settings: 2/2/50/20/black 25. Open the tube « tube bymonique 42_3838 » Edit/ Copy-Edit - Paste as new layer on your working image and move 26. Layers- Arrange- Move 2x Down 27. Layers- Merge- Merge Visible 28. Layers- New Raster Layer - Color Palette:Set your foreground to gradient 'Foreground-background' -Linear -configured like this.
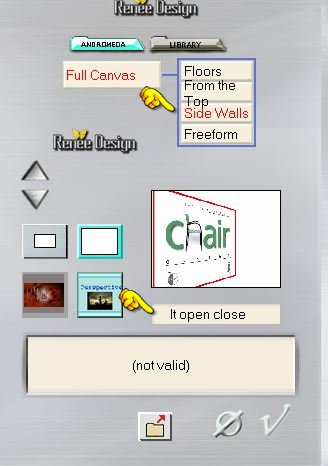
30. Layers- Merge -Merge Group 31. Layers- Merge- Merge Visible 32. Effects- Plugins -Andromeda perspective /side walls/Preset /it open close
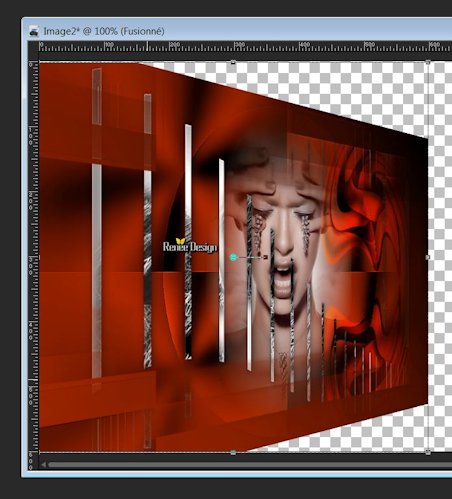
34. Activate the Pick Tool (K) bring to 600 pixels on the width of the work and well placed against the left edge
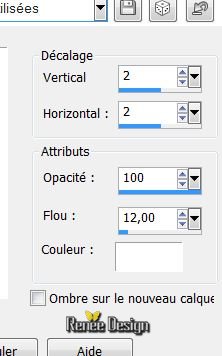
35. Effects- 3 D Effects- Drop Shadow with these settings:
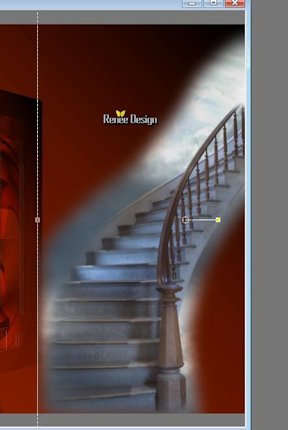
- Repeat Drop Shadow with these settings: V -3/H -5 /100/12 color white 36. Layers- New Raster Layer- Layers- Arrange- Move Down 37. Activate Flood Fill Tool and fill the layer with the gradient 38. Open the tube « extreme 2604 « - Image Resize to 65% - Edit/ Copy-Edit - Paste as new layer on your working image and move 39. Effects- 3 D Effects- Drop Shadow with these settings: 2/2/100/12 color black 40. Open the tube « DIV-Mai2008-02 » -Edit/ Copy-Edit - Paste as new layer on your working image - Activate Pick Tool (K) Mode Scale and place order to obtain this effect as shown in the example below
41. Open the tube « animal-cat13072011 » - Image Resize to 25% - Edit/ Copy-Edit - Paste as new layer on your working image and move 42. Effet - Modules Externes - EyeCandy5/Impact - blacklight--tab Settings/User settings choose my preset "douleurs black light '' (Do you have problems with this- PNG image is into the zipfile and paste as a new layer on your working area and move) 43 Open the tube « regentropfen-Bi11082011 » - Image Resize to 65% - Edit/ Copy-Edit - Paste as new layer on your working image and move to the top right 44. Open the tube « MMC-Bi270711-CG-02 » *select tube-misted* - Image Resize to 75% - Edit/ Copy-Edit - Paste as new layer on your working image and move 45. Layers- Merge- Merge Visible 46 .Effects -Plugins- AAA Frames - Foto frame use settings below
47. Image - Add borders-Symmetric checked: 5 pixels black
I am part of the Tutorial Writers Inc. My tutorials are registered regularly ReneeGraphisme_All rights reserved
|
 Translations