|
New
Déchirure
*
Let's start the lesson. 1. File: Open a new transparent image:1024 x 600 pixels 2. Selections- Select All 3. Open the image ''wallpapers- volcan 1463'' Edit- Copy- Edit- Paste into selection (found by me searsching on the net ) When you use other image and colors, please play with the opacities and blend modes in the layers. 4. Selections- Deselect All 5. Layers- New Mask layer from Image and choose Mask:« coin rideau »
6. Layers- Merge- Merge Group - Your work look like this now
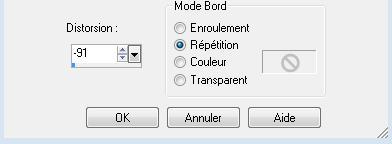
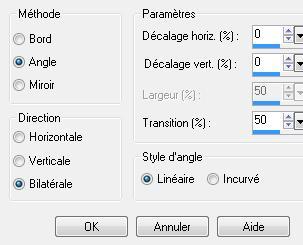
7. Effects- Geometric Effects - Perspective Horizontal use settings below
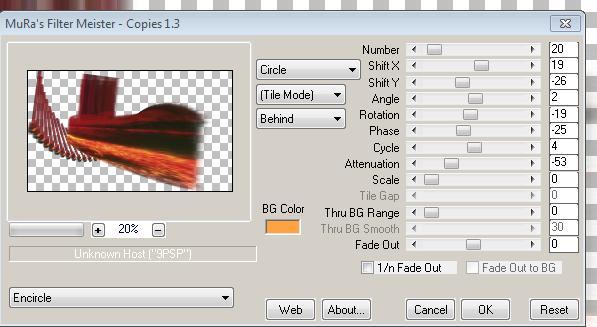
8. Effects- Plugins - Muras 'meister copies with these settings ( First, click Reset and put the settings as shown in the printscreen below ) Color #fe9f03
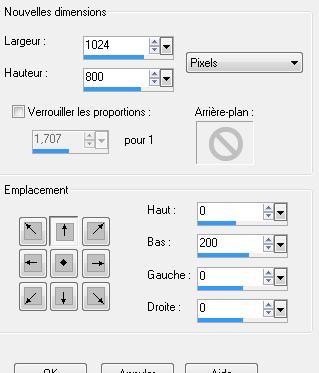
9. Layers- Duplicate /Image Mirror 10. Layers- Merge - Merge Visible 11. Effects-Plugins- FM Tiles Tools /Saturation Emboss /using the default settings 12. Image Flip Effects- Image Effects- Offset with these settings H = 0 and V = 130 transparent 13. Image Canvas Size with these settings
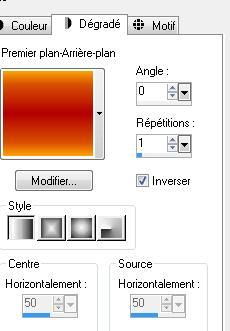
14. Color-palette:Set your foreground color to color #b30000--Set your background color to color: #fe9f03- Prepare a foreground/background gradient - linear with these settings
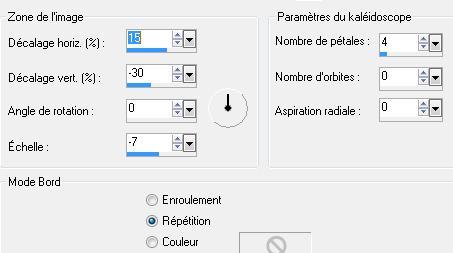
15. Layers- New Raster Layer /Layers- Arrange - Move Down- Activate Flood Fill Tool and fill the layer with the gradient 16. Put the image aside for now, we will need it later. Rename this layer ''le travail 1 ''. 17. Open a new transparent image 1024 x 600 pixels 18. Selections- Select All 19. Open the image ''renée '' Edit- Copy- Edit- Paste into selection Attention If you have your own picture **The effect can result in a slightly different !!! than..... Adjust- Hue and Saturation-Colorize -See what is best for you ! 20. Selections- Deselect All 21. Effects- Reflection Effects-Kaleidoscope with these settings
22. Effects- Image Effects- Seamless Tiling with these settings
23. Layers- New Raster Layer 26. Selections –load/save selection –load selection from disc and choose my selection: @ renee -dechirure" - 27. Open the image ''4097.pspimage'' Image Resize to 45% - Edit- Copy- Edit- Paste into selection 27. Selections- Deselect All 28. Effects- Artistic Effects- Topography use settings below
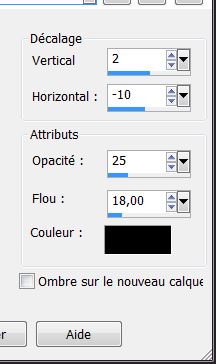
29. Layers- Duplicate - Image Flip /Layers- Merge Merge Down 30. Layers- Duplicate / Image Mirror 31. Layers- Merge Merge Down Effects- 3 D Effects- Drop Shadow with these settings
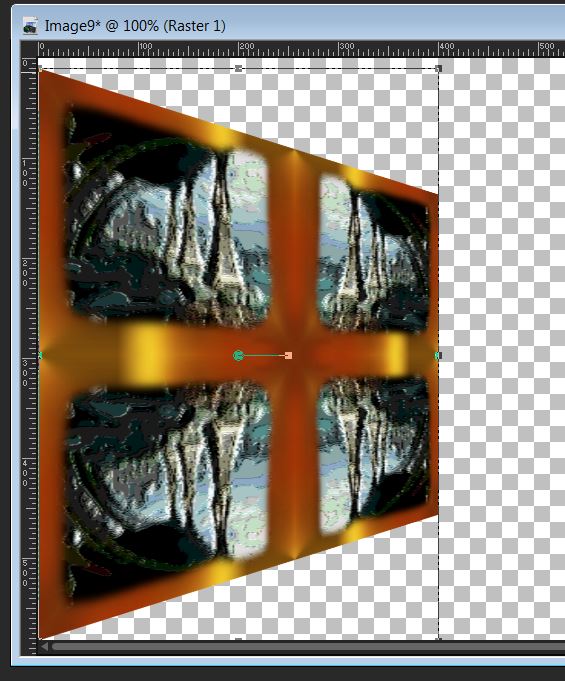
32. Layers- Merge- Merge All -Promote Background Layer 33. Effects-Plugins -Andromeda Perspective /side walls /Preset / it outside - Place against the left edge and select Pick Tool (K) stretch like this as shown in the example below (400 pixels)
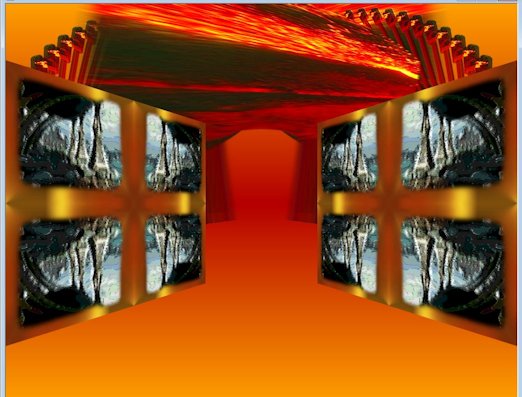
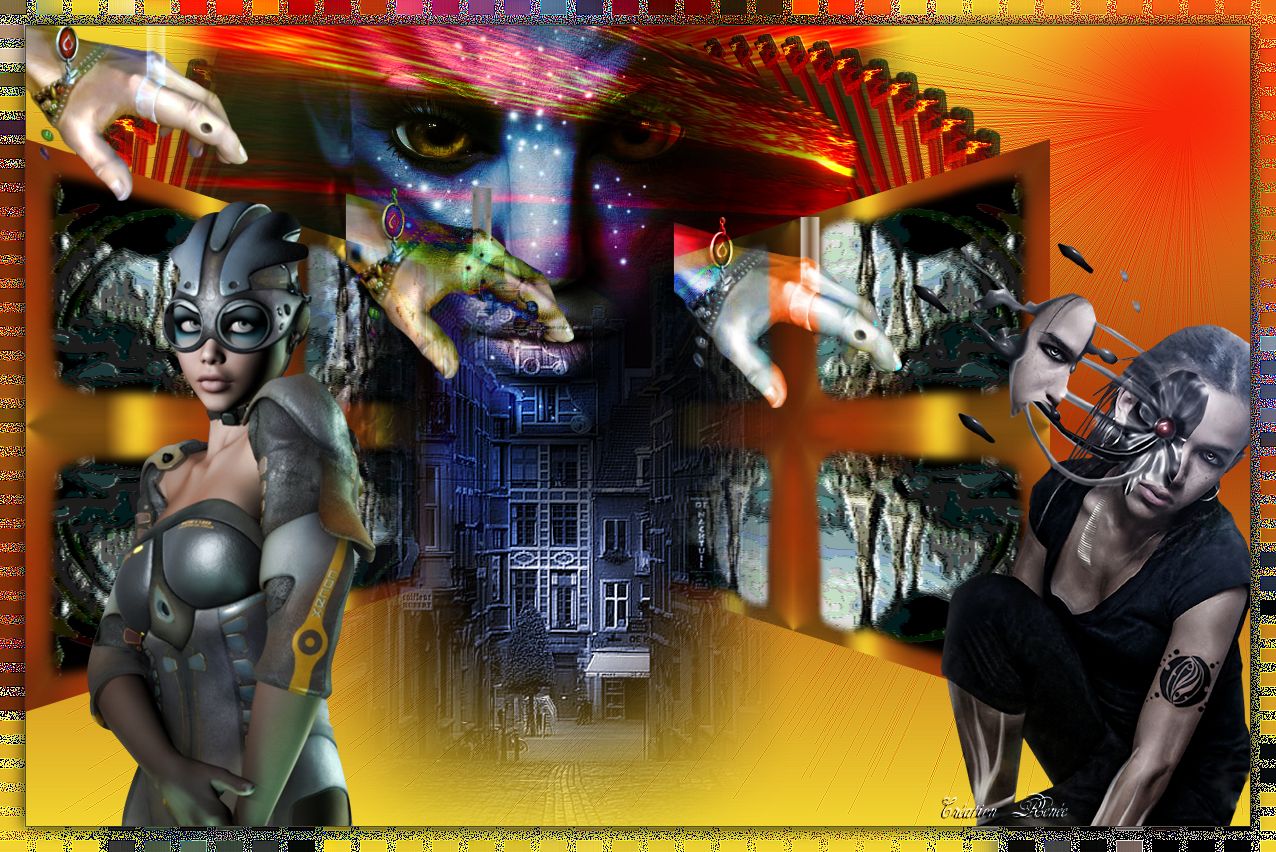
34.Layers- Duplicate / Image Mirror 35.Layers- Merge- Merge Visible 36. Edit-Copy !! Activate your minimized image ''le travail 1 '' - Edit/ Copy-Edit - Paste as new layer on your working image and move (Image is still in your PSP memory) Your work look like this now
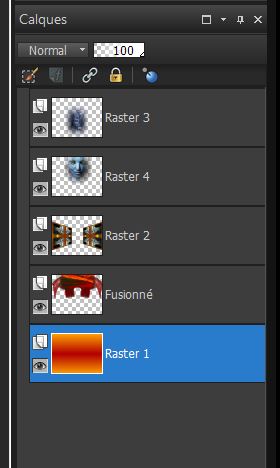
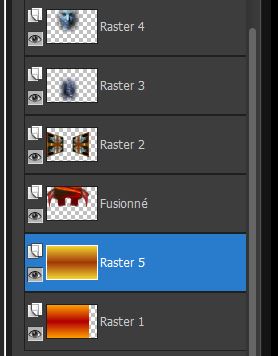
37. Open the tube ''@ angel 29 '' -Edit/ Copy-Edit - Paste as new layer on your working image and move- Layer Palette - Double click on this Layer and set the Blend Mode to "Hard Light " 38. Open the tube « Ketlandscape 023»Edit/ Copy-Edit - Paste as new layer on your working image and move Adjust- Hue and Saturation - Colorize - Hue 159- Saturation 83 The Result
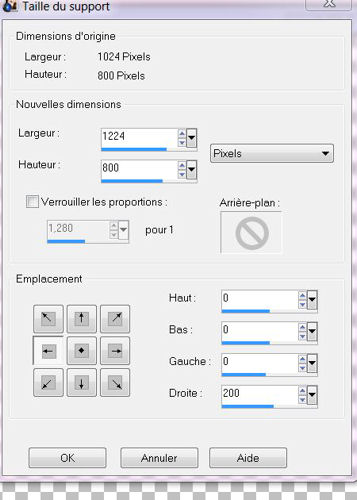
Layers- Arrange - Move Down- underneath raster 4 (sous raster4 ) 39. Activate the bottom of the layer palette= raster 1 40. Image Canvas Size with these settings 1224 x 800 Pixels
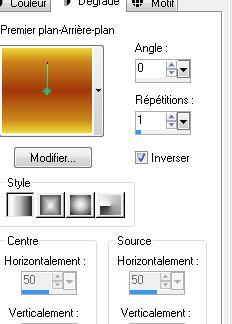
41.Color-palette:Set your foreground color to color #a3370a -Set your background color to color #f1d631-Prepare a foreground/background gradient - linear with these settings
Stay on the bottom of the layer Palette= raster 1 42. Layers- New Raster Layer -Activate Flood Fill Tool and fill the layer with the gradient The Result
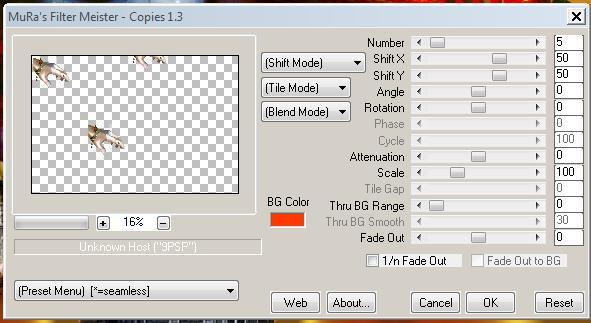
43. Open the tube « main »-Edit/ Copy-Edit - Paste as new layer on your working image - With the move tool, move it in the upper left corner 44. Layers- Duplicate 45. Effects- Plugins- Mura's meister /copie use settings below If your filter Mura Meister -Copies does not give the same result Duplicate the hand 2x and put it in the right place
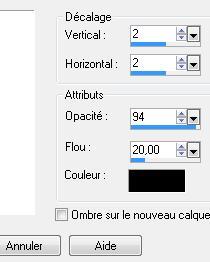
46. Layer Palette - Double click on this Layer and set the Blend Mode to "Difference "(or your choice) 47. Layers- Arrange- Move Down 48. Open the tube « kts « - Edit/ Copy-Edit - Paste as new layer on your working image - With your Move Tool- move on the bottom left side 49. Open the tube « ginas 1767 «Image Resize to 75% -Edit/ Copy-Edit - Paste as new layer on your working image/With the move tool, move it in the bottom right 50. Effects- 3 D Effects- Drop Shadow with these settings
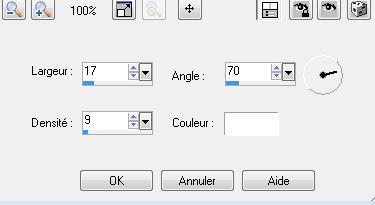
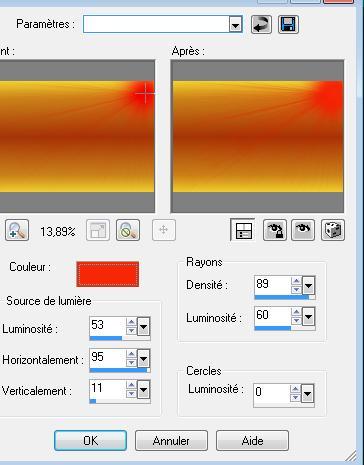
52.Effects- Illumination Effects- Sunburst with these settings- Color #f62708
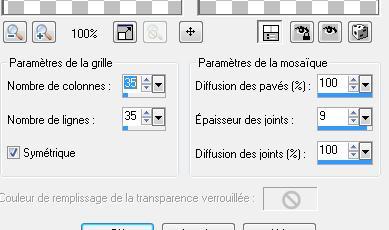
-Effects- Edge Effects- Enhance All in Place? 53. Layers- Merge -Merge Visible 54. Edit- Copy!!!!! 55. Image - Add borders-Symmetric checked: 1 pixel black 56. Image - Add borders-Symmetric checked: 25 pixels white 57. Activate the Magic Wand and select the white border of 25 pixels 58. Edit- Paste into selection -(Image is still in your PSP memory) 59. Effects - Texture Effects- Mosaic Antique with these settings
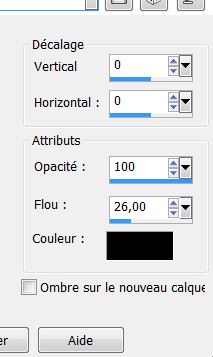
60. Effects - Edge Effects- Enhance More 61. Selections - Invert 62. Effects- 3 D Effects- Drop Shadow with these settings
64. Selections- Deselect All Save as JPEG
I am part of the Tutorial Writers Inc. My tutorials are registered regularly ReneeGraphisme_All rights reserved
*
|
 Translations