|
Let's begin
1.
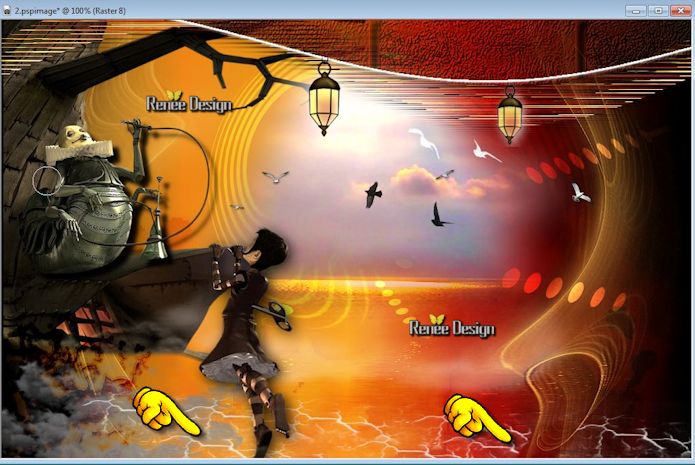
File: Open a transparent image of 1015 x 645 pixels
2.
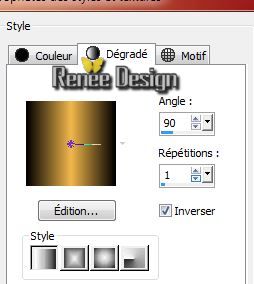
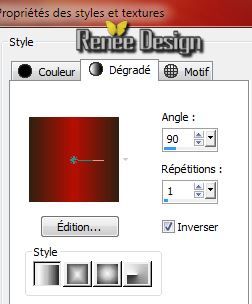
Material Properties: foreground to gradient and select gradient :dégradé ''ES
Vintage 02''with these settings/Flood Fill Tool: Fill the layer with the gradient

3.
Material Properties: foreground color to color: #f2b74c Background color to color:Black
4.
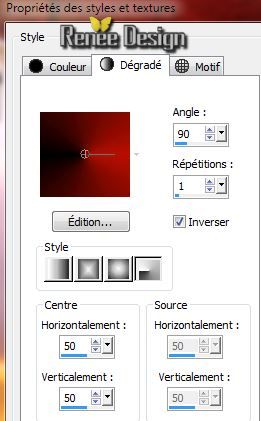
Prepare a linear gradient configured like this.
5.
Layers-New raster layer /Flood Fill Tool: Fill the layer with the gradient
6.
Layer Palette: Change the Blend Mode to "Hard Light"
7.
Layers-Duplicate
8.
Image Free Rotate 90 °left
9.
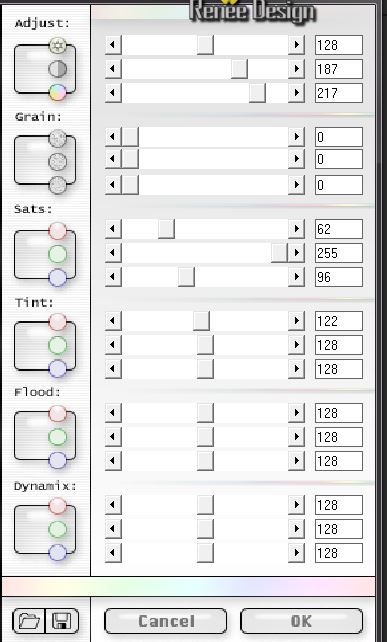
Effects-Plugins Unlimited - Distorsion Filters - Smelter
2 /255
10. Layer Palette: Change the Blend Mode to "Soft Light" Opacity down to
51%
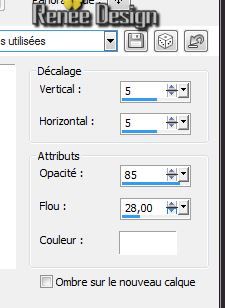
11. Effects- 3D effects-Drop Shadow: 4/5/85/25 black
12. Layers-New raster layer /Flood Fill Tool: Fill the layer with color: #f2b74c
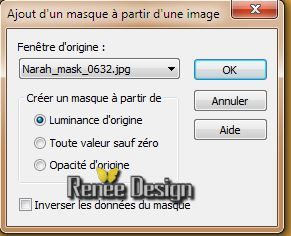
13. Layers- New mask layer from image and choose mask:
''Narah_mask_0632''
- Layers-Merge-Merge Group
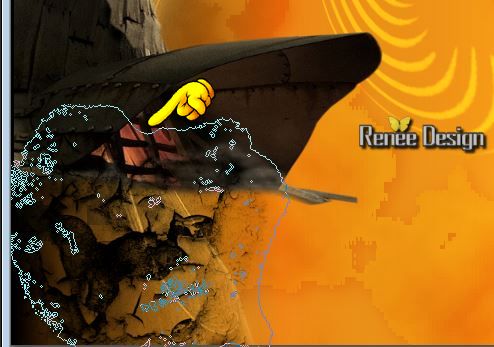
14.Effects-Distortion effects- Twirl-degrees: 340°
15. Layers-New raster layer
16.
Selections - load/save selection - load selection from disk and choose ''mon_arbre_1''/Flood Fill Tool: Fill the selection with color: #295300
17. Layer Palette: Change the Blend Mode to" Dodge" Opacity down to 81% .
If you use other colors look to choose a layer mode and opacity in harmony with your work
Selections - Deselect all
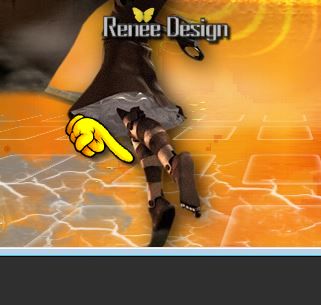
18.Activate tube ''KRYSSTEAMPUNK-08-O5-14-053.pspimage'' Activate raster 3 of this tube/ Edit/copy- Edit/paste as a new layer. With your move tool place it in the right place
19. Activate Brush: ''pinceau_monarbre_ecorce''/*Export Custom Brush (Give it a name) Activate Brush Tool and select my file:"mon arbre"
20. Layers-New raster layer/ FG-Color Black. Stamp with your foreground color:black .Stamp the brush as shown in the example below:

Like this
21. Layer Palette: Set the Blend mode to "Burn" and the opacity down to 57%
22.Effects- Plugins - EyeCandy 5 Impact -Bevel in the settings tab, click on the :preset
''mon_arbre_bevel''
23.Activate tube ''1220640434_paysages.pspimage''/
Edit/copy-Edit paste as a new layer.
Place like this
24. Effects-Plugins- Final Impact - Hot shot
When working with your own colors, adjust the settings, if you choose another tube for color match ore play with the Blend Mode and/or Opacity at your own discretion
25. Material of the foreground color to color: #808080
Activate Brush tool and select my file ''Sissy-Wolk Reason
''(size 400) Stamp with the foreground color in the bottom left corner
26. Layers-New raster layer
27.
Selections - load/save selection - load selection from disk and choose ''mon_arbre_2'' / Flood Fill Tool: Fill the selection with color:white
Selections - Deselect all
28.Effects- Plugins -EyeCandy 5 Impact - Perpsective shadow in the settings tab, click on the :preset ''mon_arbre_shadow''
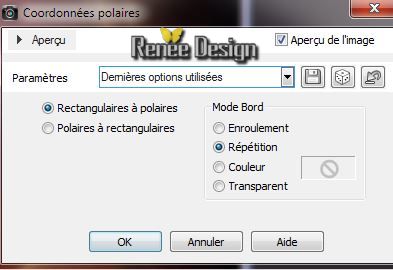
29.Effects-Distortion effects- Polar Coordinates-Rectangular to polar
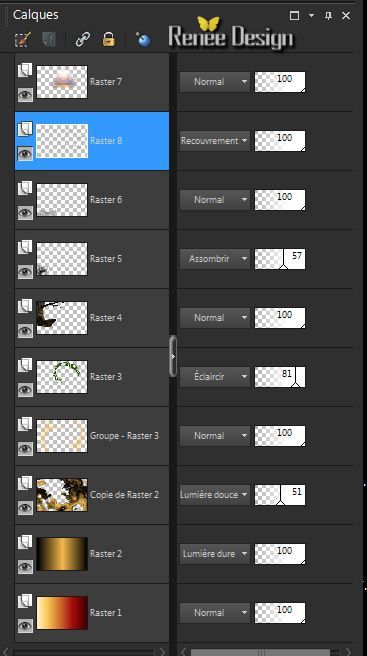
30. Layers-Arrange-Move Down / Layer Palette: Set the Blend mode to "Overlay"
Your work look like this now
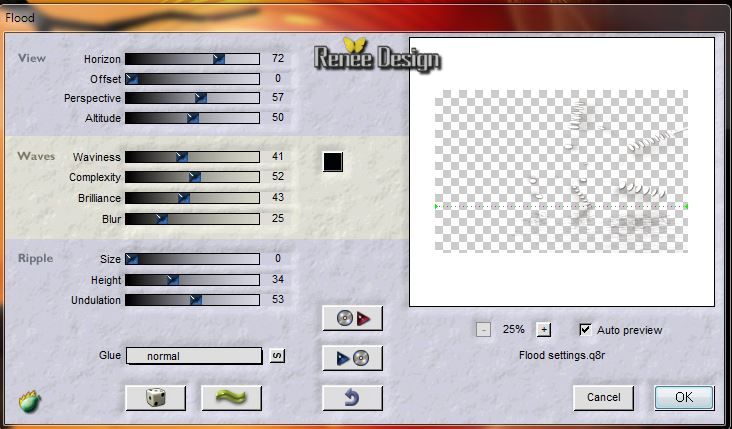
31.Effects- Plugins - Flaming Pear - Flood
32.Effects- Plugins - FM Tile Tools - Saturation Emboss -default
33. Layers-Merge-Merge Visible
Material Properties: foreground color to color:white
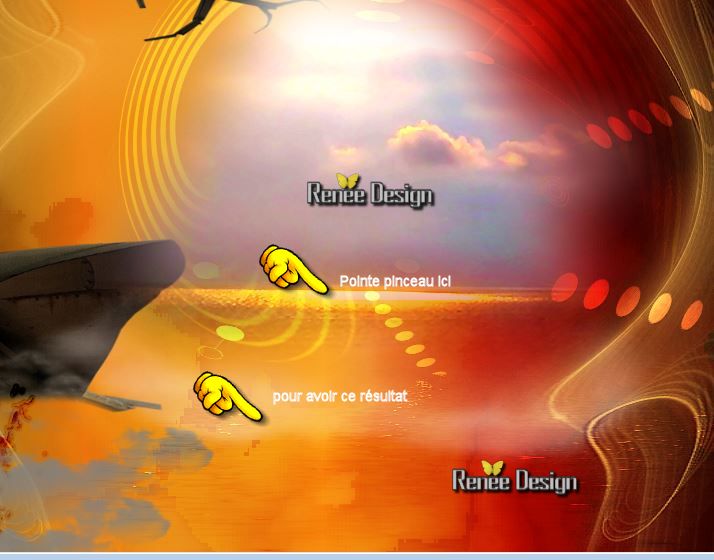
34. Activate Brush tool and select my file ''azurylipfesStock_cloud7''/configured like
this

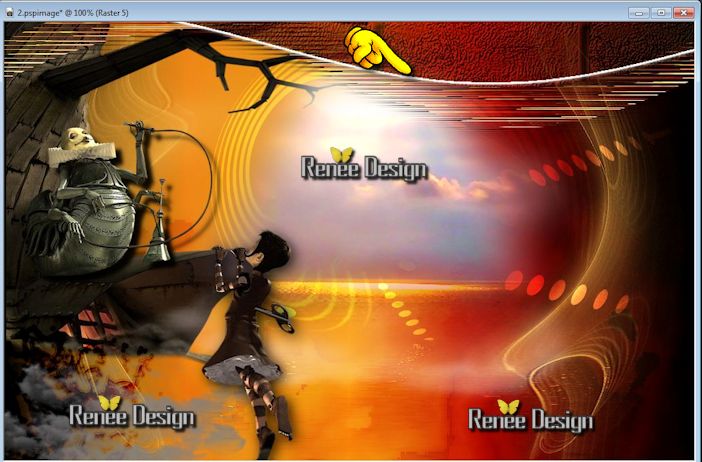
35. Layers-New raster layer /Stamp with the foreground color 3 times see print screen(set the brush here)
36.Activate tube ''KRYSSTEAMPUNK-08-O5-14-054.pspimage''/ Image
Resize: 68%/ Edit/copy- Edit/paste as a new layer. With your move tool place it in the right place
37.Effects- Plugins -EyeCandy 5 – impact – Perspective
shadow-Preset'' Drop Shadow
Hight"

38.Activate tube ''KRYSSTEAMPUNK-08-O5-14-055.pspimage''/Edit/copy- Edit/paste as a new layer. With your move tool place it in the right place
39. Effects-3D effects-Drop Shadow: 5/5/85/28 black
40. Aktivate the bottom of the Layers palette
41.
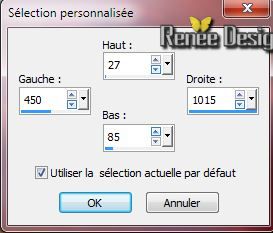
Selections- Custom selections with these settings
42.
Selections- Promote selection to layer
43.Layers-Arrange-Bring to top
44.Effects-3D effects-Drop Shadow with the same settings
45.
Selections - Deselect all
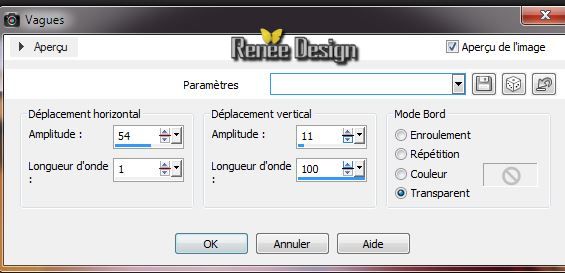
46.Effects-Distortion effects- Vagues
47 Layers-New raster layer
48.
Selections - load/save selection - load selection from disk and choose ''mon_arbre_3''
49. Material Properties: foreground color to color: #b80f03 .Background color to color: #322012
50.
Prepare a linear gradient configured like this.
51.Pot of Paint:
lower the opacity to 65 / Flood Fill Tool: fill the selections with the gradient
52.
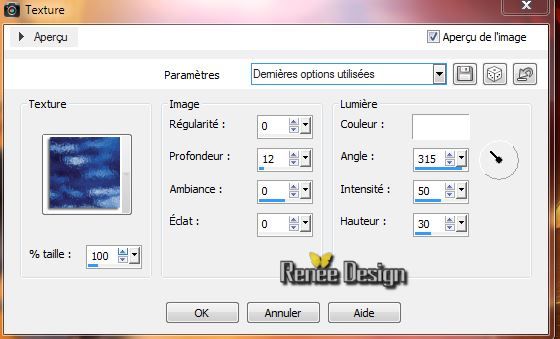
Effects- Texture effects-Texture and select my file: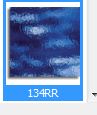 configured like this. configured like this.
53.
Selections- Deselect All
54. Effects-3D effects-Drop Shadow:with the same setting
55. Activate tube ''mon_arbre_bordure.pspimage'' Edit/copy- Edit/paste as a new layer. With your move tool place it in the right place like this
56.Activate tube ''mon_arbre_oiseaux'' / Edit/copy- Edit/paste as a new layer. With your move tool place it in the right place
57.Activate tube ''edward_lanterne '' / Edit/copy- Edit/paste as a new layer. With your move tool place it in the right place
58. Layers-Duplicate/ Image Resize: 80% / With your move tool place it in the right place
59. Layers- Merge- Merge Down
60. Layers- New Raster layer
61. Activate Brush tool and select my file ''crack-01'' *Export Custom Brush (Give it a name) Activate Brush Tool and select my file:"crack-01" with these settings
62. Stamp with the foreground color white see print screen

. The result
63. Layers- Arrange- Move Down under raster 3 (under the tube of the girl)
64. Layers-New raster layer
65.
Selections - load/save selection - load selection from disk and choose ''mon_arbre_4'' /Pot of Paint :
lower the opacity 50 %/Fill the selection with color white
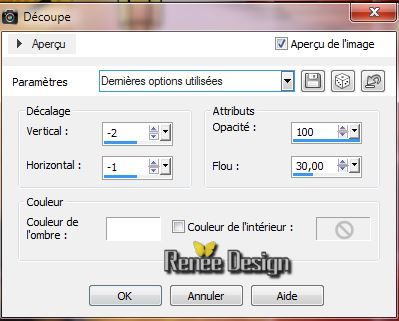
66. Effects-3D effects-Cutout with this settings/color white
67.
Selections - Deselect all
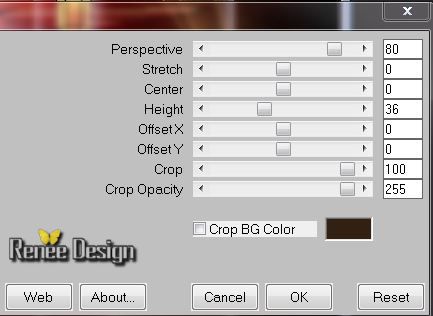
68. Effects-Plugins- Mura's Meister -Perpsective
Tilling
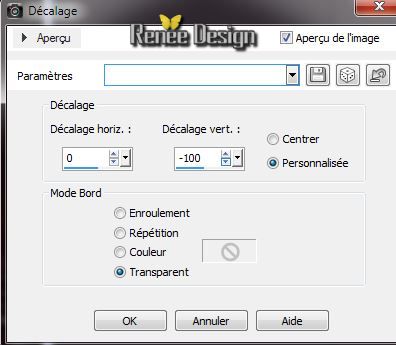
69. Effects-Image Effects-Offset
70.
Eraser Tool "Shape Round'' /size 23

71. Erase
under the little girl like this to reduce cracking
72. Layers- Merge- Merge All
73. Image - Add Borders - Symmetric checked 1 pixels./black
74.
Selections-Select All
75. Image - Add Borders - Symmetric checked 55 pixels/ white
76.
Selections-Invert
77 .
Material Properties: foreground color to color:black .Background color to color: #b80f03
78.
Change the gradient in a radial gradient configured like this
79. Pot of paint opacity 100%/ Flood Fill Tool: fill the selection with the gradient
Keep selections
80. Effects- Plugins - Photo Tools - Frosted Edger
White 160 /120
81.Effects-Distortion effects- Punch 8
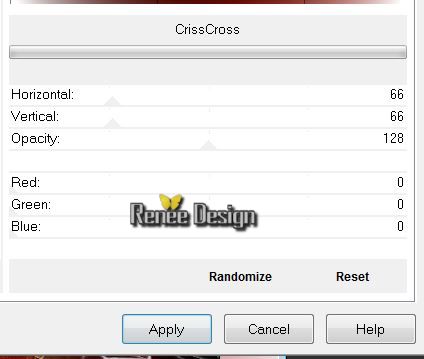
82.
Effects- Plugins Unlimited Tormentia - Criss Cross
83.Effects- Edge Effects-Enhance
84.
Selections-Invert
85.Effects-Distortion effects- Punch 8
86. Effects-3D effects-Drop Shadow/white
87.
Selections - Deselect all
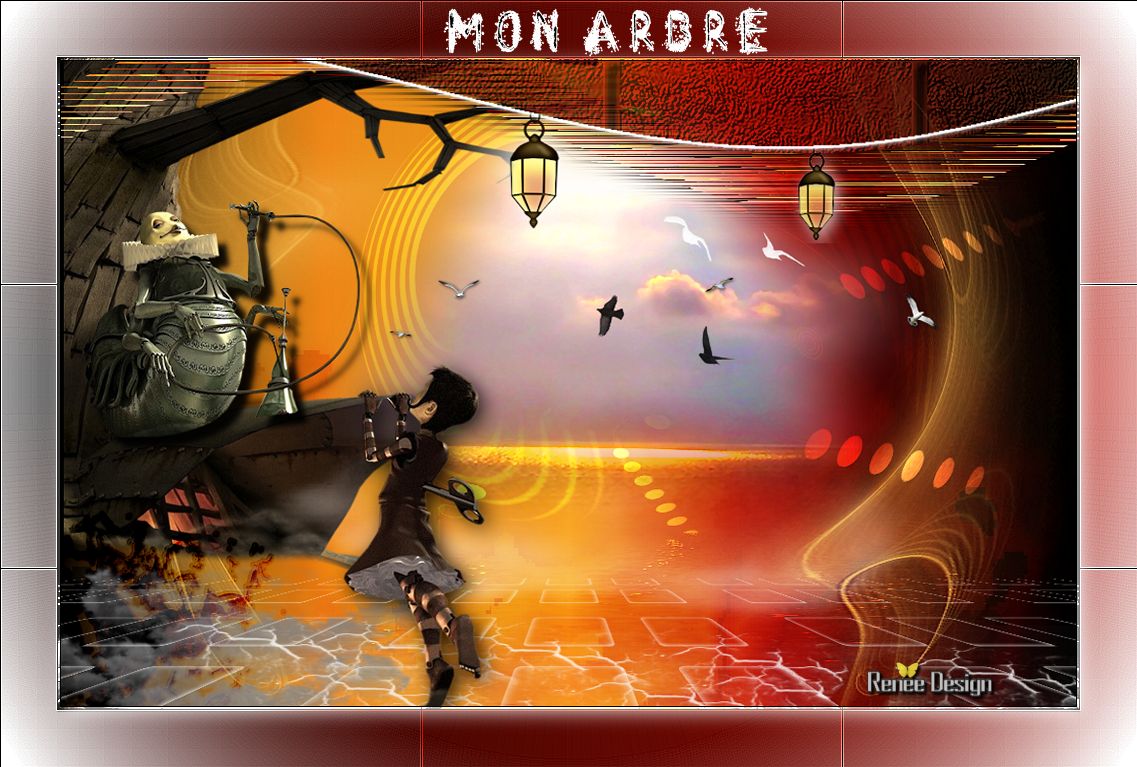
88. Activate Text Tool - Font: "Art Class". Foreground color to color white and BG-Color to color black Type the name "Mon Arbre "Or write your own text
I hope you enjoyed this lesson
Renée
This lesson was written by Renée the 17/05/2014
Created the 05/2014
*
Any resemblance with an existing lesson is merely a coincidence
*
Don't forget to thank the people who work for us and with us. I named the tubeurs - Testers and the translators.
Thanks Renée.
| 
 Translations