|
New
CONCERTO D'AMORE
Let's start the lesson. 1. File: Open a new tranparent image of 1010 x 660 pixels 2. Selections- Select All - Activate the Image ''love fond '' - Edit-Copy-Edit Paste into selection 3. Selections- Deselect All 4. Adjust- Blur- Gaussian Blur: Radius 30 5. Layers- New Raster Layer 6. Color-palette:Set your foreground color to color #a39e81 -Set your background color to color #7a874b - Activate Flood Fill Tool and fill the layer with the foreground color - Open the Mask ''Narah-mask-Abstract 127'' in your PSP 7. Layers- New Mask layer from Image and choose Mask:''Narah-mask-Abstract 127''
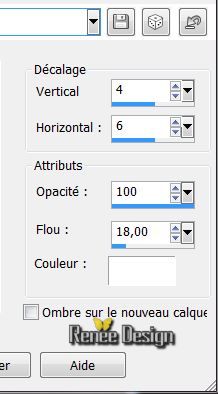
8. Effects- Edge Effects- Enhance - Layers- Merge- Merge Group 9. Effects- 3 D Effects- Drop Shadow with these settings
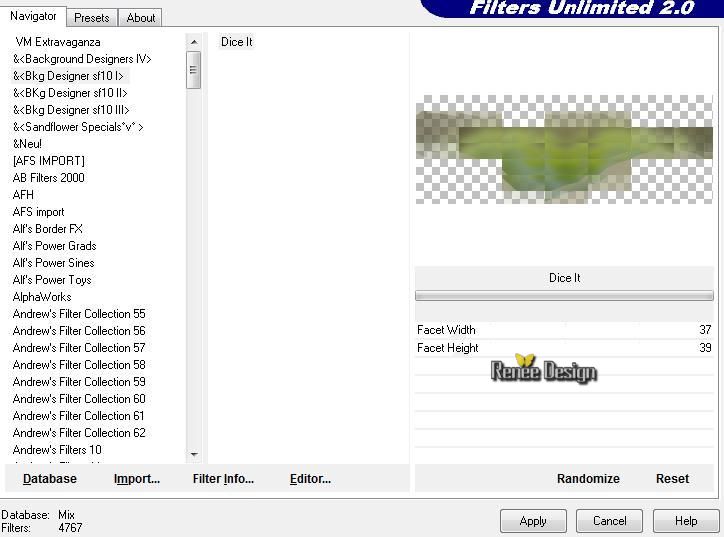
10. Layers- New Raster Layer 11 Selections –load/save selection –load selection from disc and choose my selection: '' renee_concerto_1' 12. Activate the Image '' love fond ''- Edit-Copy-Edit Paste into selection Keep selected 13. Adjust- Blur- Gaussian Blur: Radius 30 14. Effects- Plugins - Unlimited 2.0 - &< BKDesigner sf10I / Dice It
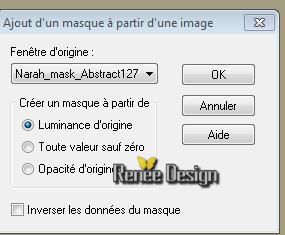
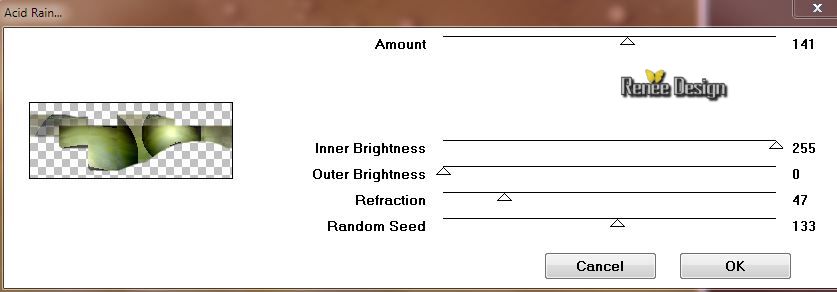
-Keep Selected 15. Effects- Plugins -Vm Natural /Acid rain use settings below
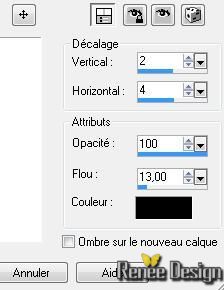
16. Effects- 3 D Effects- Drop Shadow with these settings
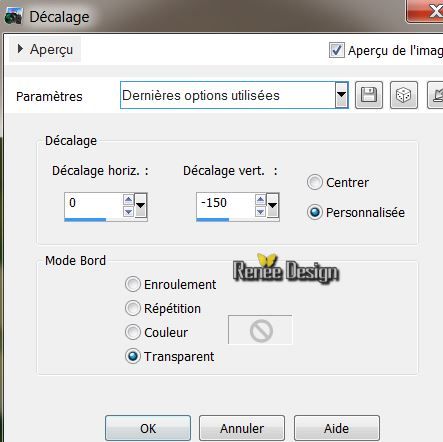
- Repeat: Effects- 3 D Effects- Drop Shadow with these settings -2 and -4 Selections- Deselect All 17. Effects-Image Effects-Offset with these settings:
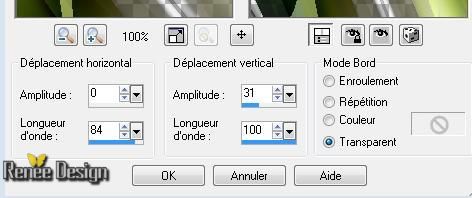
18. Layers- Duplicate- Image Flip 19. Layers- Merge- Merge Layers Down 20. Effects- Distortion Effects- Wave use settings below
- Layer Palette - Double click on this Layer and set the Blend Mode to "Overlay " -Set the layer opacity of this layer to 73% 21. Open the tube « image 11 ''- Edit/ Copy-Edit - Paste as new layer on your working image - Blend Mode to "Soft Light " 22. Effects-Image Effects-Offset with these settings:
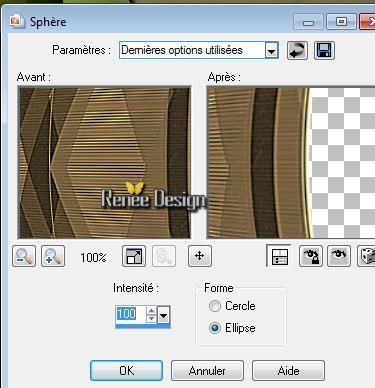
23. Effects- Geometric Effects- Spherize
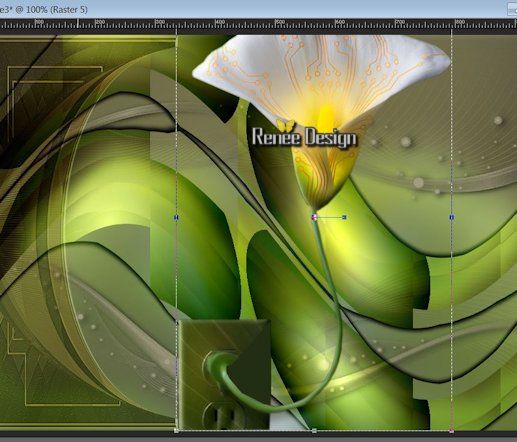
24. Repeat: Effects- Geometric Effects- Spherize with the same settings 25. Open the tube '' claudiaviza-fantasia 20- Edit/ Copy-Edit - Paste as new layer on your working image - With the move tool, move it as shown in the example below
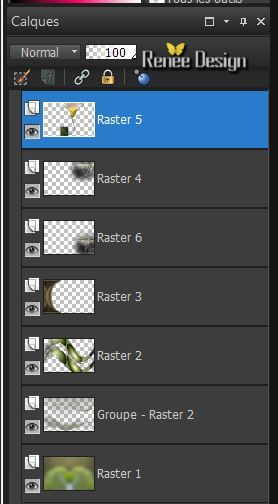
-Edit/ Copy-Edit - Paste as new layer on your working image With the Move Tool, move it in the upper right corner (see finished image) 27. Layers- Arrange- Move Down - To replace the top of the layers palette 28. Open the tube '' Drevers -misted -woman -112'' --Edit/ Copy-Edit - Paste as new layer on your working image - With the Move Tool, move it in the bottom right corner (see finished image) Layers-Arrange- Move 2x Down Layer Palette look like this now-You should have this result
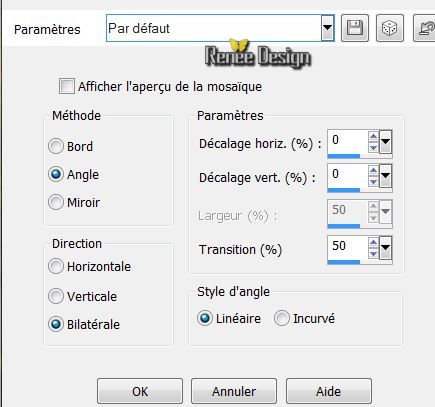
29. Layers- Merge- Merge Visible 30. Layers- New Raster Layer 31. Selections- Select All 32. Open the tube « 476095_R_K_by_creation82_pixelio.de.psp » Edit-Copy-Edit Paste into selection Selections- Deselect All 33. Effects-Image Effects- Seamless Tiling-use settings below
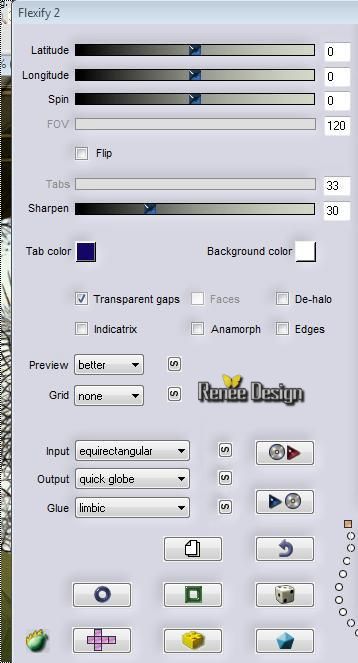
34. Effects- Plugins -Flaming pear /Flexify2 use settings below
35. Image Resize to 55 % resize all layers not checked 36. Effects- 3 D Effects- Drop Shadow with these settings 5/5/100/21 black 37. Effects- Plugins - Adjust variation - click 3 x More yellow
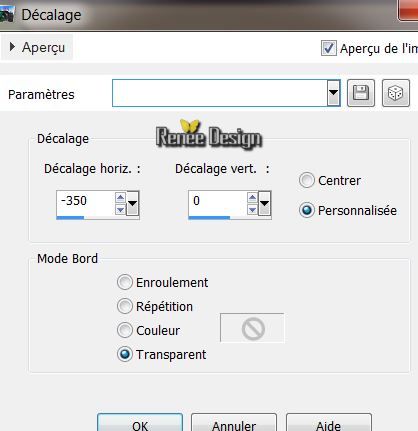
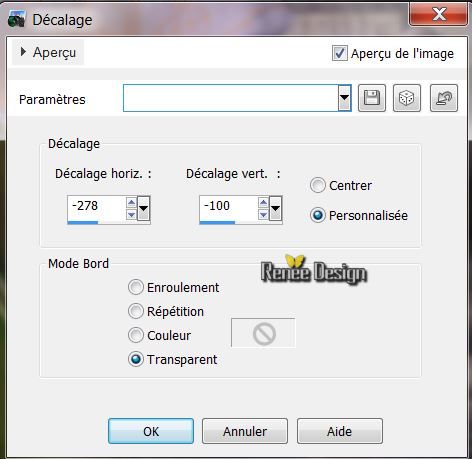
38. Effects-Image Effects-Offset with these settings:
39. Selections –load/save selection –load selection from disc and choose my selection: ''@ renee-concerto-amor 2'' -
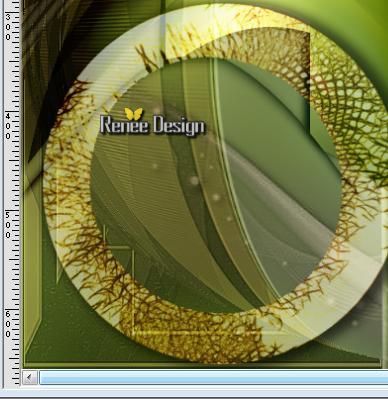
DELETE - Selections- Deselect All 40. Effects-Image Effects-Offset with these settings: H = - 40 and V = -36 - You should have this result as shown in the print screen below
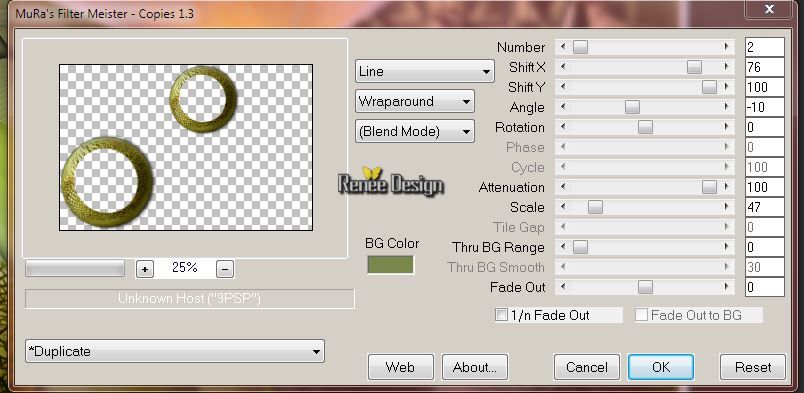
41.Effects- Plugins- Mura's meister /Copies use settings below
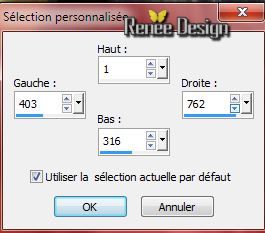
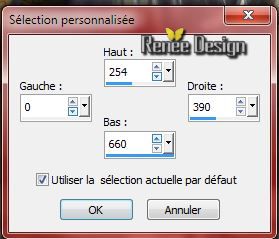
42. Layer Palette - Double click on this Layer and set the Blend Mode to "Multiply " -Set the layer opacity of this layer to 69% 43. Layers- Duplicate 44. Activate Selection Tool -Custom Selection (S) -Rectangle with these settings
DELETE
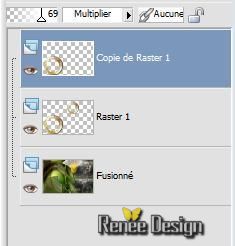
- Layer Palette look like this now-You should have this result
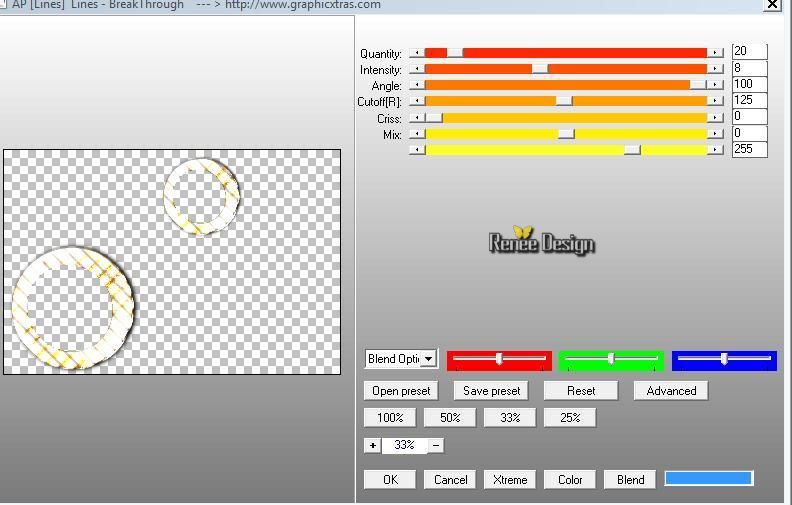
- In the Layer Palette- Activate Raster 1 45. Effects- Plugins -AP lines/Break Through ou ( AP 04 - Blurs and Smears)
- In the Layer Palett-Activate Copy of Raster 1 46. Effects- Plugins - Déformation /Sphérisation
- In the Layer Palette- Activate Raster 1 47. Activate Selection Tool -Custom Selection (S) -Rectangle with these settings
-
DELETE 48. Layer Palette - Double click on this Layer and set the Blend Mode to "Hard Light "-Set the layer opacity of this layer to 93% Your work look like this now-You should have this result
49. Open the tube "texte"-Edit/ Copy-Edit - Paste as new layer on your working image and move to the bottom right side 50. Layers- Duplicate -Layers- Arrange- Move Down- Layer Palette - Double click on this Layer and set the Blend Mode to " Overlay " 51. Open the tube « sexygirl « Edit/ Copy-Edit - Paste as new layer on your working image and move to the bottom left side - Image Resize to 65 % resize all layers not checked - Layers- Arrange- Move underneath Copy of Raster 1 - In the Layer Palette- Activate Copy of Raster 1 52. Effects- 3 D Effects- Drop Shadow with these settings
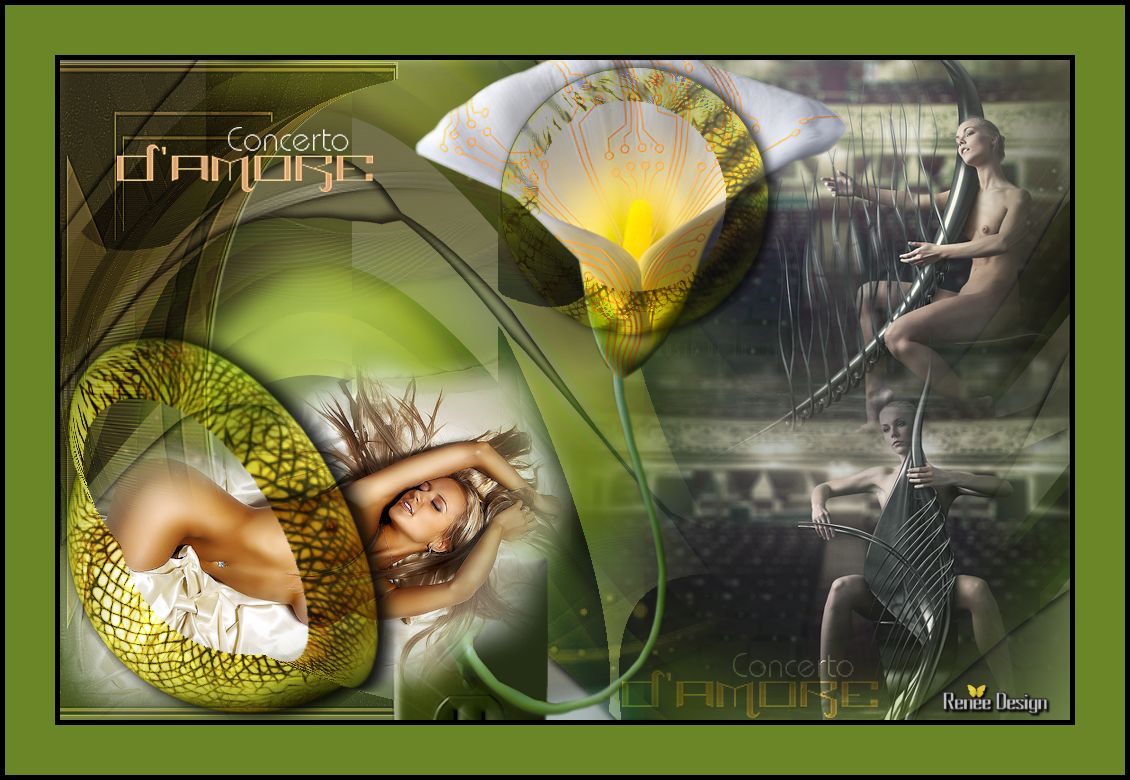
53. Layers- Merge- Merge Layers All 54. Image - Add borders-Symmetric checked: 5 pixels black 55. Image - Add borders-Symmetric checked: 50 pixels #6b8626 56. Image - Add borders-Symmetric checked: 5 pixels black Save as JPEG I hope you enjoyed this lesson Renée This lesson was written by Renée Edited and Update
2008
Any resemblance with an existing lesson is a coincidence * Do not forget to thank the people who work with us and for us I have appointed the tubeurs and translators Thanks Renée I am part of the Tutorial Writers Inc. My tutorials are registered regularly ReneeGraphisme_All rights reserved
*
|
 Translations