|
New
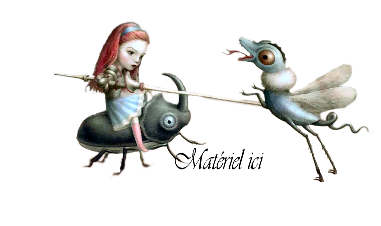
Translations here
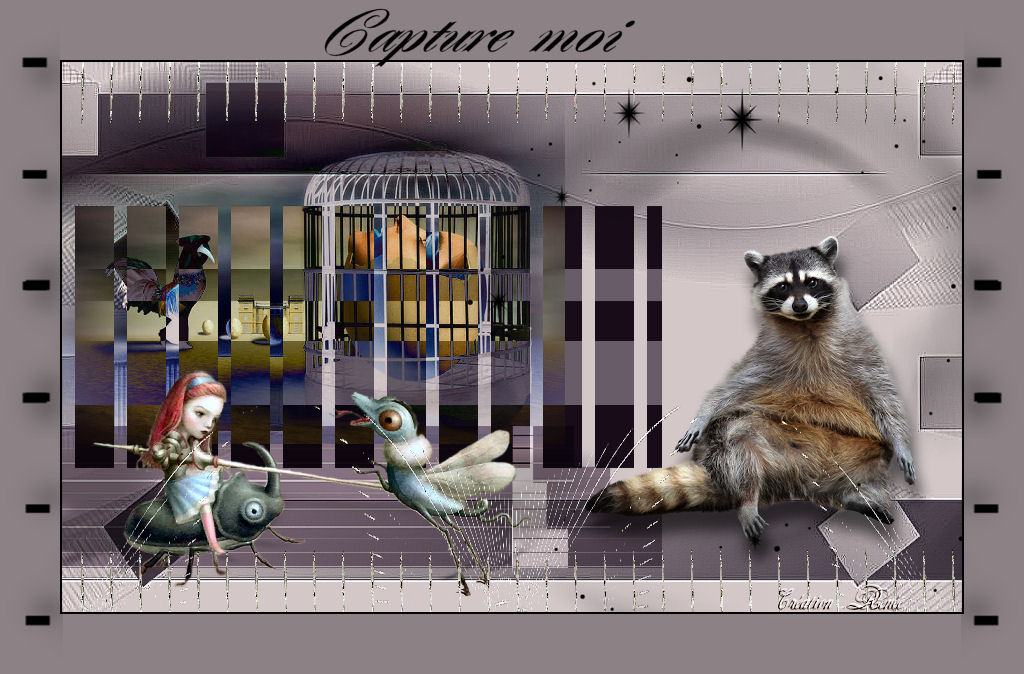
Capture moi
*
Let's start the lesson. 1. Open a new transparent image 900 x 550 pixels 2. Material Properties: Set the color palette to foreground color #d3c7c8 and background to #3f3440 3. Activate Flood Fill Tool and fill the layer with the background color 4. Layers- New Raster Layer/ Activate Flood Fill Tool and fill the layer with the foreground color 5. Layers- New Mask layer from Image and choose Mask:aditas creation-mask 53 " Invert checked
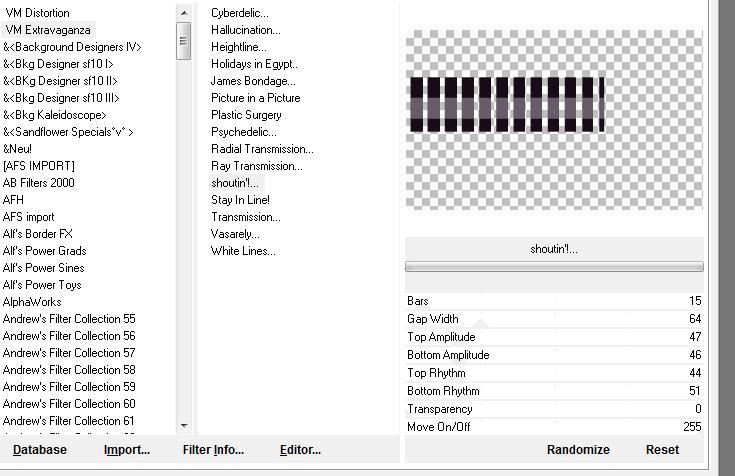
6. Effects- Edge Effects- Enhance More 7. Layers- Merge- Merge Group 8. Layers- New Raster Layer 9. Selections –load/save selection –load selection from disc and choose my selection:"" @renee asie'' 10. Activate Flood Fill Tool and fill the selection with the background color 11. Effects- Plugins - VM Extravanga /Transmission 195/0/40 12. Selections- Deselect All 13. Effects- Plugins - VM Extravanga/shouting use settings shown below
14. Layers- Duplicate- Image Flip 15. Layers- New Raster Layer 16. Selections –load/save selection –load selection from disc and choose my selection: " @renee asie2" 17. Activate Flood Fill Tool and fill the selection with the foreground color 18. Selections- Deselect All 19. Effects- Plugins - L and K's /Mayra /0/52/219/9 20. Layers- Duplicate 21. Effects- Distortion Effects -Pinch 90 22. Layers- Duplicate - Effects- Distortion Effects -Pinch 90 23. Layers- Merge- Merge 2x Down Double click on this Layer and set the Blend Mode to "Multiply"or "Hard Light " 24. Open the tube « ragondin « Edit/Copy -Edit paste as new layer on your working image 25. Image Resize to 70% all layers unchecked /and move 26. Effects- 3 D Effects- Drop Shadow with these settings: 19/5/65/20 black 27. Open the tube « en cage « /Image Resize to 70% -Edit/Copy -Edit paste as new layer on your working image -Activate your Move Tool (M) place it to the left (see finished image) 28. Double click on this Layer and set the Blend Mode to "Difference " 29. Open the tube « fillette « Image Resize to 70% -Edit/Copy -Edit paste as new layer on your working image - Activate your Move Tool (M) place it to the bottom left (see finished image) 30. Effects- Plugins - EyeCandy 5- Impact /Perpsective shadow -tab Settings/User settings choose my preset:''renee imagine" 31. Activate the top of the layer palette 32. Open the '' bouton'' / Edit/Copy -Edit paste as new layer on your working image * Activate Pick Tool (K) move it the right place at the top of your image as shown in the example below > 600 - Effects- Edge Effects- Enhance
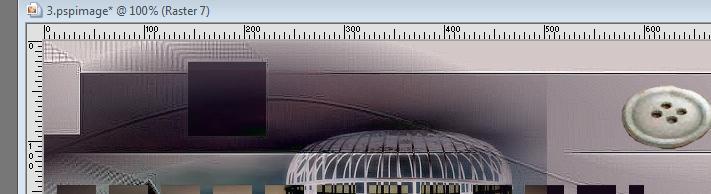
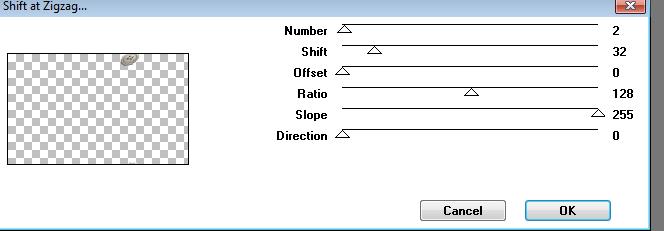
33. Effects- Plugins - Mura's seamless /shift zigzag use settings shown below
34. Effecten- Plugins - Mura's Seamless /Tiling with shrink 31/1/111/0/0 with these settings !! 35. Layers- Duplicate- Image Flip 36. Layers- Duplicate 37. Effects- Geometric Effects -Circle -Wrap checked 38. Effects- Distortions Effects-Polar Coordinates-Polar to Rectangular 39. Effects- Edge Effects- Enhance More 40. Open the tube « fantaisie « Edit/Copy -Edit paste as new layer on your working image 41. Effects- Image Effects- Offset : H= 250 and V = 0 42. Image - Add borders-Symmetric checked: 2 pixels black 43. Image - Add borders-Symmetric checked: 60 pixels #8c8286 44. Open the tube » barre « -Edit/Copy -Edit paste as new layer on your working image and move 45. Layers- Duplicate -Image Mirror 46. Layers- Merge- Merge Visible 47. Image - Add borders-Symmetric checked: 2 pixels black -I wrote the text with the font « jacoba « Save as JPG
|
 Translations


 All rights reserved