|
Translations here
New
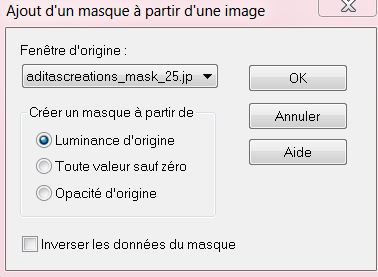
Let's start the lesson. 1. Open the Background Image '' renee- black tears -fond'' /Promote Background Layer =Raster 1'' 2. Layers- New raster layer - Properties Foreground:foregroundcolor to #efe1d3 3. Layers- New Mask Layer from Image and select: ''aditascreations_mask_25''
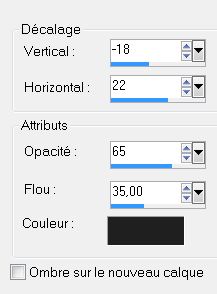
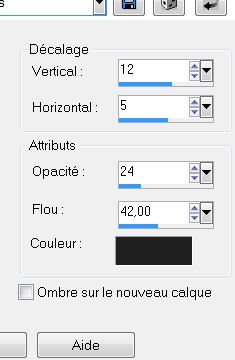
-Effects-Edge Effects -Enhance More 4. Layers- Merge- Merge Group 5. Effects - 3D Effects - Drop shadow with these settings
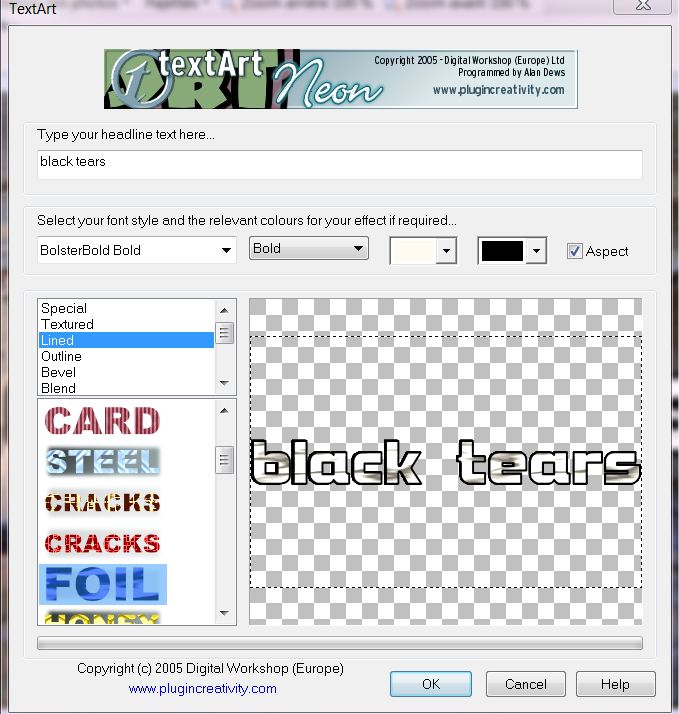
5. Layer- New raster layer 6. Effects- Plugins – Creativity – text art- write "black tears" - placed in the center Choose Foil -the effect in the menu as shown in the example below
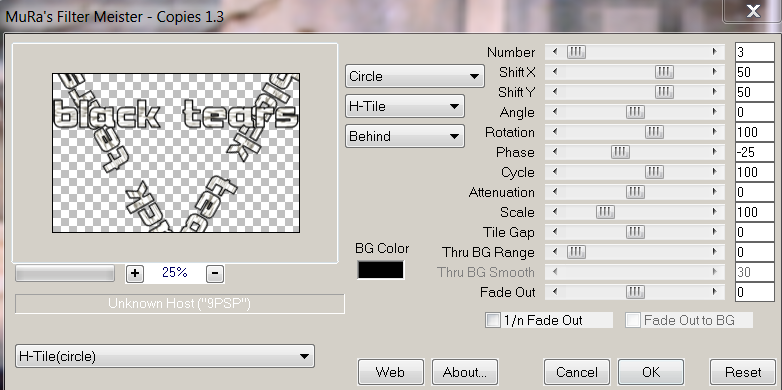
-Double click on this layer and set the Blendmode to Soft Light 7. Effects- Plugins - Mura's Meister – Copies with these settings
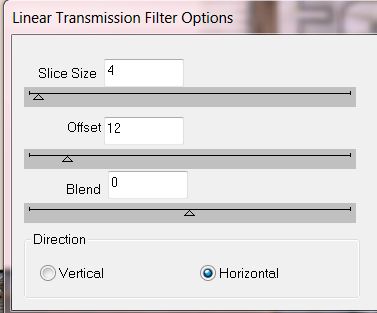
8. Layers- New raster layer 9. Selections - load/save selection - load selection from disk and choose my selection: ''renee- black tears_selec 1'' 10. Open the tube ''renee- black tears- fenetre'' Edit/copy-Edit paste into selection 11. Selections- Deselect Al 12. Activate the framelayer in the layer palette - Activate Magic Wand :Select inside the frame. 13. Layers- New raster layer -Flood Fill Tool: fill the selection with the foregroundcolor : efe1d3 14. Effects- Plugins - DBS flux- linear transmission
15. Layer- New raster layer 16 Effects - 3D Effects -Buttonize with these settings
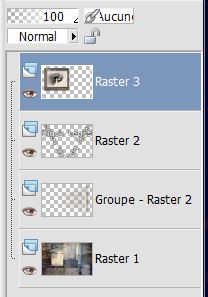
- Stay on this layer / Open the tube ''1228505909 ''Edit/copy-Edit paste into selection 17. Selections- Deselect All 18. Layers- Merge- Merge- Down and repeat 1x /Your Layer Palette look like this now:
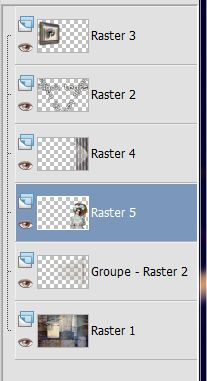
19. Effects- Plugins - EyeCandy 5 - perspective shadow - tab Settings/User settings choose my preset: ''renee-black tears -shadow'' 20. Effects- Plugins -Andromeda perspective /Side walls - Preset -It open 21. Activate the second layer from the bottom of the Layer Palette(Groupe-Raster 2')' Open the tube ''renee-black tears image 1'' Edit/copy-Edit paste as a new layer on your working area 22. Effects- Image Effects- Offset with these settings H = 415 andV= 0 /Transparent 23. Open the tube ''Betsie 984-15-09-2012' ' Edit/copy-Edit paste as a new layer on your working area- With your move tool place it to the right side Layers- Arrange- Move Down (above the layer-Groupe-Raster 2 ) - Your Layer Palette look like this now:
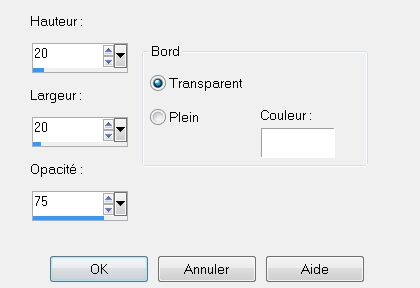
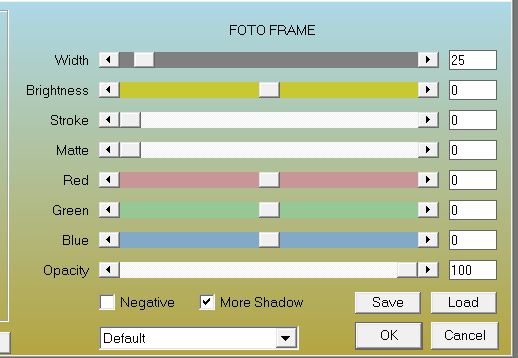
24. Activate the top of the Layer Palette 25. Open the tube '' black tears '-escallier" Edit/copy-Edit paste as a new layer on your working area and move to the bottom left side' 26. Open the tube of ''claudiaviza-fantaisia147 - select the "coq "(the chicken)/Edit/copy-Edit paste as a new layer on your working area and move to the bottom left side (on the stairs) 27. Effects - 3D Effects - Drop Shadow with these settings : 5/5/30/12 black 28. Open the tube''angeldesign_gouttes4_freehqimage'' activate raster 2 of the tube- Edit/copy-Edit paste as a new layer on your working aera -Erase that exceeds in below 29. Open the tube ''renee- black tears -femme 15'' Edit-Copy-Edit-Paste as a new layer on your working area -With your move tool place it to the left bottom side( Stairs) - Set the layer opacity of this layer to 65% 30. Layers- Merge- Merge Visible 31. Effects- Plugins - AAA Frame- Foto Frame
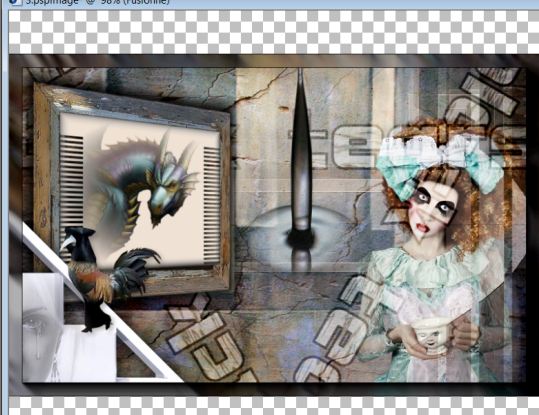
32. Image Resize with 80% (Resize all the layers not checked) -
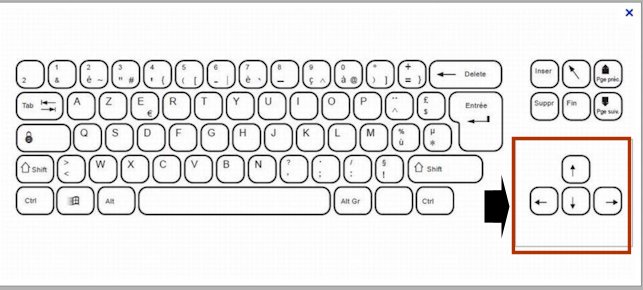
Pick Tool (K) mode scale - Use the arrow keys on the keyboard click to the left until it abuts against the edge -As shown in the example below
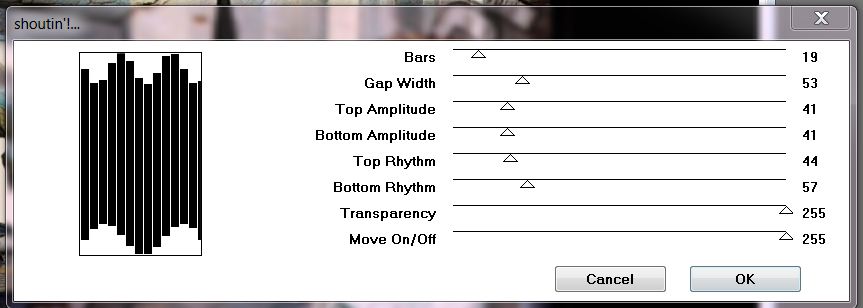
33. Layers- New raster layer - Activate Flood Fill Tool and fill the layer with white / Layers- Arrange- Move Down - Activate the bottom layer 34.Layers- New raster layer -Selections - load/save selection - load selection from disk and choose my selection: ''renee- black tears-selec 2'' Activate Flood Fill Tool and fill the selection with color black 35. Effects- Plugins -VM Extravanga -shouting with these settings
36. Selections- Deselect All 37. Effects - 3D Effects - Drop shadow with these settings and repeat 1x with the same settings
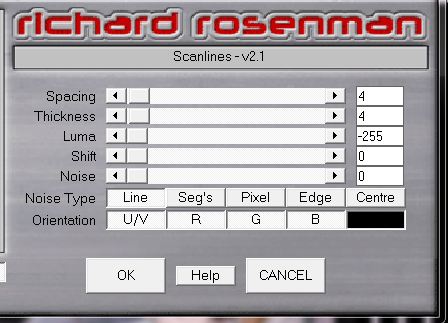
38. Layers- New raster layer 39. Selections - load/save selection - load selection from disk and choose my selection: ''renee – black tears -selec3'' - Activate Flood Fill Tool and fill the selection with color white 40. Effects- Plugins Richard Roseman -Scanlines V2.1
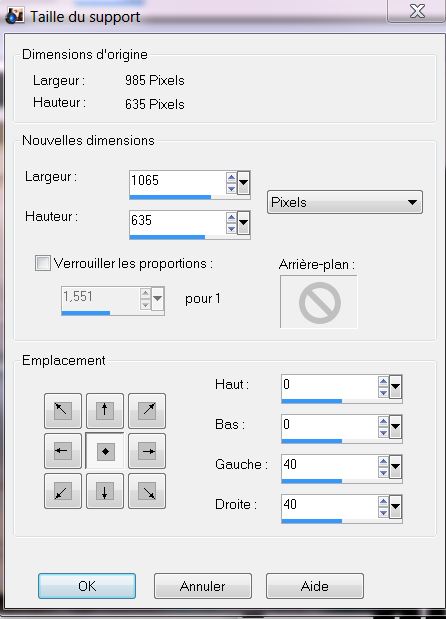
- Effects - 3D Effects - Drop shadow with the same settings 41. Activate the top of the Layer Palette 42. Open the tube ''renee- black tears -image tiroir'' Edit/copy-Edit paste as a new layer on your working area-With your move tool place it to the bottom - Activate the bottom of the Layer Palette 43. Image- Canvas Size with these settings
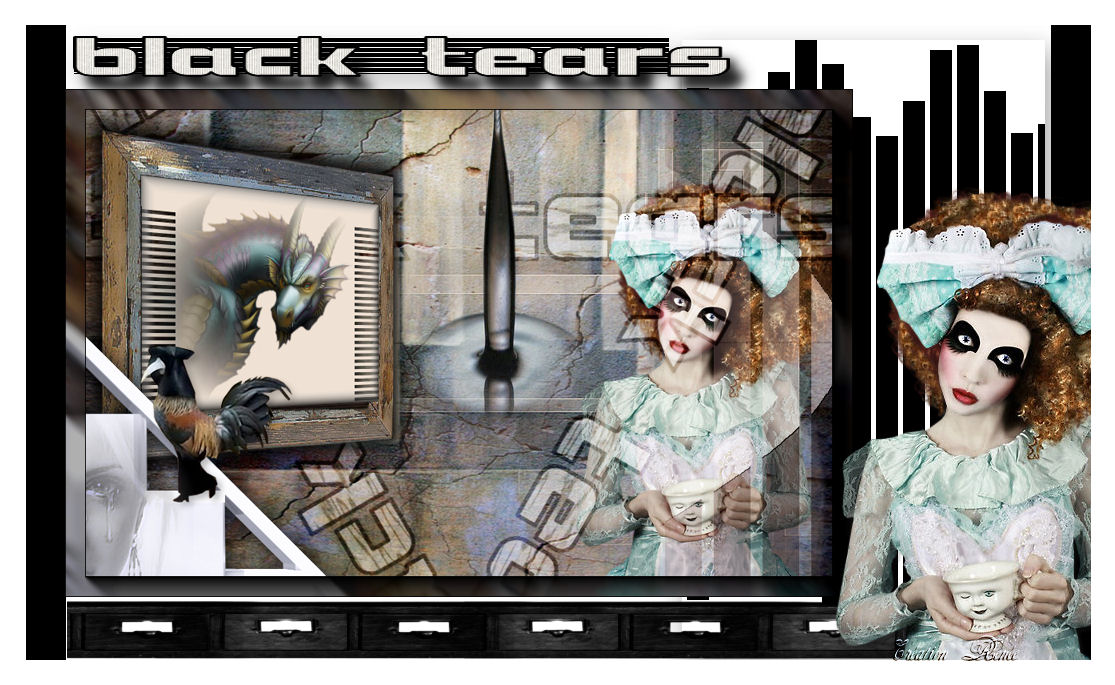
44. Layers- New raster layer / Layers- Arrange- Sent to Bottom -Flood Fill Tool: fill the layer with black 45. Activate the top of the Layer Palette 46. Open the tube ''Betsie 984-15-09-2012'' Edit/copy-Edit paste as a new layer on your working aera. - With the move tool, move it in the bottom right corner 47. Effects - 3D Effects - Drop shadow with these settings :4/4/24 / 2 black 48. Image - Add borders-Symmetric checked: 25 pixels white - Activate the tube "text "/Edit/copy-Edit paste as a new layer on your working area / Ore write your own text Save as JPG I hope you enjoyed this lesson Renée This lesson was written by Renée Placing 26 September 2012 *
Any resemblance with an existing lesson is merely a coincidence * * Don't forget to thank the people who work for us and with us. I named the tubeurs - Testers and the translators. Thanks Renée.
I am part of Tutorial Writers Inc. My tutorials are regularly recorded. ReneeGraphisme_All rights reserved
|


 Translations