|
New
Translations here
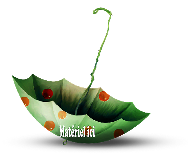
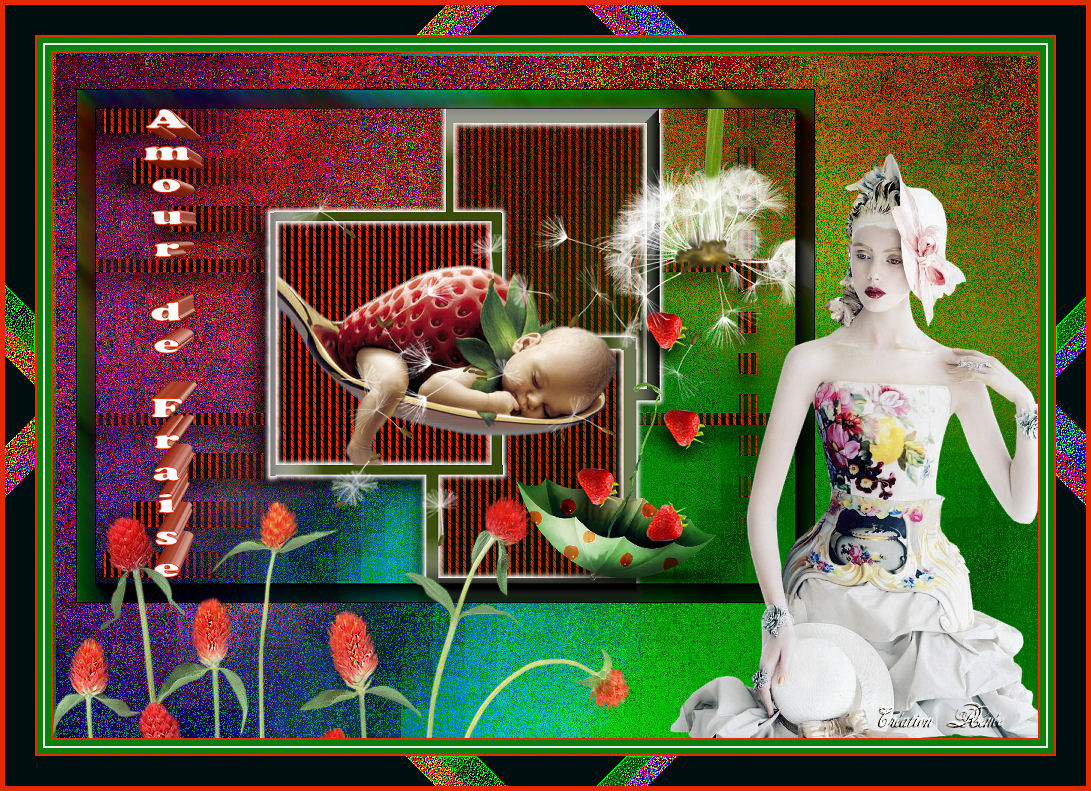
Amour de fraise
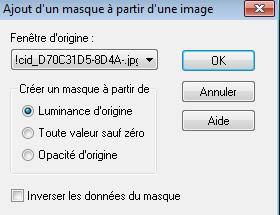
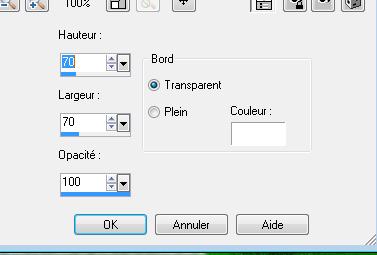
Let's start the lesson. 1. Open a new transparent image : 985 x 685 pixels 2. Selections- Select All 3. Open the image ''fond1 '' Edit/copy- Edit/ paste into selection 4. Layers- New Raster layer -Flood Fill Tool :fill the layer with #e32a02 5. Layers- New Mask layer from Image and choose Mask: - Open the mask in your psp and choose mask:''!cid_D70C31D5-8D4A.jpg ''
6. Effects- Edge Effects- Enhance-Layers- Merge- Merge Group 7. Effects-Plugins -
EyeCandy5/perspective
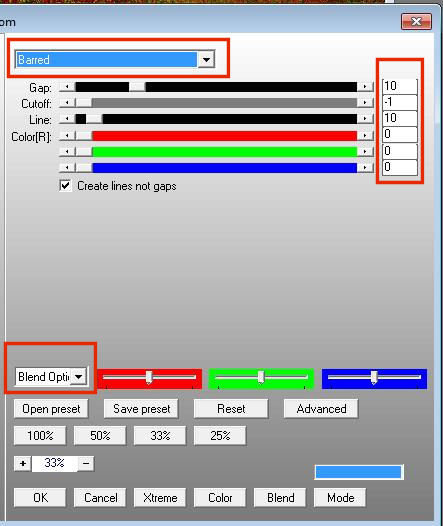
shadow -Tab-Settings/User settings and choose my preset 8. Effects- Plugins - AP01 - lines Silverling with these settings
9. Layers- New Raster layer 10. Selections –load/save selection –load selection from disc and choose: ''renee-amour de fraise'' 11.Activate Flood Fill Tool and fill the selection with #3c4c0d 12. Effects- Plugins - EyeCandy5/impact /gradient glow - Tab-Settings/User settings and choose my preset ''renee-amour de fraise gradient glow'' 13. Effects- 3 D Effects- Buttonize with these settings
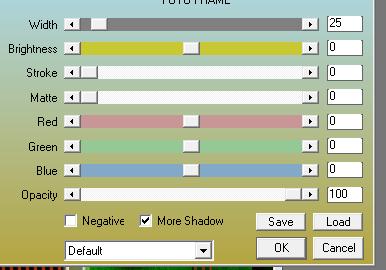
14. Selections-Deselect All 15. Open the tube ''Angie-bb_maj0404lise''/ Edit/copy- Edit/ paste as new layer on your working image and move 16. Open the tube ''tiram-summer-freshness_el29sh'' /Image Resize twice with 35% Edit/copy- Edit/ paste as new layer on your working image and move 17. Open the tube ''renee-amour de fraise image 1 '' Edit/copy- Edit/ paste as new layer on your working image and move 18. Open the tube " pissenlit" / Edit/copy- Edit/ paste as new layer on your working image and move 19. Open the tube "Text" Edit/copy- Edit/ paste as new layer on your working image and move-Ore write your text 20. Activate the bottom of the Layer-Palette (Raster 1) 21. Layers- Duplicate /- Close the bottom layer in the layer palette /Activate an open layer in the layer palette/Layers-Merge-Merge Visible 22. - Open the bottom layer On this merged layer 23. Effects-Plugins - AA Frame /Foto Frame>>with these settings -attention -checked -more shadow
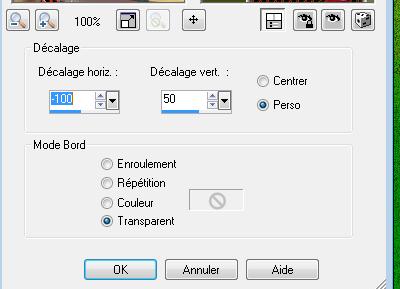
24. Image Resize with 75% resize all layers not checked 25. Effects - Image Effects- Offset with these settings
26. Open the tube ''calguisDouceurPrintaniere25022012''/Image Mirror /Image Resize with 60% / Edit/copy- Edit/ paste as new layer on your working image and move 27. Open the tube ''Jhanna_280tube '' Edit/copy- Edit/ paste as new layer on your working image and move 28. Layers- Merge- Merge All 29. Image - Add borders-Symmetric checked: 2 pixels #e32a02 30. Image - Add borders-Symmetric checked: 6 pixels #0a810d 31. Image - Add borders-Symmetric checked: 2 pixels #e9eded 33. Image - Add borders-Symmetric checked: 6 pixels #0a810d 34. Image - Add borders-Symmetric checked: 2 pixels #e32a02 35. Image - Add borders-Symmetric checked: 35 pixels #000d0e 36. Activate the magic wand and select the border of 35 pixels 37. Layers- New Raster layer 38. Open the image ''fond1'' 39. Edit-Copy-Edit Paste into selection 40. Effects- Plugins - Simple /Diamonds 41. Effects- Edge Effects- Enhance More 42. Selections- Deselect All 43. Image - Add borders-Symmetric checked: 5 pixels #e32a02 Save as JPG *
I hope you enjoyed this tutorial . Renée This lesson was written by Renée edited and update 2010 * Any resemblance with an existing lesson is merely a coincidence * * Don't forget to thank the people who work for us and with us. I named the tubeurs - Testers and the translators. Thanks Renée. *
*
I am part of Tutorial Writers Inc. My tutorials are regularly recordedt ReneeGraphisme_All rights reserved
*
|
 Translations